
Method Statement: Mosaic Tile Installation in Wet Areas and Feature Walls – Method Statement
AI-assisted method statement with matching ITP, PDF download, and Excel export.
More than a static template
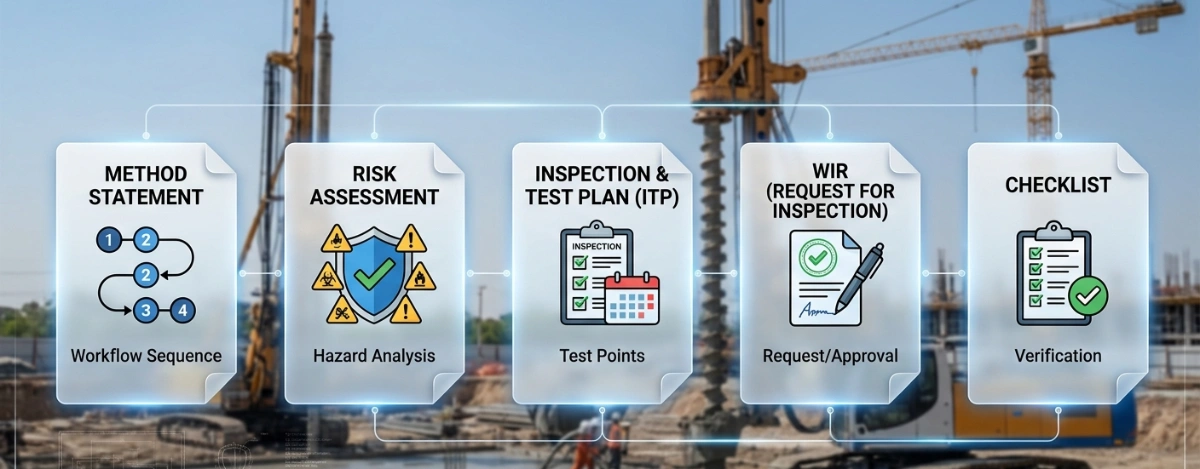
Unlike a downloadable Word or PDF template, this method statement is an AI-assisted editable starting point connected directly to a matching Inspection and Test Plan. Every section is structured, project-adaptable, and ready to export.
- AI-assisted drafting — Customize every section with AI for your specific project scope.
- Linked ITP — A matching inspection and test plan is generated alongside the method statement.
- Multiple export formats — Download as a formatted PDF or editable Excel spreadsheet.
- Editable starting point, not a final document — Review, verify, and adjust all content against your project requirements before use.
Static template vs. Quollnet workflow
| Feature | Static template | Quollnet |
|---|---|---|
| Project-specific content | Manual fill-in required | AI-assisted customization |
| Linked ITP | Separate document, no link | Matching ITP included |
| Export formats | Usually PDF only | PDF and Excel |
| Structured sections | Free-form layout | 13 standardized sections |
| Saved to your account | Local file only | Cloud-saved, reusable |
| Content accuracy | You verify everything | AI-assisted, you still verify |
| Cost | Often free but time-intensive | Free to customize and download |
What you can customize
When you save this method statement to your account, every section becomes editable. The following 13 sections are included:
- Scope — Defines the activity and its boundaries.
- References — Standards, specifications, and drawings.
- Responsibilities — Roles and accountabilities.
- Resources — Labour, plant, and equipment summary.
- Materials — Materials and compliance requirements.
- Equipment — Tools and equipment details.
- Prerequisites — Hold points and pre-conditions.
- Method sequence — Step-by-step construction sequence.
- Safety controls — HSE risk controls and PPE.
- Environmental controls — Environmental mitigation measures.
- QA/QC — Quality inspection and test requirements.
- ITP — Inspection and Test Plan table (has its own page).
- Attachments — Referenced drawings and documentation.
Why this method statement is used
This method statement is used to define and communicate the approved procedure for carrying out method statement: mosaic tile installation in wet areas and feature walls on site. It ensures the work is planned in advance, the correct resources and controls are in place, and all personnel understand responsibilities, sequence, quality requirements, and safety controls before work begins. It aligns site execution with the documented scope and acceptance expectations.
Who uses this method statement
This method statement is used by contractors, site supervisors, project engineers, QA/QC engineers, HSE officers, consultants, and client representatives. It serves as a shared reference for planning, execution, supervision, inspection, and approval of the activity on site.
When it is prepared and submitted
The method statement is prepared before the work activity starts and submitted as part of the pre-construction documentation package for review and approval.
Who reviews or approves it
The method statement is usually submitted to the client representative, consultant, resident engineer, or project management consultant for review and approval before the work commences.
Important approval note
This method statement is an AI-assisted editable starting point, not a pre-approved document. Before use on any project, all content must be reviewed and approved by the relevant parties (superintendent, principal contractor, or client representative) in accordance with your contract and project quality plan.
For example: if your specification requires a departure from a referenced standard, that departure must be documented and approved separately — this method statement will not capture that automatically. Always verify against your applicable drawings, specifications, and regulatory requirements.
Method statement content
Scope
Overview
This method statement defines the procedures and quality controls for supply, preparation, waterproofing interface coordination, installation, grouting, finishing, protection, and handover of mosaic tile finishes in internal wet areas (e.g., showers, washrooms, spa zones) and architectural feature walls. It includes substrate acceptance, layout and pattern control, adhesive selection and application, grout consistency and installation, movement joints, QA/QC inspections, hold/witness points, and final inspection.
Inclusions
- Substrate verification (plastered masonry, cementitious render/skim, cement board, screed, concrete, approved waterproofing system interfaces).
- Layout set-out, datum control, and mock-up approval.
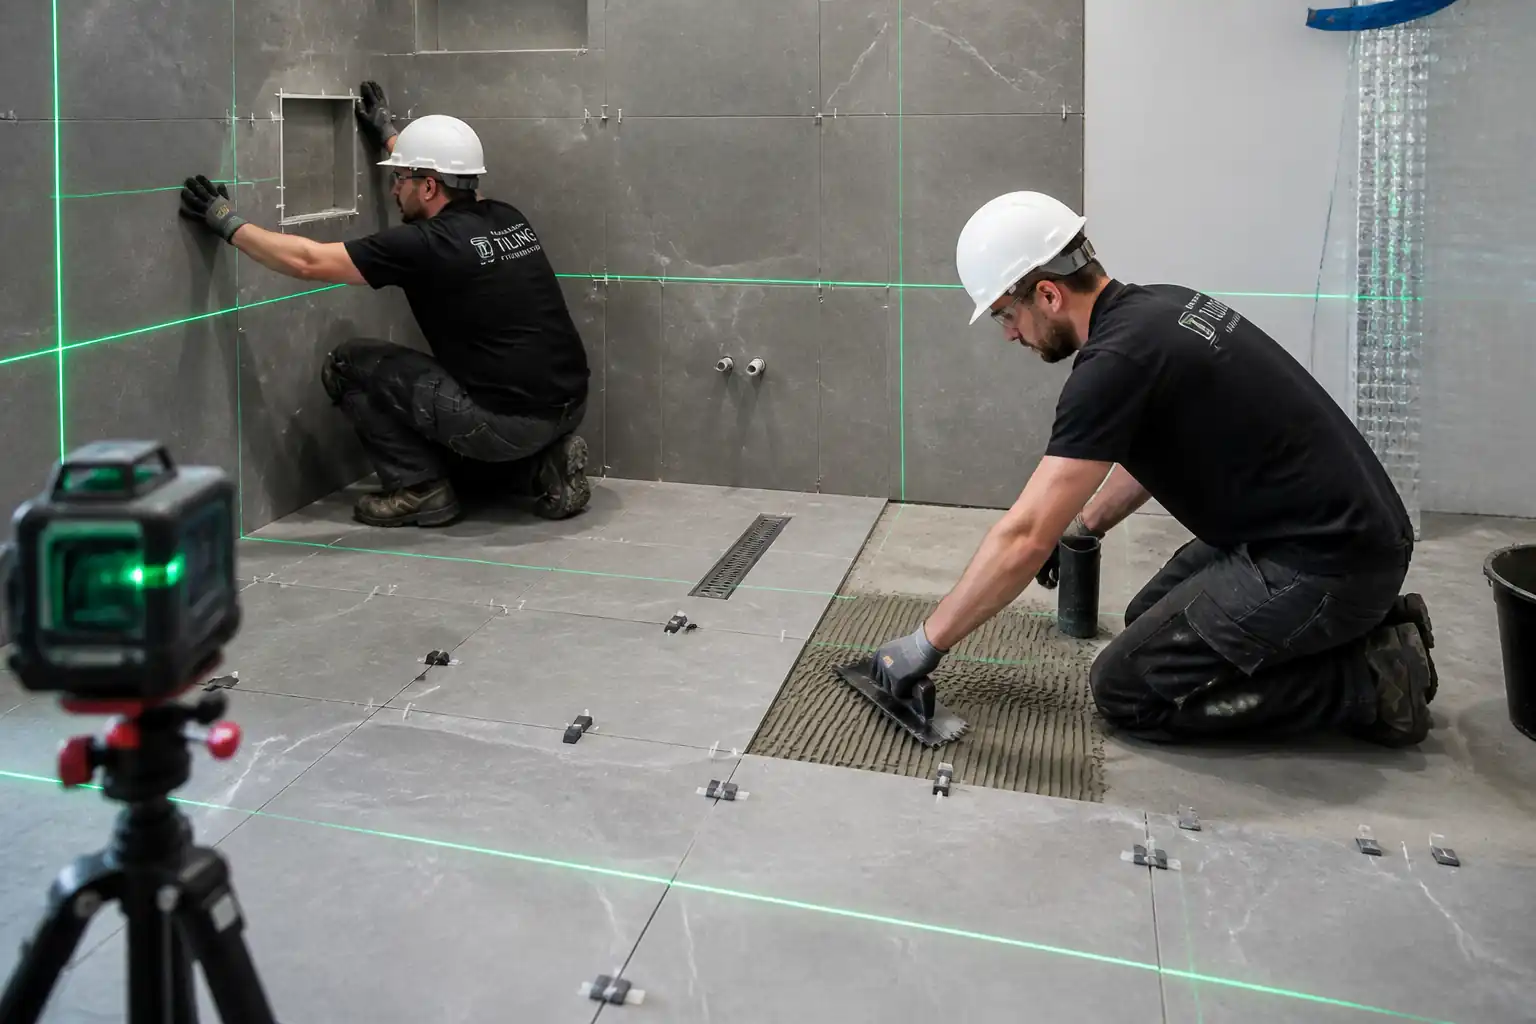
- Installation of mosaic tiles (ceramic/porcelain/glass mosaics on sheets or face-mounted) to walls and floors in wet areas and to vertical feature walls.
- Adhesive selection and application suited to substrate and tile type.
- Grouting (cementitious CG2 or epoxy RG as specified) and cleaning.
- Movement joints and perimeter sealing.
- Protection and cleaning until handover.
Exclusions
- Structural works, backing wall construction, primary screeds, and MEP rough-ins.
- Supply and installation of doors, sanitary ware, and fittings (unless noted otherwise).
- Waterproofing installation by others; however, coordination, inspection, DFT checks, and flood testing are included.
Key Performance Targets [Verify per project specifications]
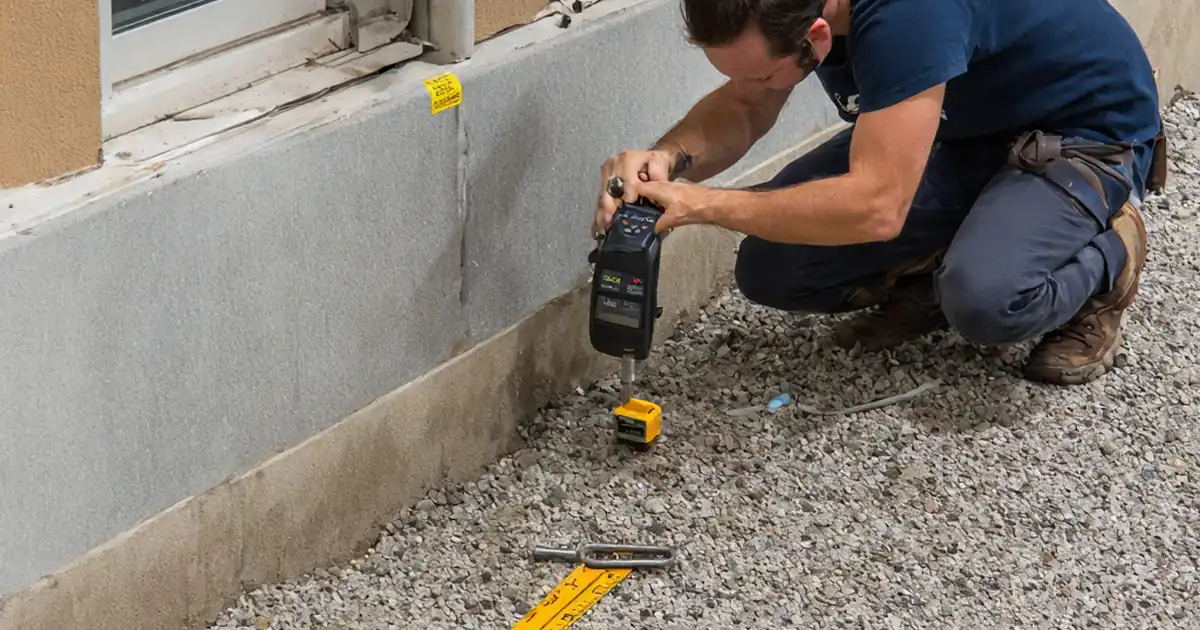
- Substrate regularity (mosaics): deviation ≤ 2 mm under a 2 m straightedge; local deviation ≤ 1 mm under 300 mm straightedge.
- Adhesive coverage in wet areas: ≥ 95% continuous contact to tile back and substrate; no voids at edges/corners.
- Joint width uniformity: target 2–3 mm (or as specified), tolerance ±0.5 mm; sheet-to-sheet alignment offset ≤ 1 mm.
- Lippage: ≤ 0.5 mm for mosaics.
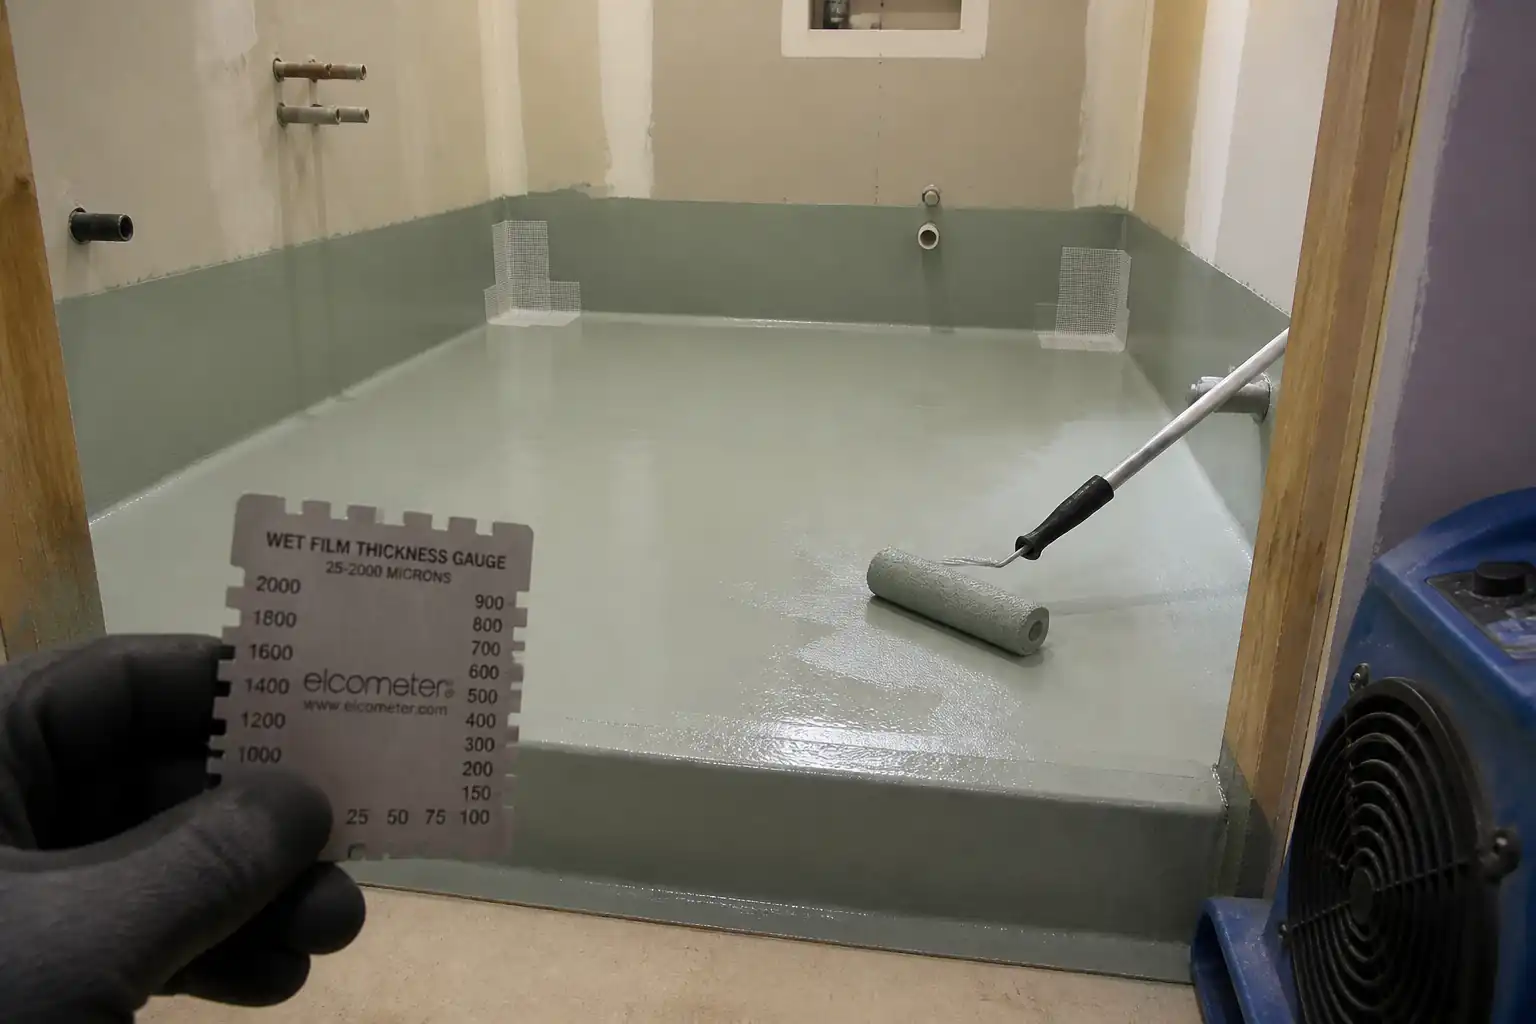
- Waterproofing: DFT as per manufacturer (typ. 1.2–1.5 mm total for liquid-applied membranes); 24 h flood test pass; no leaks.
- Movement joints: installed at perimeters, changes of plane, and as per design spacing [Verify per project specifications].
- Ambient conditions: 5–35°C; avoid direct sun, strong drafts; substrate moisture within adhesive manufacturer limits.
References
| Document Type | Reference / Number | Revision | Notes |
|---|---|---|---|
| Standard | BS 5385 (latest) | ||
| Standard | BS EN 12004, ISO 13007 | ||
| Standard | BS EN 13888, ISO 13007 | ||
| Standard | BS EN 14411 | ||
| Standard | EN 14891 | ||
| Standard | ANSI A108 Series | Use if contract adopts ANSI/TCNA; otherwise follow BS/EN. | |
| Guideline | TCNA EJ171 / BS 5385 | [Verify per project specifications]. | |
| Standard | ASTM C920 / EN 15651 | ||
| Standard | ISO 45001, ISO 14001 | [Verify per project HSE plan and local regulations]. |
Responsibilities
| Role | Responsibility | Name / Party |
|---|---|---|
| Contractor | ||
| Contractor | ||
| Contractor | ||
| Contractor | ||
| Contractor | ||
| Specialist/Contractor | ||
| Client/Engineer |
Resources
| Resource Type | Description | Quantity | Remarks |
|---|---|---|---|
| Manpower | Experienced installers for sheet mosaics and glass mosaics. | 1 per 8–12 m²/day (complex patterns: 1 per 6–8 m²/day) | |
| Manpower | Mixing, material handling, cleaning, protection. | 1 per 2 tile setters | |
| Manpower | Set-out, control lines, as-built. | As required |
Materials
| Material | Specification / Grade | Quantity | Remarks |
|---|---|---|---|
| Mosaic Tiles | Tile schedule [Verify] | ||
| Adhesive | C2TES1/S2 [Verify] | ||
| Epoxy | RG [Verify] | ||
| Grout | CG2 WA [Verify] | ||
| Membrane | EN 14891 Class [Verify] | ||
| Sealant | Class 25 [Verify] | ||
| Trim | As per detail [Verify] |
Equipment
| Equipment | Capacity / Type | Quantity | Inspection Required |
|---|---|---|---|
| Laser level | 1 set/crew | ||
| Straightedge | As required | ||
| 110–240V | 1/crew | ||
| As required | |||
| 1/crew | |||
| As required | |||
| 230V with RCD | 1/crew | ||
| 1 set | |||
| 1 | |||
| As required |
Prerequisites
- Approvals: Material submittals (tiles, adhesives, grouts, membrane, trims) approved; shop drawings and set-out drawings issued.
- Area readiness: Substrates cured (cement-based: typically ≥ 7–28 days [Verify]), dry, sound, free from dust, oils, curing agents. MEP first fix complete and pressure tested.
- Environmental: Enclosed space protected from rain and direct sun; temperature 5–35°C; good ventilation for epoxy works.
- Surveys: Control benchmarks transferred; datum lines established; wall plumb and plane checked.
- Mock-up: Representative mock-up panel (min. 1.5 m²) constructed and approved for pattern, joints, grout color, and finish (Hold Point).
- HSE: Task-specific risk assessment briefed; permits arranged for hot works (if any), work at height, and confined areas [Verify per project HSE plan and local regulations].
- Tools & Calibration: Measuring instruments calibrated; mixing and cutting equipment inspected and tagged.
- Waterproofing: Membrane installed and cured per TDS; WFT/DFT recorded; flood test completed and accepted (wet rooms).
Method Sequence
| Step | Activity | Description | Responsibility | Inspection / Hold Point |
|---|---|---|---|---|
| 1 | Receipt and Storage of Materials | Inspect deliveries; verify batch numbers, quantities, damage; store tiles flat and dry; protect from contamination; adhesives/grouts above 5°C, off floor. | Storekeeper / QA/QC | Incoming inspection |
| 2 | Substrate Verification (Walls/Floors) | Check plumbness, level, regularity, moisture; remove laitance and weak spots; make good defects; prime as per TDS; ensure falls to drain 1:60–1:80 in wet floors [Verify]. | Site Engineer / QA/QC | Hold Point (HP-1) |
| 3 | Waterproofing Coordination | Confirm EN 14891 membrane applied; measure WFT each coat and DFT after cure; ensure upturns, corners, penetrations sealed; install bond breakers at changes of plane as required. | Waterproofing Specialist / QA/QC | Hold Point (HP-2) |
| 4 | Flood Test (Wet Rooms) | Plug drains; mark water line; maintain 24 h; inspect below for leaks; record any drop beyond evaporation allowance. | Site Engineer / Client Rep. | Hold Point (HP-3) |
| 5 | Set-out and Mock-up Confirmation | Establish datums, centerlines; dry-lay sample sheets; check alignment around niches/fittings; adjust to avoid slivers < 1/2 tile at edges; confirm grout color and trims. | Tiling Engineer / Foreman | Witness Point (WP) |
| 6 | Adhesive Mixing | Measure water per TDS; mix with paddle to creamy consistency; rest (slake) 5–10 min; remix; do not add water after slaking; observe pot life. | Tile Setter / Foreman | Surveillance |
| 7 | Adhesive Application to Substrate | Trowel with 3×3 or 4×4 mm notch; comb in one direction; do not exceed area that can be tiled within open time (20–30 min typical); key-in thin coat first on low-porosity tiles if required. | Tile Setter | Surveillance |
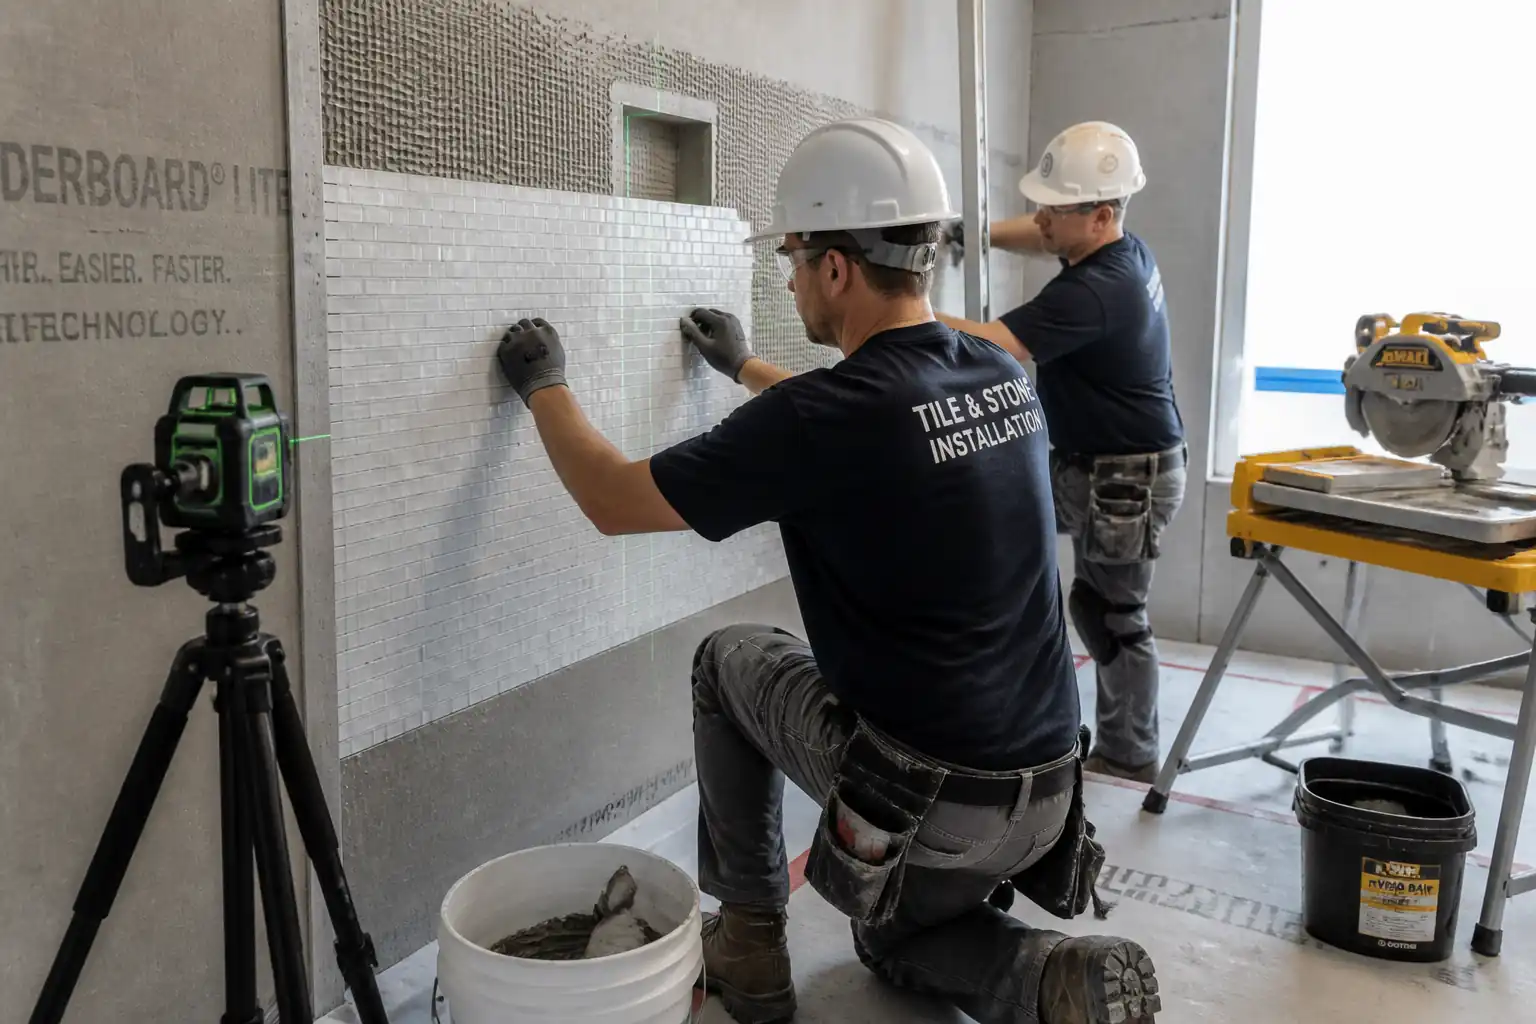
| 8 | Sheet Placement and Alignment | Place first course along datum; press with beating block from center outward; stagger sheet joints to disguise seams; adjust individual tesserae as needed; maintain joint width using spacers if required. | Tile Setter / Foreman | Surveillance |
| 9 | Cuts and Penetrations | Cut mosaics using wet saw or shears; use edge trims; seal cut edges in wet areas as specified; maintain clearances at penetrations and fill with sealant. | Tile Setter | Surveillance |
| 10 | Curing Before Grout | Allow adhesive to cure undisturbed; protect from impact, moisture, and temperature extremes. | Foreman | Surveillance |
| 11 | Pre-Grout Inspection | Inspect alignment, joints free of adhesive, surface clean; rectify defects; obtain approval to proceed. | QA/QC / Client Rep. | Hold Point (HP-4) |
| 12 | Grout Mixing and Application | Mix grout to peanut-butter consistency (cementitious) or per TDS (epoxy); apply diagonally with rubber float; compact joints fully; clean with damp sponge after initial set; for epoxy use two-bucket method and white pads. | Tile Setter / Foreman | Surveillance |
| 13 | Movement Joints and Perimeter Seals | Mask edges; install backer rod; gun sealant; tool to concave finish; remove masking. | Tile Setter | Witness Point (WP) |
| 14 | Cleaning and Protection | Final clean with neutral cleaner; apply breathable protection sheets, edge guards; restrict traffic; post signage. | Foreman | Surveillance |
| 15 | Final Inspection and Handover | Joint quality and appearance check under uniform lighting; verify alignment, lippage, sealants, terminations, and cleanliness; close out snags. | QA/QC / Client Rep. | Hold Point (HP-5) |
Health & Safety Controls
Implement controls per project HSE plan and local regulations. Task-specific hazards and controls include:
- Hazard: Work at height on feature walls or high wet areas
- Likely consequence: Falls causing serious injury
- Engineering/procedural control: Use certified mobile towers or scaffolds with full guardrails; inspect before use; maintain 3-point contact on ladders for short-duration tasks only; prohibit overreach
- PPE: Hard hat, non-slip safety footwear, fall-arrest where required, gloves
- Collective preventive measure: Edge protection, toe-boards, platform access control
-
Inspection/permit/supervision: Scafftag inspection daily; Work at Height permit; competent supervisor [Verify per project HSE plan and local regulations]
-
Hazard: Manual handling of tile boxes, adhesive/grout bags
- Likely consequence: Musculoskeletal injuries
- Engineering/procedural control: Use trolleys; split loads; team lifts; store near point of use
- PPE: Gloves, safety boots
- Collective preventive measure: Mechanical aids and material hoists
-
Inspection/permit/supervision: Manual handling training records; supervision spot checks
-
Hazard: Cutting tiles (wet saw) generating slurry and sharp fragments
- Likely consequence: Lacerations, eye injuries, slips
- Engineering/procedural control: Use wet saw with blade guard and water containment; set up cutting station in designated area with bunding and anti-slip mats; keep cables RCD protected
- PPE: Eye/face protection, cut-resistant gloves, hearing protection, safety boots, apron
- Collective preventive measure: Physical barriers to segregate cutting zone
-
Inspection/permit/supervision: PAT/RCD checks; machine inspection pre-use; operator competency
-
Hazard: Silica dust from dry grinding/chasing (if unavoidable)
- Likely consequence: Respiratory illness
- Engineering/procedural control: Prefer wet methods; if dry, use HEPA M-class vac shrouds; minimize duration
- PPE: FFP3/N100 respirator
- Collective preventive measure: Local exhaust ventilation
-
Inspection/permit/supervision: Air monitoring as required; tool audit
-
Hazard: Chemical exposure (epoxy grout/solvents, primers)
- Likely consequence: Dermatitis, respiratory irritation, chemical burns
- Engineering/procedural control: Review SDS; provide mixing in ventilated area; use measured components; prohibit skin contact; provide eyewash
- PPE: Chemical-resistant gloves (nitrile), goggles/face shield, long sleeves
- Collective preventive measure: Local ventilation; closed containers; spill kits
-
Inspection/permit/supervision: COSHH/chemical handling permit; SDS on site; supervision of mixing
-
Hazard: Slips and trips in wet rooms during flood test and grouting
- Likely consequence: Sprains, falls
- Engineering/procedural control: Barricade access; signage; squeegee spills; maintain dry walkways
- PPE: Slip-resistant boots
- Collective preventive measure: Area cordoned off
-
Inspection/permit/supervision: Daily HSE inspection
-
Hazard: Noise and vibration from saws/mixers
- Likely consequence: Hearing damage, HAVS (prolonged)
- Engineering/procedural control: Limit exposure time; maintain equipment; use low-vibration tools
- PPE: Hearing protection; anti-vibration gloves (task-suitable)
- Collective preventive measure: Noise zoning and rotation of tasks
-
Inspection/permit/supervision: Noise assessments where required
-
Hazard: Electrical risks with wet equipment
- Likely consequence: Electric shock
- Engineering/procedural control: Use 110V center-tapped or RCD-protected circuits; keep connections elevated and dry
- PPE: Dielectric gloves when inspecting cables (if trained); standard PPE
- Collective preventive measure: Lockable distribution boards with RCDs
-
Inspection/permit/supervision: Electrical permits as applicable; PAT testing in date
-
Hazard: Sharp edges and hand tools
- Likely consequence: Cuts and punctures
- Engineering/procedural control: Use proper tools; maintain blades; safe handling
- PPE: Cut-resistant gloves
- Collective preventive measure: Tool control and storage
- Inspection/permit/supervision: Pre-use checks, supervisor audits
Emergency preparedness: First aid kit available; eyewash station near epoxy use; spill response materials for chemical spills; emergency contacts posted.
Environmental Controls
- Tile cutting slurry and wastewater
- Control: Wet saws with recirculating trays; collect slurry; dispose via approved waste contractor; do not discharge to drains [Verify per local regulations].
- Dust generation (if any dry cutting/grinding)
- Control: Wet methods preferred; HEPA extraction; dust screens; regular housekeeping using M-class vacuums (no dry sweeping).
- VOCs and odors from primers/epoxies
- Control: Use low-VOC products where possible; ensure ventilation; schedule works off-hours if sensitive receptors.
- Noise
- Control: Use quieter equipment; isolate cutting area; notify neighbors; comply with working hour limits.
- Material waste and off-cuts
- Control: Optimize set-out to reduce waste; segregate recyclable packaging (cardboard, plastics, pallets); return unopened materials where possible.
- Water conservation
- Control: Closed-loop water systems for wet saws; avoid continuous flow.
- Spills and chemical storage
- Control: Bunded storage; spill kits; SDS available; trained personnel only.
- Lighting and energy use
- Control: Use LED task lights; switch off idle equipment.
Quality Assurance / Quality Control
QA/QC Plan
- Approvals: Verify all materials against approved submittals and standards.
- Mock-up: Build and obtain approval prior to main works; approved panel becomes quality benchmark.
- Calibration: Maintain calibration certificates for moisture meters and gauges.
- Inspections and Tests Frequency:
- Substrate regularity and plumb: 100% of areas using 2 m straightedge grid (approx. 1.5–2.0 m spacing).
- Moisture tests: Each distinct substrate area/room [Verify method CM/RH per spec].
- Waterproofing DFT/WFT: Record each coat per 10 m² minimum, each room, and all details.
- Flood test: Each wet room post-membrane cure (min. 24 h).
- Adhesive coverage: One pull-check per ~10 m² or every 20 sheets; additional checks at starts/returns and around penetrations.
- Alignment and joint width: Continuous visual with formal checks every 5 m².
- Lippage: Check every 5 m² with straightedge/feeler gauges.
- Grout quality: Visual 100%—ensure full joints, color consistency, and absence of pinholes/haze.
- Documentation:
- ITP and Inspection/Test Records (ITRs), checklists, photos, WFT/DFT logs, flood test records, material COCs, TDS/SDS, NCR/CAR (if any), as-built drawings.
- Nonconformance Control:
- Typical defects: Poor coverage, misalignment, visible sheet seams, lippage, pinholes, staining. Rectify by lifting within adhesive open time or by localized removal and reinstallation. Record NCRs and corrective actions.
- Acceptance Criteria [Verify per project specifications]:
- Substrate deviation ≤ 2 mm under 2 m straightedge; ≤ 1 mm under 300 mm.
- Adhesive coverage ≥ 95% wet areas; uniform ridge collapse.
- Joint width within ±0.5 mm; sheet offset ≤ 1 mm; lippage ≤ 0.5 mm.
- Waterproofing DFT per TDS; flood test passed 24 h; no leaks.
- Grout full, smooth, consistent color; no haze; movement joints sealed to ASTM C920/EN 15651.
- Finish aesthetically uniform under 500–1000 lux even lighting.
Attachments
- Checklists: TIL-01 Substrate Acceptance; TIL-02 Waterproofing DFT Log; TIL-03 Adhesive Coverage Check; TIL-04 Pre-Grout; TIL-05 Final Inspection.
- Manufacturer TDS/SDS: Adhesive, Grout (cementitious/epoxy), Membrane, Sealant.
- Approved Material Submittals and Samples (mock-up photos).
- Shop Drawings/Set-out Drawings and Tile Schedules.
- As-built records and photographic documentation of hold/witness points.
This content is a read-only public reference. Download or customize to get an editable version.
ITP preview
The first inspection activities from the linked ITP for Method Statement: Mosaic Tile Installation in Wet Areas and Feature Walls:
| Activity | Inspection / Test | Acceptance Criteria | Responsibility | Record |
|---|---|---|---|---|
| Material verification (tiles, adhesives, grouts, trims) | Review approvals, batch numbers, COA/COC, TDS/SDS | Approved submittals; valid shelf life; compliance with BS EN 14411/12004/13888 | QA/QC (Contractor) / Client Rep. (Witness) | MIR, approvals, photos |
| Substrate acceptance (plumb, flatness, moisture) | 2 m straightedge, feeler gauges, moisture meter | Deviation ≤ 2 mm/2 m; ≤ 1 mm/300 mm; moisture within adhesive limits | Site Engineer / QA/QC (Hold) / Client Rep. (Hold) | Substrate checklist, IR approval |
| Waterproofing membrane application | WFT/DFT gauge measurements; detail checks | DFT within TDS (typ. 1.2–1.5 mm total) [Verify]; full coverage; no pinholes | Waterproofing Specialist / QA/QC (Hold) / Client Rep. (Witness) | Membrane ITR, WFT/DFT logs, IR |
Showing 3 of 11 inspection activities. View full ITP →
Related Inspection and Test Plan
An Inspection and Test Plan (ITP) is available for Method Statement: Mosaic Tile Installation in Wet Areas and Feature Walls. The ITP defines the inspection activities, acceptance criteria, hold and witness points, responsible parties, and records required to verify the work described in this method statement.
View the Method Statement: Mosaic Tile Installation in Wet Areas and Feature Walls ITP →Frequently asked questions
Continue with related Quollnet resources connected to this method statement.