Inspecting Floor Surfaces Before Tiling
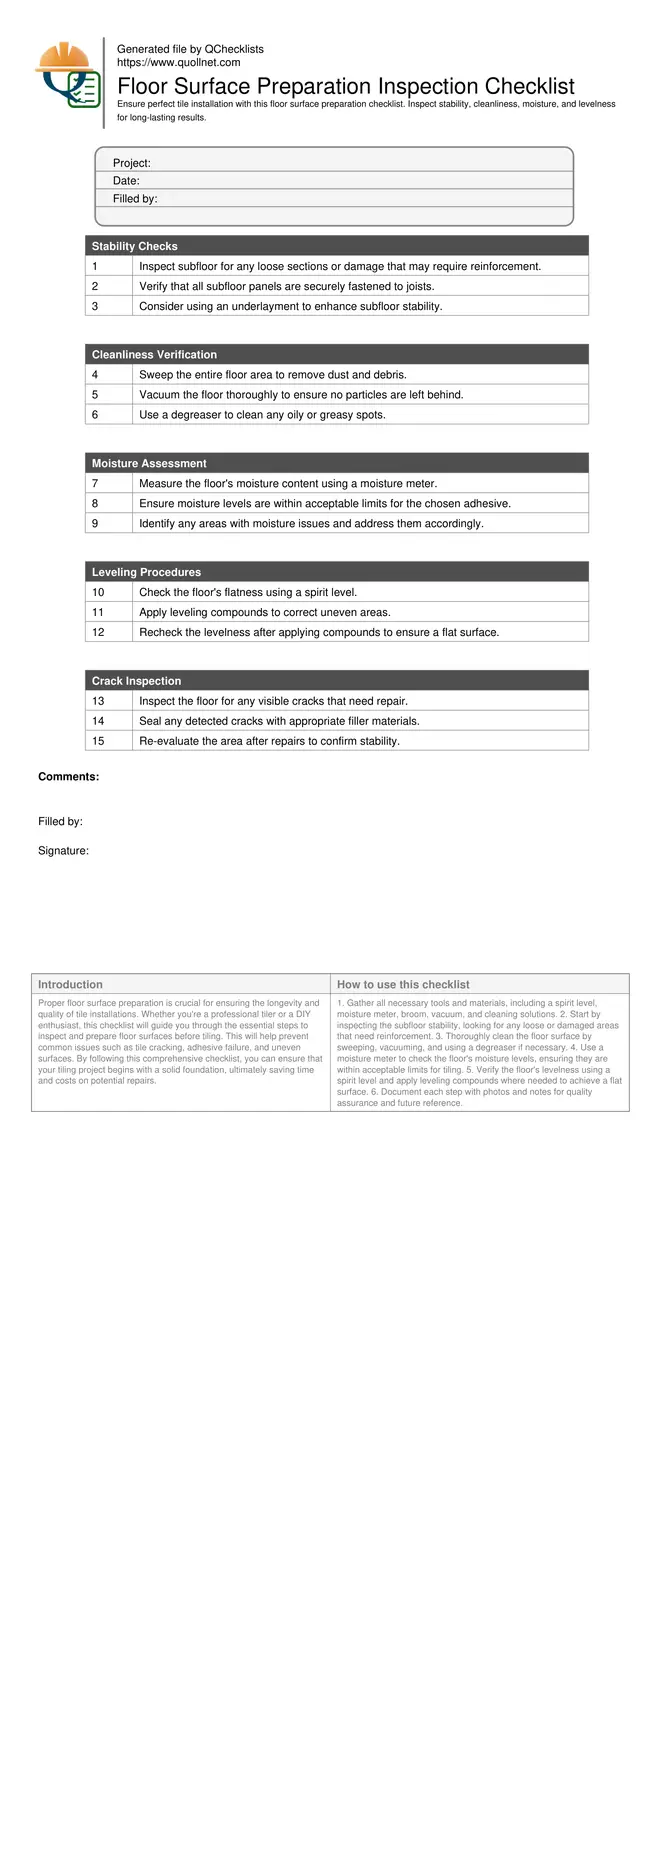
Proper floor surface preparation is crucial for ensuring the longevity and quality of tile installations. Whether you're a professional tiler or a DIY enthusiast, this checklist will guide you through the essential steps to inspect and prepare floor surfaces before tiling. This will help prevent common issues such as tile cracking, adhesive failure, and uneven surfaces. By following this comprehensive checklist, you can ensure that your tiling project begins with a solid foundation, ultimately saving time and costs on potential repairs.
- Ensure surface stability: Confirm that the floor is stable and free from movement to prevent tile cracking.
- Check for cleanliness: Make sure the floor is free from dust, grease, and debris to enhance adhesive bonding.
- Assess moisture levels: Verify that the floor is dry and moisture levels are within acceptable limits to prevent adhesive failure.
- Level the surface: Use leveling compounds if necessary to create a flat and even substrate for tiles.
- Inspect for cracks: Identify and repair any floor cracks to avoid tile and grout damage.
Stability Checks
Cleanliness Verification
Moisture Assessment
Leveling Procedures
Crack Inspection
The Importance of Surface Stability
Before tiling, it's essential to ensure that the floor surface is stable. An unstable surface can lead to tile movement and cracking. Checking for stability involves examining the subfloor and identifying any loose or damaged areas that need reinforcement. Using underlayment can help provide additional stability.
- Examine subfloor for loose areas.
- Use underlayment for added stability.
- Reinforce damaged sections.
Ensuring Cleanliness for Optimal Adhesion
A clean floor surface is critical for effective tile adhesion. Dust, grease, and debris can interfere with adhesive bonding, leading to tile detachment. Thoroughly sweep and vacuum the area, and consider using a degreaser for stubborn grease spots. This step is vital for ensuring a strong bond between the tiles and the floor.
- Sweep and vacuum the floor.
- Use a degreaser for grease spots.
- Remove all dust and debris.
Moisture Control and Floor Leveling
Moisture levels in the floor can affect the performance of the tile adhesive. It's important to measure the moisture content and ensure it's within acceptable limits. Additionally, the floor must be level to prevent uneven tiles. Use a spirit level to check for flatness and apply leveling compounds where necessary.
- Measure floor moisture levels.
- Check floor flatness with a spirit level.
- Apply leveling compounds if needed.
How to Use This Checklist Effectively
- Gather all necessary tools and materials, including a spirit level, moisture meter, broom, vacuum, and cleaning solutions.
- Start by inspecting the subfloor stability, looking for any loose or damaged areas that need reinforcement.
- Thoroughly clean the floor surface by sweeping, vacuuming, and using a degreaser if necessary.
- Use a moisture meter to check the floor's moisture levels, ensuring they are within acceptable limits for tiling.
- Verify the floor's levelness using a spirit level and apply leveling compounds where needed to achieve a flat surface.
- Document each step with photos and notes for quality assurance and future reference.
Call to Action
- Start Checklist Tick off tasks, leave comments on items or the whole form, and export your completed report to PDF or Excel—with a built-in QR code for authenticity.
- Download Excel - Floor Surface Preparation Inspection Checklist
- Download PDF - Floor Surface Preparation Inspection Checklist
- View Image - Floor Surface Preparation Inspection Checklist
Cite & Embed
“Floor Surface Preparation Inspection Checklist by Quollnet”
with a link to
this source page.
FAQ
Question: How do I check if the floor is stable enough for tiling?
Question: What is the best way to clean a floor before tiling?
Question: Why is it important to check moisture levels before tiling?
Question: What tools do I need to ensure the floor is level?
Related Articles
Broader reading and guidance connected to this checklist topic.


Major Construction Defects That Needs Immediate Attention


Related Checklists
Keep the workflow moving with nearby templates chosen from similar checklist content.