
Method Statement: Acoustic PET Felt Wall and Ceiling Tile Installation (Soft-Fit) – Method Statement
AI-assisted method statement with matching ITP, PDF download, and Excel export.
More than a static template
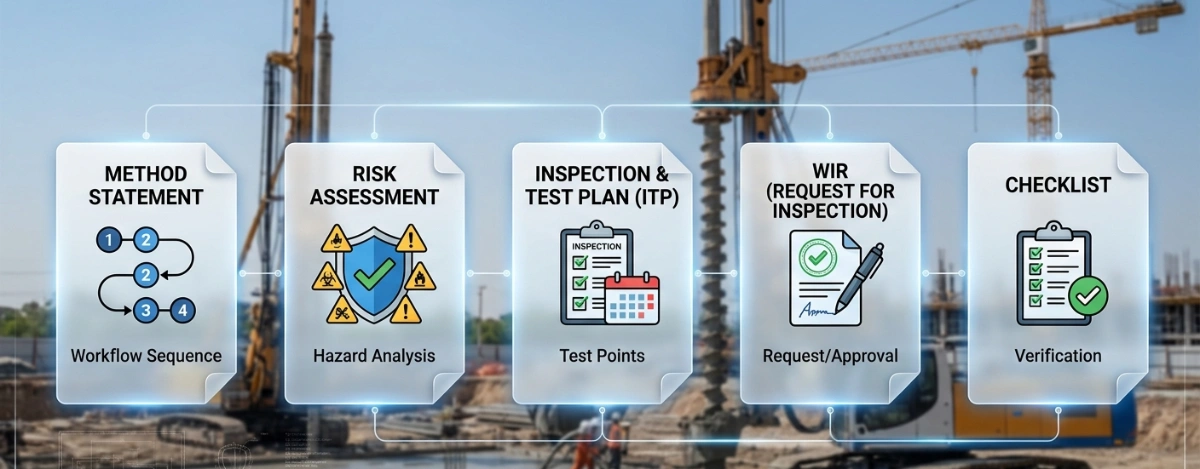
Unlike a downloadable Word or PDF template, this method statement is an AI-assisted editable starting point connected directly to a matching Inspection and Test Plan. Every section is structured, project-adaptable, and ready to export.
- AI-assisted drafting — Customize every section with AI for your specific project scope.
- Linked ITP — A matching inspection and test plan is generated alongside the method statement.
- Multiple export formats — Download as a formatted PDF or editable Excel spreadsheet.
- Editable starting point, not a final document — Review, verify, and adjust all content against your project requirements before use.
Static template vs. Quollnet workflow
| Feature | Static template | Quollnet |
|---|---|---|
| Project-specific content | Manual fill-in required | AI-assisted customization |
| Linked ITP | Separate document, no link | Matching ITP included |
| Export formats | Usually PDF only | PDF and Excel |
| Structured sections | Free-form layout | 13 standardized sections |
| Saved to your account | Local file only | Cloud-saved, reusable |
| Content accuracy | You verify everything | AI-assisted, you still verify |
| Cost | Often free but time-intensive | Free to customize and download |
What you can customize
When you save this method statement to your account, every section becomes editable. The following 13 sections are included:
- Scope — Defines the activity and its boundaries.
- References — Standards, specifications, and drawings.
- Responsibilities — Roles and accountabilities.
- Resources — Labour, plant, and equipment summary.
- Materials — Materials and compliance requirements.
- Equipment — Tools and equipment details.
- Prerequisites — Hold points and pre-conditions.
- Method sequence — Step-by-step construction sequence.
- Safety controls — HSE risk controls and PPE.
- Environmental controls — Environmental mitigation measures.
- QA/QC — Quality inspection and test requirements.
- ITP — Inspection and Test Plan table (has its own page).
- Attachments — Referenced drawings and documentation.
Why this method statement is used
This method statement is used to define and communicate the approved procedure for carrying out method statement: acoustic pet felt wall and ceiling tile installation (soft-fit) on site. It ensures the work is planned in advance, the correct resources and controls are in place, and all personnel understand responsibilities, sequence, quality requirements, and safety controls before work begins. It aligns site execution with the documented scope and acceptance expectations.
Who uses this method statement
This method statement is used by contractors, site supervisors, project engineers, QA/QC engineers, HSE officers, consultants, and client representatives. It serves as a shared reference for planning, execution, supervision, inspection, and approval of the activity on site.
When it is prepared and submitted
The method statement is prepared before the work activity starts and submitted as part of the pre-construction documentation package for review and approval.
Who reviews or approves it
The method statement is usually submitted to the client representative, consultant, resident engineer, or project management consultant for review and approval before the work commences.
Important approval note
This method statement is an AI-assisted editable starting point, not a pre-approved document. Before use on any project, all content must be reviewed and approved by the relevant parties (superintendent, principal contractor, or client representative) in accordance with your contract and project quality plan.
For example: if your specification requires a departure from a referenced standard, that departure must be documented and approved separately — this method statement will not capture that automatically. Always verify against your applicable drawings, specifications, and regulatory requirements.
Method statement content
Scope
Overview
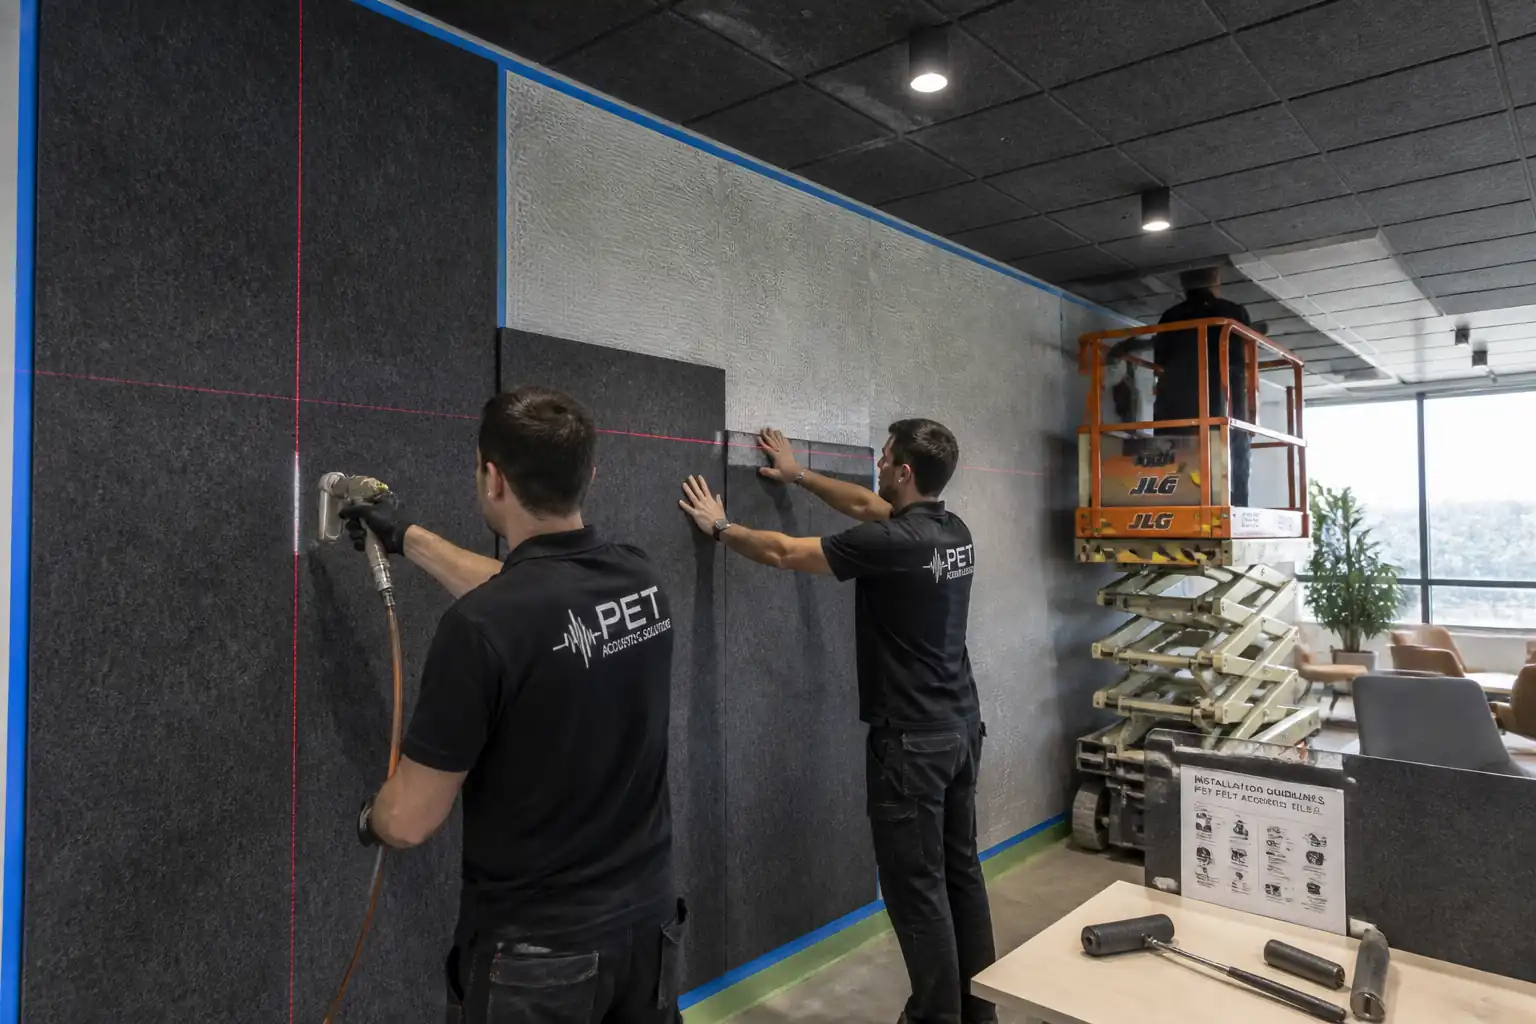
This method covers the end-to-end installation of acoustic polyester (PET) felt tiles on walls and ceilings within collaborative office/workplace zones. It includes substrate condition verification, surface wiping, setting-out of layout and patterns, low-VOC contact adhesive spray application, tile placement and compression rolling, pattern seam alignment checks, precise cutouts for architectural lighting/sockets, edge trim profile execution, and final clean/inspection records.
Inclusions
- Supply, offloading, storage, and protection of PET felt acoustic tiles and trims.
- Substrate inspection and preparation (wiping, dust removal, local filling/spot priming where required by manufacturer).
- Set-out and datum establishment, pattern alignment, and seam control.
- Low-VOC contact adhesive spray application to substrate and tile backs (contact bonding) in accordance with manufacturer data.
- Compression rolling, edge finishing, cutouts, and penetrations.
- Quality control, ITP compliance, as-built records, O&M handover.
Exclusions
- Structural works or framing; suspended grid ceilings; major substrate leveling or plastering.
- Firestopping, acoustic backing beyond PET tiles, or MEP works other than coordination and safe isolation for cutouts.
- Painting or decoration outside the immediate works area.
Key Performance Targets [Verify per project specifications]
- Seam gap: ≤ 1 mm; step/lippage between adjacent tiles: ≤ 0.5 mm.
- Planarity: deviation ≤ 2 mm under a 2 m straightedge for finished surface.
- Pattern/datum alignment tolerance: ± 2 mm over 10 m; joints in straightness: ± 1 mm over any 2 m.
- Adhesive coverage: visually ≥ 90% on both mating faces; combined coat weight typically 50–80 g/m².
- Environmental conditions during bonding: substrate/ambient 15–30°C; RH 30–70%; substrate moisture within manufacturer limits.
References
| Document Type | Reference / Number | Revision | Notes |
|---|---|---|---|
| Standard | ISO 11654; ASTM C423 | ||
| Standard | BS EN 13501-1 | Typical PET felt: Class B-s1,d0 to C-s1,d0 [Verify] | |
| Guideline/Standard | SCAQMD Rule 1168; ISO 16000 series | Low-VOC adhesive required [Verify] | |
| Standard | ASTM D903; ISO 8510 | Field checks to be adapted to PET substrate | |
| Standard | ASTM F2170 (in-situ RH); ASTM D4263 (plastic sheet) | Where relevant to walls/soffits | |
| Code/Guideline | BS 8000 series (good practice) [Verify applicability] | ||
| Standard | IEC 60364; ISO 14118 [Verify local regs] | Follow project LOTO |
Responsibilities
| Role | Responsibility | Name / Party |
|---|---|---|
| Management | PM | Contractor |
| Engineering | SE | Contractor |
| Quality | QA/QC | Contractor |
| HSE | HSE | Contractor |
| Construction | Supervisor | Contractor |
| MEP | MEP | Contractor/Subcontractor |
| Vendor | Vendor Rep | Supplier |
Resources
| Resource Type | Description | Quantity | Remarks |
|---|---|---|---|
| Labor | Experienced in spray contact adhesive and acoustic panels | As scheduled | |
| Labor | Permit control, monitoring ventilation and VOC exposure | 1 per workface [Verify] | |
| Labor | Inspections at hold/witness points | As plan |
Materials
| Material | Specification / Grade | Quantity | Remarks |
|---|---|---|---|
| PET felt | As BOQ | ||
| Adhesive | As required | ||
| Primer | As required | ||
| Trim | As drawings | ||
| Consumables | As required |
Equipment
| Equipment | Capacity / Type | Quantity | Inspection Required |
|---|---|---|---|
| Spray system | 1 set/crew | Yes | |
| Rollers | 2/crew | Yes | |
| Access | As required | Yes | |
| Survey tools | 1 set/crew | Yes | |
| Cutting | As required | Yes | |
| Meters | 1 set | Yes | |
| Cleaning | As required | Yes |
Prerequisites
Approvals and Documentation
- Approved shop drawings, layout/pattern drawings, color schedule, and samples/mock-up sign-off.
- Approved Method Statement, ITP, and Task Risk Assessment.
- SDS/TDS for adhesives, primers, cleaners available on site.
- Coordination with MEP: confirm locations/heights for lighting, sockets, and penetrations.
Substrate and Environmental Conditions
- Substrate must be structurally sound, clean, dry, smooth, and free of dust, oil, release agents, laitance, and loose paint.
- Flatness: deviation ≤ 3 mm under 2 m straightedge before installation; defects to be locally filled/sanded/primed as required by manufacturer [Verify].
- Moisture: for concrete/masonry, surface dry with no free moisture; where tested, in-situ RH ≤ 75–85% [Verify per adhesive]. For gypsum board, visually dry with stable joints.
- Temperature/RH: Maintain 15–30°C and 30–70% RH for 24 h before, during, and 48 h after installation [Verify per adhesive TDS].
- Electrical circuits to be isolated and locked out where cutouts will be performed; verify dead before work.
Materials Conditioning and Protection
- Condition PET panels in space for ≥ 24 h to acclimate to temperature/RH.
- Protect adjacent finishes with masking and polythene; establish overspray control zones and ventilation plan.
Tools and Access
- Access equipment inspected and tagged; MEWP permits where applicable.
- Calibrated laser/hygrometer and moisture meter available.
Mock-Up (If Required)
- Install minimum 4–6 m² mock-up including a seam, an internal/external corner, one socket/light cutout, and an edge trim for visual and bond evaluation. Record settings and approved standards for the main works.
Method Sequence
| Step | Activity | Description | Responsibility | Inspection / Hold Point |
|---|---|---|---|---|
| 1 | Site handover and protection | Define work area, install barriers, signage, floor/adjacent surface protection, and overspray masking. | Supervisor | HSE/QA walkdown |
| 2 | Substrate inspection and cleaning | Check flatness, integrity, moisture; HEPA vacuum; wipe with microfiber/IPA as needed. Local filling/spot priming if specified. | Site Engineer/Installer | ITP hold/witness |
| 3 | Setting-out | Establish horizontal/vertical datums with laser. Snap chalk lines for grid/pattern. Dry-lay checks at critical seams/corners. | Site Engineer | QA check |
| 4 | Ventilation and LOTO | Implement ventilation (natural or mechanical). Isolate electrical circuits for areas with cutouts; verify dead. | HSE/MEP | Permit/monitoring |
| 5 | Priming (if required) | Apply compatible primer to porous or chalky surfaces per TDS. Allow to dry fully. | Installer | QA witness |
| 6 | Adhesive spray—substrate | Mask edges; spray uniform coat at 150–250 mm standoff, 50% overlapping passes, cross-hatch if required. Avoid puddling. | Installer | Supervisor check |
| 7 | Adhesive spray—tile back | On a protected table, spray compatible coat to tile backs as per TDS. Observe flash-off/open time. | Installer | Supervisor check |
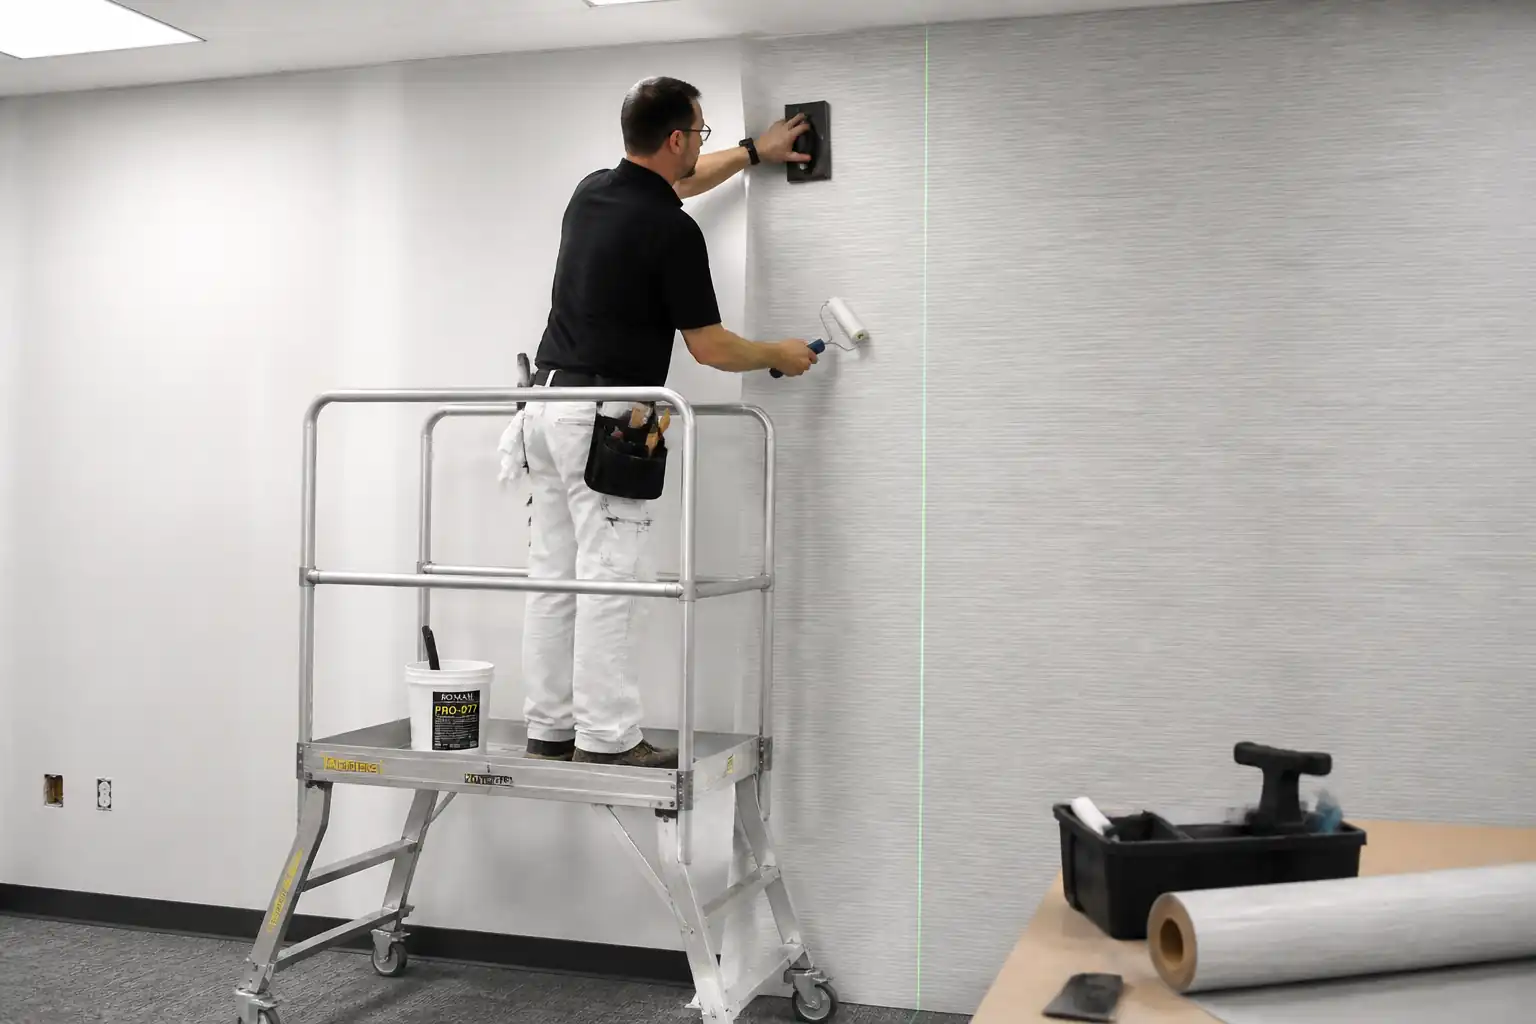
| 8 | Placement and alignment | Offer tile to lines; light contact for position; then press from center outward. Check seam and pattern continuity. | Installer | QA spot-check |
| 9 | Compression rolling | Roll each tile with 3–5 kg roller, center to edges; roll seams with edge roller. Re-roll within 5–10 min if required. | Installer | Supervisor |
| 10 | Cutouts for sockets/lighting | With circuits isolated, mark templates; cut with sharp knife/track; fit escutcheons/bezels. Maintain clearances per device. | Installer/MEP | QA/MEP check |
| 11 | Edge trims and terminations | Measure, cut, dry-fit; miter 45° at corners; fix per system (adhesive/mechanical). Caulk if specified. | Installer | QA check |
| 12 | Cleaning and snagging | Remove masking; clean surfaces with approved cleaner; remove overspray; rectify snags. | Installer | QA |
| 13 | 24-hour post-check | After cure, inspect for delamination, edges, seams; perform field peel checks at inconspicuous corners if specified. | QA/QC | ITP witness |
| 14 | Handover | As-builts, maintenance guidance, cleaning/warranty docs; client walk-through. | PM/QA | Final inspection |
Health, Safety, and Environment - Task-Specific Safety Controls
Principal Hazards and Controls
- Hazard: Aerosol/solvent vapors from contact adhesive (flammability and inhalation).
- Consequence: Fire/explosion; respiratory irritation/CNS effects.
- Engineering/Procedural Control: Use low-VOC, non-flammable/water-based adhesive where specified [Verify]. If solvent-based, prohibit ignition sources; ensure ventilation to maintain vapors well below 10% LEL; use local exhaust or air movers (target ≥ 6 air changes/hour in work zone). Decanting not permitted; keep canisters upright; bond only after flash-off. No hot works in vicinity.
- Required PPE: Nitrile gloves, chemical splash goggles, long sleeves; if solvent-based, half-mask respirator with organic vapor cartridges per SDS and exposure assessment.
- Collective Preventive Measure: Workface segregation and signage; intrinsically safe lighting/equipment if required.
-
Inspection/Permit/Supervision: HSE to verify SDS controls; daily prestart check; VOC/LEL monitoring if solvent-based; PTW if working in confined/poorly ventilated spaces [Verify per project HSE plan and local regulations].
-
Hazard: Working at height (ceilings, high walls) using ladders/MEWP/towers.
- Consequence: Falls causing serious injury or fatality.
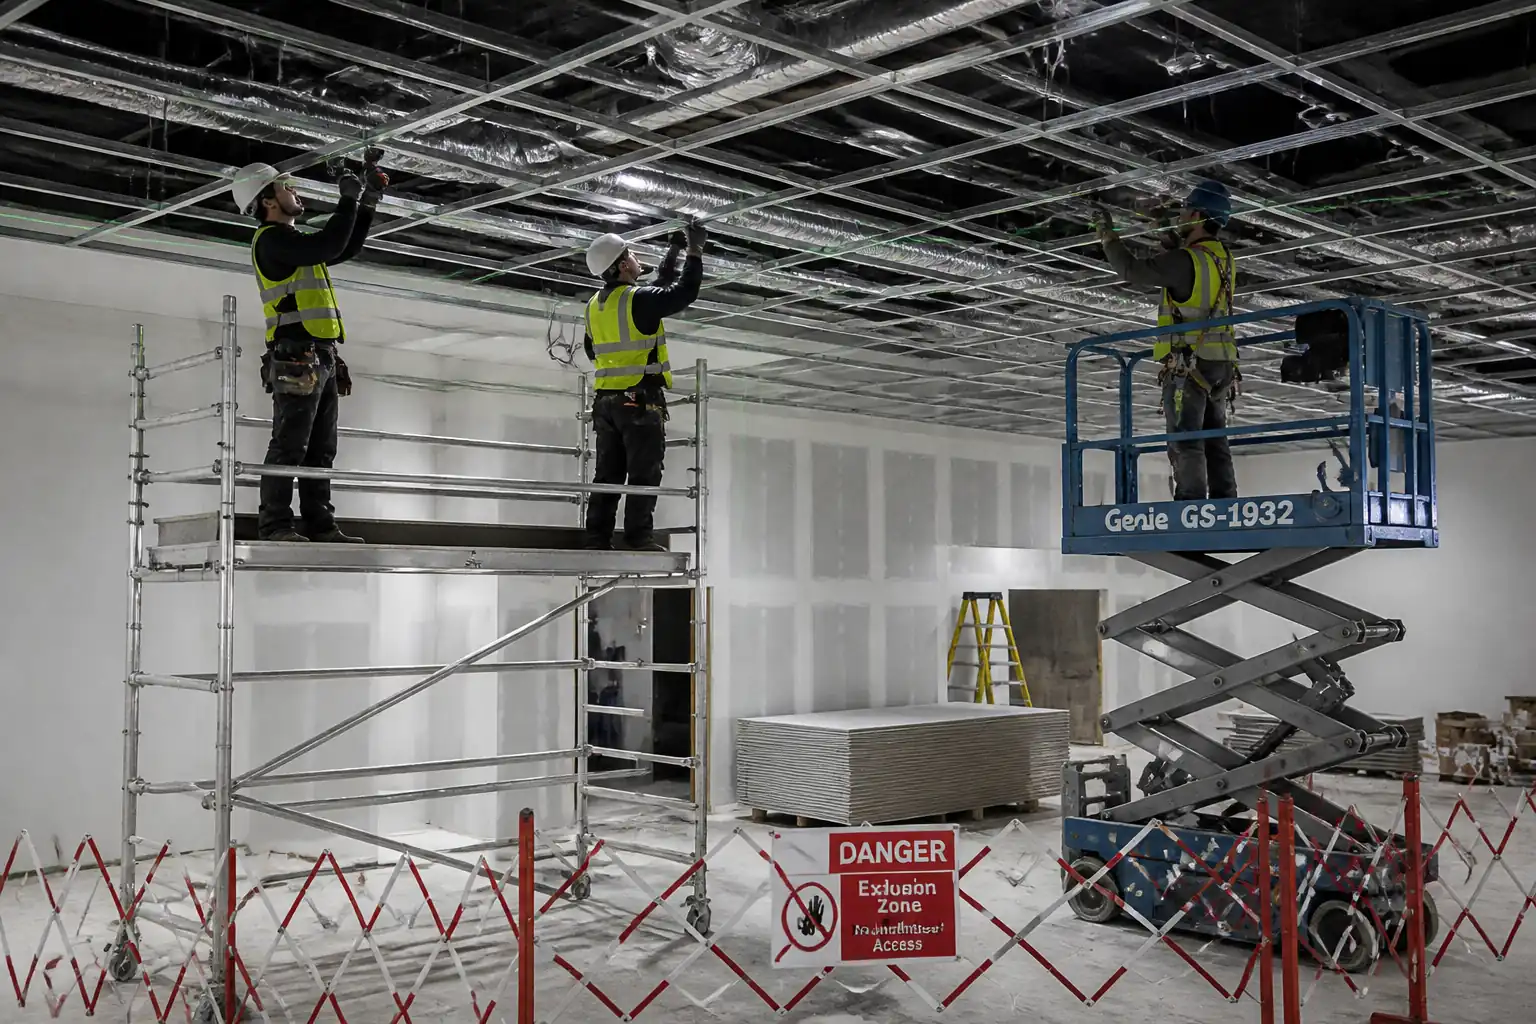
- Engineering/Procedural Control: Prefer MEWP or mobile towers over ladders. Ladders only for short-duration, three-point contact work. Guardrails/toe boards on towers; MEWP operated by certified personnel; maintain exclusion zone.
- Required PPE: Hard hat, safety footwear, fall-arrest harness with lanyard when required by risk assessment/MEWP type.
- Collective Preventive Measure: Edge protection on platforms; spotter for MEWP.
-
Inspection/Permit/Supervision: PTW for WAH; pre-use inspection tags; supervisor sign-off.
-
Hazard: Utility knife/cutting operations for tiles and trims.
- Consequence: Lacerations; eye injury from offcuts.
- Engineering/Procedural Control: Use sharp blades; cut on stable bench with straightedge; retract blades when not in use; cut-resistant mats.
- Required PPE: Cut-resistant gloves (EN 388 level appropriate), safety glasses.
- Collective Preventive Measure: Designated cutting area; blade disposal container.
-
Inspection/Permit/Supervision: Supervisor to brief at TBT; periodic checks.
-
Hazard: Live electrical circuits at sockets/lighting.
- Consequence: Electric shock, burns, arc flash.
- Engineering/Procedural Control: Implement LOTO; verify dead using approved tester; cover exposed conductors; reinstate only after trims/plates fitted.
- Required PPE: Insulated gloves as required, eye protection.
- Collective Preventive Measure: Temporary blanks/covers on boxes; barriers.
-
Inspection/Permit/Supervision: LOTO permits; MEP supervision; test before touch records.
-
Hazard: Manual handling of panels and canisters.
- Consequence: Strains/sprains; crush injuries to toes/fingers.
- Engineering/Procedural Control: Team lifts; use panel carriers; store canisters below shoulder height; follow weight limits.
- Required PPE: Safety footwear with toe protection; gloves.
- Collective Preventive Measure: Mechanical aids where feasible.
-
Inspection/Permit/Supervision: Manual handling briefing; spot checks.
-
Hazard: Overspray causing slips or surface contamination.
- Consequence: Slips, rework, finish damage.
- Engineering/Procedural Control: Mask thoroughly; use drop sheets; clean immediate overspray with approved remover tested on sample.
- Required PPE: Gloves, safety glasses.
- Collective Preventive Measure: Restricted zone and walk-off protection.
-
Inspection/Permit/Supervision: Housekeeping inspections each break.
-
Hazard: Noise/vibration from equipment and MEWP.
- Consequence: Hearing damage; nuisance.
- Engineering/Procedural Control: Use low-noise equipment; limit hours; maintain equipment.
- Required PPE: Hearing protection if levels > 80 dBA.
- Collective Preventive Measure: Acoustic barriers if required.
-
Inspection/Permit/Supervision: Noise monitoring as needed.
-
Hazard: Dust/fibers during cutting.
- Consequence: Respiratory/eye irritation.
- Engineering/Procedural Control: Score-and-snap technique; local extraction; HEPA vacuum cleanup.
- Required PPE: Safety glasses; dust mask/respirator if required by assessment.
- Collective Preventive Measure: Isolate cutting area.
-
Inspection/Permit/Supervision: HSE spot checks.
-
Note: Where exact controls depend on local law or project HSE plan, implement and verify: [Verify per project HSE plan and local regulations].
Environmental Controls
Controls for Environmental Protection
- VOC Emissions:
- Select low-VOC adhesive compliant with SCAQMD Rule 1168 or local equivalent [Verify].
- Ventilation plan to dilute emissions (target ≥ 6 ACH in work zone); schedule works off-hours if required.
-
Maintain closed containers; minimize spray time; no bulk decanting.
-
Overspray and Waste:
- Masking to protect adjacent surfaces; use spray shields.
- Collect overspray-contaminated masking for disposal per SDS; do not wash to drains.
-
Use drip trays under canisters; spill kit available.
-
Waste Segregation and Recycling:
- Segregate PET felt offcuts for recycling where facility exists; otherwise dispose as non-hazardous solid waste.
-
Adhesive cans/canisters treated as hazardous/special waste per SDS; arrange licensed collection.
-
Noise and Nuisance:
-
Limit to permitted hours; use low-noise equipment; maintain good housekeeping.
-
Material Storage:
- Store PET tiles flat, dry, off-floor; protect from direct sunlight and moisture.
-
Adhesive canisters stored in cool, ventilated area; temperature per SDS (commonly 10–30°C) [Verify].
-
Energy and Carbon:
-
Batch work to reduce rework/overspray; optimize layout to reduce offcuts; verify quantities before spraying to limit waste.
-
Records:
- Keep VOC declarations, waste transfer notes, and recycling receipts in the environmental file.
Quality Assurance / Quality Control
QA Inputs
- Approved samples/mock-up sign-off; product data including NRC per ISO 11654/ASTM C423 and fire class per BS EN 13501-1.
- Adhesive SDS/TDS indicating compatibility with PET felt and substrate; VOC compliance statement.
In-Process Controls
- Substrate tolerance and dryness recorded before start.
- Adhesive coverage verified visually (≥ 90% both faces). Record batch numbers and application times.
- Environmental conditions logged at start/mid/end of shift (temp/RH). Maintain within TDS limits.
- Seam and pattern checks at every 2 m and at room edges/corners.
Acceptance Criteria [Verify per project specifications]
- Visual finish: uniform color/texture; no staining, bubbles, puckers, or telegraphing substrate defects.
- Planarity: ≤ 2 mm under 2 m straightedge (finished surface).
- Joints: gap ≤ 1 mm; lippage/step ≤ 0.5 mm.
- Alignment: with datum/grid within ± 2 mm over 10 m; edges parallel/perpendicular within ± 2 mm.
- Bond: no edge lift or mid-panel debonding after 24 h; field peel check satisfactory compared to approved mock-up or TDS. Where quantified testing is required, use ASTM D903 on a sacrificial strip per project QA plan.
Hold and Witness Points
- Substrate inspection (H).
- Mock-up approval (H).
- Initial adhesive application and first area installation (W).
- Final inspection and 24 h bond check (W).
Records
- ITP checklists; substrate/prestart inspections; environmental logs; adhesive batch/area logs; mock-up approval; NCR/CAR (if any); as-built drawings/markups; O&M manuals including cleaning guidance.
Attachments
Attached/Referenced Forms and Documents
- Substrate Inspection Checklist (walls/ceilings)
- Adhesive Application Log (batch, area, time, flash-off)
- Environmental Conditions Log (Temp/RH by area)
- Mock-up Approval Form
- In-Process Installation Checklist (seams, alignment, rolling)
- Cutout/Penetration Register (LOTO reference)
- Edge Trim Inspection Sheet
- Final Inspection & Punch List Template
- Waste Transfer Notes and VOC Declarations
- O&M Manual (cleaning and maintenance guidance for PET felt)
This content is a read-only public reference. Download or customize to get an editable version.
ITP preview
The first inspection activities from the linked ITP for Method Statement: Acoustic PET Felt Wall and Ceiling Tile Installation (Soft-Fit):
| Activity | Inspection / Test | Acceptance Criteria | Responsibility | Record |
|---|---|---|---|---|
| Materials verification (PET felt, trims, adhesive) | Check COC, fire rating, NRC reports, VOC declarations against approvals | Matches approved submittals; no damage/defects; certificates valid | QA/QC | Material receipt inspection; copies of certificates |
| Substrate condition inspection (Hold) | Straightedge survey; cleanliness; moisture check if applicable | Flatness ≤ 3 mm/2 m pre-install; clean, dry, sound; primer applied if required | QA/QC + Site Engineer | Substrate inspection form; photos |
| Mock-up installation (Hold) | Visual, seams, planarity, trial bond/peel check | Meets aesthetic and bond performance; written approval issued | QA/QC + Client/Consultant | Mock-up approval |
Showing 3 of 9 inspection activities. View full ITP →
Related Inspection and Test Plan
An Inspection and Test Plan (ITP) is available for Method Statement: Acoustic PET Felt Wall and Ceiling Tile Installation (Soft-Fit). The ITP defines the inspection activities, acceptance criteria, hold and witness points, responsible parties, and records required to verify the work described in this method statement.
View the Method Statement: Acoustic PET Felt Wall and Ceiling Tile Installation (Soft-Fit) ITP →Frequently asked questions
Continue with related Quollnet resources connected to this method statement.