Façade Acoustic Sealing Inspection at Perimeter Joints
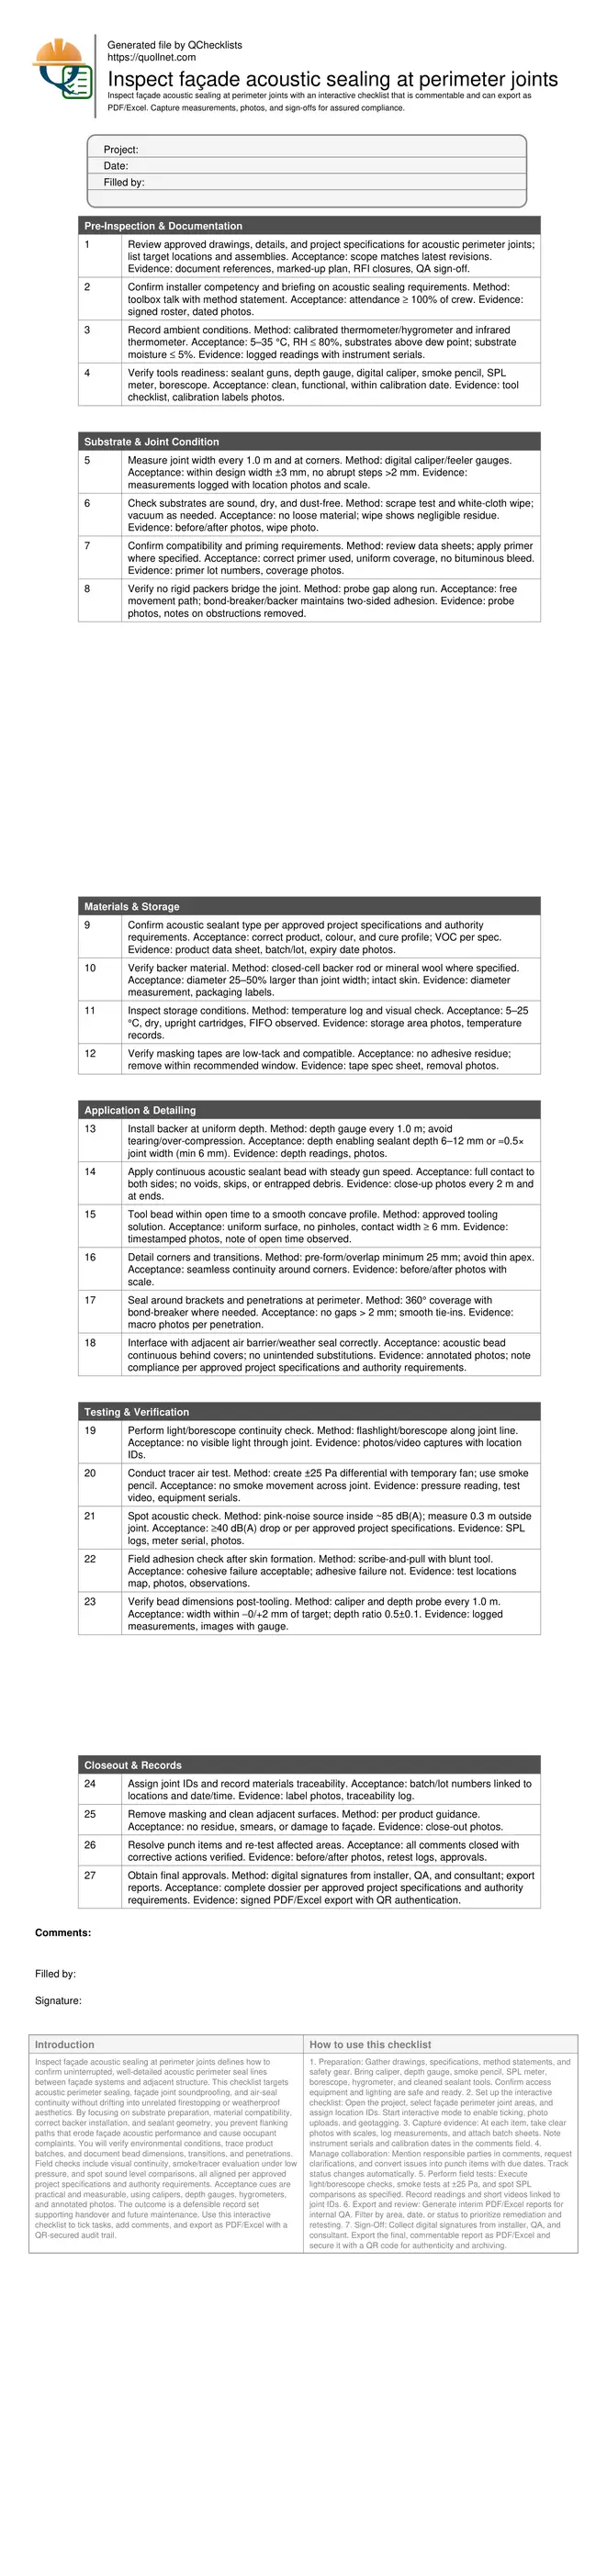
Definition: Inspect façade acoustic sealing at perimeter joints is a field checklist for site engineers and QA managers to validate continuous, documented air- and sound-tight seals at building envelope interfaces.
- Verify continuous air- and sound-tight façade perimeter seals, end to end.
- Reduce flanking transmission, drafts, and callbacks through measurable controls.
- Practical methods with tools, tolerances, photos, and batch traceability.
- Interactive, commentable, export with QR code for secure approvals.
Inspect façade acoustic sealing at perimeter joints defines how to confirm uninterrupted, well-detailed acoustic perimeter seal lines between façade systems and adjacent structure. This checklist targets acoustic perimeter sealing, façade joint soundproofing, and air-seal continuity without drifting into unrelated firestopping or weatherproof aesthetics. By focusing on substrate preparation, material compatibility, correct backer installation, and sealant geometry, you prevent flanking paths that erode façade acoustic performance and cause occupant complaints. You will verify environmental conditions, trace product batches, and document bead dimensions, transitions, and penetrations. Field checks include visual continuity, smoke/tracer evaluation under low pressure, and spot sound level comparisons, all aligned per approved project specifications and authority requirements. Acceptance cues are practical and measurable, using calipers, depth gauges, hygrometers, and annotated photos. The outcome is a defensible record set supporting handover and future maintenance. Use this interactive checklist to tick tasks, add comments, and export as PDF/Excel with a QR-secured audit trail.
- Ensure continuous, well-bonded acoustic seals at façade perimeter joints by verifying substrate cleanliness, correct backer selection, sealant geometry, and corner/penetration detailing. This reduces flanking noise, drafts, and liability while supporting predictable acoustic outcomes.
- Document evidence at each stage with calibrated measurements, bead dimension checks, batch and expiry capture, and annotated photographs. Records include location IDs, timestamps, inspector names, and sign-offs to provide clear traceability for audits and closeout.
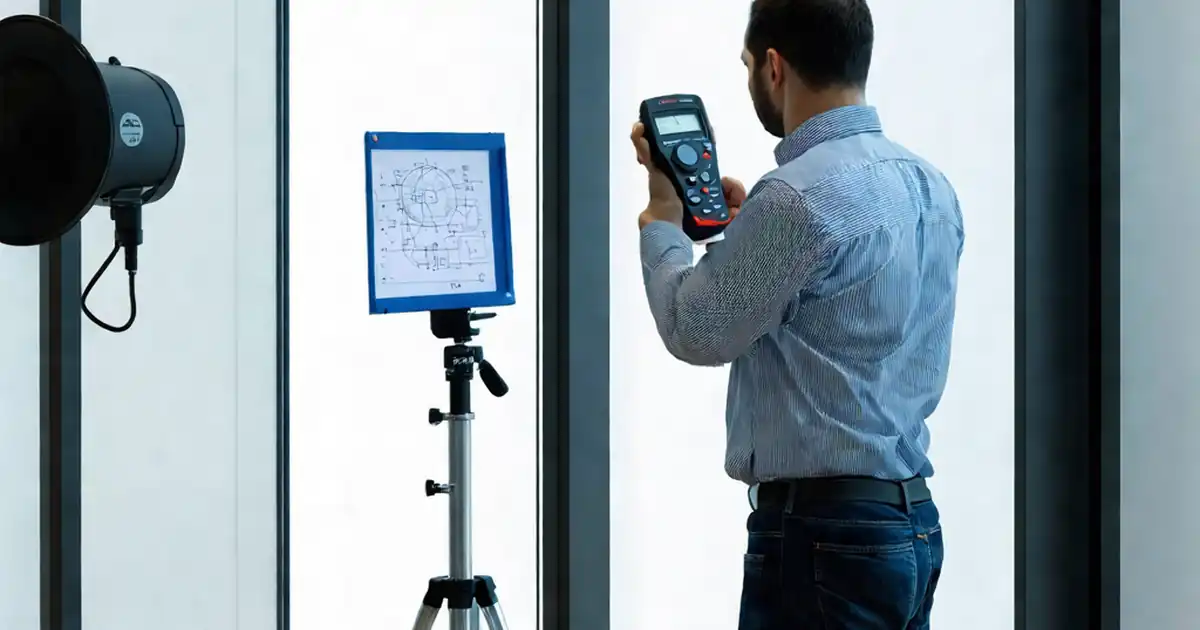
- Field verification blends practical methods: light probing, smoke/tracer at ±25 Pa, and spot sound level comparisons with pink noise. Findings are logged against tolerances or per approved project specifications and authority requirements.
- Interactive online checklist with tick, comment, and export features secured by QR code.
Pre-Inspection & Documentation
Substrate & Joint Condition
Materials & Storage
Application & Detailing
Testing & Verification
Closeout & Records
What acoustic perimeter joints do and why details matter
Acoustic perimeter joints close the gap between façade elements and the primary structure, stopping flanking noise and air leakage that undermine façade joint soundproofing. Effective acoustic perimeter seal design relies on prepared substrates, two-sided adhesion via backer or bond-breaker, and correct bead geometry to maintain elasticity and airtightness. For inspections, focus on continuity at corners and penetrations, product compatibility, and environmental conditions that affect cure and adhesion. Since small voids can cause large acoustic leaks, use systematic measurements and photographs at tight intervals. Limit creep and shrinkage risks by verifying shelf life and storage temperatures, and ensure backer size promotes the intended depth-to-width ratio. Keep the scope on acoustic integrity; water tightness and fire resistance are separate systems unless the specification combines functions. Capture evidence progressively to avoid concealed defects behind mullions or covers, and link every photo to a location ID for reliable traceability.
- Two-sided adhesion prevents three-sided restraint and premature failure.
- Backer size drives consistent sealant depth and flexibility.
- Continuity at corners and penetrations is critical for acoustics.
- Small voids cause disproportionate acoustic leakage.
- Link evidence to location IDs for traceability.
Frequent defects, their causes, and practical prevention
Common issues include dirty or damp substrates, over-compressed or torn backer rods, thin sealant sections, three-sided adhesion, and swapping acoustic sealants for generic caulk. These defects stem from rushed surface prep, poor material control, and inadequate supervision of changes at brackets and interfaces. Prevent them by verifying environmental conditions, cleaning protocols, correct backer diameter, and continuous beads with tooling inside open time. Standardise measurement points (every 1.0 m and at corners), and use white-cloth wipes to confirm cleanliness. Require photos before and after masking removal to catch smearing on finished surfaces. Maintain product traceability to isolate any batch-related anomalies later. When penetrations arise late, mandate re-priming and 360° sealing. Keep interfaces with air barriers deliberate, ensuring acoustic continuity behind cover plates. Finally, embed a punch process with retests so defects are not hidden by subsequent finishes.
- Measure at fixed intervals and all corners.
- Use white-cloth wipes to verify cleanliness.
- Tool beads within the stated open time.
- Record batch numbers for traceability.
- Re-prime after late penetrations or cuts.
Verification methods and field acceptance cues
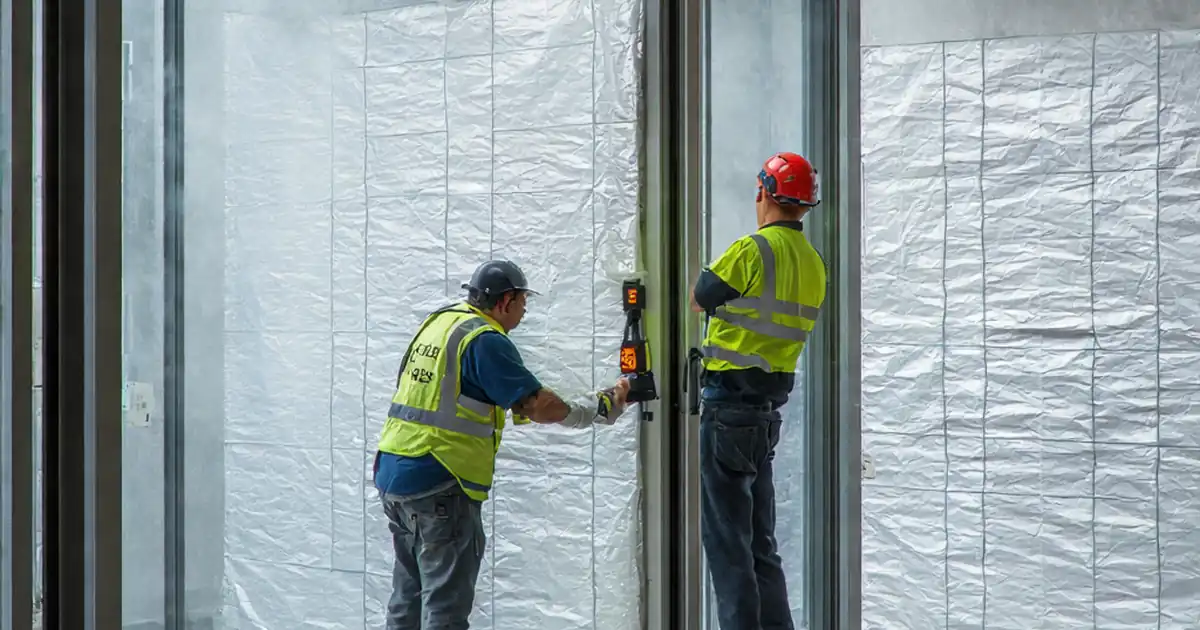
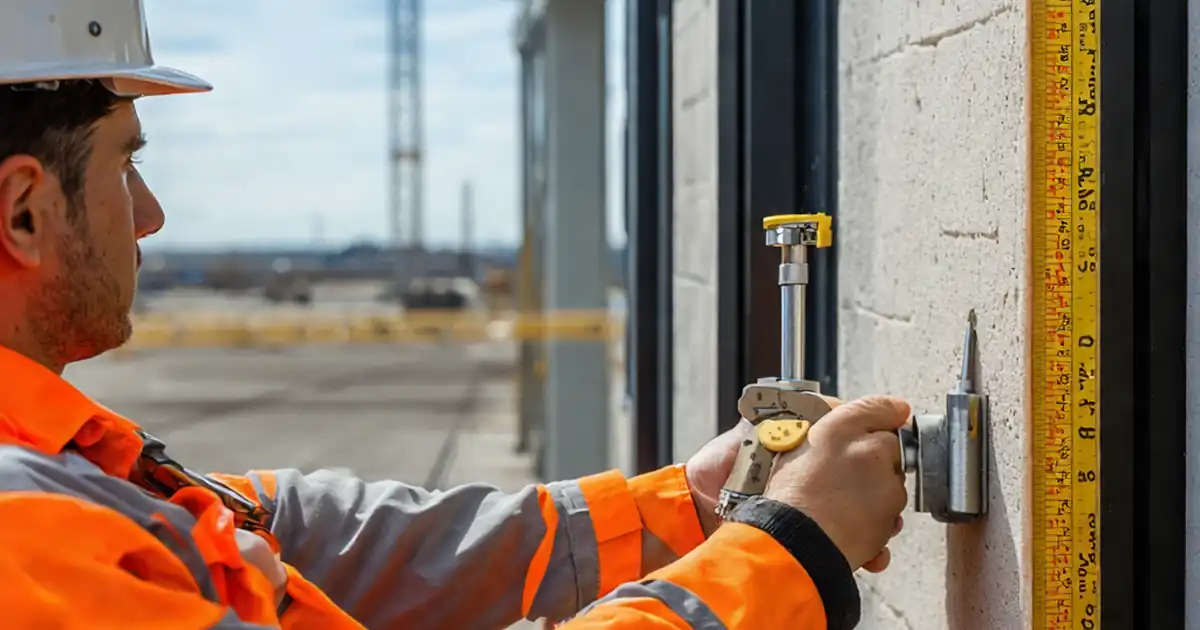
Verification blends simple observation with targeted tests. A flashlight or borescope quickly exposes discontinuities. A smoke pencil under a small pressure differential (±25 Pa) reveals airflow that correlates with likely acoustic leakage. Post-tooling, measure bead width and depth; maintain about half-depth at minimum 6 mm where feasible. Field adhesion checks confirm bond integrity; cohesive tearing is acceptable while adhesive failure is not. For spot acoustic checks, drive pink noise inside and compare exterior readings at the joint line; accept results that meet the project’s specified attenuation. Throughout, timestamp photos, log instrument serials, and anchor notes to joint IDs. Where acceptance ties to specifications, explicitly record that compliance is per approved project specifications and authority requirements. These habits create a defensible closeout package and reduce callbacks.
- Use smoke tests to visualize unintended airflow.
- Measure bead geometry at regular intervals.
- Accept cohesive, not adhesive, failure on pulls.
- Anchor data to instrument serial numbers.
- Reference approvals where specs govern.
How to use this interactive façade acoustic seal inspection
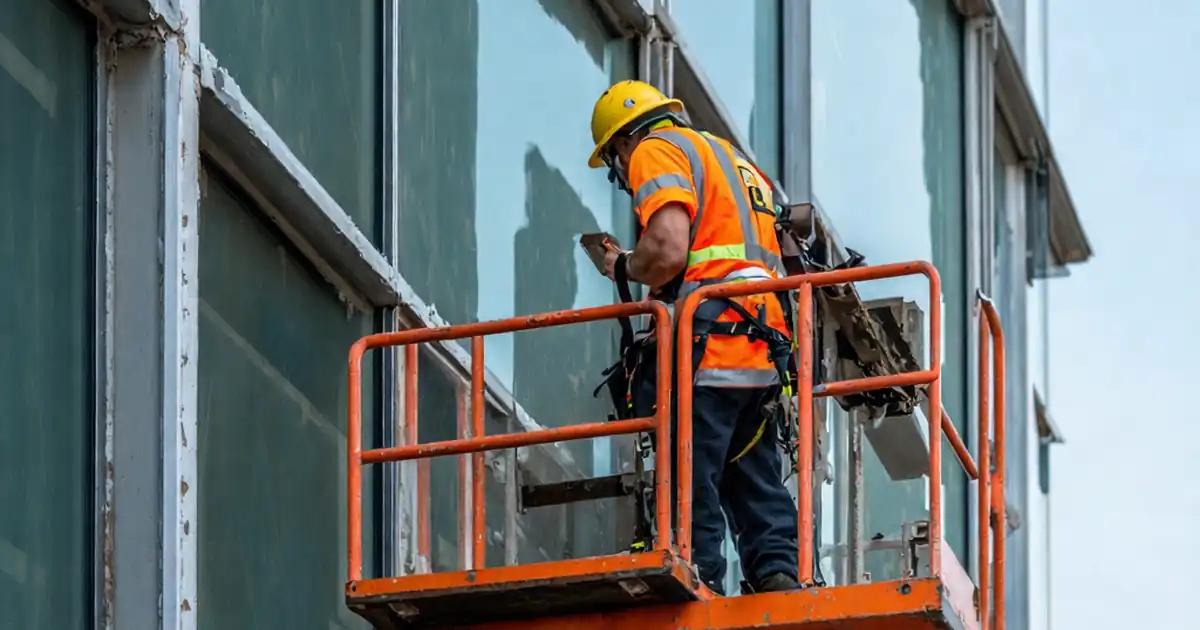
- Preparation: Gather drawings, specifications, method statements, and safety gear. Bring caliper, depth gauge, smoke pencil, SPL meter, borescope, hygrometer, and cleaned sealant tools. Confirm access equipment and lighting are safe and ready.
- Set up the interactive checklist: Open the project, select façade perimeter joint areas, and assign location IDs. Start interactive mode to enable ticking, photo uploads, and geotagging.
- Capture evidence: At each item, take clear photos with scales, log measurements, and attach batch sheets. Note instrument serials and calibration dates in the comments field.
- Manage collaboration: Mention responsible parties in comments, request clarifications, and convert issues into punch items with due dates. Track status changes automatically.
- Perform field tests: Execute light/borescope checks, smoke tests at ±25 Pa, and spot SPL comparisons as specified. Record readings and short videos linked to joint IDs.
- Export and review: Generate interim PDF/Excel reports for internal QA. Filter by area, date, or status to prioritize remediation and retesting.
- Sign-Off: Collect digital signatures from installer, QA, and consultant. Export the final, commentable report as PDF/Excel and secure it with a QR code for authenticity and archiving.
Call to Action
- Start Checklist Tick off tasks, leave comments on items or the whole form, and export your completed report to PDF or Excel—with a built-in QR code for authenticity.
- Download Excel - Façade Perimeter Joint Acoustic Seal Inspection
- Download PDF - Façade Perimeter Joint Acoustic Seal Inspection
- View Image - Façade Perimeter Joint Acoustic Seal Inspection
Cite & Embed
“Façade Perimeter Joint Acoustic Seal Inspection by Quollnet”
with a link to
this source page.

FAQ
Question: What’s the difference between an acoustic sealant and standard exterior caulk at perimeter joints?
Question: How do I confirm the seal is continuous behind façade covers and trims?
Question: What field tests are practical without specialist lab equipment?
Question: When should measurements be taken—before or after tooling and curing?
Related Articles
Broader reading and guidance connected to this checklist topic.
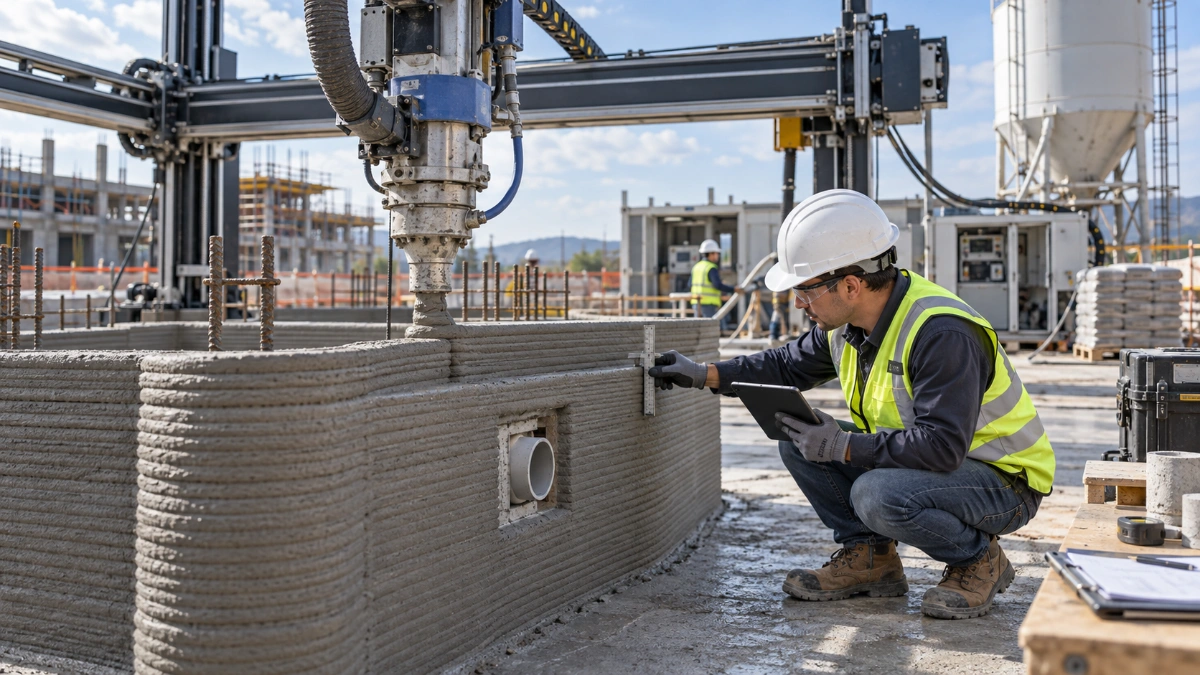
3d Printed Concrete Qa/qc: Inspection, Process Control & Acceptance


Open Ncrs At Taking-over / Dlp: What Happens At Handover And How To Escalate
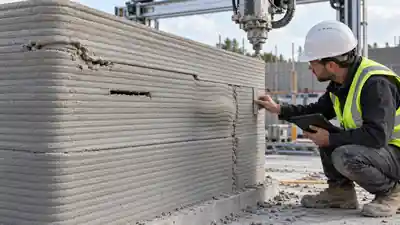
3d Printed Concrete Defects: Visual Field Guide For Site Engineers

Related Checklists
Keep the workflow moving with nearby templates chosen from similar checklist content.