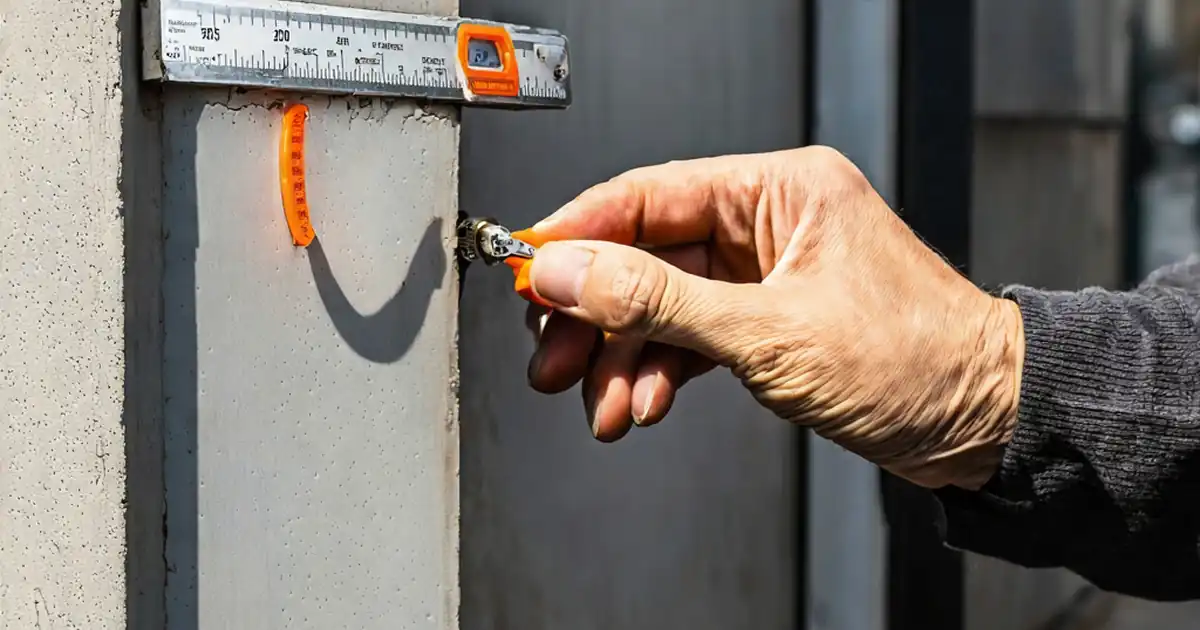
Curtain Wall Perimeter Sealant & Backer Rod Inspection
Definition: Inspect curtain wall perimeter sealant and backer rod installation for facade QA teams, ensuring compliant joints, durable weatherseals, correct movement capability, and complete traceable documentation per approved project specifications and authority requirements.
- Confirm substrates, primers, backer rod, and sealant match approved submittals.
- Verify joint geometry, depth control, and two-sided adhesion for durability.
- Capture lot numbers, measurements, photos, and field adhesion test outcomes.
- Interactive, commentable checklist with export and QR code verification.
Inspect curtain wall perimeter sealant and backer rod installation with a structured, field-ready approach that controls risk and documents outcomes. This checklist focuses on perimeter joints at curtain wall interfaces, including weatherseal continuity, silicone or hybrid sealants, polyethylene backer rod, primer requirements, and bond breaker tape where needed. You will verify substrate readiness, joint geometry, movement capability, and correct two-sided adhesion to prevent leaks, staining, premature failure, and air or water infiltration. Clear acceptance cues, measurable tolerances, and photo evidence help avoid rework while aligning with manufacturer instructions and per approved project specifications and authority requirements. Use this guide during pre-closure inspections, progressive checks, and final punch-walks to confirm sealant depth, bead finish, and interface detailing at corners, end dams, and penetrations. Start in interactive mode, tick each step, add comments for nonconformities, and attach photos, readings, and lot data. When complete, export your commentable report as PDF/Excel and share a QR-secured link.
- Reduce water and air leakage by validating joint width, depth control, and two-sided adhesion before sealant skins. Measured tolerances, verified primers, and correct backer rod compression minimize cohesive or adhesive failures and extend service life.
- Proactively catch rework by checking ambient and substrate conditions, dew point margin, and sealant open time. Capturing lot numbers, calibration tags, and in-process photos establishes traceability and accelerates closeout approvals without guesswork.
- Interactive online checklist with tick, comment, and export features secured by QR code.
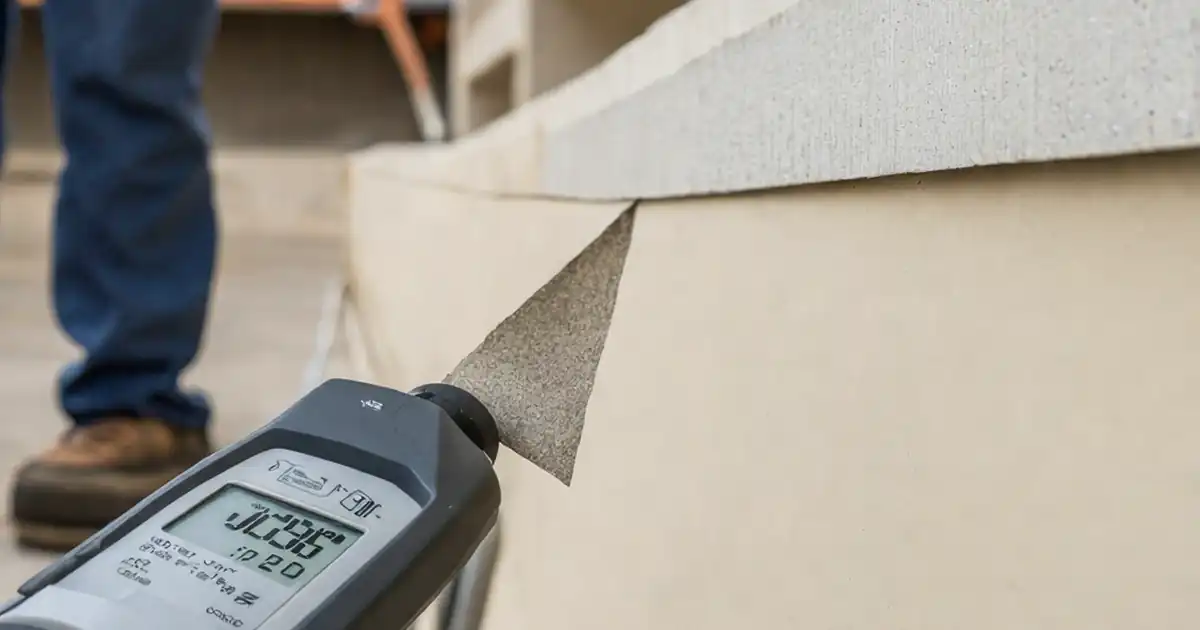
- Integrate practical field tests, including probe checks and simple adhesion verification, to confirm cure and bond. Document corners, transitions, and penetrations with macro photos, ensuring continuity, clean arrises, and consistent color under natural daylight conditions.
Documentation & Approvals
Substrate Preparation
Backer Rod Installation
Sealant Application
Detailing & Interfaces
Quality Assurance & Records
Joint Design, Substrate Readiness, and Environmental Controls
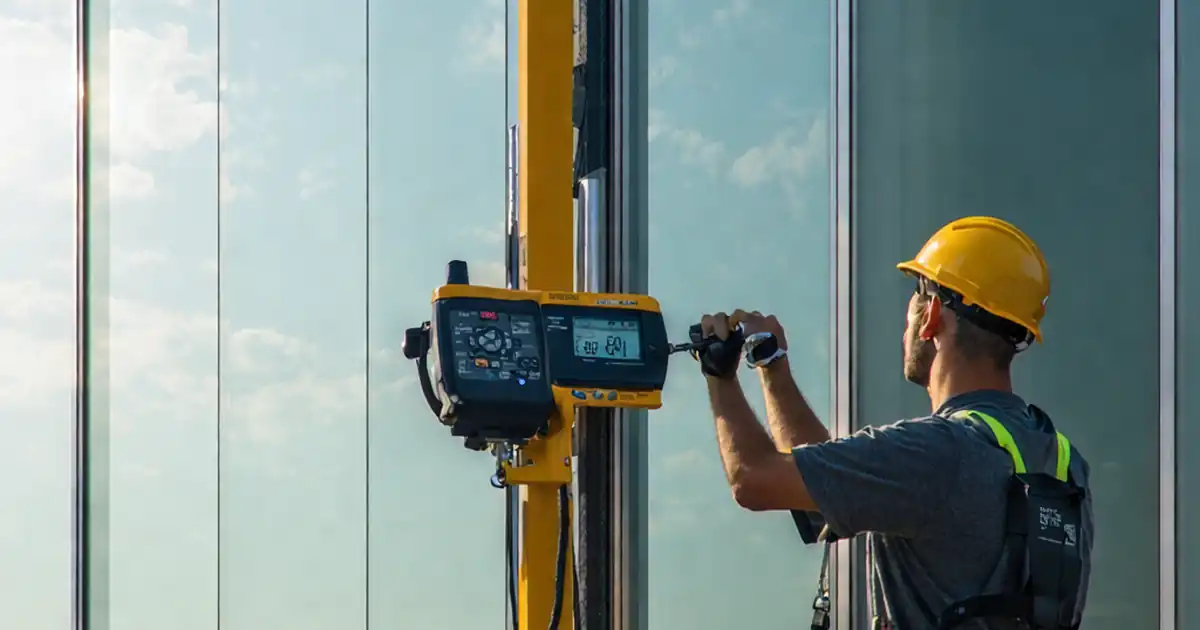
Successful perimeter weatherseals begin with consistent joint geometry, clean flanks, and stable environmental conditions. Measure joint width using digital calipers at regular intervals to confirm uniformity and depth availability for the designed sealant profile. Clean the joint by vacuuming and oil-free air to remove dust that weakens adhesion. Where primers are required by the sealant manufacturer or approved submittals, apply a continuous film and observe the working window. Ambient and substrate temperatures must remain within the manufacturer’s range, with a minimum 3 °C dew point margin to avoid condensation under the bead. Document relative humidity, substrate temperature, and dew point before and during application. These controls prevent water entrapment, blistering, and early adhesive failure. On actual jobsites, inspectors often catch issues such as variable joint widths near anchors or dusty concrete returns. Measuring and recording conditions at the start, mid, and end of a shift provides traceable evidence that supports approvals and reduces disputes at closeout.
- Measure joint width at 1 m intervals.
- Keep substrate temperature 3 °C above dew point.
- Apply primer as a continuous, uniform film.
- Document RH, temperatures, and dew point.
- Photograph before-and-after cleaning results.
Backer Rod Selection and Depth Control
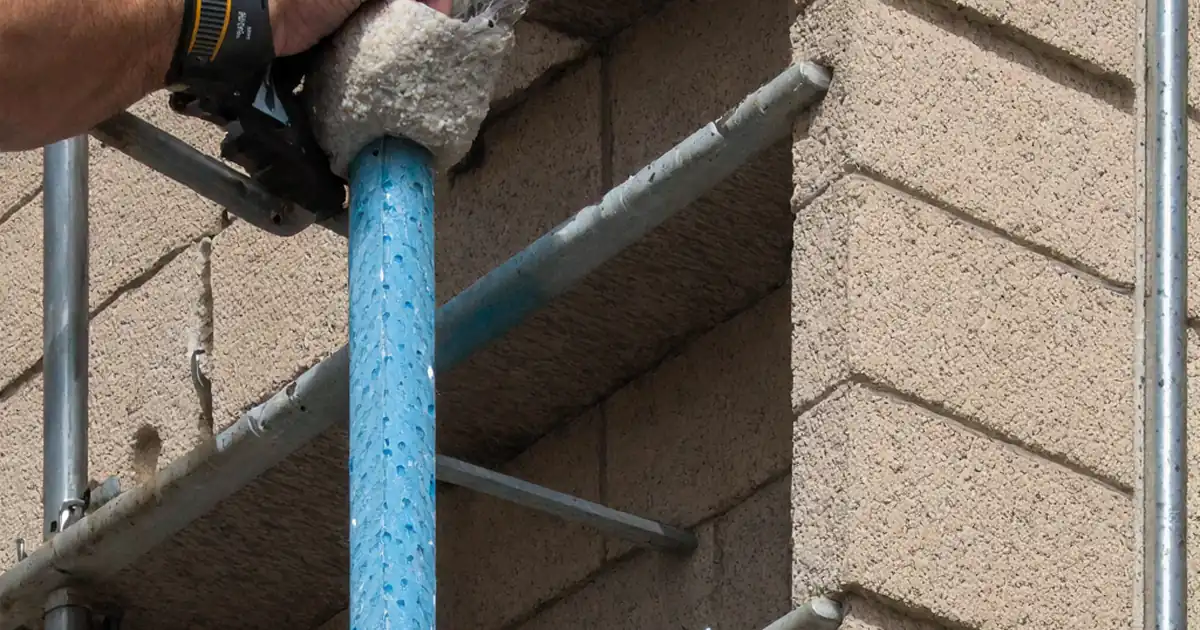
Backer rod sets the sealant depth, prevents three-sided adhesion, and controls bead shape. Select a type compatible with the specified sealant and expected movement. A diameter 25–50% greater than the joint width typically yields proper compression without stretching or tearing. Install using a roller or blunt probe, ensuring uniform compression and depth within ±2 mm. At corners, butt-join rods without gaps to maintain continuous support. Where geometry prevents using backer rod, apply bond breaker tape to the joint bottom to avoid bonding to three sides. Inspectors should probe depth periodically along each elevation and record the readings as evidence. In field practice, missing bond breaker or stretched rod is a common root cause of early failure and wrinkling. Early correction during installation prevents voids, reduces sealant consumption, and ensures the designed movement capability is achieved after cure.
- Use compatible rod sized 25–50% larger.
- Install without stretching or tearing.
- Maintain depth tolerance within ±2 mm.
- Use bond breaker tape when needed.
- Probe and record depth regularly.
Sealant Application, Tooling, and Verification
Condition cartridges, verify shelf life, and mask edges to achieve straight, clean arrises. Gun sealant from the back of the joint outward to expel air and fill voids. Tool within open time with a rounded tool to achieve a smooth, concave profile with two-sided adhesion only. Control bead width within ±2 mm and set depth per manufacturer guidance (for many systems, a 2:1 width-to-depth ratio with a maximum depth around 12 mm). Remove masking before skin forms to prevent tearing edges. Verify continuity at interfaces such as mullion end dams, spandrels, and penetrations with macro photos. Conduct simple field adhesion verification following the manufacturer’s method, aiming for predominantly cohesive failure. Finally, log ambient conditions through cure and perform a tack-free check. Well-documented measurements, photos, lot numbers, and signatures expedite approvals and give owners confidence that the building envelope will perform as designed.
- Gun from deepest point to avoid voids.
- Tool to a smooth, concave profile.
- Control width ±2 mm; depth per data sheet.
- Remove masking before skin forms.
- Document adhesion verification results.
How to Use This Checklist
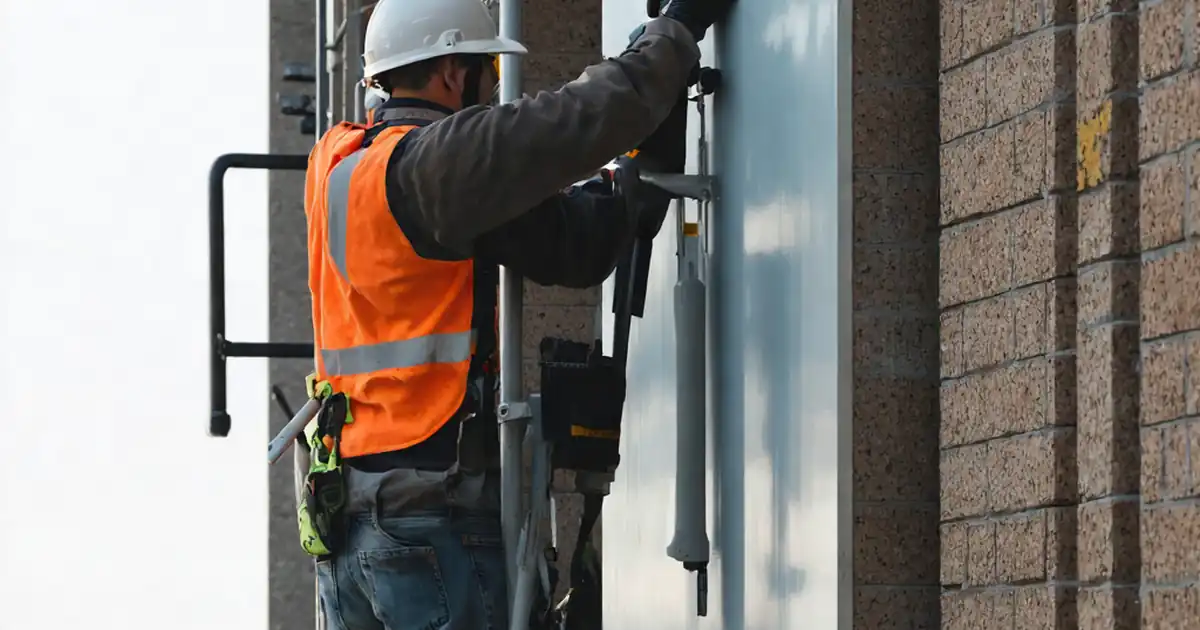
- Preparation: Gather drawings, approved submittals, manufacturer data sheets, and mock-up results. Bring thermo-hygrometer, IR thermometer, calipers/depth probe, vacuum, oil-free air, masking, primers, backer rod, and PPE (gloves, eyewear, fall protection). Confirm access equipment is safe and tagged.
- Using the Interactive Checklist: Open the project, start interactive mode, and select the area/elevation. Tick items as you inspect, attach photos and readings, and reference lot numbers. Add comments for nonconformities and assign actions with due dates.
- Capture Evidence: Record ambient/substrate conditions at intervals, log measurements, and photograph critical interfaces (corners, penetrations, end dams). Include packaging labels, calibration tags, and close-ups of bead profile and primer coverage.
- Resolve Nonconformities: Use comments to request corrective actions, re-inspect after rework, and link before/after photos. Note acceptance criteria met (tolerances, continuity, adhesion) and update status to closed.
- Sign-Off: Obtain digital signatures from installer, inspector, and GC/owner rep. Export the commentable report as PDF/Excel and distribute the QR-authenticated link for archiving and authority review.
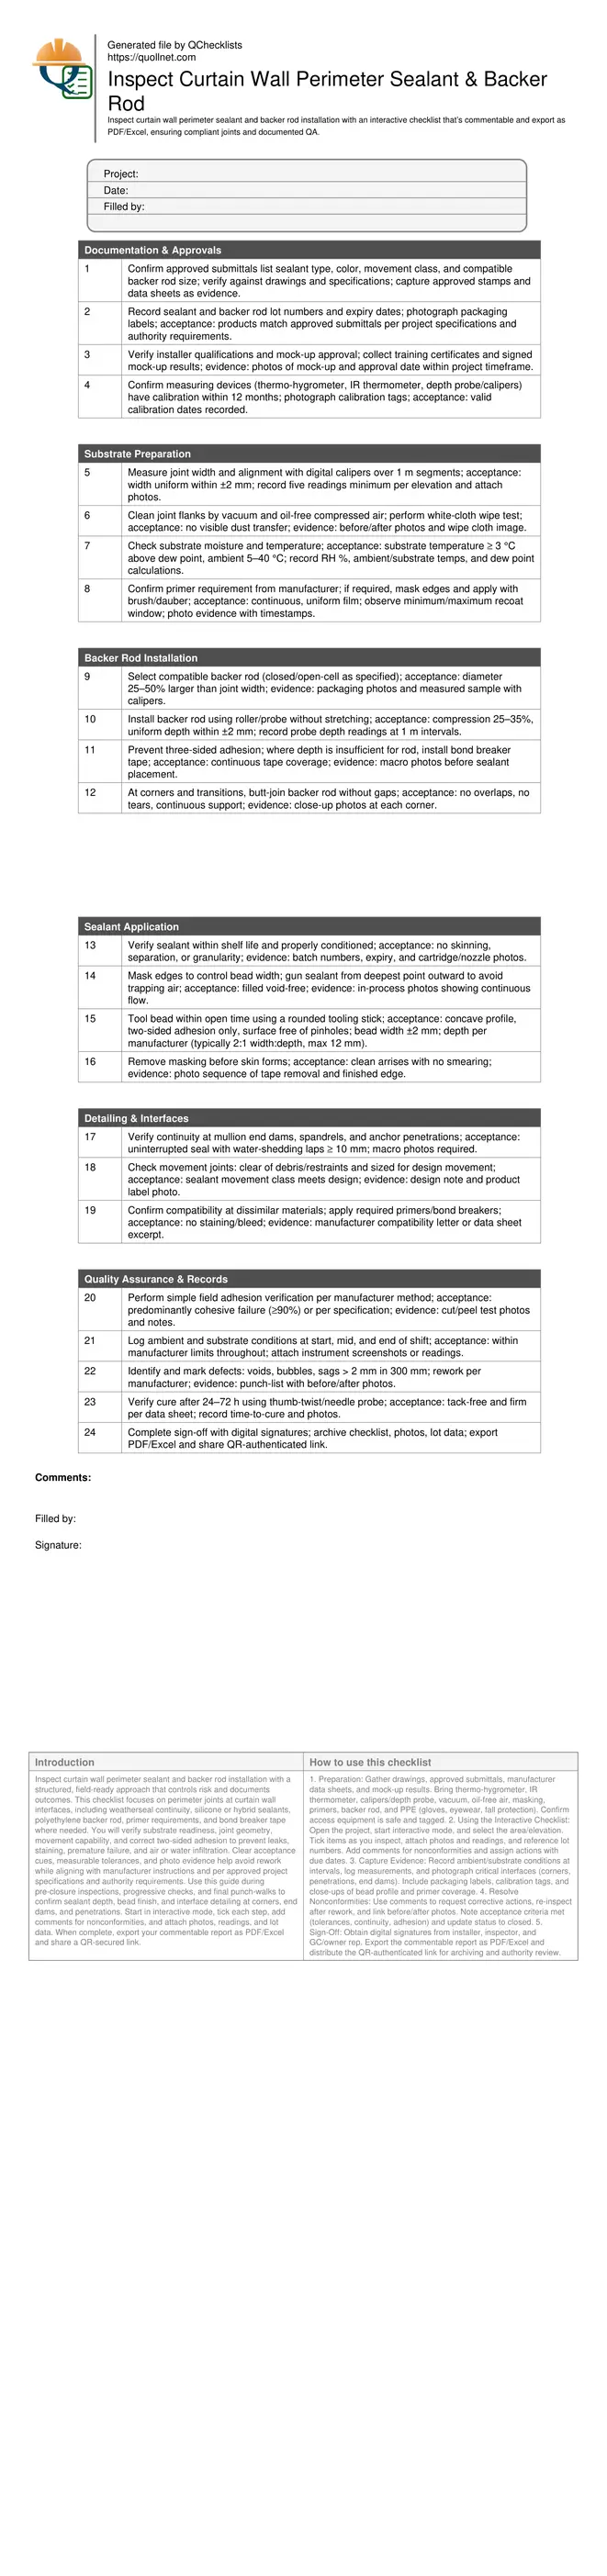
Call to Action
- Start Checklist Tick off tasks, leave comments on items or the whole form, and export your completed report to PDF or Excel—with a built-in QR code for authenticity.
- Download Excel - Curtain Wall Perimeter Sealant Inspection
- Download PDF - Curtain Wall Perimeter Sealant Inspection
- View Image - Curtain Wall Perimeter Sealant Inspection
Cite & Embed
“Curtain Wall Perimeter Sealant Inspection by Quollnet”
with a link to
this source page.
FAQ
Question: What is the correct size and type of backer rod for perimeter joints?
Question: How do I control sealant depth and avoid three-sided adhesion?
Question: What environmental conditions are acceptable during application and cure?
Question: How can I verify adhesion without lab equipment?
Related Articles
Broader reading and guidance connected to this checklist topic.
3d Printed Concrete Qa/qc: Inspection, Process Control & Acceptance

Is The Crack You See On Your Wall Serious Or Minor Cosmetic Issue?

Open Ncrs At Taking-over / Dlp: What Happens At Handover And How To Escalate
Plasticizers And Superplasticizers: How They Affect Concrete Slump
Related Checklists
Keep the workflow moving with nearby templates chosen from similar checklist content.