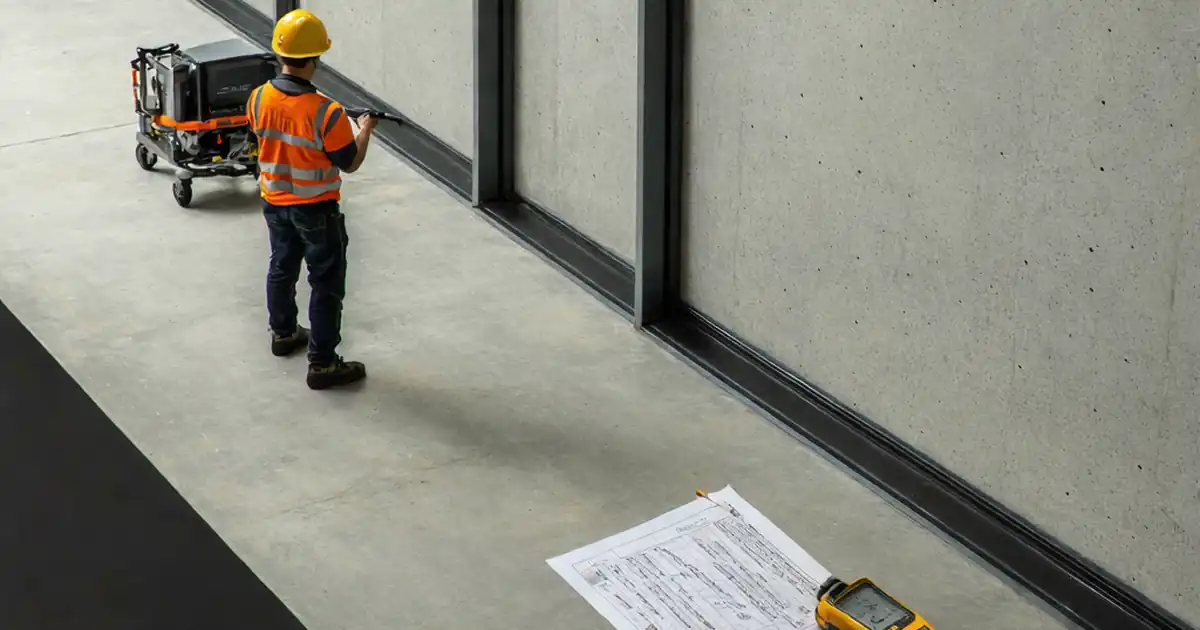
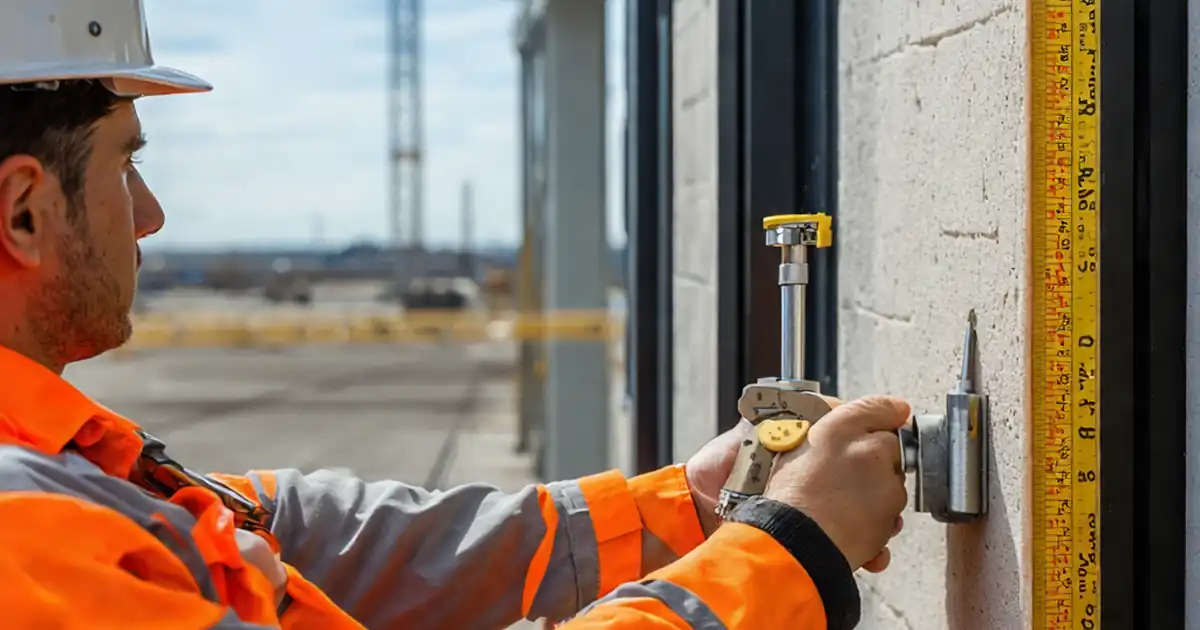
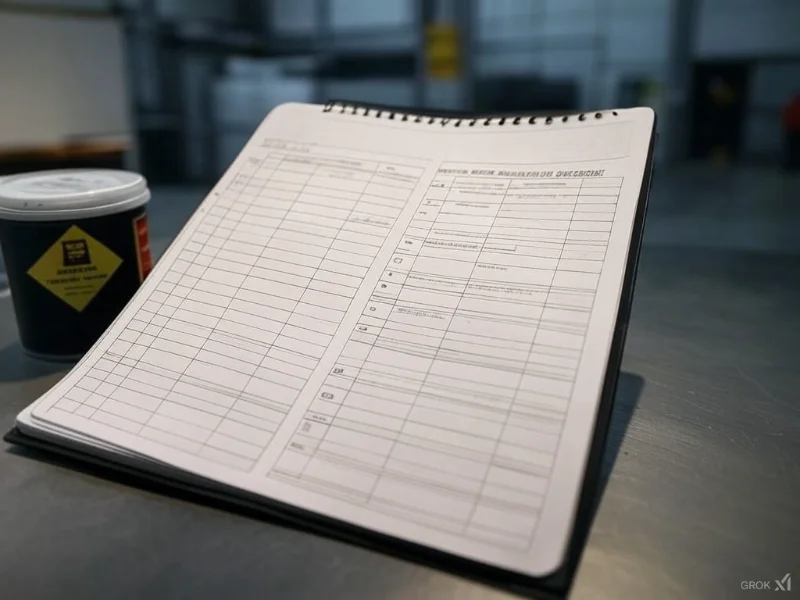
Façade Interface Smoke Barrier Continuity Inspection Checklist
Definition: Inspect smoke barrier continuity at façade interfaces using this professional checklist for site inspectors and façade contractors, ensuring continuous perimeter seals around curtain walls and slab edges.
- Verify continuous smoke seals at curtain wall and slab interfaces
- Measure gaps, overlaps, and compression with clear acceptance tolerances
- Use tracer fog and pressure to reveal leakage paths reliably
- Interactive, commentable checklist; export reports with QR code verification
Inspect smoke barrier continuity at façade interfaces is a focused quality-control task that safeguards compartmentation by ensuring continuous smoke sealing where glazed curtain walls meet floor slabs and adjacent partitions. This checklist targets perimeter smoke seals, spandrel smoke barriers, and curtain wall perimeter fire containment components without drifting into unrelated wall systems. By verifying correct materials, compression, overlaps, fixings, and airtight closures, you reduce smoke migration risks, maintain pressurization integrity, and support performance during an incident. The scope excludes roof parapets, door assemblies, and non-façade penetrations. You will confirm material traceability, alignment of spandrel insulation with smoke barriers, and the tightness of closures around brackets, mullions, and transitions, plus document evidence before close-up. Field-friendly tests such as local fog under controlled pressure help reveal leakage paths early, when corrections are least disruptive. Start in interactive mode to tick items, add photos and comments, assign actions, and export PDF/Excel with a secure QR code.
- Ensure perimeter smoke barriers at curtain wall slab edges remain continuous, correctly compressed, and sealed. The checklist drives consistent checks on material traceability, foil laps, fasteners, sealant geometry, and transitions around mullions and corners, preventing convective bypass and hidden gaps before façade close-up.
- Apply practical, repeatable methods: depth probes, feeler gauges for gap tolerance, tape measures for fixing centres, bead gauges for sealant, and tracer fog with 25–50 Pa differential. Each step defines clear acceptance limits, photo evidence, and sign-off requirements to streamline approvals and handover.
- Interactive online checklist with tick, comment, and export features secured by QR code. Use location tags, attach batch labels and calibration logs, assign corrective actions with deadlines, and generate audit-ready PDF/Excel outputs to satisfy project specifications and authority requirements while maintaining transparent records.
- Improve sequencing and reduce rework by verifying barriers at mock-ups, early typical bays, and representative transitions. Capture before-and-after photos with a scale, record ambient conditions, and confirm installer competency, ensuring that installed smoke barriers match submittals and remain intact through subsequent façade works.
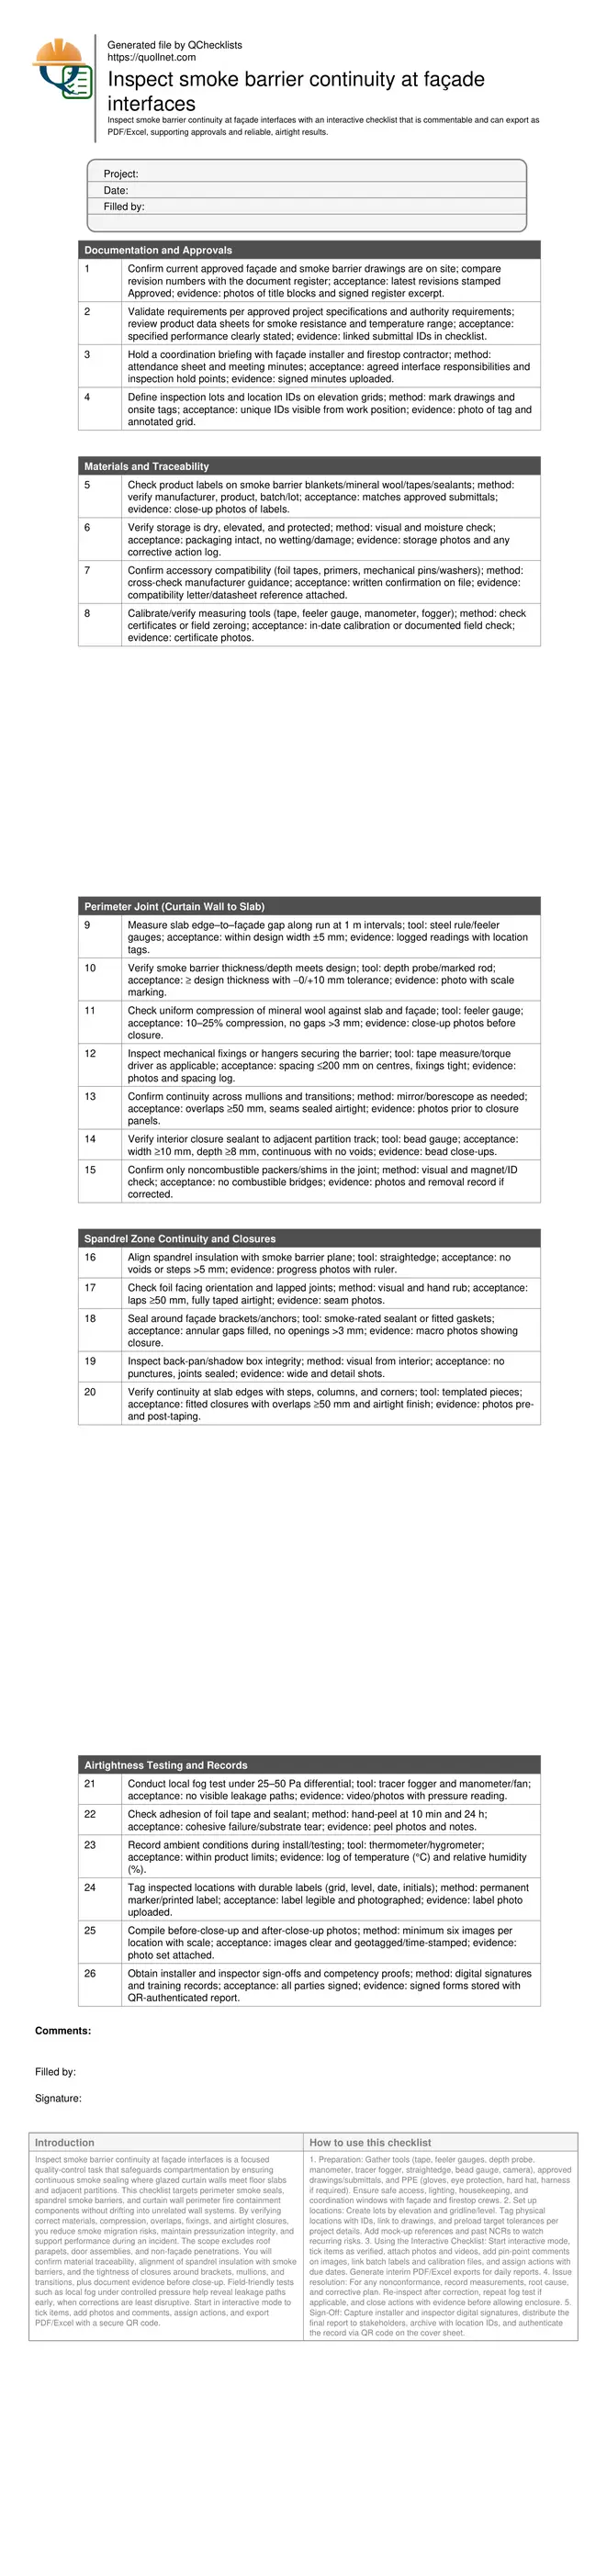
Documentation and Approvals
Materials and Traceability
Perimeter Joint (Curtain Wall to Slab)
Spandrel Zone Continuity and Closures
Airtightness Testing and Records
Why continuity at façade interfaces matters
Smoke moves faster than flame and exploits small discontinuities. At curtain wall slab edges, even a 3–5 mm unsealed path can enable smoke transfer between compartments, compromise stair pressurization, and reduce tenable conditions. Typical failure points include poorly compressed mineral wool, short or untaped foil laps, gaps around façade brackets, interrupted barriers at mullions, and premature close-up before inspection. Focusing on the spandrel zone and the curtain wall–to–slab interface, this checklist drives visual verification before panels conceal the work. You will confirm design thickness, compression, mechanical retention, and airtight finishing with compatible tapes and sealants. Early snapshots at mock-ups and first-installed bays set standards for the rest of the elevation. Where access is tight, mirrors or borescopes help validate laps behind mullions. Correcting small issues early prevents rework that otherwise demands panel removal and schedule hits.
- Small gaps can defeat compartmentation under pressure.
- Verify compression, laps, and fixings before close-up.
- Seal around brackets, mullions, corners, steps.
- Use mirrors or borescopes for hidden laps.
Methods, tolerances, and simple field tests
Consistency beats guesswork. Measure perimeter gaps at 1 m intervals and record min/max with location tags. Probe insulation depth with a marked rod; accept −0/+10 mm versus design, and confirm 10–25% compression using feeler gauges. Set fixing centres no greater than 200 mm, then seal seams with overlaps ≥50 mm and continuous tape. For closures, aim for sealant beads at least 10 mm wide and 8 mm deep, free of voids. Use a tracer fogger and create a 25–50 Pa differential with a temporary fan or available HVAC; observe for leaks and document with photos or video including pressure readings. Record ambient temperature and humidity to align with product limits. If adhesion is questionable, perform quick hand-peel checks at 10 minutes and 24 hours to confirm bond development before enclosure.
- Measure, log, and tag readings consistently.
- Maintain overlaps ≥50 mm on all seams.
- Target 10–25% mineral wool compression.
- Test leakage with fog at 25–50 Pa.
Sequencing, access, and documentation for compliance
Sequencing is critical: inspect the smoke barrier immediately after installation and before back-pans, shadow boxes, or finishes limit access. Verify representative transitions—mullions, corners, slab steps, and columns—early, and replicate the approved approach on typical bays. Keep materials dry and traceable, and upload label photos to tie installation to batches. Use location tagging on elevation grids so future maintenance can find and re-verify the barrier. Attach calibration certificates for gauges and manometers, and link meeting minutes that define trade boundaries at interfaces. Finally, wrap up each lot with clear photo sets, ambient condition logs, and signatures. A QR-authenticated export reassures stakeholders that the record is intact and unaltered, streamlining approvals per approved project specifications and authority requirements.
- Inspect before façade close-up limits access.
- Tag locations on elevation grids for traceability.
- Capture batch labels and tool calibration.
- Export QR-authenticated, signed reports.
How to use this façade smoke barrier continuity checklist
- Preparation: Gather tools (tape, feeler gauges, depth probe, manometer, tracer fogger, straightedge, bead gauge, camera), approved drawings/submittals, and PPE (gloves, eye protection, hard hat, harness if required). Ensure safe access, lighting, housekeeping, and coordination windows with façade and firestop crews.
- Set up locations: Create lots by elevation and gridline/level. Tag physical locations with IDs, link to drawings, and preload target tolerances per project details. Add mock-up references and past NCRs to watch recurring risks.
- Using the Interactive Checklist: Start interactive mode, tick items as verified, attach photos and videos, add pin-point comments on images, link batch labels and calibration files, and assign actions with due dates. Generate interim PDF/Excel exports for daily reports.
- Issue resolution: For any nonconformance, record measurements, root cause, and corrective plan. Re-inspect after correction, repeat fog test if applicable, and close actions with evidence before allowing enclosure.
- Sign-Off: Capture installer and inspector digital signatures, distribute the final report to stakeholders, archive with location IDs, and authenticate the record via QR code on the cover sheet.
Call to Action
- Start Checklist Tick off tasks, leave comments on items or the whole form, and export your completed report to PDF or Excel—with a built-in QR code for authenticity.
- Download Excel - Smoke Barrier Continuity – Façade Interfaces Inspection
- Download PDF - Smoke Barrier Continuity – Façade Interfaces Inspection
- View Image - Smoke Barrier Continuity – Façade Interfaces Inspection
Cite & Embed
“Smoke Barrier Continuity – Façade Interfaces Inspection by Quollnet”
with a link to
this source page.

FAQ
Question: What’s the difference between perimeter firestopping and the smoke barrier at a façade interface?
Question: How do I perform a practical site test to detect smoke leakage?
Question: What if areas are concealed by back-pans or finishes before inspection?
Question: Which documents should I capture to demonstrate compliance at handover?
Related Articles
Broader reading and guidance connected to this checklist topic.
Is The Crack You See On Your Wall Serious Or Minor Cosmetic Issue?


Master Construction Project Cashflow With Cashflowpot

Related Checklists
Keep the workflow moving with nearby templates chosen from similar checklist content.