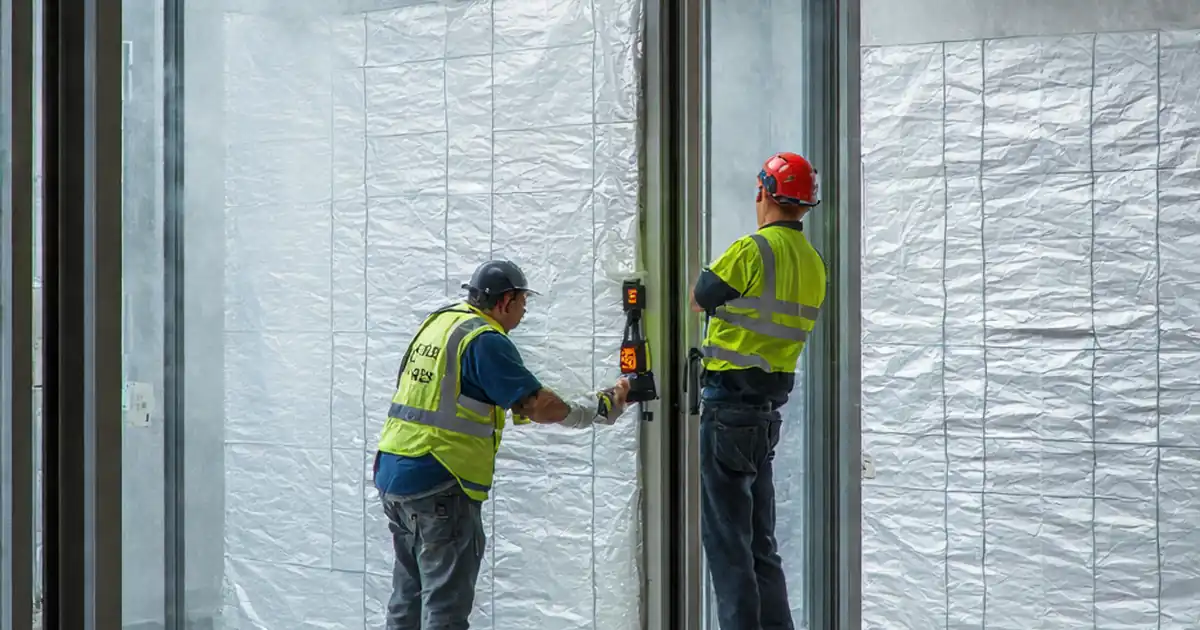
Inspect curtain wall interface with reinforced concrete slab edges for façade coordinators and site inspectors, focusing on structural anchorage, air-water continuity, fire barriers, movement joints, and documentation.
- Verify anchors, tolerances, and slab edge readiness before unit installation.
- Ensure continuous air, water, fire, acoustic, and thermal barriers.
- Control movement gaps and deflection allowances to prevent facade distress.
- Interactive, commentable checklist with export and QR code authentication.
The checklist
Pre-Installation Verification
- Compare approved shop drawings and interface details against as-built slab edge survey using total station; accept discrepancies ≤ 5 mm; attach redlined drawings, survey report, and reviewer signature.
- Confirm concrete compressive strength at slab edge meets design via cylinder tests or core reports (target per specification, e.g., f’c ≥ 30 MPa); upload lab results and approval.
- Verify cast-in anchors/embeds locations and elevations with total station; accept position ± 5 mm and level ± 3 mm; provide layout photos and survey log.
- Scan slab edge reinforcement with a rebar locator to confirm clearances for drilling; accept required edge distance and cover per approved project specifications; upload scan images.
Slab Edge and Substrate Condition
- Check slab edge straightness and plumbness using laser and 3 m stringline; accept deviation ≤ 5 mm over 3 m; record readings and photos with scale.
- Inspect for fins, honeycombing, or voids; mark and repair with approved mortar; acceptance: sound substrate, voids fully patched and cured; attach before/after photos and product batch labels.
- Measure surface moisture with a concrete moisture meter; accept per sealant/membrane datasheet (surface dry to touch); document readings and ambient conditions.
- Confirm fireproofing or coatings terminate neatly at interface; trim overspray and verify thickness with gauge; accept as uniform and documented; upload gauge readings and photos.
Anchors and Brackets Installation
- Drilled hole diameter and depth per anchor manufacturer; verify with calipers and depth gauge; accept +0/−1 mm diameter, full embedment; include hole log and tool calibration.
- Clean holes using brush–blow–brush with certified kit; document cycles; accept cleanliness per manufacturer; add time-stamped photos and checklist.
- Set anchors to specified torque/set force using calibrated wrench or setting tool; accept ±10% of required value; upload torque log and calibration certificate.
- Align brackets plumb/level with digital level and shims; accept ± 2 mm and ± 0.2°; provide measurement photos and installer sign-off.
Air/Water Seal and Flashing
- Lap air barrier membrane from slab edge to mullion continuity strip; accept laps ≥ 100 mm and tight adhesion ≥ 1 N/mm; attach peel test photos.
- Verify primer compatibility and cure times before membrane or sealant; accept per manufacturer datasheet; record lot numbers, start/finish times, and ambient conditions.
- Install backer rod and perimeter sealant; accept width per design (typically 12–20 mm), depth ≈ 1/2 width, smooth tooling; upload joint gauge photos.
- Confirm sill drainage/weep paths at interface are unobstructed; test with water probe; accept free flow to exterior; provide test video and marked photos.
Fire, Acoustic, and Thermal Barriers
- Install perimeter fire barrier mineral wool with 25% compression; accept density ≥ 80 kg/m³ and full-depth continuity; attach photos and packaging labels.
- Apply smoke seal coating continuously; verify wet film thickness with gauge; accept thickness per datasheet; include readings and batch numbers.
- Verify acoustic seals in spandrel zone are continuous; accept no visible gaps or hard bridges; upload detail photos and product data.
- Confirm thermal break pads at brackets are intact and fully bearing; accept undamaged, correct size; provide close-up photos and material tags.
Movement Joints and Finishes
- Measure designed movement gap for slab deflection/drift allowances; accept clear gap per design (e.g., 20–40 mm); include measurement photo and layout mark-up.
- Use non-compressible, secured packers/shims (e.g., HDPE or aluminium); accept per approved project specifications; upload photos and material certificates.
- Align cover plates/flashings with uniform reveals; accept ± 2 mm over 2 m; verify stainless fasteners; include straightedge photos and fixings close-ups.
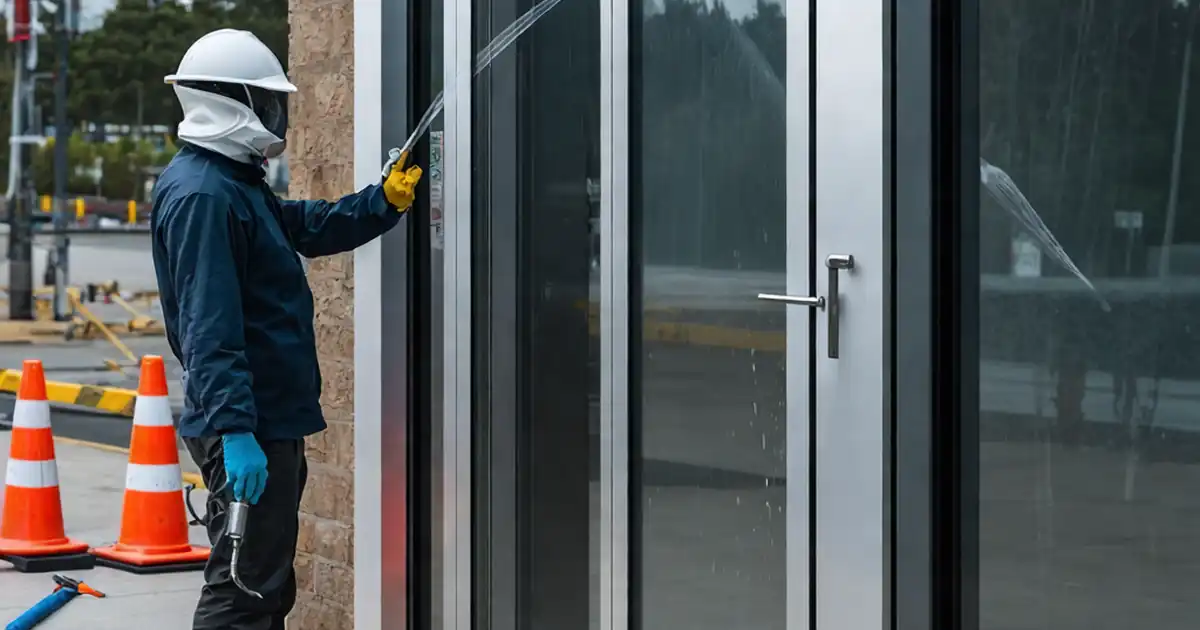
- Perform controlled water spray at interface after sealant cure: 5 min at ~200 kPa; accept no interior leakage; upload test video and witness signatures.
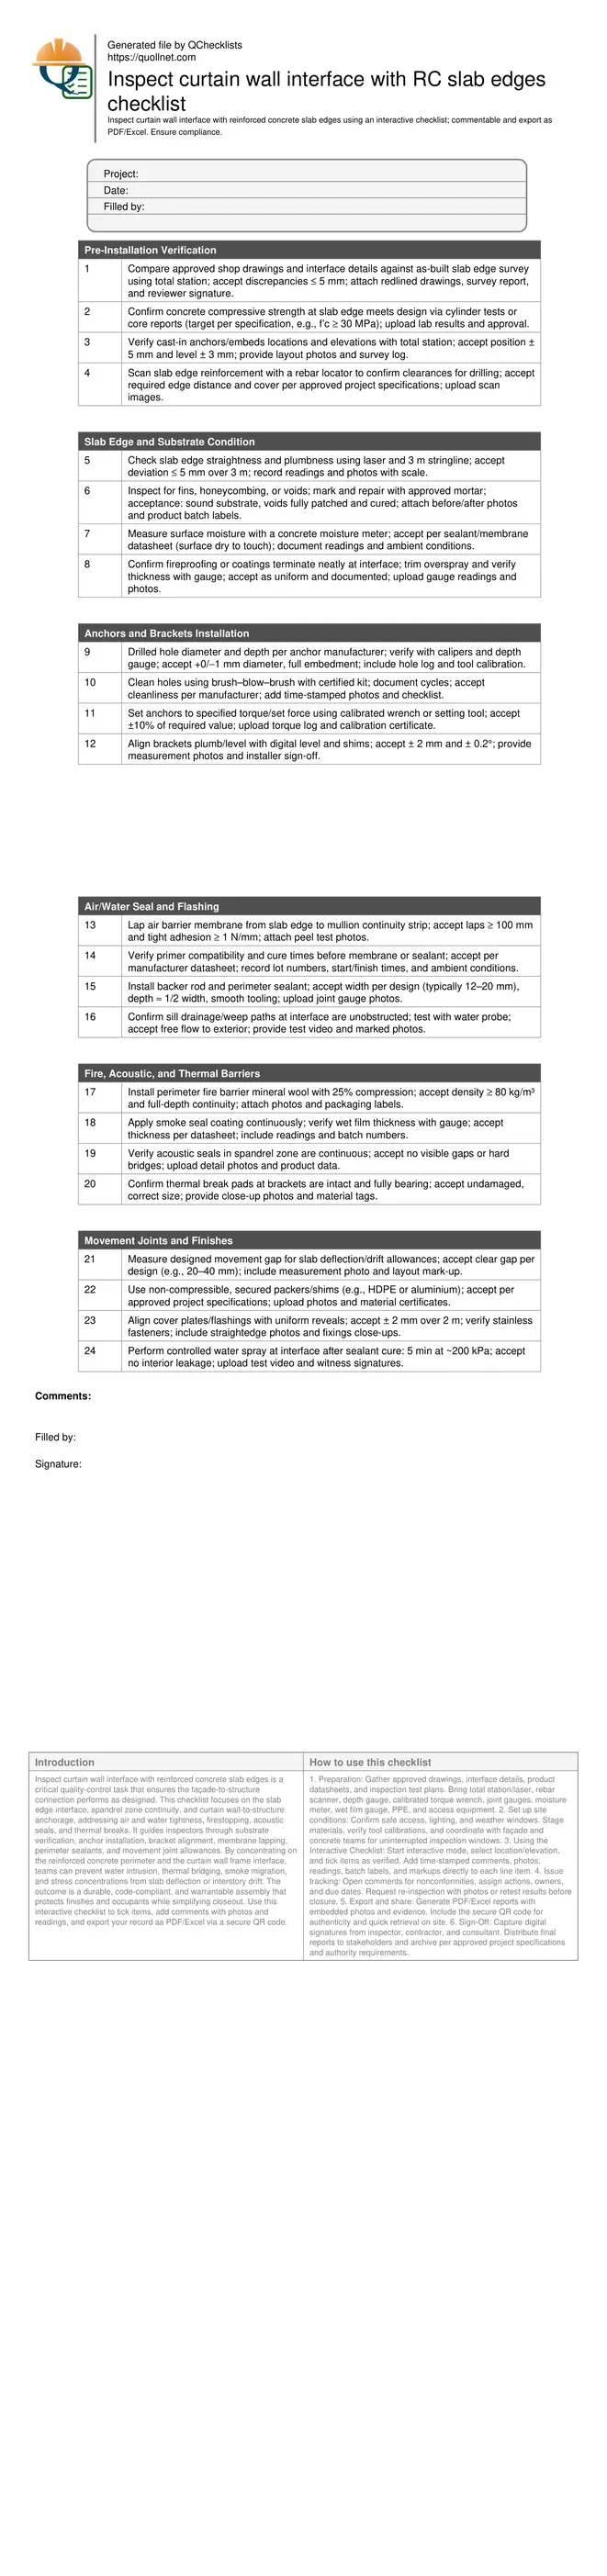
Preview the printable checklist
Preview page one below. Open the image or download the PDF for all pages.
At a glance
- Confirm slab edge readiness, anchor performance, and bracket alignment before curtain wall placement to avoid rework. Measured tolerances, calibrated tools, and verifiable records improve installation speed, reduce leakage pathways, and protect warranties while aligning field conditions with approved shop drawings and project specifications.
- Establish continuous barriers at the interface: air and water membranes, backer rod and sealant geometry, perimeter fire and smoke seals, acoustic gaskets, and thermal breaks. Proper sequencing and compatibility checks avert premature failures and maintain interior comfort and energy targets.
- Control serviceability by validating movement gaps for slab deflection and drift, selecting non-compressible packers, and keeping weep paths open. Post-install water spray checks confirm performance, while photo logs, batch labels, and torque records create defensible closeout documentation for stakeholders.
- Interactive online checklist with tick, comment, and export features secured by QR code. Field teams capture readings, photos, and signatures, track nonconformities to resolution, and instantly share verified PDF/Excel reports for streamlined approvals and handover.
How to use this interface inspection checklist
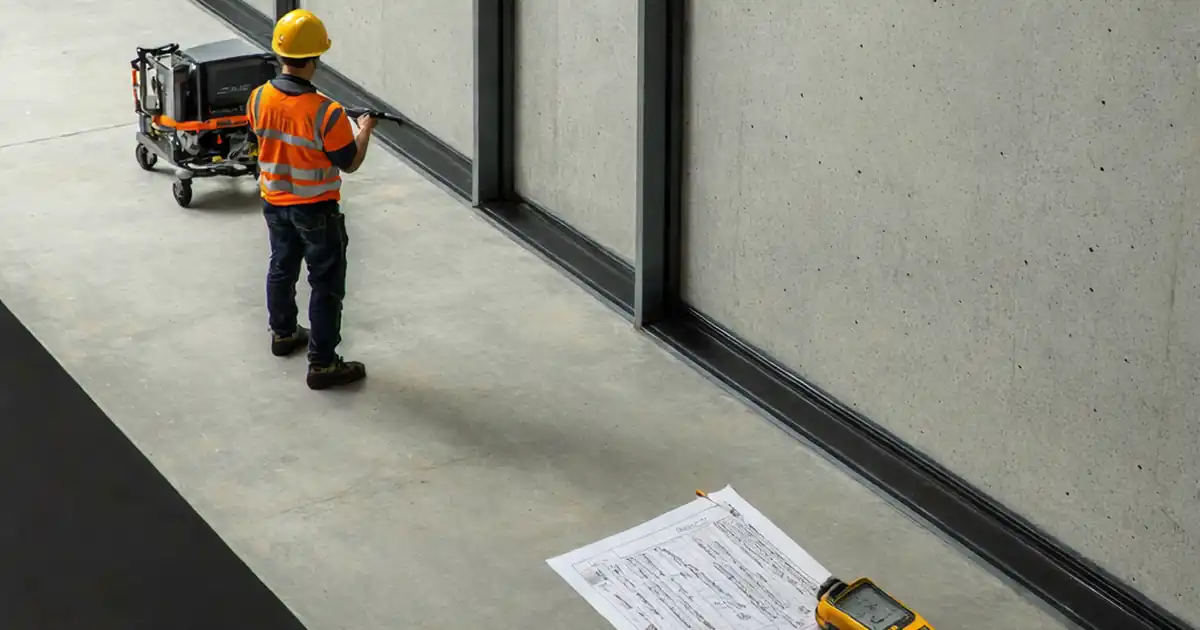
- Preparation: Gather approved drawings, interface details, product datasheets, and inspection test plans. Bring total station/laser, rebar scanner, depth gauge, calibrated torque wrench, joint gauges, moisture meter, wet film gauge, PPE, and access equipment.
- Set up site conditions: Confirm safe access, lighting, and weather windows. Stage materials, verify tool calibrations, and coordinate with façade and concrete teams for uninterrupted inspection windows.
- Using the Interactive Checklist: Start interactive mode, select location/elevation, and tick items as verified. Add time-stamped comments, photos, readings, batch labels, and markups directly to each line item.
- Issue tracking: Open comments for nonconformities, assign actions, owners, and due dates. Request re-inspection with photos or retest results before closure.
- Export and share: Generate PDF/Excel reports with embedded photos and evidence. Include the secure QR code for authenticity and quick retrieval on site.
- Sign-Off: Capture digital signatures from inspector, contractor, and consultant. Distribute final reports to stakeholders and archive per approved project specifications and authority requirements.
Get the slab edge right: alignment, strength, and anchorage
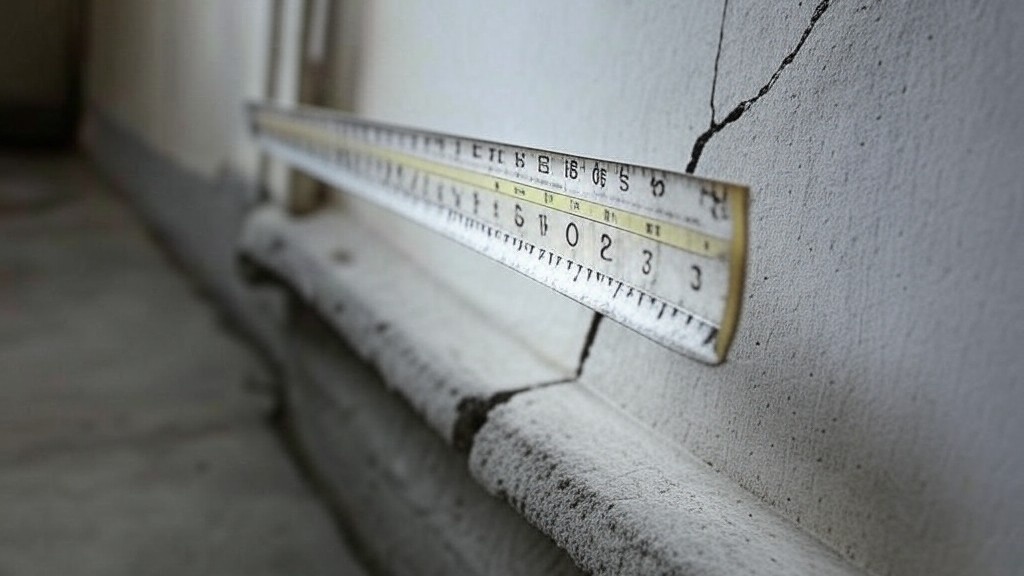
A reliable curtain wall–slab edge interface begins with a true, strong concrete substrate. Confirm the as-built slab edge matches the referenced control lines and levels before any bracketry arrives. Use total station layouts and laser levels to verify straightness and plumbness; target deviations within 5 mm over 3 m to avoid cumulative misalignment across elevations. Establish concrete strength from lab reports so post-installed anchors achieve design capacity. Where drilling near edges, confirm reinforcement location and edge distance with a rebar scanner to prevent cutting bars and undermining pull-out performance. Precisely drilled, cleaned holes and calibrated torque application are essential to develop anchor performance and reduce service calls. Field examples show that a 6–8 mm slab edge bow can force out-of-plane mullions, leading to sealant over-compression and persistent leaks. Catching such deviations early allows economical grinding and patching before façade crews mobilize.
- Survey slab edges with a total station and laser.
- Confirm concrete strength before installing any anchors.
- Scan reinforcement to preserve cover and edge distance.
- Record torque values with a calibrated wrench.
- Repair substrate defects before bracket installation.
Continuity of air, water, fire, acoustic, and thermal barriers
Performance at the interface depends on uninterrupted layers. Lap air barriers from the structural edge onto the curtain wall’s continuity strip with generous overlaps and verified adhesion. Size perimeter sealant joints to allow movement and avoid three-sided adhesion with proper backer rod selection. At the spandrel, install mineral wool with consistent compression and coat with smoke seal to block hot gases. Acoustic seals prevent flanking paths, while thermal break pads under brackets limit heat transfer and condensation risks. Check product compatibility and primer cure windows to avoid adhesion failures. Keep drainage and weeps open so any incidental water exits freely. On site, teams that document lap widths, peel strengths, wet film thickness, and product batches achieve smoother approvals and fewer warranty queries.
- Lap membranes ≥ 100 mm with proven adhesion.
- Tool sealant; depth about half the joint width.
- Compress mineral wool uniformly and seal continuously.
- Maintain open, unobstructed drainage paths.
- Use compatible primers with recorded cure times.
Movement control, finishes, and verifiable testing
Concrete slabs move—creep, shrinkage, live load deflection, and lateral drift all act on the interface. Provide and protect the designed movement gap so mullions and sealants can flex without tearing. Choose non-compressible shims to maintain bracket geometry under load. Finish cover plates and flashings with tight, consistent reveals to shed water and present a clean line. After curing, a controlled water spray confirms the assembly’s resistance to intrusion. Document the setup pressure, duration, and outcomes, then tie results to photo evidence and sign-offs. Practical experience shows minor omissions—like a blocked weep or thin smoke seal—create disproportionate callbacks. Thorough, photo-backed checks at each elevation help isolate issues early and preserve project momentum.
- Measure and protect the movement gap.
- Use rigid, secured packers or shims.
- Align finishes to tight, repeatable reveals.
- Water-test the interface after cure.
- Capture photos, readings, and signatures.