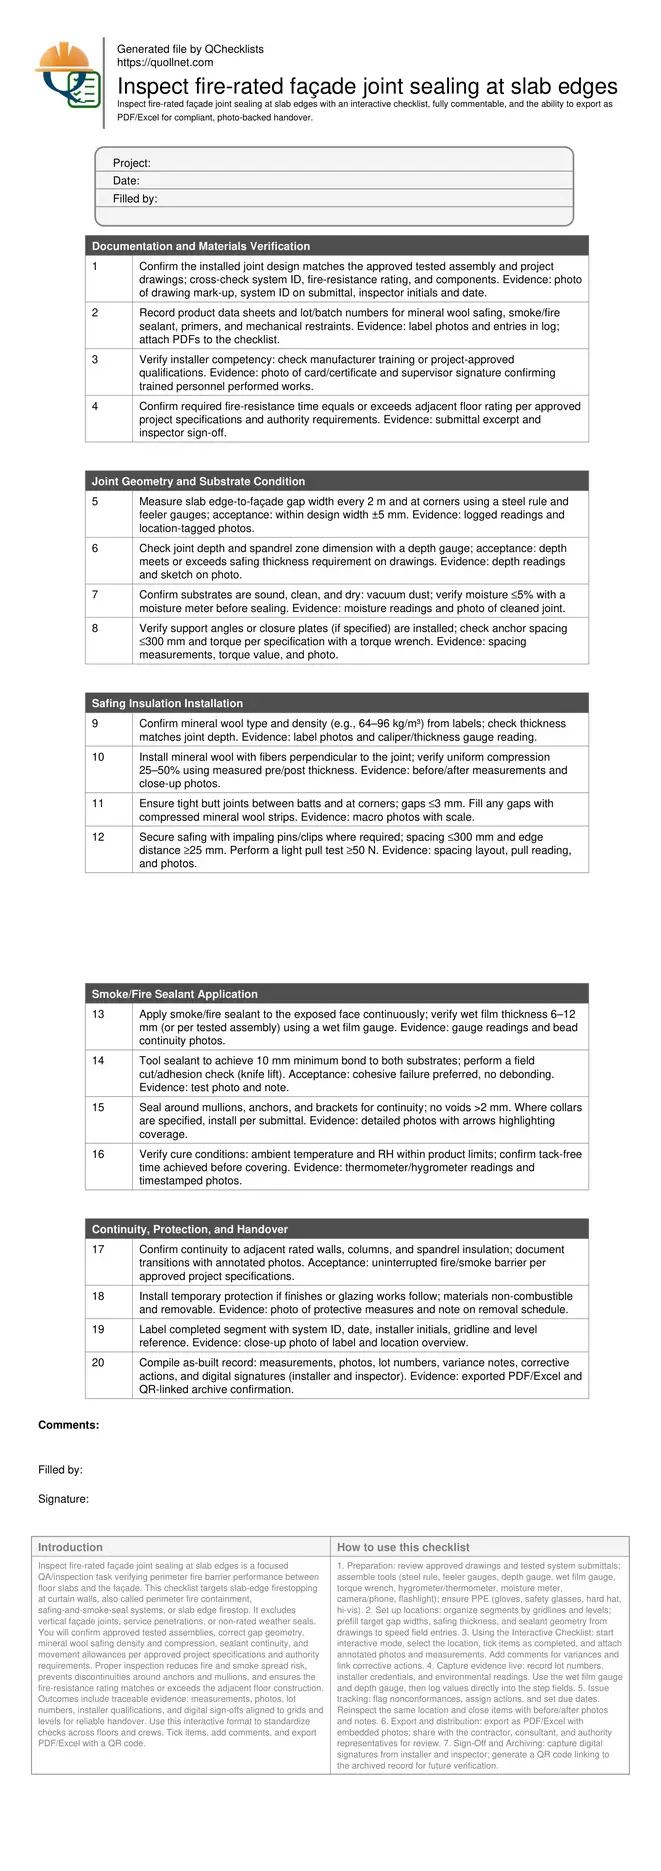
Inspect fire-rated façade joint sealing at slab edges
Definition: Inspect fire-rated façade joint sealing at slab edges for curtain wall-perimeter firestopping by site engineers and QA leads, confirming tested assemblies, movement capability, continuity, and documentation.
- Verify approved system, materials, and fire-resistance rating continuity.
- Measure gap geometry, compression, and sealant depth against drawings.
- Capture photo evidence, lot numbers, and installer sign-offs.
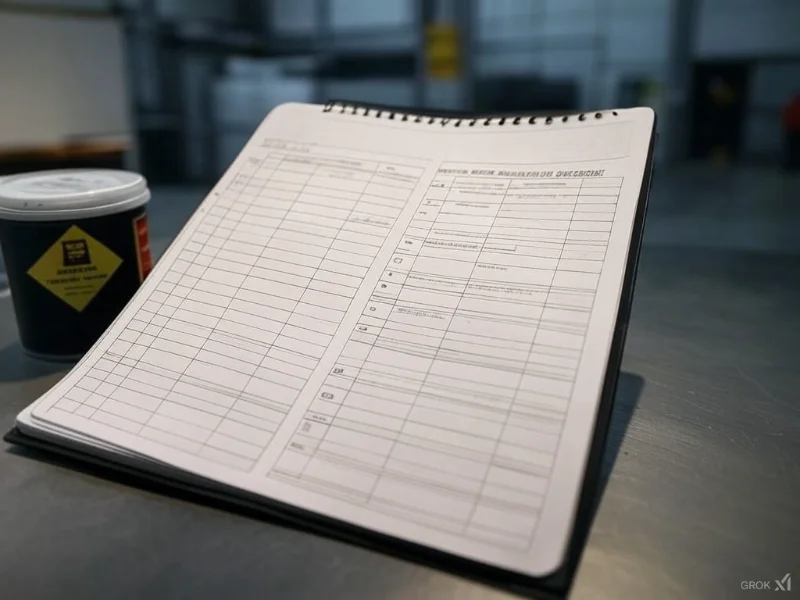
- Interactive, commentable checklist with export and QR code.
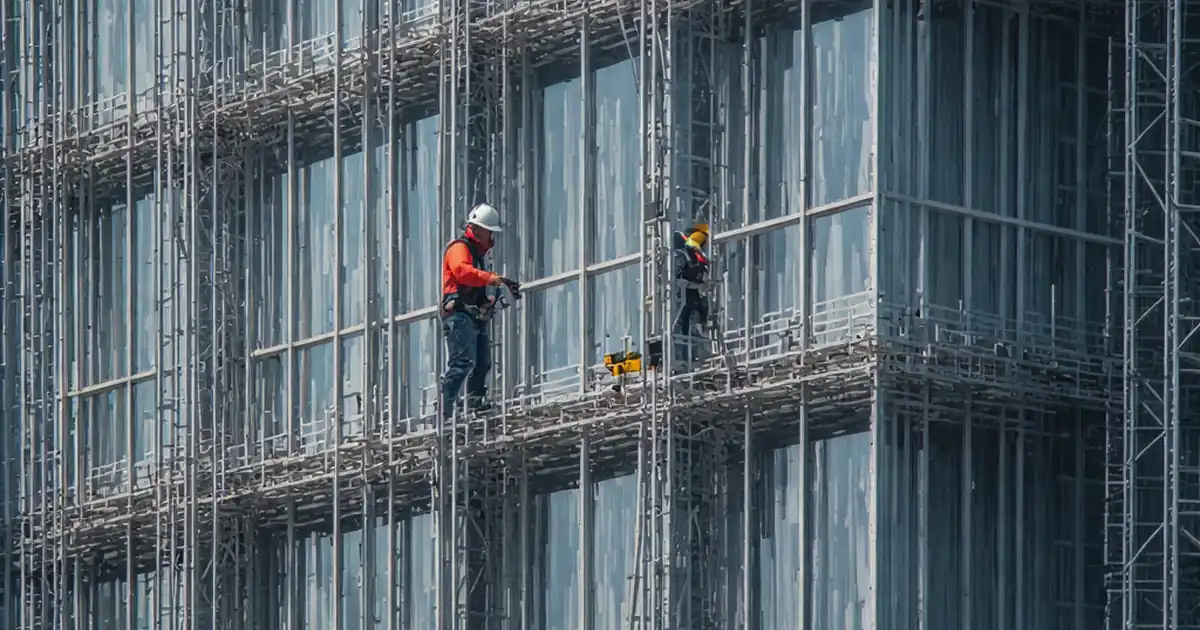
Inspect fire-rated façade joint sealing at slab edges is a focused QA/inspection task verifying perimeter fire barrier performance between floor slabs and the façade. This checklist targets slab-edge firestopping at curtain walls, also called perimeter fire containment, safing-and-smoke-seal systems, or slab edge firestop. It excludes vertical façade joints, service penetrations, or non-rated weather seals. You will confirm approved tested assemblies, correct gap geometry, mineral wool safing density and compression, sealant continuity, and movement allowances per approved project specifications and authority requirements. Proper inspection reduces fire and smoke spread risk, prevents discontinuities around anchors and mullions, and ensures the fire-resistance rating matches or exceeds the adjacent floor construction. Outcomes include traceable evidence: measurements, photos, lot numbers, installer qualifications, and digital sign-offs aligned to grids and levels for reliable handover. Use this interactive format to standardize checks across floors and crews. Tick items, add comments, and export PDF/Excel with a QR code.
- Validate that the perimeter fire barrier at slab edges follows the approved tested assembly, with correct mineral wool density, compression, and sealant geometry. Confirm continuity across slab edges, mullions, anchors, and transitions to rated walls, producing photo-backed, measurement-based evidence for formal acceptance.
- Control tolerances that drive performance: gap width uniformity, safing thickness versus joint depth, 25–50% mineral wool compression, sealant depth and width, and secure mechanical restraints. These measurable checks reduce rework, maintain rating continuity, and ensure movement and deflection compatibility under building service conditions.
- Interactive online checklist with tick, comment, and export features secured by QR code. Use it to capture photo evidence, lot numbers, and signatures per location, and to streamline approvals and handover with traceable records linked to gridlines and levels. Include notes on variances and corrective actions.
- Standardize inspections across trades and floors by aligning each segment to gridlines and elevations. Reference drawings and approvals, verify installer qualifications, and check cure conditions and protection. Create a verifiable audit trail that supports compliance with approved project specifications and authority requirements.
Documentation and Materials Verification
Joint Geometry and Substrate Condition
Safing Insulation Installation
Smoke/Fire Sealant Application
Continuity, Protection, and Handover
Approved Systems, Materials, and Evidence That Withstands Audit
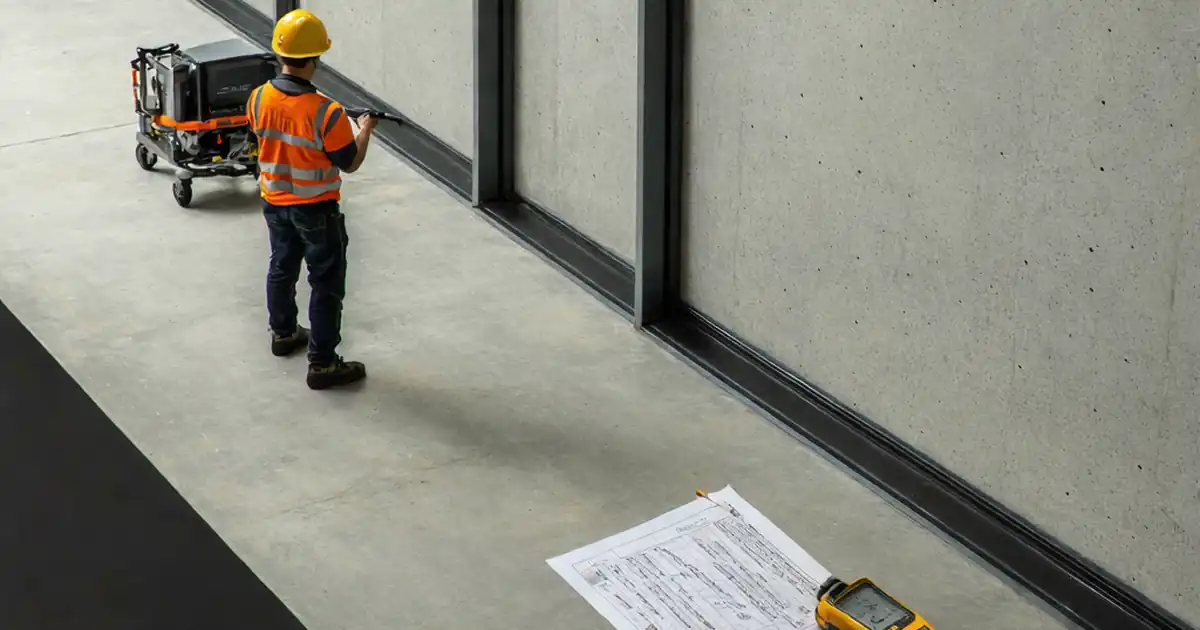
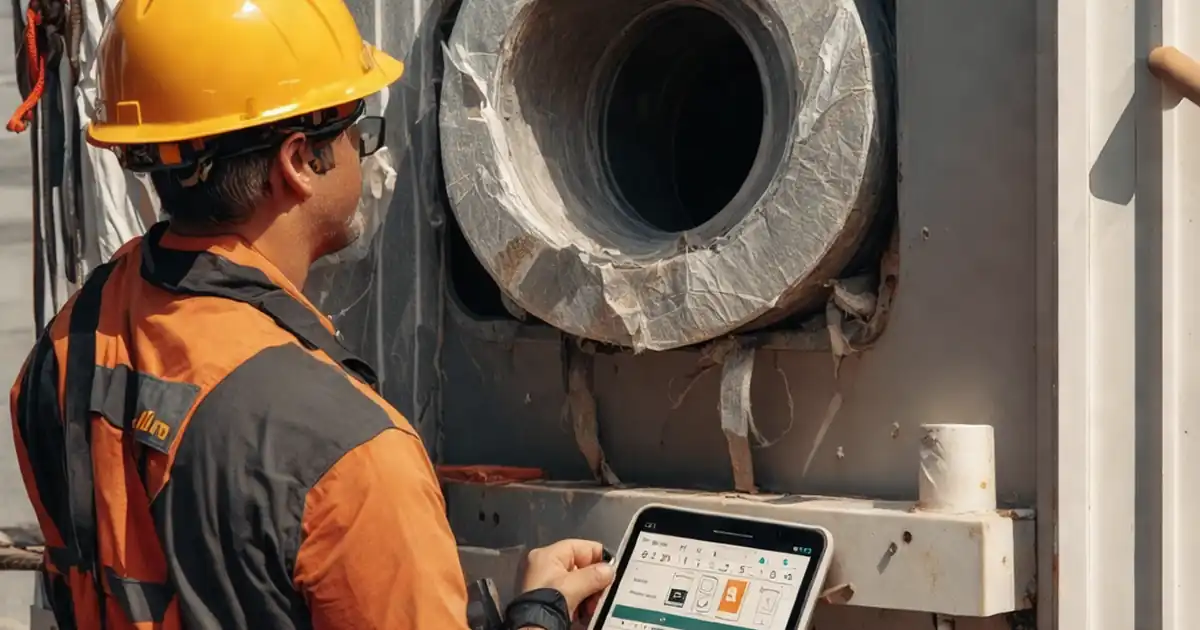
Start by confirming the installed perimeter fire barrier matches the approved, tested assembly shown on project drawings. Capture the system ID, fire-resistance duration, and the specific combination of mineral wool safing, smoke/fire sealant, primers, and mechanical restraints. Photograph packaging labels and record lot numbers to enable traceability across floors. Mineral wool typically requires a density in the 64–96 kg/m³ range; thickness must meet or exceed the joint depth. Sealants must be compatible with adjacent substrates and the mineral wool facing. Where foil-faced spandrel insulation is present, verify correct orientation and surface preparation before sealing. Acceptance cues are tangible: documented submittals, labels, marked-up drawings, and inspector initials on captured images. Real jobsite wins come from early verification: stopping nonconforming batches before installation, and aligning all trades on the exact tested detail—especially at corners, around mullions, and near anchors—so subsequent checks focus on measurable tolerances rather than design ambiguity.
- Match installed system to approved tested assembly.
- Photograph labels and record lot numbers.
- Verify mineral wool density and thickness.
- Check sealant compatibility and primers.
- Annotate drawings and photos for traceability.
Geometry, Compression, and Mechanical Restraint Drive Performance
Gap width and depth govern compression, sealant thickness, and ultimately fire/smoke performance. Measure the slab edge-to-façade gap every 2 m, including corners and changes in geometry. Target 25–50% compression of mineral wool with fibers perpendicular to the joint, and tight butt joints with gaps ≤3 mm. Verify support angles or closure plates are installed where required, with anchors at or below spacing limits and tightened per specification. If impaling pins are used, maintain spacing around 300 mm and ensure edge distances are not compromised. Continuity around mullions, anchors, and brackets must be inspected closely; add collars or detailed sealing as per the submittal. Movement allowances should remain free and unobstructed after installation. By locking down these measurable parameters, you can ensure consistent performance and reduce rework that stems from geometry drift or insufficient restraint.
- Measure gap width on a 2 m grid.
- Achieve 25–50% mineral wool compression.
- Limit butt-joint gaps to ≤3 mm.
- Confirm anchors and pins spacing.
- Maintain movement clearances at interfaces.
Sealant Quality, Curing, and Durable Continuity at Slab Edges
Apply smoke/fire sealant continuously on the exposed face to the specified depth and width; verify with a wet film gauge. Tool the bead to develop full adhesion to both substrates, then perform a simple cut/adhesion check—prefer cohesive failure with no debonding. Ensure temperature and humidity fall within product limits, and confirm tack-free condition before covering or loading adjacent works. Pay special attention to terminations at columns, transitions to rated partitions, and areas shadowed by façade brackets. Where protection is required, use non-combustible temporary covers and schedule removal to avoid damaging the seal. Close the loop with labeling, photo documentation, as-built measurements, and signatures, all tied to gridlines and levels for fast retrieval during audits or authority inspections.
- Verify sealant depth with a wet film gauge.
- Tool for two-sided adhesion and cohesion.
- Check cure within product limits.
- Seal around mullions and anchors.
- Label, photograph, and sign off locations.
How to Use This Interactive Inspection Checklist
- Preparation: review approved drawings and tested system submittals; assemble tools (steel rule, feeler gauges, depth gauge, wet film gauge, torque wrench, hygrometer/thermometer, moisture meter, camera/phone, flashlight); ensure PPE (gloves, safety glasses, hard hat, hi-vis).
- Set up locations: organize segments by gridlines and levels; prefill target gap widths, safing thickness, and sealant geometry from drawings to speed field entries.
- Using the Interactive Checklist: start interactive mode, select the location, tick items as completed, and attach annotated photos and measurements. Add comments for variances and link corrective actions.
- Capture evidence live: record lot numbers, installer credentials, and environmental readings. Use the wet film gauge and depth gauge, then log values directly into the step fields.
- Issue tracking: flag nonconformances, assign actions, and set due dates. Reinspect the same location and close items with before/after photos and notes.
- Export and distribution: export as PDF/Excel with embedded photos; share with the contractor, consultant, and authority representatives for review.
- Sign-Off and Archiving: capture digital signatures from installer and inspector; generate a QR code linking to the archived record for future verification.
Call to Action
- Start Checklist Tick off tasks, leave comments on items or the whole form, and export your completed report to PDF or Excel—with a built-in QR code for authenticity.
- Download Excel - Fire-Rated Façade Slab Edge Joint Inspection
- Download PDF - Fire-Rated Façade Slab Edge Joint Inspection
- View Image - Fire-Rated Façade Slab Edge Joint Inspection
Cite & Embed
“Fire-Rated Façade Slab Edge Joint Inspection by Quollnet”
with a link to
this source page.
FAQ
Question: What compression of mineral wool safing should I verify at slab edges?
Question: What should I do if the slab edge-to-façade gap varies beyond tolerance?
Question: Which sealants are acceptable for the smoke/fire seal at the perimeter?
Question: How can I safely inspect joints hidden by façade brackets and mullions?
Question: How often should I inspect along a long slab edge run?
Related Articles
Broader reading and guidance connected to this checklist topic.

Advanced High-rise Fire Safety: Drones & Modern Equipment


Handmade Ceramics And Technique

Related Checklists
Keep the workflow moving with nearby templates chosen from similar checklist content.