Install Vertical Bentonite Sheets: Wall-Only QA Checklist
Definition: Install vertical bentonite sheets checklist guiding contractors and inspectors on overlaps, mechanical fixings, penetration sealing, and protection for walls only, delivering watertight performance and auditable quality records.
- Defines overlap, fixing, and penetration sealing requirements for walls only.
- Reduces leaks by standardizing methods, tolerances, and evidence capture.
- Explains protection before backfill to prevent puncture or displacement.
- Interactive, commentable, export-ready checklist with QR code verification.
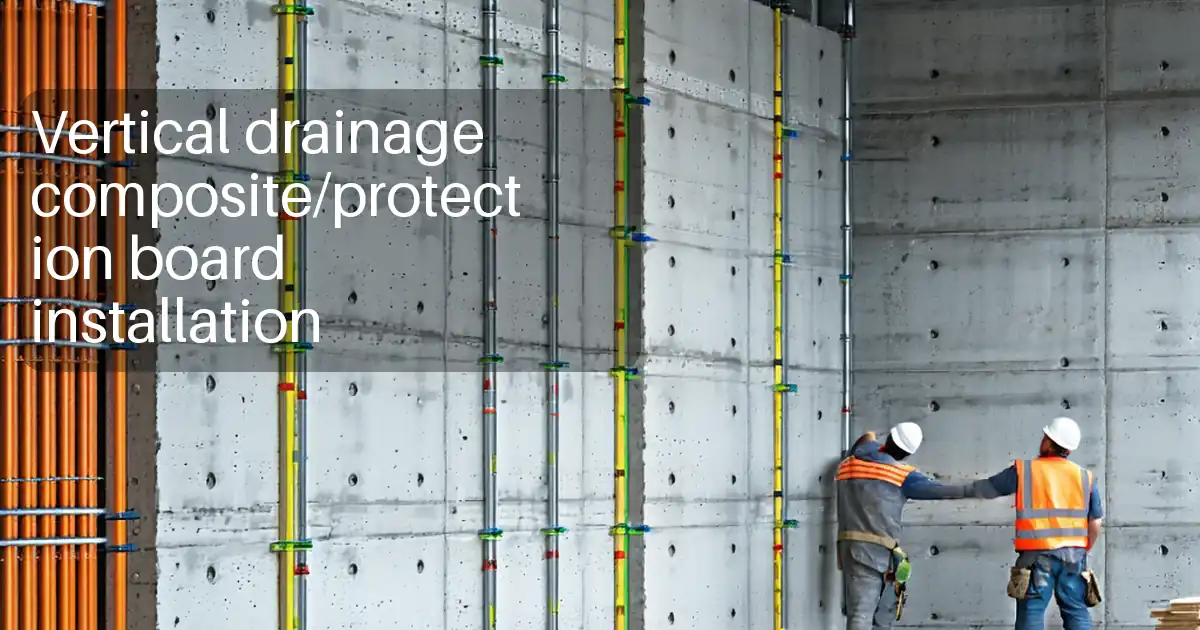
Install vertical bentonite sheets with disciplined, repeatable controls for vertical walls only. This checklist focuses on bentonite waterproofing panels, sometimes called GCL sheets or self-sealing geosynthetic clay liners, addressing four critical aspects: correct overlaps, reliable mechanical fixings, robust sealing at penetrations and terminations, and timely protection before backfilling. By excluding horizontal works, it keeps scope tight and verifiable. You will confirm substrate readiness, use measurable acceptance criteria (mm, kN, N·m), and document evidence with photos, lot numbers, torque readings, and signatures. The result is a continuous, watertight barrier that resists displacement and detailing errors at corners, edges, and service entries. Following these steps reduces post-construction leakage risks, prevents patchy adhesion or fish-mouths, and ensures compliant interfaces with other building elements per approved project specifications and authority requirements. Use this interactive tool to tick items, add comments, upload photos, and export your records as PDF/Excel secured by a QR code.
- Deliver consistent, verifiable vertical waterproofing by standardizing side laps, course laps, corner wraps, fixing patterns, and penetration treatments. Acceptance cues include specific lap widths, fastener spacing, torque ranges, clamp forces, and patch dimensions, with photo evidence and measurements that prevent ambiguous field decisions and reduce rework after concrete curing or backfill.
- Align teams on what good looks like using SI-based tolerances and practical jobsite tools (rollers, torque wrenches, clamp bands, gauges). Built-in prompts capture lot numbers, labels, calibration data, and as-built sketches, creating traceable records suitable for handover, warranty, and future maintenance without revisiting closed excavations.
- Interactive online checklist with tick, comment, and export features secured by QR code.
- Accelerate inspections with clear groupings: pre-installation verification, overlaps and sequencing, mechanical fixings, penetrations and terminations, and protection and handover. Each step specifies method and evidence, enabling faster approvals, fewer punch-list items, and confident sign-off per approved project specifications and authority requirements.
Pre-Installation Verification
Sheet Overlaps and Sequencing
Mechanical Fixings
Penetrations and Terminations
Protection and Handover
Overlaps, Sequencing, and Corners for Watertight Continuity
Correct lap geometry is the backbone of vertical bentonite waterproofing. Maintain side laps at a minimum 100 mm and horizontal course laps at 150 mm with the upper sheet shingled over the lower to shed water. Clean lap zones and use bentonite granules or paste along overlaps before consolidating with a hand roller; this prevents capillary tracking. Stagger vertical joints by at least 300 mm between adjacent courses to avoid four-way intersections. At inside and outside corners, wrap or use preformed corners with 200 mm coverage each face, fixing at 200 mm centres and sealing creases. Eliminate fish-mouths or blisters exceeding 5 mm by lifting, adding paste, and re-rolling; patch any tears with a panel extending 200 mm beyond the damage in all directions. Keep the top termination at least 300 mm above final grade with a continuous bar and sealant bead. These tolerances deliver verifiable continuity and allow fast, photo-based acceptance during inspections.
- Side laps ≥100 mm; course laps ≥150 mm.
- Stagger vertical joints ≥300 mm between courses.
- Roll laps; no fish-mouths >5 mm.
- Corners: 200 mm coverage each face.
- Top termination upstand ≥300 mm.
Fixings That Hold Without Compromising Self-Seal
Mechanical fixings stabilize sheets until confining backfill is placed. Use stainless or hot-dip galvanized fasteners with 38–50 mm washers to spread load, installed at 300 mm centres generally and 200 mm at laps, keeping at least 50 mm from edges. Verify pull-out capacity with a calibrated tester; target at least 0.6 kN on a representative sample to confirm substrate integrity. Termination bars should be fixed at 300 mm centres and torqued to 6–8 N·m—tight enough to clamp, not crush. Seal every fastener head and perimeter with bentonite mastic to maintain self-seal around penetrations. For pipes, apply a compatible boot embedded in paste and secure a stainless clamp to 5–7 N·m; for small bars, use putty and a 200 mm oversheet patch. Acceptance cues include uniform washer bearing, no tenting, continuous sealant beads, and recorded torque and pull-test values.
- Washer diameter 38–50 mm for load spread.
- Fixing centres: 300 mm general, 200 mm at laps.
- Pull-out checks target ≥0.6 kN.
- Termination torque 6–8 N·m.
- Seal all fasteners with mastic.
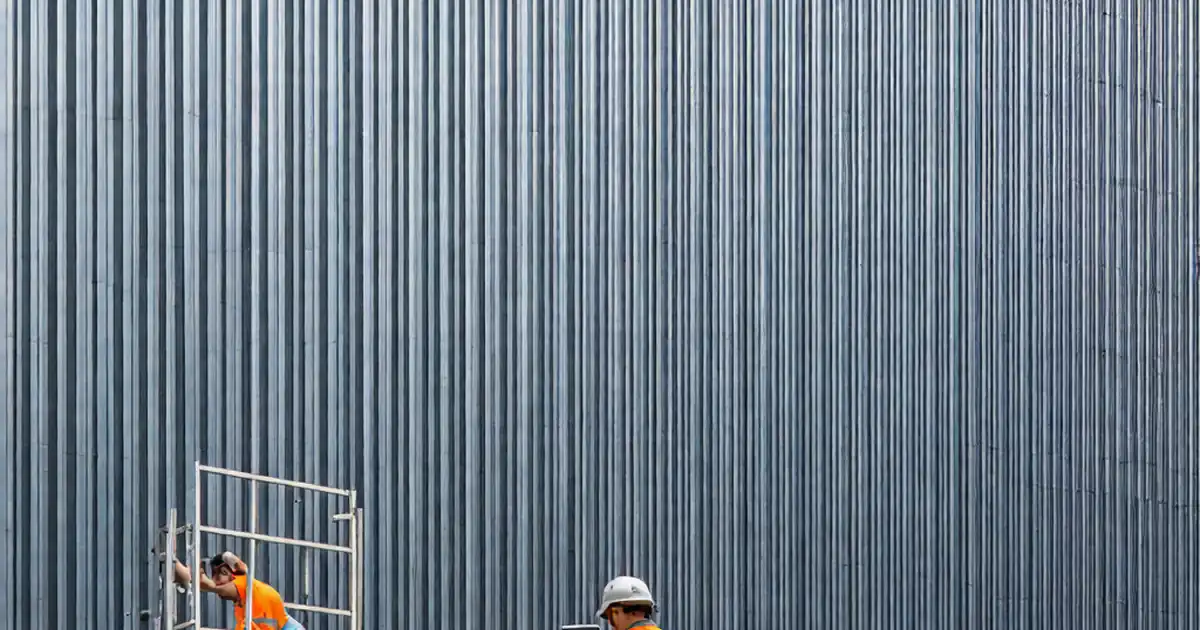
Protection Before Backfill and Evidence You Can Trust
Protection boards prevent puncture and friction damage as soils are placed. Cover the membrane with HDPE dimple sheets or cementitious boards, maintaining gaps under 5 mm and secure temporary fixings to resist wind. Backfill using rounded granular material, compacted in lifts no thicker than 300 mm per approved project specifications and authority requirements; limit drop height to under 1.0 m and keep heavy equipment at least 0.6 m off the wall. Control UV exposure by covering within 30 days to protect the GCL’s bentonite. Document everything: label and lot photos, calibration certificates for pull-testers and torque wrenches, spacing measurements with a ruler in frame, and annotated elevations showing penetrations and corners. Close the loop with a final 10 m walkdown, repairing any defects using 200 mm oversheet patches and re-photographing for proof.
- Protective board coverage before backfill.
- Backfill in ≤300 mm lifts with low drop height.
- Heavy equipment ≥0.6 m from wall.
- Cover membrane within 30 days.
- Photograph labels, tests, and repairs.
How to Use This Checklist
- Preparation: gather bentonite sheets, paste/granules, rollers, washers, termination bars, torque wrench, pull-tester, clamps, protection boards, PPE, and calibrated measuring tools. Confirm drawings, elevations, and approved submittals.
- Open the interactive checklist on your device, select project, elevation, and date, and assign responsible roles for installation and inspection.
- Work through items in sequence. Tick each step, attach photos with rulers, enter measurements (mm, kN, N·m), and record lot numbers and weather.
- Use comments to flag issues, tag teammates, and note corrective actions. Link manufacturer data sheets and calibration certificates.
- On completion, export the record as PDF/Excel, embedding photos and measurements. The export includes a QR code for verification.
- Sign-Off: capture digital signatures from installer, inspector, and supervisor. Confirm all defects closed and evidence attached.
- Archive the checklist in the project repository and share the QR-coded export with stakeholders for traceable handover.

Call to Action
- Start Checklist Tick off tasks, leave comments on items or the whole form, and export your completed report to PDF or Excel—with a built-in QR code for authenticity.
- Download Excel - Vertical Bentonite Sheet Installation
- Download PDF - Vertical Bentonite Sheet Installation
- View Image - Vertical Bentonite Sheet Installation
Cite & Embed
“Vertical Bentonite Sheet Installation by Quollnet”
with a link to
this source page.

FAQ
Question: What lap widths should I use for vertical bentonite sheets, and why do they matter?
Question: How should I detail pipe and small anchor penetrations through vertical bentonite membranes?
Question: Which mechanical fixings are recommended, and how do I avoid corrosion or over-tightening?
Question: When can I backfill, and how do I protect the membrane during backfilling?
Related Articles
Broader reading and guidance connected to this checklist topic.


Download Excel Format Snag List

Is It Important To Customize Your Qr Code And How To Do It?

Master Construction Project Cashflow With Cashflowpot
Related Checklists
Keep the workflow moving with nearby templates chosen from similar checklist content.