Install Horizontal Bentonite Sheets: QA Field Checklist
Definition: Install horizontal bentonite sheets with this field-ready checklist for contractors and inspectors, covering overlaps, fasteners, penetrations, hydration control, and protection boards to deliver watertight slabs and decks.
- Define substrate prep, lap dimensions, and fastening patterns with tolerances.
- Detail penetration collars, terminations, and protection board sequencing.
- Control hydration risks with weather windows, coverings, and documentation.
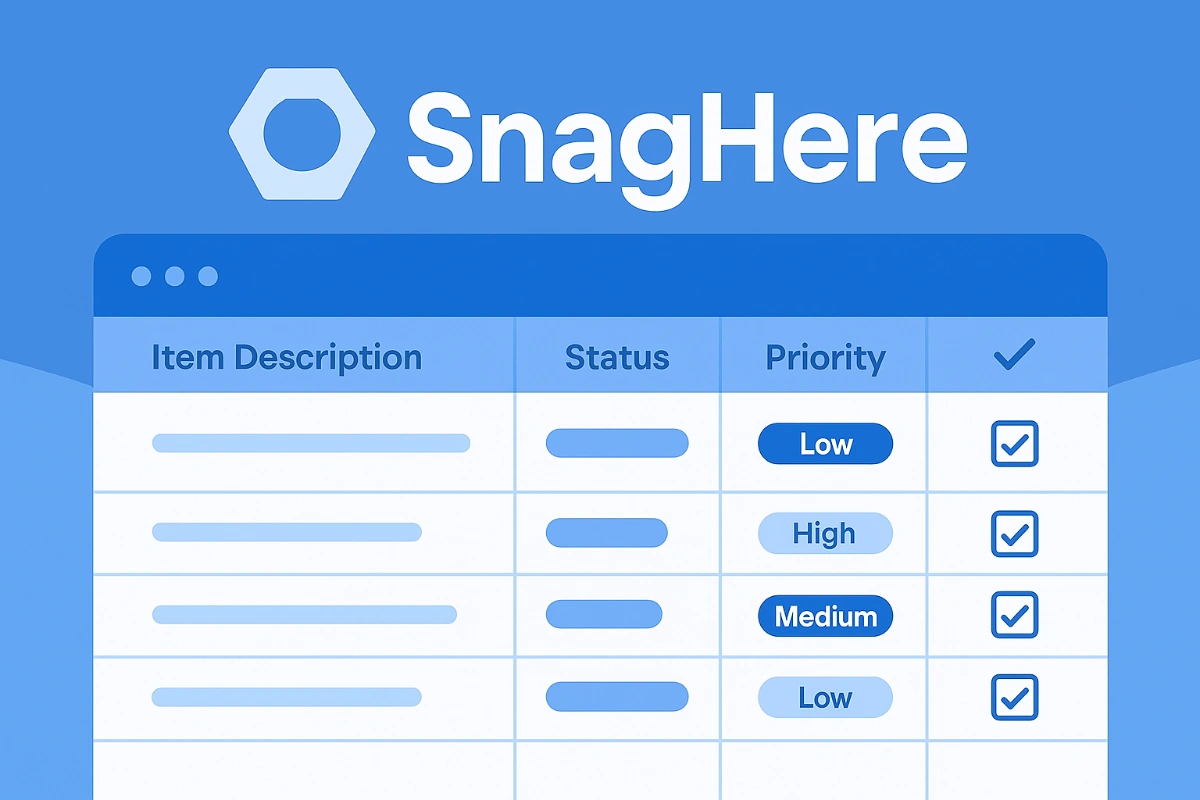
- Interactive, commentable, export with QR code for traceable sign-offs.
Install horizontal bentonite sheets on slabs demands disciplined preparation, precise lap control, and dependable protection before concrete placement. This checklist focuses on horizontal applications of bentonite waterproofing using sheet or GCL panels, including sodium bentonite seams, penetration detailing, hydration control, and protection boards. By holding tight tolerances on overlaps and fastener spacing, you prevent edge lift, washout, and seam separation that cause leaks and costly rework. Careful handling around pipes, drains, and slab edges is essential to maintain continuity, while temporary coverings and protection boards keep the system dry and undisturbed before it is locked in by concrete. The sequence here stops premature hydration, documents batch data and photos, and guides you through acceptance cues you can see and measure on site. Use this interactive checklist to tick items, add comments with photos, and export your record as PDF or Excel with a QR code for authentication.
- Control risk at the source with measurable lap widths, fastener spacing, and penetration collars that create continuous barriers. Document evidence with photos, gauge readings, and lot numbers to support approvals and future warranty submissions.
- Reduce rework by sequencing substrate prep, sheet placement, seaming, and protection boards. The checklist defines tolerances for alignment, staggered end laps, and termination bars, so supervisors can verify workmanship quickly and consistently across multiple crews.
- Interactive online checklist with tick, comment, and export features secured by QR code. Capture issues in real time, assign actions, and create a signed, time-stamped record that’s easily shared with stakeholders and archived for audits.
- Improve pour-day outcomes by managing hydration risk. Weather windows, temporary polyethylene coverings, and field moisture observations keep the bentonite dry until concrete placement, minimizing seam washout and displacement under reinforcement or site traffic.
Pre-Installation Verification
Substrate Preparation
Sheet Placement & Overlaps
Fasteners & Seaming
Penetrations & Terminations
Hydration Control & Protection
Overlaps, Alignment, and Fastening That Survive Pour Day
Horizontal bentonite sheets perform when overlaps are generous, consistent, and well-consolidated. Establish datum lines so the first course is square; even a small skew compounds into misaligned laps and fishmouths later. Hold longitudinal laps at least 150 mm and end laps at least 300 mm, then stagger end laps to avoid four-corner build-ups. Use a 30–50 kg roller to flatten sheets and seat bentonite at seams. Fasten with corrosion-resistant anchors and 35–50 mm washers—tighter patterns at laps than in the field—to limit edge lift under foot traffic and bar placement. A quick light-probe and peel check confirms there are no gaps exceeding 2 mm, while close-up photos every few meters prove continuity. These habits produce stable seams that resist flushing when concrete hits and vibration begins, greatly reducing leak paths and callbacks.
- Hold laps: 150 mm longitudinal, 300 mm end laps minimum.
- Stagger end laps ≥ 300 mm; avoid four-corner intersections.
- Roll seams with a 30–50 kg roller for consolidation.
- Fasten laps at 300 mm centers; field at 600 mm.
- Probe laps; no openings greater than 2 mm.
Penetrations and Terminations: Small Details, Big Consequences
Penetrations concentrate risk, so cut sheets tight and create a controlled annulus for bentonite mastic. Add a collar patch with at least 300 mm overlap around the penetration, and use preformed collars or wraps for round pipes. Where specified, stainless clamps provide uniform pressure; record torque to 5–8 N·m to prove it. At drains and sumps, bendonite granules fill irregularities around throats before cover, and sheets should lap onto flanges for reliable continuity. At slab edges, upturn at least 150 mm and secure termination bars at 200 mm centers, then cap with mastic to block surface water ingress. Thorough photos with a scale at each detail build trust and avoid hidden discontinuities that only show up after flooding or service.
- Tight cuts with 10–15 mm mastic-filled annulus.
- Collar patches overlapping ≥ 300 mm all around.
- Clamp collars where required; torque 5–8 N·m.
- Upturn ≥ 150 mm; termination bars at 200 mm centers.
- Document with close-up photos and measurements.
Hydration Control and Protection Boards Before Reinforcement
Bentonite must stay dry until it is confined. Plan a weather window and be ready with polyethylene sheeting to cover work during breaks or rain. Standing water dissolves seams and migrates fines, so pump or squeegee immediately and verify the surface is dry to touch before resuming. Protection boards distribute loads from reinforcement and foot traffic, preventing punctures and lap displacement. Tight-butt joints and staggered patterns keep boards from telegraphing gaps into the system. Monitor the initial concrete placement to ensure no sheet movement; correct any displacement immediately. Keep a log of weather readings, photos, batch numbers, and pour notes—these traceability records simplify approvals and protect the project during commissioning and warranty reviews.
- Cover with ≥ 0.2 mm polyethylene during exposure.
- Remove standing water; resume only when surface is dry.
- Install continuous protection boards before traffic.
- Monitor first pour; correct any movement immediately.
- Maintain weather and batch documentation.
How to Use This Interactive Horizontal Bentonite Sheet Checklist
- Preparation: Assemble sheets/GCL panels, primers, mastic, bentonite granules, fasteners with 35–50 mm washers, protection boards, 30–50 kg roller, utility knives, chalk line, 3 m straightedge, digital level, anemometer, hygrometer/thermometer, camera, PPE (gloves, eyewear, hearing, fall arrest).
- Project setup: Open the checklist, enter project, area, date, weather, and team. Attach approved submittals and manufacturer instructions to the record.
- Start interactive mode: Assign item owners, due times, and acceptance criteria. Enable photo capture and geotagging for each step.
- Execute checks: Tick items as you verify, measure tolerances, and record batch/lot numbers. Add close-up photos and sketches to comments.
- Issue management: Use comments to log nonconformances, tag responsible parties, and upload corrective-action photos before closing items.
- Export: Generate a commentable report and export as PDF/Excel with embedded photos, measurements, and item status.
- Sign-off: Collect digital signatures from contractor, inspector, and client. Verify QR authentication on the final report.
- Archive and share: Store the signed checklist in your project system and share the QR-secured link with stakeholders.

Call to Action
- Start Checklist Tick off tasks, leave comments on items or the whole form, and export your completed report to PDF or Excel—with a built-in QR code for authenticity.
- Download Excel - Horizontal Bentonite Sheet Installation
- Download PDF - Horizontal Bentonite Sheet Installation
- View Image - Horizontal Bentonite Sheet Installation
Cite & Embed
“Horizontal Bentonite Sheet Installation by Quollnet”
with a link to
this source page.

FAQ
Question: What minimum overlap should I use for horizontal bentonite sheets?
Question: How do I manage rain or standing water before the concrete pour?
Question: What fasteners and spacing are recommended for horizontal installations?
Question: How should I detail pipes, drains, and slab terminations?
Question: When should protection boards be installed and what pattern works best?
Related Articles
Broader reading and guidance connected to this checklist topic.


Is It Important To Customize Your Qr Code And How To Do It?
Download Excel Format Snag List

Master Construction Project Cashflow With Cashflowpot

Related Checklists
Keep the workflow moving with nearby templates chosen from similar checklist content.