Construction Project Cashflow Tutorial
In this tutorial, I will guide you on how to use CASHFLOWPOT to generate a construction project cash flow.
Creating a New Project
To create a project, click the plus sign next to the "New Project" tag. On the form that appears, enter the project name, and optionally add a description. Then, input the contract value. You can also view and modify the contract conditions by clicking the switch below the contract value field—in this example, I updated the interest rate.
Once you're done, click "Save." Now your project is created, and it's time to add activities.
Adding Activities
To create the first activity, click the plus sign in the center of the screen. Fill out the form with details such as the activity name, type, duration, start date, and cost.
To add another activity, click the plus sign at the bottom center of the screen. Fill out the activity details, and if needed, view and adjust the subcontract conditions by clicking "Show conditions of subcontract." Here, you can modify the subcontract percentage and other relevant variables.
Viewing and Exporting Cash Flow
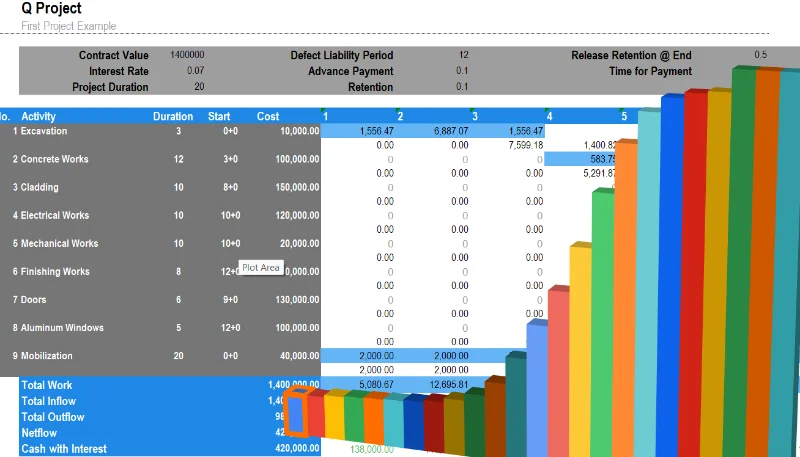
Once you've finished adding activities, you can view the cash flow by dragging up the lower draggable form at the bottom of the screen. This will reveal both the activity cash flow and related charts. You can also export the cash flow to Excel by clicking the download button at the bottom of the screen.
The exported Excel file includes both the activity cash flow and the overall project cash flow.
Click here
to use the application for free
Check out here how the calculation source of a cashflow and compounding interest


