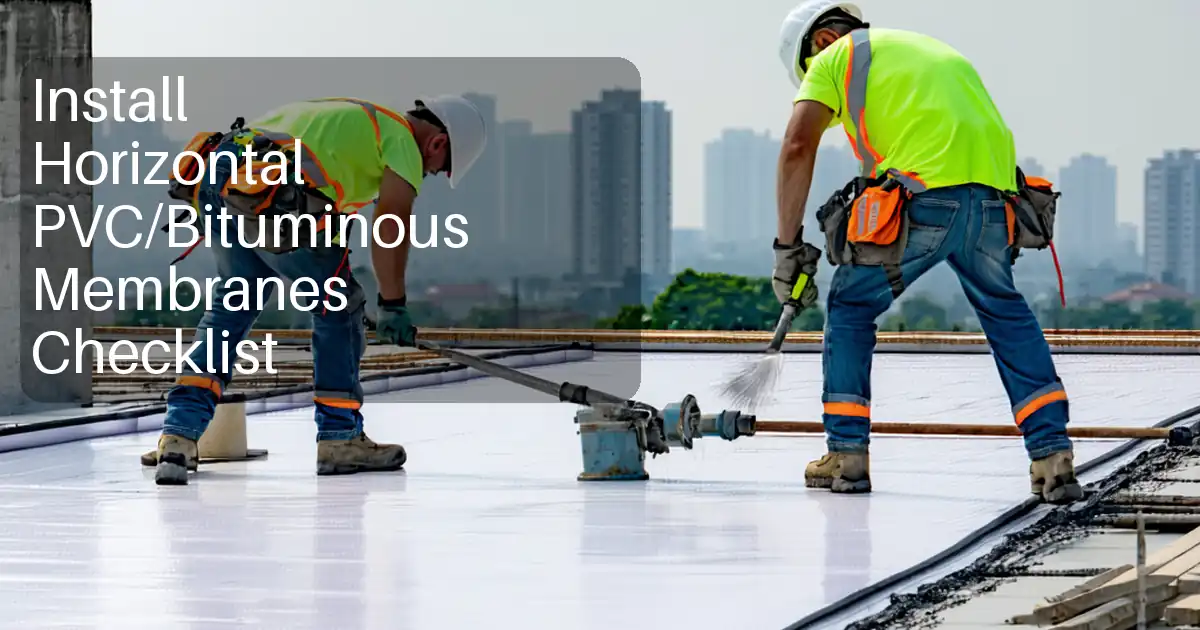
Install horizontal drainage composites/protection boards
Definition: Install horizontal drainage composites/protection boards for contractors and inspectors, detailing continuity across decks, clear outlets, and robust membrane protection on roofs, podium slabs, and terraces, excluding any vertical applications.
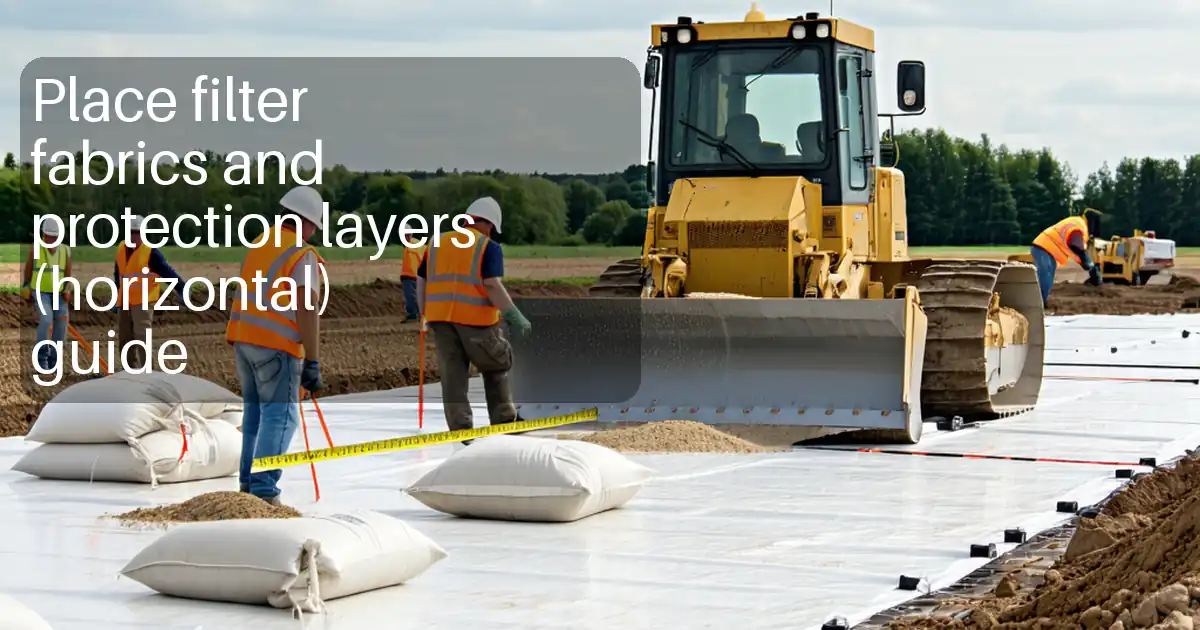
- Ensure drainage continuity with correct laps, alignment, and flow orientation.
- Protect waterproofing membranes from puncture using compatible protection boards.
- Verify outlets, terminations, and sumps remain clear and accessible.
- Interactive, commentable checklist with export and QR code verification.
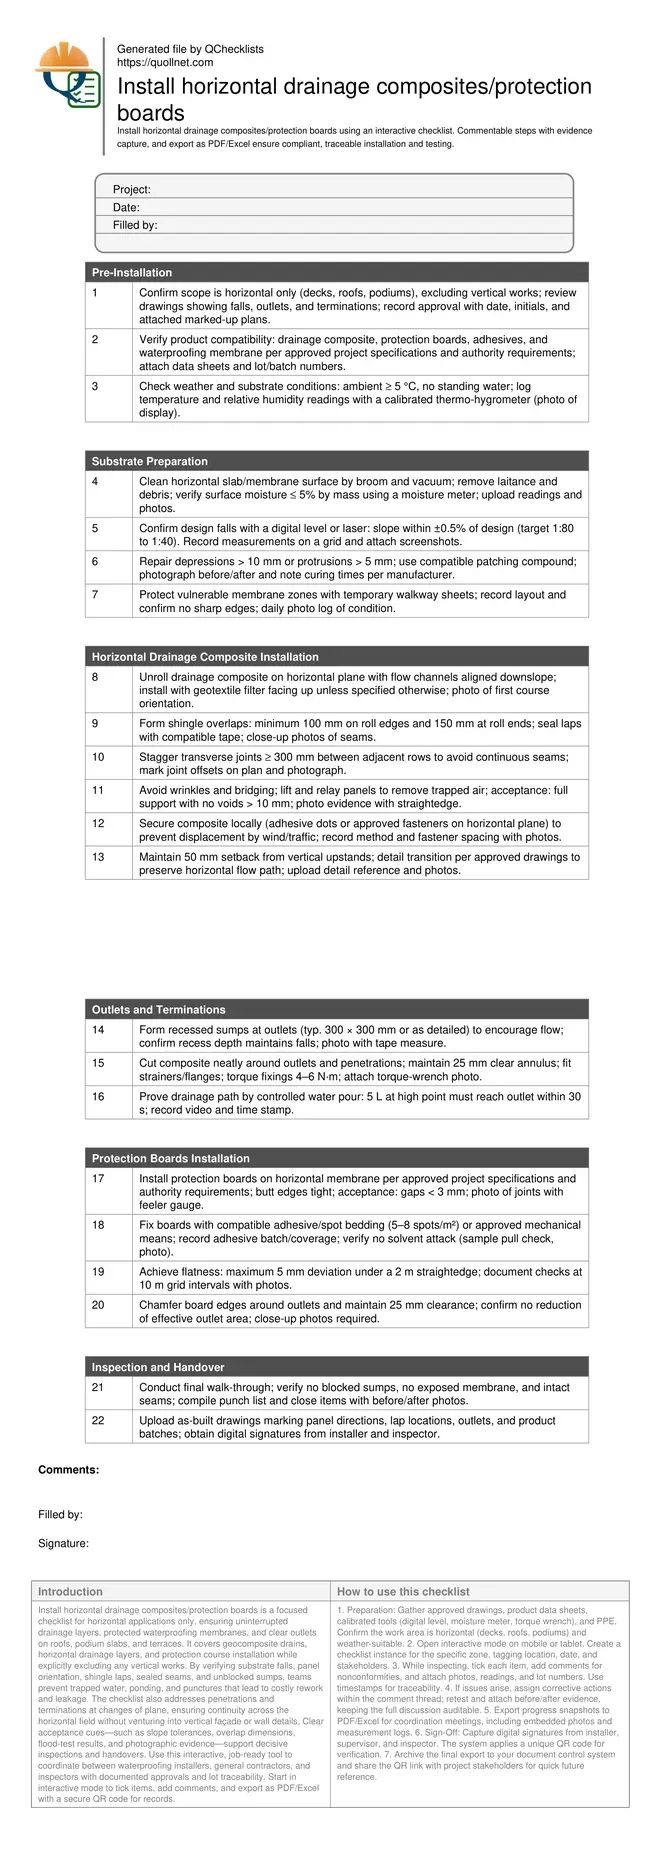
Install horizontal drainage composites/protection boards is a focused checklist for horizontal applications only, ensuring uninterrupted drainage layers, protected waterproofing membranes, and clear outlets on roofs, podium slabs, and terraces. It covers geocomposite drains, horizontal drainage layers, and protection course installation while explicitly excluding any vertical works. By verifying substrate falls, panel orientation, shingle laps, sealed seams, and unblocked sumps, teams prevent trapped water, ponding, and punctures that lead to costly rework and leakage. The checklist also addresses penetrations and terminations at changes of plane, ensuring continuity across the horizontal field without venturing into vertical façade or wall details. Clear acceptance cues—such as slope tolerances, overlap dimensions, flood-test results, and photographic evidence—support decisive inspections and handovers. Use this interactive, job-ready tool to coordinate between waterproofing installers, general contractors, and inspectors with documented approvals and lot traceability. Start in interactive mode to tick items, add comments, and export as PDF/Excel with a secure QR code for records.
- Ensure continuous horizontal drainage performance by verifying slopes, correct geocomposite orientation, shingle-lapped seams, and sealed joints. The process protects membranes from damage, maintains flow channels to outlets and sumps, and documents compatibility across materials to reduce leaks, callbacks, and schedule risk.
- Interactive online checklist with tick, comment, and export features secured by QR code. It runs on site tablets and phones, timestamps readings, links photos and batch numbers, and delivers a clear audit trail from substrate preparation through outlet proofing to final sign-off for confident handover.
- Standardize installation quality by defining measurable tolerances—overlaps, flatness, clearances, and moisture limits—paired with practical tools like digital levels, moisture meters, torques, and straightedges. Evidence-based acceptance criteria prevent ambiguity, help supervisors spot issues early, and document corrective actions before covering works.
- Protect the waterproofing system with compatible protection boards laid to tight tolerances, avoiding puncture and bridging. Edge detailing, penetration cut-outs, and outlet chamfers maintain access and flow capacity, while temporary walkways and debris control preserve the membrane during subsequent trades and screed placement.
Pre-Installation
Substrate Preparation
Horizontal Drainage Composite Installation
Outlets and Terminations
Protection Boards Installation
Inspection and Handover
Design intent and horizontal-only scope
Horizontal drainage composites and protection boards ensure water moves efficiently across decks, roofs, podium slabs, and terraces without compromising the waterproofing membrane. This checklist stays strictly on horizontal works, excluding vertical interfaces, to control flow direction, maintain continuity, and protect membranes from puncture during construction and subsequent trades. Start by confirming design falls, outlet positions, and recesses that prevent ponding. Compatibility among drainage geocomposites, protection boards, adhesives, and membranes avoids chemical attack and delamination. Measurable acceptance criteria speed decisions: slopes checked with digital levels, moisture tested before covering, and laps verified by dimensioned photos. Practical risk controls—temporary walkways, staggered joints, and clearances at outlets—limit damage and keep drainage channels open. With these nuances captured, crews reduce leaks, callbacks, and rework, and inspectors gain verifiable evidence for sign-off before overburden or screeds conceal the system.
- Confirm falls and outlets before any roll-out begins.
- Record compatibility via data sheets and batch numbers.
- Use digital levels and moisture meters for evidence.
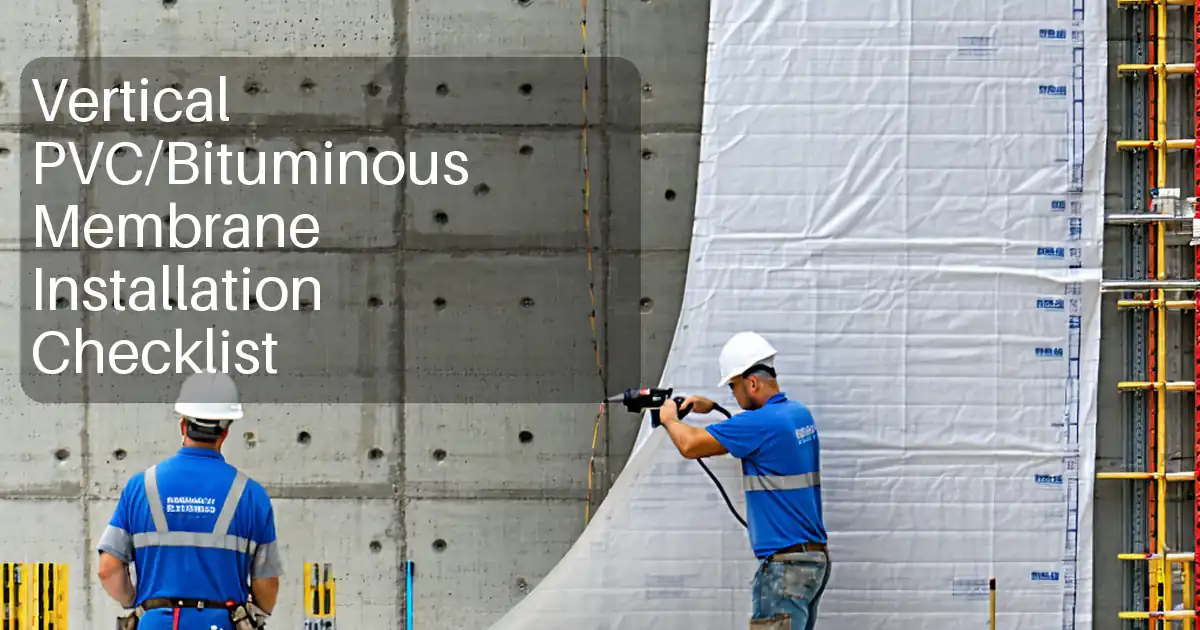
- Exclude vertical installations from this scope.
- Protect membranes with temporary walkways.
Installing and joining the drainage composite
Lay the drainage composite with channels aligned downslope and geotextile filter up, unless the system specifies otherwise. Achieve shingle laps to shed water at 100 mm along edges and 150 mm at roll ends, sealing with compatible tape to stop fines migrating into flow channels. Stagger joints to prevent continuous pathways that could deform under point loads. Remove wrinkles and air pockets to ensure full support and even flow, using a straightedge to confirm no voids over 10 mm. Keep a 50 mm setback from vertical upstands and detail transitions at changes of plane per approved drawings, preserving the horizontal drainage path. Around outlets and penetrations, cut neatly, maintain clearance, and install strainers or flanges as detailed. Verify performance by controlled water pours that confirm unobstructed flow without ponding.
- Align channels with the designed fall direction.
- Use shingle laps and seal seams with tape.
- Stagger joints at least 300 mm.
- Remove wrinkles; ensure full support under panels.
- Prove flow with timed water tests.
Protection boards, access, and acceptance cues
Protection boards shield the membrane and drainage layer from traffic and construction activities across horizontal fields. Install boards per approved project specifications and authority requirements, avoiding solvents that could soften membranes. Butt edges tightly with gaps under 3 mm and maintain a smooth, stable surface; check flatness with a 2 m straightedge for deviations under 5 mm. Around outlets, chamfer edges and preserve 25 mm clearance to avoid restricting capacity or trapping debris. Temporary walkway sheets prevent point loading and punctures during material handling. Before covering with screed or overburden, complete a final inspection, remove debris, photograph critical details—laps, joints, penetrations, and outlets—and capture batch numbers for traceability. Digital sign-offs close the loop and support future maintenance by showing what is hidden below.
- Butt boards tight; limit gaps to under 3 mm.
- Verify flatness: ≤ 5 mm under 2 m straightedge.
- Chamfer near outlets; keep 25 mm clearance.
- Avoid solvent adhesives; confirm compatibility.
- Document photos before covering the system.
How to use this interactive checklist
- Preparation: Gather approved drawings, product data sheets, calibrated tools (digital level, moisture meter, torque wrench), and PPE. Confirm the work area is horizontal (decks, roofs, podiums) and weather-suitable.
- Open interactive mode on mobile or tablet. Create a checklist instance for the specific zone, tagging location, date, and stakeholders.
- While inspecting, tick each item, add comments for nonconformities, and attach photos, readings, and lot numbers. Use timestamps for traceability.
- If issues arise, assign corrective actions within the comment thread; retest and attach before/after evidence, keeping the full discussion auditable.
- Export progress snapshots to PDF/Excel for coordination meetings, including embedded photos and measurement logs.
- Sign-Off: Capture digital signatures from installer, supervisor, and inspector. The system applies a unique QR code for verification.
- Archive the final export to your document control system and share the QR link with project stakeholders for quick future reference.
Call to Action
- Start Checklist Tick off tasks, leave comments on items or the whole form, and export your completed report to PDF or Excel—with a built-in QR code for authenticity.
- Download Excel - Horizontal Drainage Composites/Protection Boards Installation
- Download PDF - Horizontal Drainage Composites/Protection Boards Installation
- View Image - Horizontal Drainage Composites/Protection Boards Installation
Cite & Embed
“Horizontal Drainage Composites/Protection Boards Installation by Quollnet”
with a link to
this source page.
FAQ
Question: What slope is acceptable for horizontal drainage composites on roofs or podium slabs?
Question: Do protection boards go above or below the drainage composite in horizontal assemblies?
Question: How can I verify outlets and sumps are not obstructed before covering the system?
Question: What evidence should I collect to support final sign-off?
Related Articles
Broader reading and guidance connected to this checklist topic.


Is It Important To Customize Your Qr Code And How To Do It?

Improve Your Project Handover Process With Snag List Tracking App

Open Ncrs At Taking-over / Dlp: What Happens At Handover And How To Escalate
Related Checklists
Keep the workflow moving with nearby templates chosen from similar checklist content.