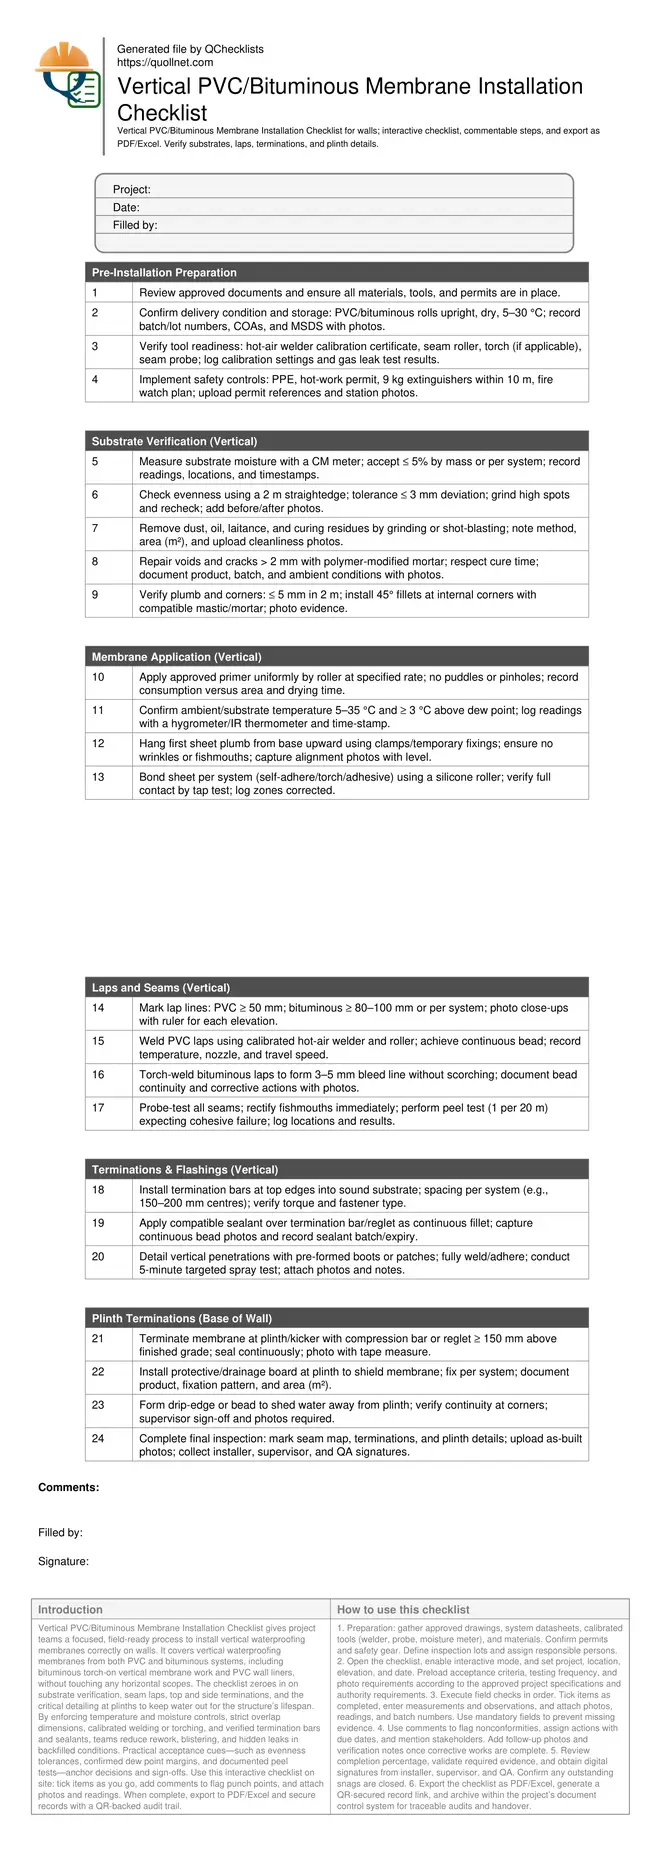
Vertical PVC/Bituminous Membrane Installation Checklist
Definition: Vertical PVC/Bituminous Membrane Installation Checklist for site supervisors verifies vertical substrates, laps, and terminations, including plinth interfaces, delivering compliant, durable wall waterproofing while explicitly excluding horizontal membrane scopes.
- Confirm substrates are sound, dry, and plumb before application.
- Control laps, seams, and terminations for watertight, durable walls.
- Document primers, temperatures, lot numbers, and photo evidence for compliance.
- Interactive, commentable checklist with export and QR code authentication.
Vertical PVC/Bituminous Membrane Installation Checklist gives project teams a focused, field-ready process to install vertical waterproofing membranes correctly on walls. It covers vertical waterproofing membranes from both PVC and bituminous systems, including bituminous torch-on vertical membrane work and PVC wall liners, without touching any horizontal scopes. The checklist zeroes in on substrate verification, seam laps, top and side terminations, and the critical detailing at plinths to keep water out for the structure’s lifespan. By enforcing temperature and moisture controls, strict overlap dimensions, calibrated welding or torching, and verified termination bars and sealants, teams reduce rework, blistering, and hidden leaks in backfilled conditions. Practical acceptance cues—such as evenness tolerances, confirmed dew point margins, and documented peel tests—anchor decisions and sign-offs. Use this interactive checklist on site: tick items as you go, add comments to flag punch points, and attach photos and readings. When complete, export to PDF/Excel and secure records with a QR-backed audit trail.
- Interactive online checklist with tick, comment, and export features secured by QR code. Field teams capture photos, readings, and signatures, while supervisors verify laps, terminations, and plinth details. QR authentication streamlines audits, preserves version control, and supports rapid closeout documentation for vertical wall waterproofing.
- Achieve durable, watertight vertical walls by verifying substrate dryness, evenness, and verticality; enforcing correct primers; and documenting calibrated welding/torching. Consistent lap dimensions, seam testing, and termination bars with compatible sealants sharply reduce leak risk and costly excavation or interior remediation later.
- Proactive evidence collection—lot numbers, coverage rates, temperature and moisture logs, seam maps, and torque records—creates defensible compliance. Structured steps help multiple trades coordinate around penetrations and plinth interfaces, preventing discontinuities and ensuring membranes survive backfilling, impacts, and thermal cycling.
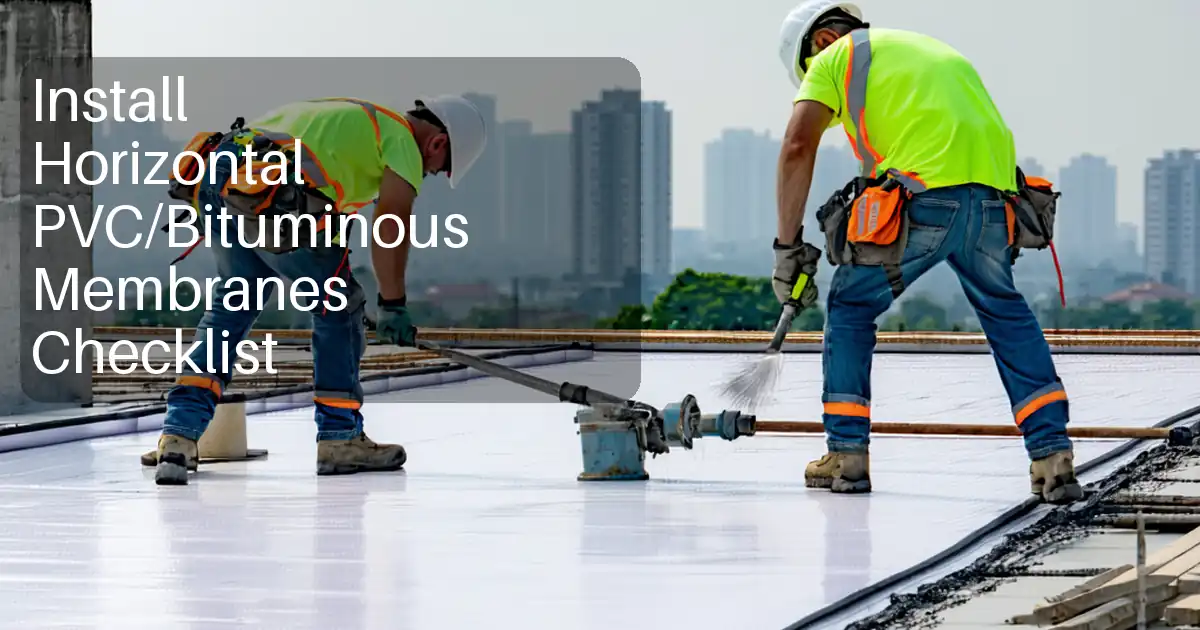
Pre-Installation Preparation
Substrate Verification (Vertical)
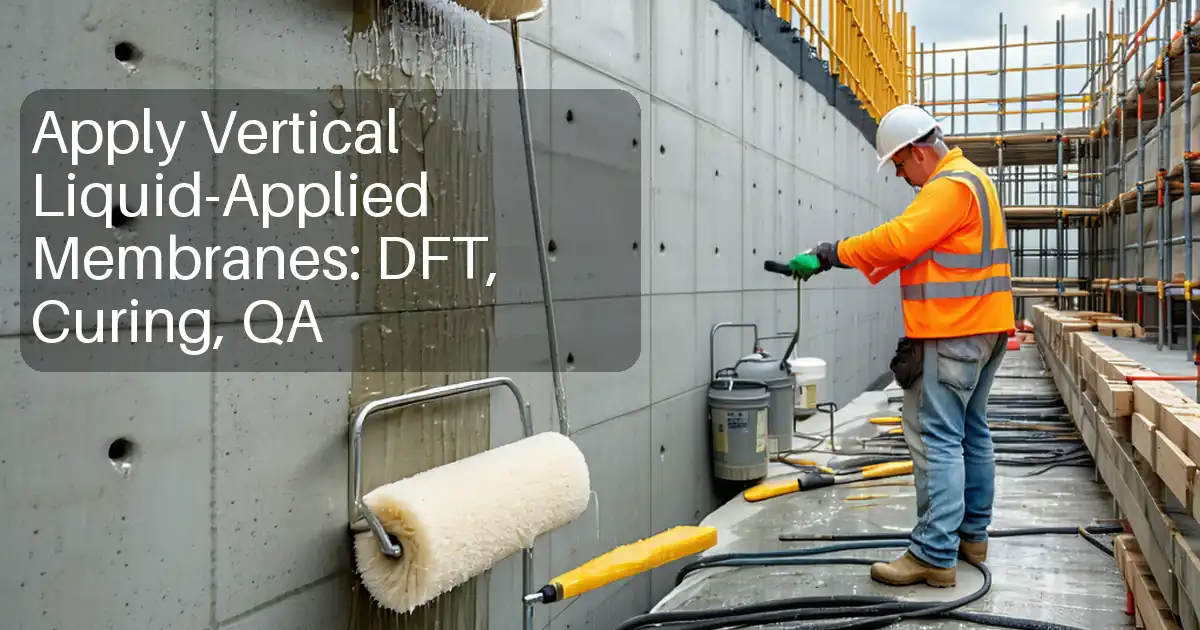
Membrane Application (Vertical)
Laps and Seams (Vertical)
Terminations & Flashings (Vertical)
Plinth Terminations (Base of Wall)
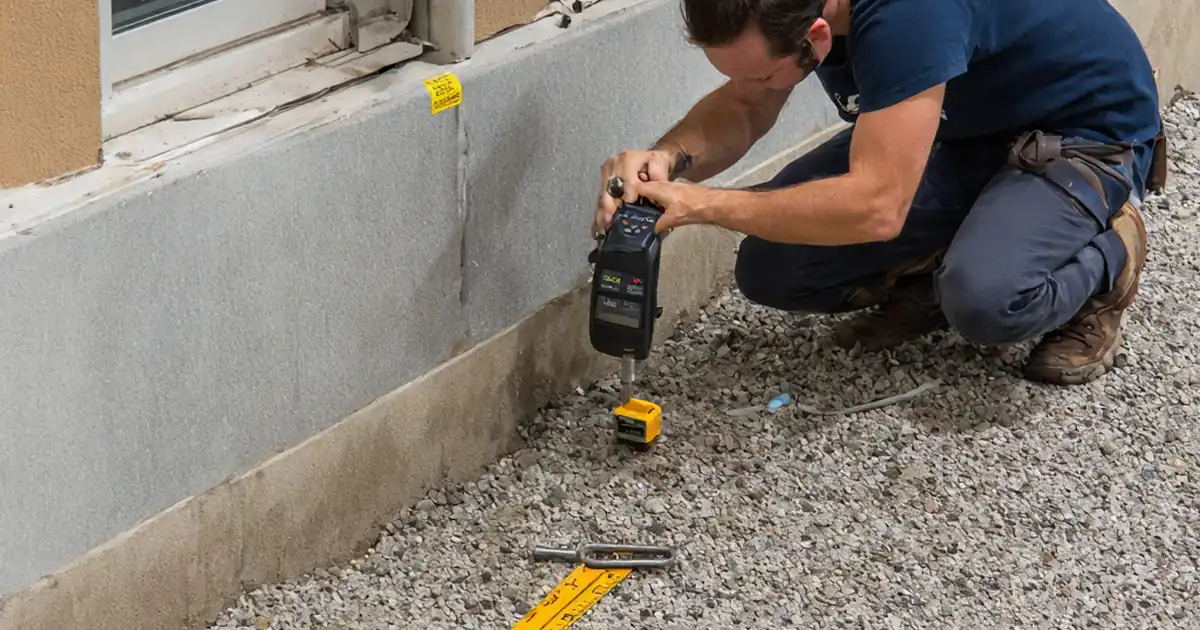
Substrate Readiness for Vertical Membranes
A watertight system starts with a compliant vertical substrate. Concrete or masonry must be dry, clean, even, and plumb. Use a CM meter to confirm moisture (≤ 5% by mass or per the approved system). Grind or shot-blast to remove laitance, dust, and curing residues. Check evenness with a 2 m straightedge and correct deviations over 3 mm; abrupt ridges telegraph through and create voids behind the membrane. Verify verticality within 5 mm per 2 m for neat sheet alignment. At internal corners, install 45° fillets to soften transitions and prevent bridging. Environmental control matters: confirm the substrate is at least 3 °C above dew point and that ambient/substrate temperatures sit within 5–35 °C during priming and bonding. Record all readings and cleaning methods, plus before/after photos. On real jobs, crews often save hours by flagging moisture pockets early; targeted repairs and re-tests prevent trapped vapour, blisters, and rework behind protection boards.
- Moisture verified with CM meter and documented by location.
- Evenness within 3 mm over 2 m after surface prep.
- Verticality within 5 mm per 2 m for sheet alignment.
- Install 45° fillets at corners to avoid bridging.
- Maintain ≥ 3 °C above dew point during works.
Laps, Welding, and Seam Assurance
Reliable laps make or break vertical waterproofing. Lay out sheets plumb and pre-mark lap widths—typically ≥ 50 mm for PVC and ≥ 80–100 mm for bituminous, or not less than manufacturer instructions. For PVC, keep welder calibration current and record set temperature, nozzle type, and travel speed; create a continuous, glossy weld bead and test coupons if required. For bituminous, apply controlled heat to produce a modest 3–5 mm bleed line without scorching or voids. Probe-test every seam and immediately correct fishmouths. Perform periodic peel tests (for example, one per 20 m of seam) expecting cohesive failure within the membrane layer, not adhesive failure. Photograph a ruler against laps and log all test locations and results. In practice, disciplined seam mapping and probe testing prevent hidden discontinuities that only appear after backfilling or driving rain, and they provide defensible QA records during handover.
- Pre-mark lap widths and photograph with a ruler.
- Calibrate welder and log temperature and speed.
- Torch bituminous laps for consistent 3–5 mm bleed.
- Probe-test 100% of seams and record repairs.
- Peel tests show cohesive, not adhesive, failure.
Terminations and Plinth Detailing
Terminations lock vertical membranes against wind, movement, and water tracking. Secure top edges with termination bars anchored into sound substrate; verify fastener type, spacing, and torque. Seal continuously with a compatible sealant to create a robust fillet. For vertical penetrations, use pre-formed boots or reinforced patches and perform targeted spray tests to ensure leak-free integration. At the plinth or base of wall, terminate the membrane with a compression bar or reglet set at least 150 mm above finished grade, then protect with drainage or protection boards to resist backfill damage. Include a drip-edge or bead to shed water away from the plinth. Photograph every termination and record sealant batch numbers. These details prevent capillary tracking at terminations and impact damage near grade, keeping vertical waterproofing reliable without referencing or depending on horizontal membrane scopes.
- Fasten termination bars and verify torque values.
- Apply continuous, compatible sealant fillets.
- Test penetrations with targeted water spray.
- Terminate ≥ 150 mm above finished grade.
- Install protection/drainage boards at plinth.
How to Use This Interactive Checklist
- Preparation: gather approved drawings, system datasheets, calibrated tools (welder, probe, moisture meter), and materials. Confirm permits and safety gear. Define inspection lots and assign responsible persons.
- Open the checklist, enable interactive mode, and set project, location, elevation, and date. Preload acceptance criteria, testing frequency, and photo requirements according to the approved project specifications and authority requirements.
- Execute field checks in order. Tick items as completed, enter measurements and observations, and attach photos, readings, and batch numbers. Use mandatory fields to prevent missing evidence.
- Use comments to flag nonconformities, assign actions with due dates, and mention stakeholders. Add follow-up photos and verification notes once corrective works are complete.
- Review completion percentage, validate required evidence, and obtain digital signatures from installer, supervisor, and QA. Confirm any outstanding snags are closed.
- Export the checklist as PDF/Excel, generate a QR-secured record link, and archive within the project’s document control system for traceable audits and handover.
Call to Action
- Start Checklist Tick off tasks, leave comments on items or the whole form, and export your completed report to PDF or Excel—with a built-in QR code for authenticity.
- Download Excel - Vertical PVC/Bituminous Membrane Installation
- Download PDF - Vertical PVC/Bituminous Membrane Installation
- View Image - Vertical PVC/Bituminous Membrane Installation
Cite & Embed
“Vertical PVC/Bituminous Membrane Installation by Quollnet”
with a link to
this source page.
FAQ
Question: What environmental conditions are acceptable for installing vertical PVC or bituminous membranes?
Question: How wide should vertical laps be for PVC and bituminous membranes?
Question: What is the correct way to terminate membranes at the plinth or base of wall?
Question: How do I verify seam quality on vertical applications without destructive testing?
Related Articles
Broader reading and guidance connected to this checklist topic.


Is It Important To Customize Your Qr Code And How To Do It?

Master Construction Project Cashflow With Cashflowpot


Related Checklists
Keep the workflow moving with nearby templates chosen from similar checklist content.