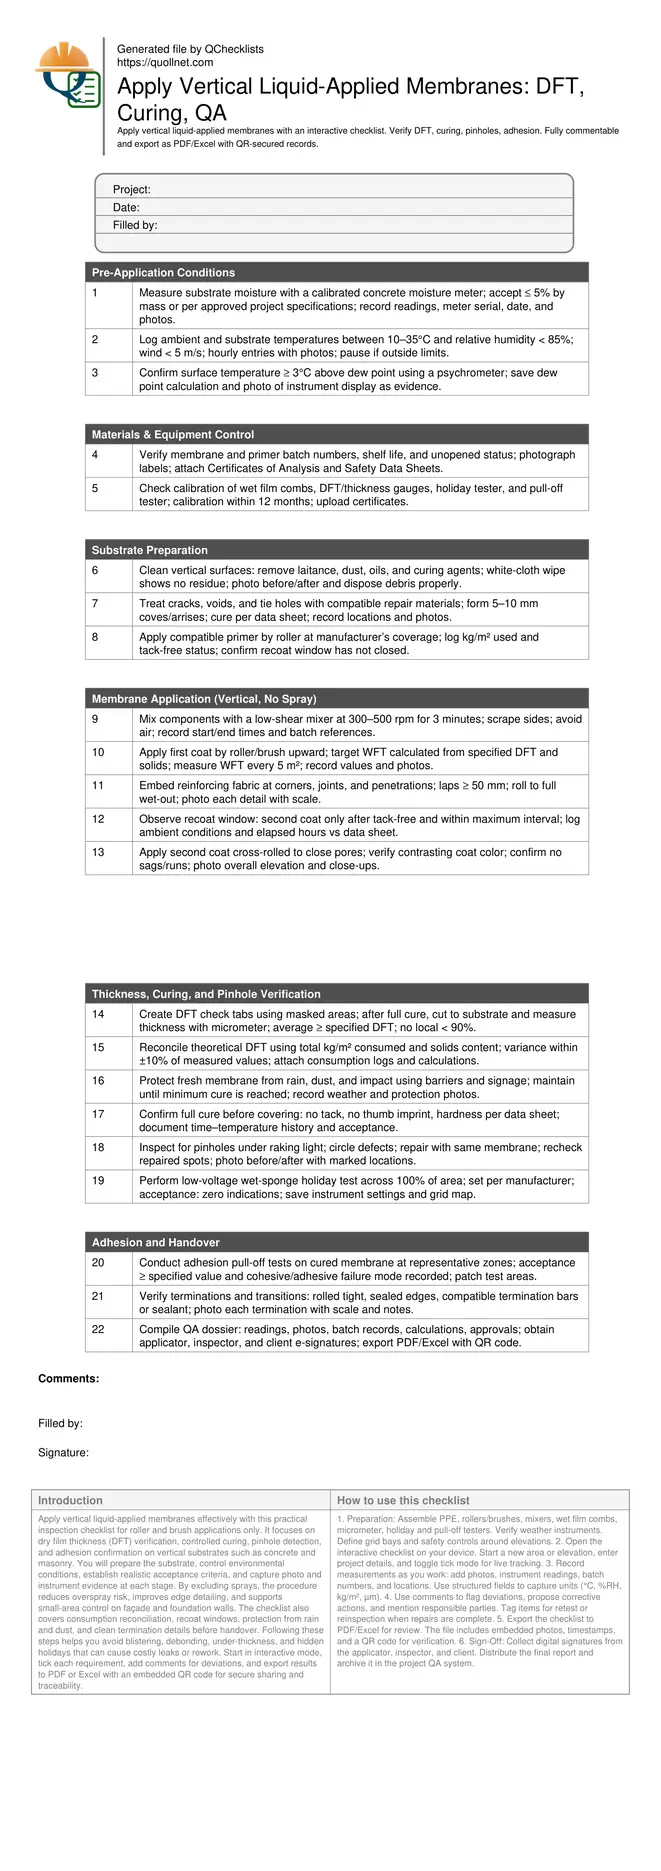
Apply Vertical Liquid-Applied Membranes: DFT, Curing, Pinholes
Definition: Apply vertical liquid-applied membranes on walls using roller/brush, verifying dry film thickness, curing, pinholes, and adhesion for QA teams, excluding sprays.
- Confirm substrate, weather, and dew point before roller or brush application.
- Control wet film, verify DFT, and reconcile with material consumption.
- Detect and repair pinholes; verify adhesion before covering or backfilling.
- Interactive, commentable checklist with export and QR code verification.
Apply vertical liquid-applied membranes effectively with this practical inspection checklist for roller and brush applications only. It focuses on dry film thickness (DFT) verification, controlled curing, pinhole detection, and adhesion confirmation on vertical substrates such as concrete and masonry. You will prepare the substrate, control environmental conditions, establish realistic acceptance criteria, and capture photo and instrument evidence at each stage. By excluding sprays, the procedure reduces overspray risk, improves edge detailing, and supports small-area control on façade and foundation walls. The checklist also covers consumption reconciliation, recoat windows, protection from rain and dust, and clean termination details before handover. Following these steps helps you avoid blistering, debonding, under-thickness, and hidden holidays that can cause costly leaks or rework. Start in interactive mode, tick each requirement, add comments for deviations, and export results to PDF or Excel with an embedded QR code for secure sharing and traceability.
- Eliminate guesswork when applying vertical liquid-applied membranes with structured pre-checks, controlled mixing, and cross-rolling techniques. Record weather, dew point, and substrate moisture to prevent blistering, under-cure, or adhesion loss on walls before covering or backfilling activities proceed.
- Achieve the specified dry film thickness by combining wet film comb readings, cured thickness checks at tabs, and consumption reconciliation. Document instrument calibrations, sampling locations, and acceptance tolerances to prove coverage uniformity, especially around corners, penetrations, and terminations.
- Interactive online checklist with tick, comment, and export features secured by QR code. Use it to attach photos, batch records, and test results; maintain a complete audit trail; and simplify approvals across contractors, inspectors, and clients while meeting approved project specifications and authority requirements.
- Avoid leaks and rework by detecting and repairing pinholes using raking light and wet-sponge holiday testing. Verify full cure and adhesion before handover, ensuring robust performance under cladding, soil backfill, or service exposure without resorting to spray application methods.
Pre-Application Conditions
Materials & Equipment Control
Substrate Preparation
Membrane Application (Vertical, No Spray)
Thickness, Curing, and Pinhole Verification
Adhesion and Handover
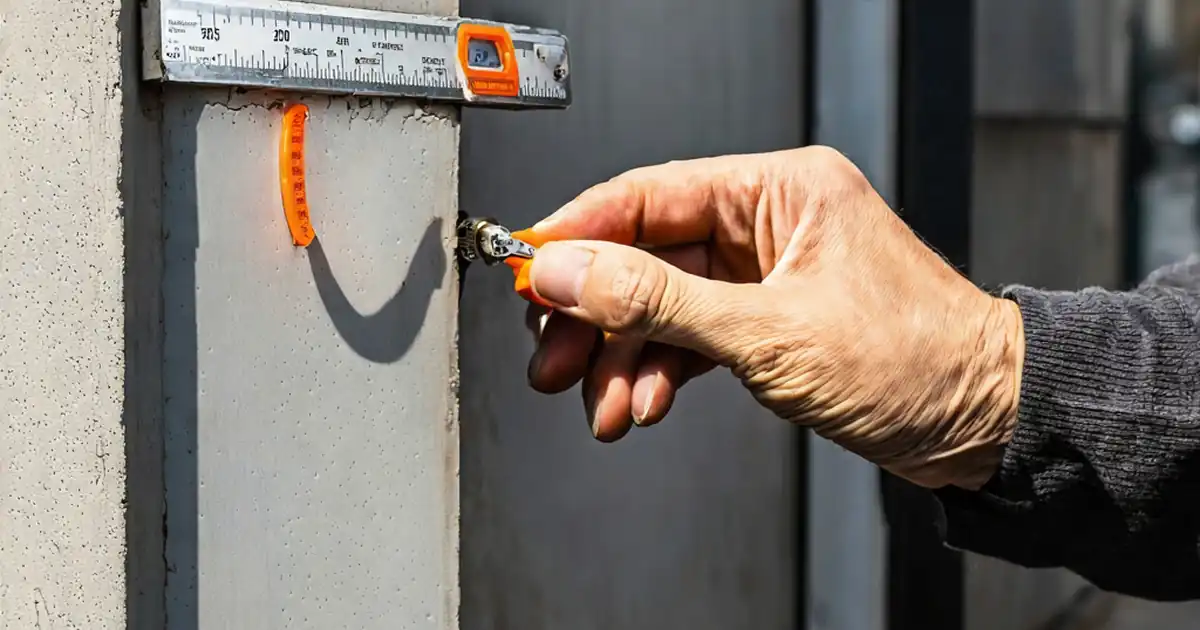
Jobsite setup: vertical surfaces, no spray, and stable conditions
Vertical liquid-applied membranes perform best when the substrate and environment are controlled. Excluding sprays reduces overspray, protects adjacent finishes, and improves control at edges and penetrations. Begin with verified cleanliness, repaired defects, and a profile consistent with the manufacturer’s guidance. Control weather by logging temperature, relative humidity, wind, and dew point; a substrate at least 3°C above dew point prevents condensation and blisters. Use compatible primers and respect recoat windows to ensure intercoat adhesion. On facades and foundation walls, organize work into logical areas (elevations or grid bays) so evidence can be captured consistently. Equip teams with calibrated wet film combs, micrometers for cured tabs, a wet-sponge holiday tester, and a pull-off tester. A typical pitfall is applying over dusty surfaces or in rising humidity near dusk, which traps moisture and weakens adhesion. This checklist’s structured steps minimize those risks while capturing defensible records for closeout.
- Exclude sprays; use roller or brush for controlled vertical coverage.
- Keep surface temperature ≥ 3°C above dew point.
- Record weather hourly with photos of instruments.
- Prime only clean, dry, and sound substrates.
- Divide elevations into traceable grid bays.
Getting thickness right: WFT, DFT, and consumption reconciliation
DFT drives durability. On vertical work, use wet film combs during application, then confirm with cured thickness at masked tabs and reconcile against actual consumption. Calculate target WFT from specified DFT and solids content; check every 5 m² to catch roller loading or sag issues. After cure, cut check tabs to the substrate and measure with a micrometer to confirm the achieved DFT. Compare these results with the theoretical DFT from kilograms per square metre consumed. Expect a tight correlation; variances beyond ±10% signal loss, pinholes, or over-application. One common field miss is relying only on consumption without local measures, which hides thin spots behind services or brackets. By triangulating WFT, cured DFT, and consumption, you can confidently demonstrate compliance and long-term performance.
- Measure WFT during application at defined grid points.
- Use masked tabs to take cured DFT readings.
- Reconcile kg/m² usage with solids content.
- Investigate variances exceeding ±10%.
- Photograph gauges and readings in place.
Cure control, pinhole discovery, and adhesion confidence
Curing determines chemistry, adhesion, and pinhole risk. Protect fresh coats from rain, dust, and impact until tack-free, then finish within the maximum recoat window. Use raking light to reveal pinholes, then verify the whole elevation with a low-voltage wet-sponge holiday test. Repair marked spots and retest. Before covering or backfilling, confirm full cure and execute representative adhesion pull-off tests; record values and failure modes per approved project specifications and authority requirements. Inspect terminations and penetrations carefully—most failures start at edges. Real-world example: an evening shower soaked an unprotected wall, causing tack loss and blistering; protection barriers and a reset cure clock saved the project from rework. Consistent documentation of these checks enables confident sign-off and traceable handover.
- Maintain protection until minimum cure is reached.
- Use raking light and wet-sponge holiday testing.
- Repair defects with the same membrane system.
- Test adhesion before covering or backfilling.
- Document failure modes and repair patches.
How to Use This Vertical Liquid-Applied Membrane Checklist
- Preparation: Assemble PPE, rollers/brushes, mixers, wet film combs, micrometer, holiday and pull-off testers. Verify weather instruments. Define grid bays and safety controls around elevations.
- Open the interactive checklist on your device. Start a new area or elevation, enter project details, and toggle tick mode for live tracking.
- Record measurements as you work: add photos, instrument readings, batch numbers, and locations. Use structured fields to capture units (°C, %RH, kg/m², µm).
- Use comments to flag deviations, propose corrective actions, and mention responsible parties. Tag items for retest or reinspection when repairs are complete.
- Export the checklist to PDF/Excel for review. The file includes embedded photos, timestamps, and a QR code for verification.
- Sign-Off: Collect digital signatures from the applicator, inspector, and client. Distribute the final report and archive it in the project QA system.
Call to Action
- Start Checklist Tick off tasks, leave comments on items or the whole form, and export your completed report to PDF or Excel—with a built-in QR code for authenticity.
- Download Excel - Vertical Liquid-Applied Membrane QA (No Spray)
- Download PDF - Vertical Liquid-Applied Membrane QA (No Spray)
- View Image - Vertical Liquid-Applied Membrane QA (No Spray)
Cite & Embed
“Vertical Liquid-Applied Membrane QA (No Spray) by Quollnet”
with a link to
this source page.
FAQ
Question: How do I verify DFT on vertical liquid-applied membranes without relying only on consumption?
Question: What curing conditions should I maintain before backfilling or cladding over the membrane?
Question: How can I find and fix pinholes on vertical walls?
Question: When and where should adhesion tests be performed, and what is acceptable?
Related Articles
Broader reading and guidance connected to this checklist topic.


Is It Important To Customize Your Qr Code And How To Do It?

Download Excel Format Snag List

Master Construction Project Cashflow With Cashflowpot
Related Checklists
Keep the workflow moving with nearby templates chosen from similar checklist content.