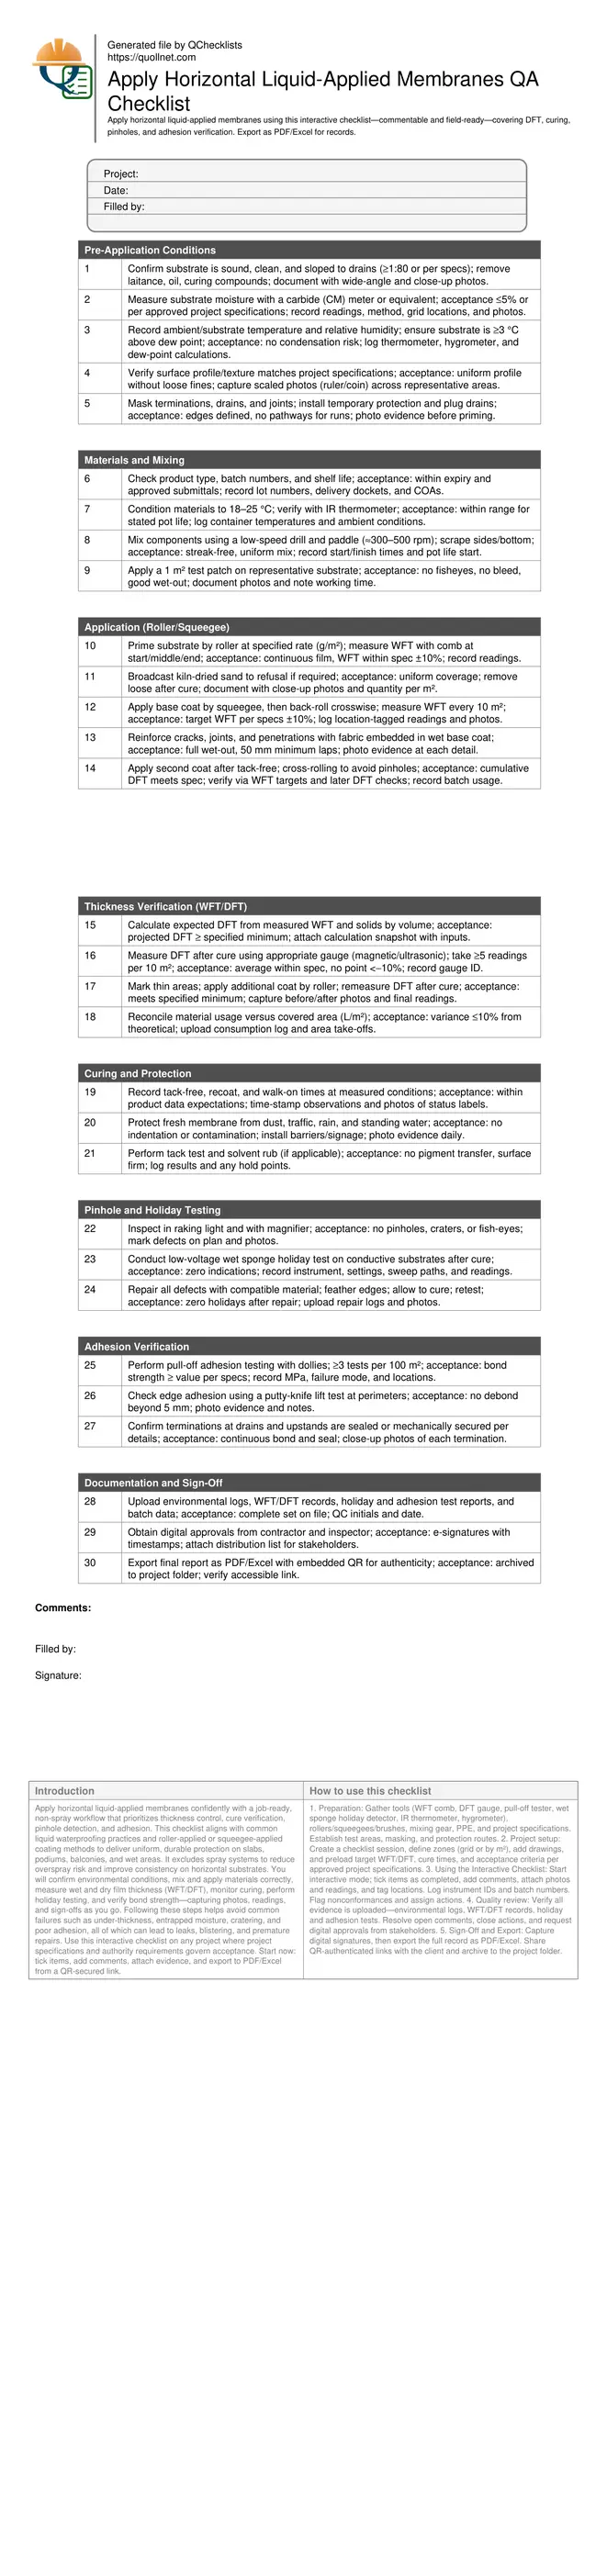
Apply Horizontal Liquid-Applied Membranes QA Checklist
Definition: Apply horizontal liquid-applied membranes with this field-ready checklist for contractors and inspectors, ensuring roller/squeegee application, DFT verification, curing control, pinhole detection, adhesion testing, and complete documentation.
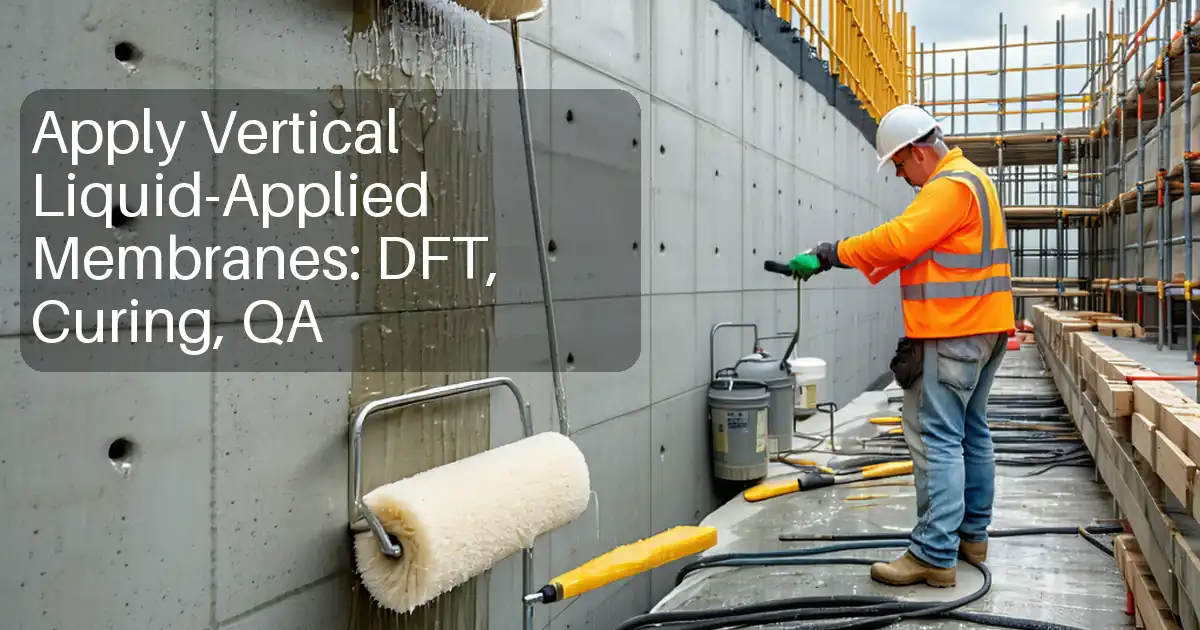
- Focus on roller, squeegee, and brush application—spray systems excluded
- Verify DFT, curing, pinholes, and adhesion with measurable evidence
- Prevent leaks, blisters, and debonding through controlled procedures
- Interactive, commentable, export features with QR code for authentication
Apply horizontal liquid-applied membranes confidently with a job-ready, non-spray workflow that prioritizes thickness control, cure verification, pinhole detection, and adhesion. This checklist aligns with common liquid waterproofing practices and roller-applied or squeegee-applied coating methods to deliver uniform, durable protection on slabs, podiums, balconies, and wet areas. It excludes spray systems to reduce overspray risk and improve consistency on horizontal substrates. You will confirm environmental conditions, mix and apply materials correctly, measure wet and dry film thickness (WFT/DFT), monitor curing, perform holiday testing, and verify bond strength—capturing photos, readings, and sign-offs as you go. Following these steps helps avoid common failures such as under-thickness, entrapped moisture, cratering, and poor adhesion, all of which can lead to leaks, blistering, and premature repairs. Use this interactive checklist on any project where project specifications and authority requirements govern acceptance. Start now: tick items, add comments, attach evidence, and export to PDF/Excel from a QR-secured link.
- Achieve reliable, uniform membranes by controlling substrate moisture, ambient conditions, and application rate. Measure WFT during placement and confirm DFT after cure to match specified thickness, minimizing underbuild, pinholes, and future leakage risks on horizontal works.
- Reduce rework and delays through early detection of incompatibilities and defects. Test patches, reinforcement at details, and real-time curing checks prevent fish-eyes, cratering, or dust contamination that often compromise bond and long-term waterproofing performance.
- Interactive online checklist with tick, comment, and export features secured by QR code.
- Demonstrate compliance with project specifications and authority requirements using time-stamped photos, environmental logs, WFT/DFT records, holiday testing outputs, and adhesion results, giving traceable evidence for sign-off, warranties, and facility handover.
Pre-Application Conditions
Materials and Mixing
Application (Roller/Squeegee)
Thickness Verification (WFT/DFT)
Curing and Protection
Pinhole and Holiday Testing
Adhesion Verification
Documentation and Sign-Off
Control the substrate and environment before any coating touches the slab
Successful horizontal liquid-applied membranes start with a substrate that is sound, dry, and properly profiled. Remove contaminants and confirm slopes toward drains to avoid ponding that overloads young films. Moisture is a silent failure driver: verify content using a reliable method and ensure the surface temperature sits safely above the dew point to prevent condensation. Exclude spray systems to eliminate overspray and improve control; roller, brush, and squeegee methods provide predictable film build on horizontal areas. Mask and protect terminations, and plan traffic routes to keep wet areas clean. Establish a small test patch to confirm compatibility with primers and treatments before full production. These controls reduce fish-eyes, cratering, and early debonding, while giving you usable data to schedule coats and handovers. Capture wide-angle and close-up photos, and record all instrument IDs so your evidence is audit-ready and defensible at sign-off.
- Substrate ≥3 °C above dew point at all times
- Moisture acceptable per approved project specifications
- Use roller, squeegee, brush only—no spray systems
- Create and evaluate a 1 m² test patch
- Protect drains, edges, and traffic paths
Build and verify film thickness with disciplined, measurable methods
Uniform thickness is essential for waterproofing performance. Target wet film thickness using a comb gauge during placement, checking at consistent intervals and marking locations on a plan. Reinforce high-risk details first to prevent stretching thin. Once cured, confirm dry film thickness with an appropriate gauge, taking multiple readings per area and reconciling with material usage to flag underbuild. Keep a clear tolerance strategy: average DFT within specification and no local reading below an agreed negative tolerance. If you detect thin spots, repair immediately with an additional coat and remeasure after cure. Photographs with a scale, logged readings, and batch-usage summaries create a chain of evidence that aligns crews and approvers. This disciplined approach avoids leaks, blistering from solvent entrapment, and premature aging linked to inadequate coverage.
- Measure WFT at start, middle, and end of runs
- Verify DFT after full cure before handover
- Average within spec; no point below tolerance
- Reconcile litres used versus area covered
- Document gauge IDs and locations
Verify curing, eliminate pinholes, and prove adhesion before handover
Curing ties product chemistry to real weather. Track tack-free, recoat, and walk-on times at measured temperature and humidity. Protect membranes from dust, rain, and standing water to prevent surface defects. Inspect in raking light to spot craters and pinholes; where applicable, use a low-voltage wet sponge holiday detector on conductive substrates for objective confirmation. Repair all indications and retest. Adhesion must be proven, not assumed: use a pull-off tester to document bond strength and failure mode at representative locations. Combine these results with perimeter lift checks and close-ups of drains and terminations. The outcome is a membrane that is cured, continuous, and bonded—supported by time-stamped logs and photos that meet project specifications and authority requirements.
- Record tack-free, recoat, and walk-on times
- Use raking light and wet sponge testing
- Repair defects, then retest for zero holidays
- Document pull-off adhesion MPa and modes
- Photograph critical terminations and drains
How to Use This Interactive Non‑Spray Membrane Checklist
- Preparation: Gather tools (WFT comb, DFT gauge, pull-off tester, wet sponge holiday detector, IR thermometer, hygrometer), rollers/squeegees/brushes, mixing gear, PPE, and project specifications. Establish test areas, masking, and protection routes.
- Project setup: Create a checklist session, define zones (grid or by m²), add drawings, and preload target WFT/DFT, cure times, and acceptance criteria per approved project specifications.
- Using the Interactive Checklist: Start interactive mode; tick items as completed, add comments, attach photos and readings, and tag locations. Log instrument IDs and batch numbers. Flag nonconformances and assign actions.
- Quality review: Verify all evidence is uploaded—environmental logs, WFT/DFT records, holiday and adhesion tests. Resolve open comments, close actions, and request digital approvals from stakeholders.
- Sign-Off and Export: Capture digital signatures, then export the full record as PDF/Excel. Share QR-authenticated links with the client and archive to the project folder.
Call to Action
- Start Checklist Tick off tasks, leave comments on items or the whole form, and export your completed report to PDF or Excel—with a built-in QR code for authenticity.
- Download Excel - Horizontal Liquid-Applied Membranes QA (Non-Spray)
- Download PDF - Horizontal Liquid-Applied Membranes QA (Non-Spray)
- View Image - Horizontal Liquid-Applied Membranes QA (Non-Spray)
Cite & Embed
“Horizontal Liquid-Applied Membranes QA (Non-Spray) by Quollnet”
with a link to
this source page.

FAQ
Question: What thickness should I target for a horizontal liquid-applied membrane?
Question: How do I check for pinholes without damaging the membrane?
Question: When can I apply the second coat or allow foot traffic?
Question: How is adhesion verified on horizontal membranes?
Related Articles
Broader reading and guidance connected to this checklist topic.


Master Construction Project Cashflow With Cashflowpot

Improve Your Project Handover Process With Snag List Tracking App

Is It Important To Customize Your Qr Code And How To Do It?

Related Checklists
Keep the workflow moving with nearby templates chosen from similar checklist content.