Horizontal Filter Fabrics and Protection Layers Checklist
Definition: Place filter fabrics and protection layers (horizontal) field checklist for site engineers verifies overlaps, orientation, coverage, and damage prevention on horizontal works, explicitly excluding membranes.
- Confirms overlaps meet drawings; shingle laps prevent soil migration.
- Aligns machine direction and fabric face to design intent.
- Ensures full coverage, controlled access, and prompt protective cover.
- Interactive, commentable, export, QR code for verifiable QA.
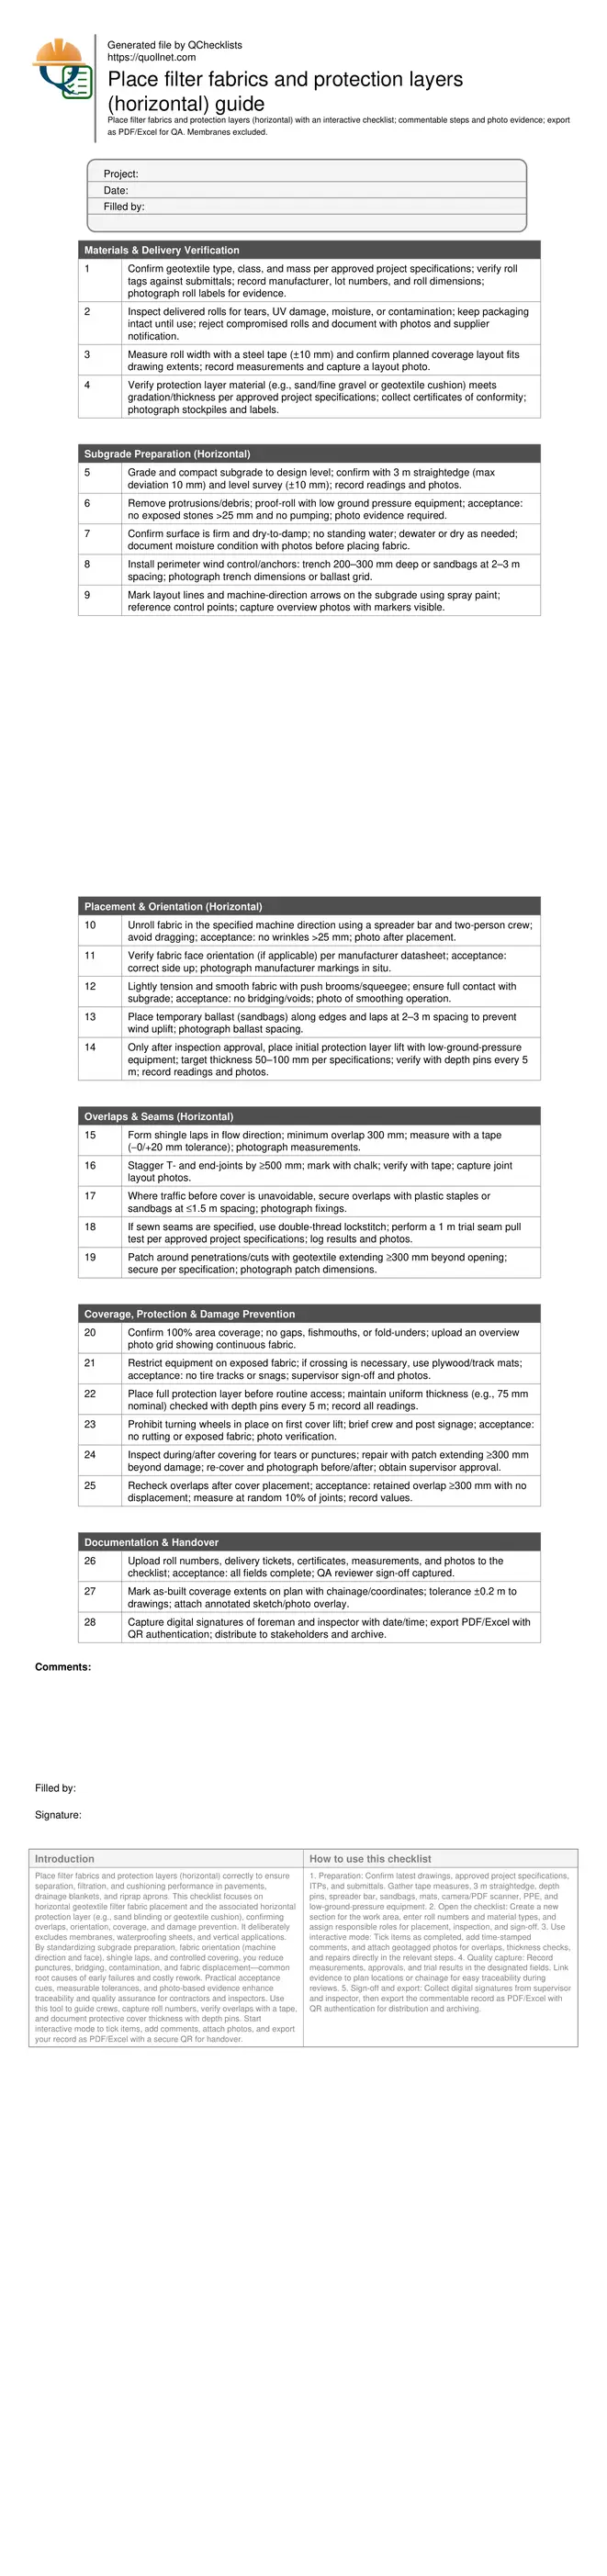
Place filter fabrics and protection layers (horizontal) correctly to ensure separation, filtration, and cushioning performance in pavements, drainage blankets, and riprap aprons. This checklist focuses on horizontal geotextile filter fabric placement and the associated horizontal protection layer (e.g., sand blinding or geotextile cushion), confirming overlaps, orientation, coverage, and damage prevention. It deliberately excludes membranes, waterproofing sheets, and vertical applications. By standardizing subgrade preparation, fabric orientation (machine direction and face), shingle laps, and controlled covering, you reduce punctures, bridging, contamination, and fabric displacement—common root causes of early failures and costly rework. Practical acceptance cues, measurable tolerances, and photo-based evidence enhance traceability and quality assurance for contractors and inspectors. Use this tool to guide crews, capture roll numbers, verify overlaps with a tape, and document protective cover thickness with depth pins. Start interactive mode to tick items, add comments, attach photos, and export your record as PDF/Excel with a secure QR for handover.
- Standardizes horizontal geotextile placement from subgrade readiness through coverage. Crews confirm machine-direction orientation, shingle laps, and full area coverage with measurable tolerances. Results: fewer punctures, consistent filtration/separation, reduced contamination, and clear photo evidence that withstands audits and supports payment milestones.
- Interactive online checklist with tick, comment, and export features secured by QR code. Field teams attach roll tags, overlap measurements, and cover thickness readings; reviewers trace approvals and timestamps, ensuring transparent, verifiable QA and rapid resolution of nonconformities without sifting through fragmented records.
- Focuses solely on horizontal filter fabrics and protection layers, excluding membranes and vertical work. Acceptance cues include 3 m straightedge flatness limits, minimum 300 mm overlaps, staggered T-joints, and controlled access. Real jobsite practices—sandbags, mats, and low-pressure equipment—limit damage and displacement during covering operations.
Materials & Delivery Verification
Subgrade Preparation (Horizontal)
Placement & Orientation (Horizontal)
Overlaps & Seams (Horizontal)
Coverage, Protection & Damage Prevention
Documentation & Handover
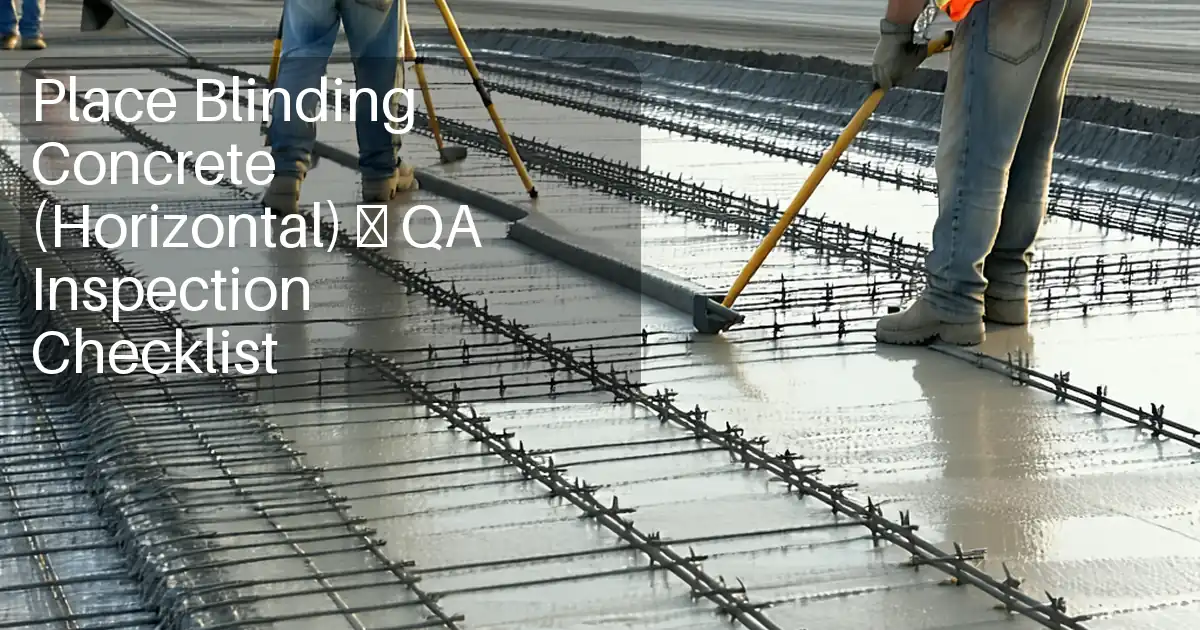
Subgrade readiness and fabric orientation drive durable performance
Horizontal geotextile performance starts with a smooth, firm platform. Grade to level and proof-roll to reveal soft spots; remove sharp debris that risks puncture. Use a 3 m straightedge to maintain a maximum 10 mm deviation, then confirm levels within ±10 mm. Mark layout lines and machine-direction arrows before unrolling so the fabric aligns with primary load or flow, as specified. Unroll with a spreader bar and two-person crew, avoiding drag that scuffs or snags fibers. Lightly broom to remove wrinkles and ensure full contact; bridging creates stress concentrators and sediment bypass. Temporary sandbags at 2–3 m intervals control wind uplift while you check orientation and face marking against the datasheet. On river training works, for example, a well-prepared bedding ensures the filter remains continuous beneath a riprap apron, preventing fines washout and settlement. Document all checks with photos of straightedge readings, layout marks, and face-orientation indicators for traceable QA.
- Maintain ≤10 mm under a 3 m straightedge.
- Confirm levels within ±10 mm design elevation.
- Pre-mark machine direction and fabric layout.
- Avoid dragging rolls; use a spreader bar.
- Ballast edges with sandbags at 2–3 m.
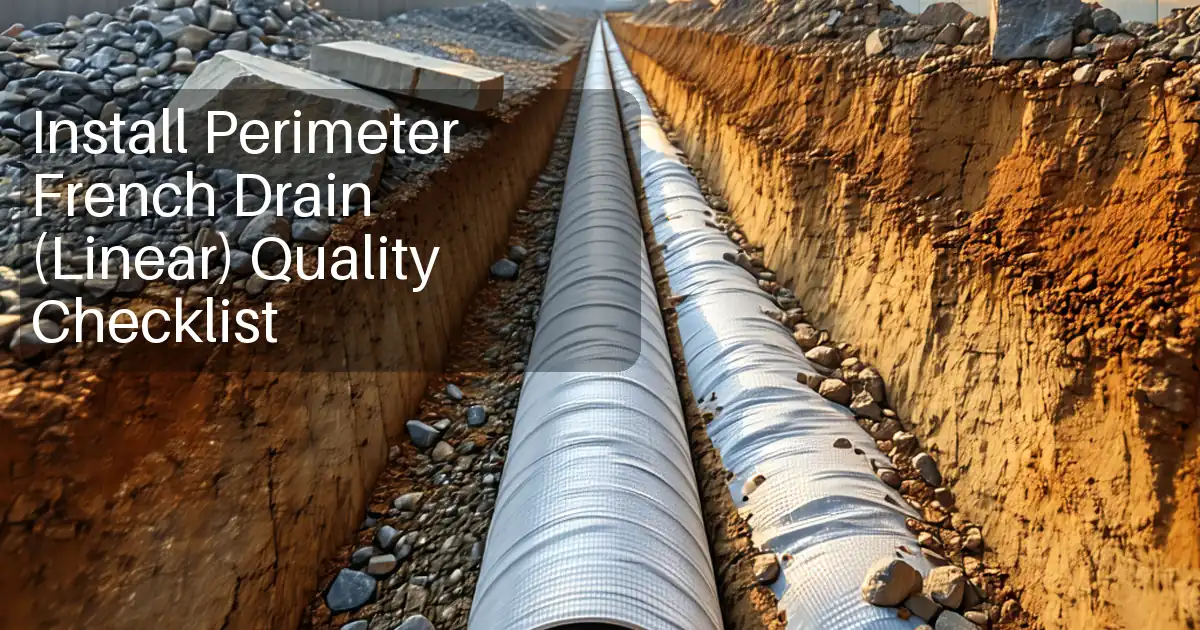
Overlaps, joints, and securing methods that keep soil in place
Correct overlaps stop fine soil migration. Use shingle laps in the flow direction with a minimum 300 mm overlap, checked by tape. Stagger T- and end-joints by at least 500 mm to prevent through-joint pathways. Where cover is delayed or traffic is unavoidable, secure laps with sandbags or approved plastic staples at ≤1.5 m spacing. For projects requiring sewn seams, adopt a double-thread lockstitch and run a 1 m trial seam pull test per approved project specifications, recording results. Around penetrations, place patches extending at least 300 mm beyond cuts. Keep wrinkles under 25 mm and fishmouths eliminated before covering. On drainage blankets under slabs, these controls maintain filtration continuity and bearing evenness. Photograph tape measurements, joint staggering, and any seam trials; link them to roll numbers so repairs or extensions remain traceable during future works or maintenance interventions.
- Shingle laps in flow direction; ≥300 mm overlap.
- Stagger T-joints/end-joints by ≥500 mm.
- Secure laps at ≤1.5 m when traffic occurs.
- Trial seam pull tests where sewing is specified.
- Patch penetrations with ≥300 mm extension.
Cover promptly and prevent damage during construction traffic
Filter fabrics and associated protection layers must be covered promptly to avoid UV exposure and accidental damage. Place the first protection lift—often 50–100 mm sand or fine gravel—using low-ground-pressure equipment. Verify thickness with depth pins every 5 m and avoid turning wheels in place. Where crossings are unavoidable before cover, use mats or plywood to distribute loads and prevent snags. Inspect continuously during covering; repair any tears with patches extending at least 300 mm beyond damage, then re-cover. Recheck overlaps after cover placement to confirm they remain ≥300 mm. On utility corridors, these practices keep fines from migrating into the sub-base, preserving pavement life and drainage performance. Document thickness readings, equipment type, and repair photos; secure supervisor approval and digital signatures to close out works with a complete, auditable record.
- Place 50–100 mm initial protection lift promptly.
- Use mats for any crossing on exposed fabric.
- No wheel turning on first cover lift.
- Repair tears with ≥300 mm patch overlap.
- Recheck overlaps after cover placement.
How to Use This Interactive Horizontal Fabric Placement Checklist
- Preparation: Confirm latest drawings, approved project specifications, ITPs, and submittals. Gather tape measures, 3 m straightedge, depth pins, spreader bar, sandbags, mats, camera/PDF scanner, PPE, and low-ground-pressure equipment.
- Open the checklist: Create a new section for the work area, enter roll numbers and material types, and assign responsible roles for placement, inspection, and sign-off.
- Use interactive mode: Tick items as completed, add time-stamped comments, and attach geotagged photos for overlaps, thickness checks, and repairs directly in the relevant steps.
- Quality capture: Record measurements, approvals, and trial results in the designated fields. Link evidence to plan locations or chainage for easy traceability during reviews.
- Sign-off and export: Collect digital signatures from supervisor and inspector, then export the commentable record as PDF/Excel with QR authentication for distribution and archiving.
Call to Action
- Start Checklist Tick off tasks, leave comments on items or the whole form, and export your completed report to PDF or Excel—with a built-in QR code for authenticity.
- Download Excel - Horizontal Filter Fabrics & Protection Layers Placement
- Download PDF - Horizontal Filter Fabrics & Protection Layers Placement
- View Image - Horizontal Filter Fabrics & Protection Layers Placement
Cite & Embed
“Horizontal Filter Fabrics & Protection Layers Placement by Quollnet”
with a link to
this source page.

FAQ
Question: What minimum overlap should I use for horizontal filter fabrics?
Question: How should I orient the geotextile on horizontal areas?
Question: Can equipment drive on exposed fabric before placing the protection layer?
Question: How do I repair damage to the fabric during covering?
Question: Are membranes part of this checklist’s scope?
Related Articles
Broader reading and guidance connected to this checklist topic.


Is It Important To Customize Your Qr Code And How To Do It?


Related Checklists
Keep the workflow moving with nearby templates chosen from similar checklist content.