Install Perimeter French Drain (Linear) – Quality Checklist
Definition: Install Perimeter French Drain (Linear) checklist for contractors and inspectors verifying placement, slope, filter fabric, outlets, and cleanouts to protect foundations and control groundwater, explicitly excluding any sub-slab drains.
- Verify continuous fall with laser level and recorded invert shots.
- Confirm geotextile envelopes aggregate with minimum 300 mm overlaps.
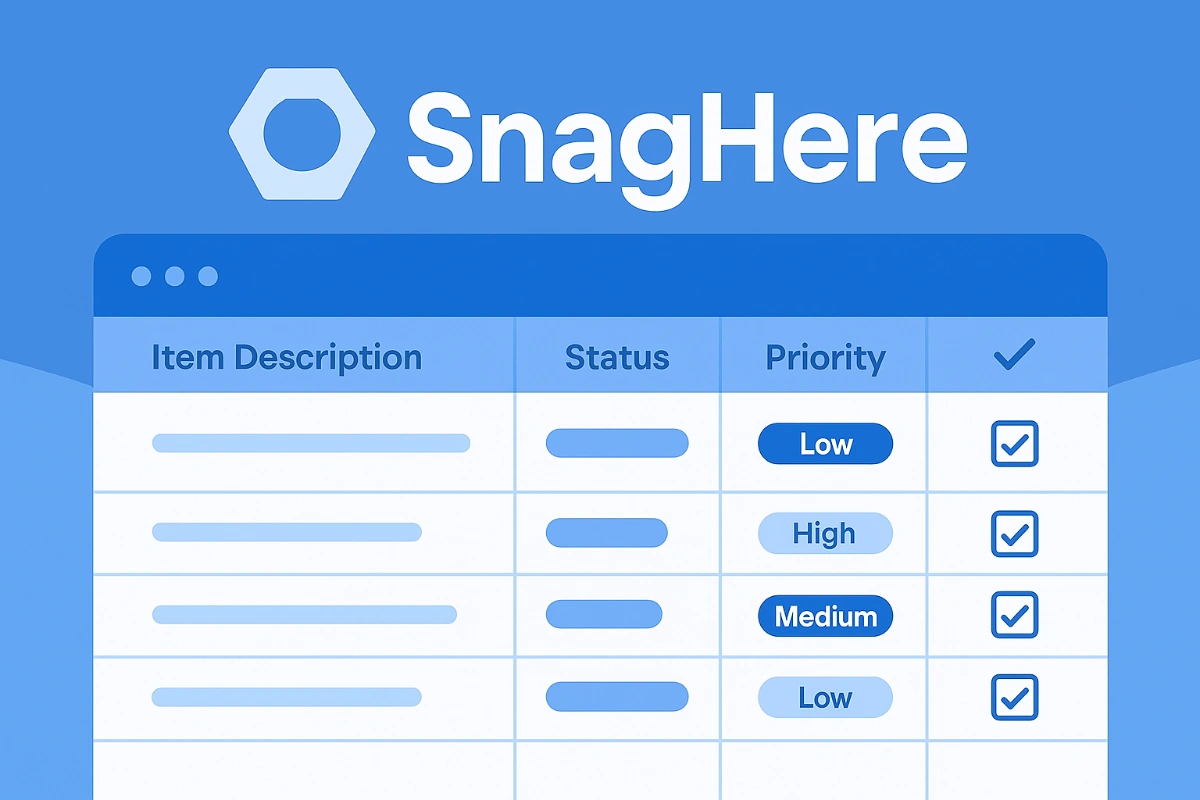
- Interactive, commentable, export-ready checklist with secure QR code.
- Ensure outlets and cleanouts accessible, labelled, and photo-documented.
Install Perimeter French Drain (Linear) is a focused field process that ensures foundation drainage performance by verifying alignment, continuous slope, filter fabric, outlets, and cleanouts. Also called a perimeter drain or linear French drain installation, this checklist targets exterior, footing-adjacent runs only and excludes any sub-slab drainage. By controlling gradient and material quality, the system intercepts groundwater, prevents hydrostatic buildup, and reduces moisture risks against walls. Key controls include non-woven geotextile selection, correct pipe orientation, washed aggregate gradation, and verifiable discharge points with serviceable cleanouts. Acceptance cues rely on laser-set inverts, documented overlaps, compaction in measured lifts, and a witnessed flow test to confirm free-draining performance. The outcome is a durable, maintainable drainage line that resists silting and delivers reliable outfalls to daylight, sumps, or storm connections per approved project specifications and authority requirements. Use this interactive page to tick steps, add comments, attach photos, and export your complete record to PDF/Excel via a secure QR link.
- Control water away from foundations by installing a continuous, positively graded perimeter French drain with non-woven geotextile and washed aggregate. Laser-verified inverts, correct pipe orientation, and protected outlets reduce hydrostatic pressure and extend structure service life with traceable, photo-backed evidence.
- Interactive online checklist with tick, comment, and export features secured by QR code. Field teams capture as-built points, density tests, and flow videos in one place, then generate signable PDF/Excel outputs to satisfy project specifications and authority requirements without rework.
- Reduce failures from flat spots, torn fabric, dirty aggregate, and inaccessible cleanouts through step-by-step controls. Specify 1.0–2.0% fall with ±0.2% tolerance, 300 mm fabric overlaps, 20–40 mm washed stone, and cleanouts every 15–20 m to safeguard maintainability and long-term performance.
Pre-Installation Survey and Materials
Trench and Bedding Preparation
Pipe Placement and Slope Control
Filter Fabric, Aggregate, and Backfill
Outlets, Cleanouts, and Verification
Inspection, Handover, and Maintenance Briefing
Control Alignment and Slope for Reliable Drainage
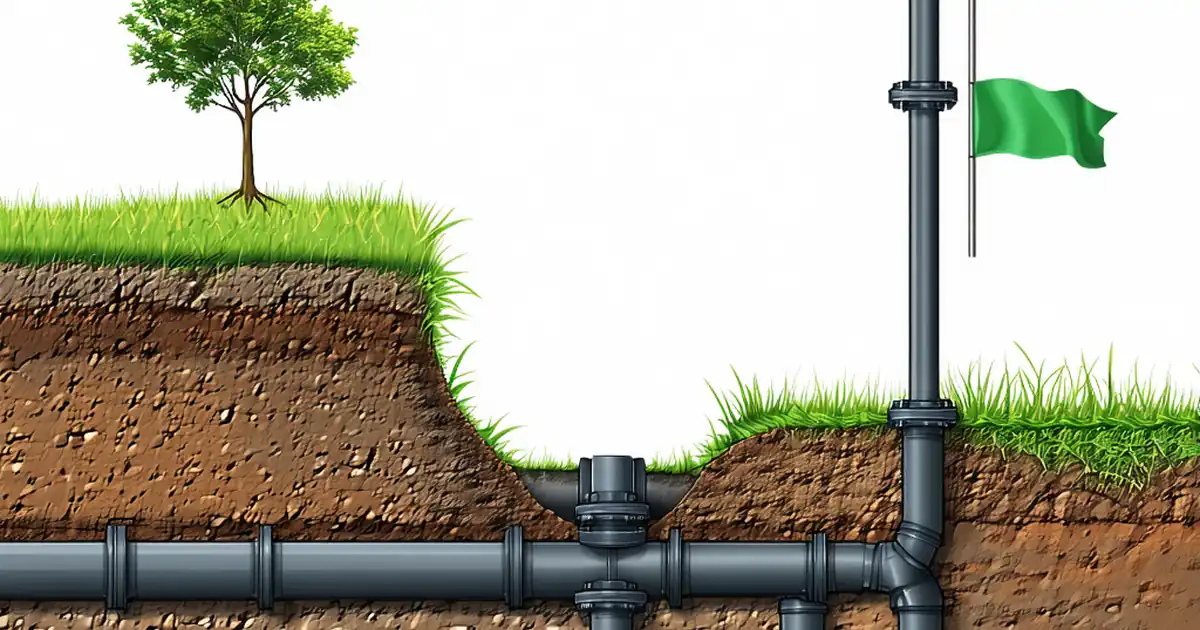
A perimeter French drain must maintain a continuous fall to move groundwater reliably to daylight, a sump, or a storm connection. Establish the path with a total station and verify receiving inverts to confirm a 1.0–2.0% gradient is practical throughout. Set trench grade with a laser level, recording spot elevations at regular intervals to prove compliance within ±0.2%. Keep the line offset from the footing to avoid undermining and allow for wrap-around geotextile and adequate aggregate shoulders. Long-radius fittings reduce friction losses and sediment traps at direction changes. Field evidence—grade logs, photos with scales, and surveyed points—helps catch flat spots early. A real-world cue is water sheeting along the bedding during a controlled test without lingering in depressions. Where a tight outlet elevation constrains the route, adjust depth gradually rather than introducing abrupt steps that can accumulate silt or airlock sections, always adhering to approved project specifications and authority requirements.
- Confirm outlets enable ≥1.0% fall along the entire run.
- Maintain ±0.2% slope tolerance using laser and grade rod.
- Offset from footing to protect bearing and accommodate envelope.
- Use long-radius fittings; avoid abrupt grade breaks.
- Document inverts with photos and surveyed points.
Geotextile and Aggregate: Filtration Without Clogging
Non-woven geotextile wrapped around washed aggregate forms the filter that prevents fines from entering the pipe. Select a 100–150 g/m² fabric with adequate permittivity and puncture resistance, laid wrinkle-free with 300–450 mm overlaps. Use clean, angular 20–40 mm aggregate to surround the pipe and extend 150 mm above crown, placed gently to avoid shifting the alignment. The wrapped envelope must be continuous; gaps and tears are frequent failure points that invite silt intrusion. Backfill above the envelope in 150–200 mm lifts and compact to 90–95% of maximum dry density suited to the soil class, limiting lateral movement. Photos with tape measures, delivery tickets, and sieve certificates demonstrate compliance. A practical acceptance cue is seeing clear water pass through during a test while the fabric remains intact and free of visible mud films.
- Non-woven geotextile 100–150 g/m² with 300–450 mm overlaps.
- Aggregate: washed 20–40 mm, angular, free of fines.
- Raise stone 150 mm above pipe crown before closure.
- Continuous wrap; repair tears with 300 mm patches.
- Backfill in 150–200 mm lifts to 90–95% MDD.
Outlets, Cleanouts, and Proving Performance
Accessible outlets and periodic cleanouts keep the system serviceable for decades. Place cleanouts at run ends and every 15–20 m to allow flushing; install boxes flush with final grade for easy access. Fit outlets with rodent screens and ensure covers or marker posts remain visible after landscaping. Commission the system by introducing water at the high end and observing a continuous discharge without ponding; record times, volumes, and any head buildup. As-built surveys should capture alignment, invert levels, and the exact locations of outlets and cleanouts for the O&M file. Finally, confirm there are no cross-connections with sub-slab or sanitary drainage using dye or smoke tests per approved project specifications and authority requirements.
- Cleanouts at ends and every 15–20 m, plumb and accessible.
- Rodent screens at outlets; covers flush ±5 mm with surface.
- Flow test: no standing water after 10 minutes.
- As-built survey for alignment and inverted elevations.
- Verify no cross-connections to sub-slab or sanitary.
How to Use This Checklist On Site
- Preparation: Review drawings and permits; confirm scope excludes sub-slab drains. Gather tools (laser level, grade rod, total station, plate compactor), non-woven geotextile, washed 20–40 mm aggregate, perforated pipe, fittings, cleanout boxes, rodent screens, and PPE. Verify utilities, weather, and outlet elevations before excavation.
- Using the Interactive Checklist: Open interactive mode, scan the QR code, and tick steps as completed. Add comments, attach geo-tagged photos, and log measurements (inverts, densities). Use section filters for teams. Export current progress or final records to PDF/Excel for review.
- Sign-Off: Capture digital signatures from superintendent, inspector, and owner’s representative. Lock the record, archive drawings, and attach as-built survey. Distribute the export and QR-authenticated link to stakeholders per approved project specifications and authority requirements.

Call to Action
- Start Checklist Tick off tasks, leave comments on items or the whole form, and export your completed report to PDF or Excel—with a built-in QR code for authenticity.
- Download Excel - Perimeter French Drain (Linear) Installation
- Download PDF - Perimeter French Drain (Linear) Installation
- View Image - Perimeter French Drain (Linear) Installation
Cite & Embed
“Perimeter French Drain (Linear) Installation by Quollnet”
with a link to
this source page.

FAQ
Question: What slope should a perimeter French drain have, and how precise must it be?
Question: Should the perforated pipe holes face up or down in a French drain?
Question: What geotextile and aggregate are recommended for filtration and durability?
Question: How often should cleanouts be installed, and what size should they be?
Question: Can I connect roof downpipes or area drains into the perimeter French drain?
Related Articles
Broader reading and guidance connected to this checklist topic.


Master Construction Project Cashflow With Cashflowpot

Is It Important To Customize Your Qr Code And How To Do It?
Download Excel Format Snag List
Related Checklists
Keep the workflow moving with nearby templates chosen from similar checklist content.