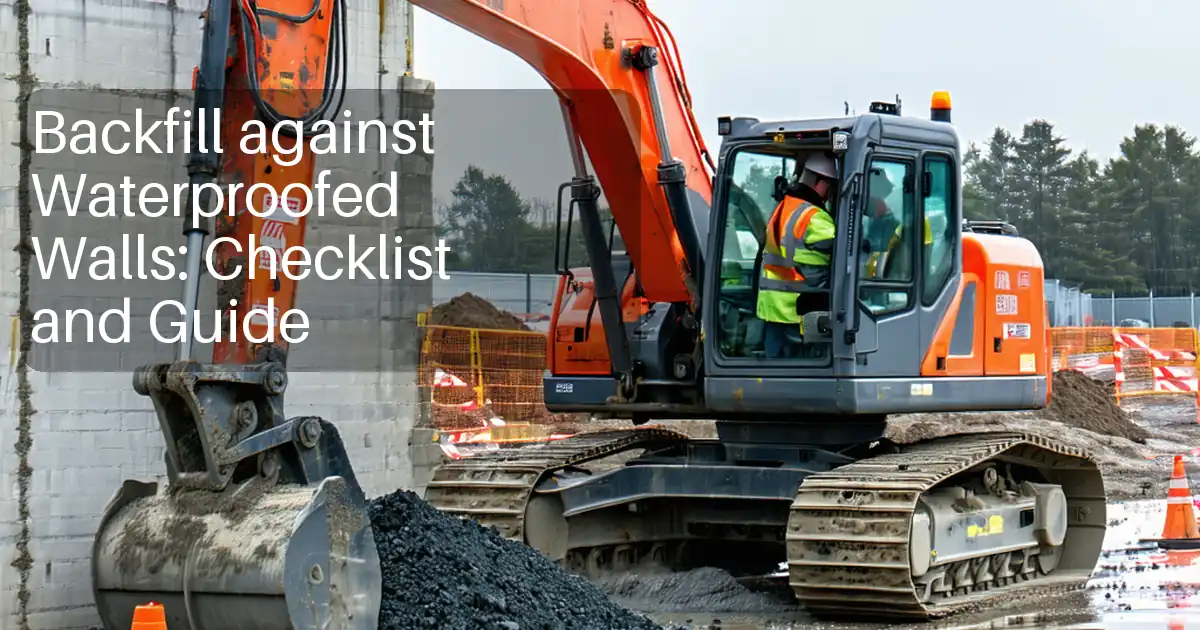
Install Retaining Wall Drainage: Weepholes, Pipes, Outlets
Definition: Install retaining wall drainage for contractors and inspectors, covering weepholes, collector pipes, geocomposite drains, and discharge outlets; excludes footing checks and structural verifications.
- Prevent hydrostatic pressure buildup and wall distress with reliable drainage.
- Specify weepholes, collector pipes, geocomposite drains, and protected outlets.
- Provide measurable slopes, laps, and spacing for verifiable performance.
- Interactive, commentable checklist; export and QR code for site records.
Install retaining wall drainage to control hydrostatic pressure and extend wall life. This field-ready checklist focuses on weepholes, collector drains, geocomposite drains, and discharge outlets only—no footing checks or structural verification included. By setting predictable falls, using clean drainage aggregate, and providing filtered outlets, you prevent backfill saturation, freeze–thaw damage, staining, and unexpected movement. The guide supports site engineers, inspectors, and foremen with measurable tolerances and evidence capture so performance is auditable and repeatable. You will verify weephole spacing, pipe diameters and slopes, geocomposite laps and connections, and outlet freeboard and protections. Practical cues—photos, level readings, batch numbers, and as-built notes—streamline sign-off and reduce rework. Use the interactive checklist to tick, comment, attach images, and export PDF/Excel via QR code.
- A practical, site-focused process to install weepholes, collector pipes, geocomposite drains, and secure outlets so water escapes predictably, minimizing hydrostatic pressure, efflorescence, and freeze–thaw damage while protecting wall alignment and finishes without covering footing checks.
- Clear acceptance criteria for spacing, diameters, slopes, overlaps, and outlet freeboard ensure verifiable performance. Field evidence such as level readings, batch labels, joint photos, and flow-test videos support transparent approvals and smoother handovers to owners and authorities.
- Interactive online checklist with tick, comment, and export features secured by QR code. Use device cameras for photos, capture precise measurements, assign actions, and generate traceable PDF/Excel reports that authenticate records and simplify audits and long-term maintenance planning.
Pre-Installation Verification
Weepholes Installation
Collector Pipe Installation
Geocomposite Drain Installation
Outlets and Discharge
Backfill and Filter Media
Drainage strategy: relieve pressure, keep water moving
Effective retaining wall drainage prevents hydrostatic pressure from building behind the wall. The system combines intake (geocomposite drain and clean aggregate), conveyance (perforated collector pipe), and discharge (weepholes and outlets) to create a reliable flow path. Continuous falls, clean media, and filtered interfaces are essential. Weepholes should be regularly spaced and slightly inclined outward, while the collector pipe runs at a steady gradient to an approved outfall. Geocomposite drain boards provide a uniform vertical flow path and protect the wall face from soil intrusion. Outlet freeboard and screens reduce backflow and clogging. Field crews should verify each element before backfilling because access quickly disappears once soil is placed. Practical acceptance cues—slopes, overlaps, and screen fittings—make the installation auditable and reduce rework.
- Maintain a continuous fall of at least 1% to outlets.
- Use washed aggregate and non-woven geotextiles to block fines.
- Space weepholes 1.2–1.5 m and incline outward about 2%.
- Ensure outlet freeboard above receiving water to prevent backflow.
Materials and methods that improve durability
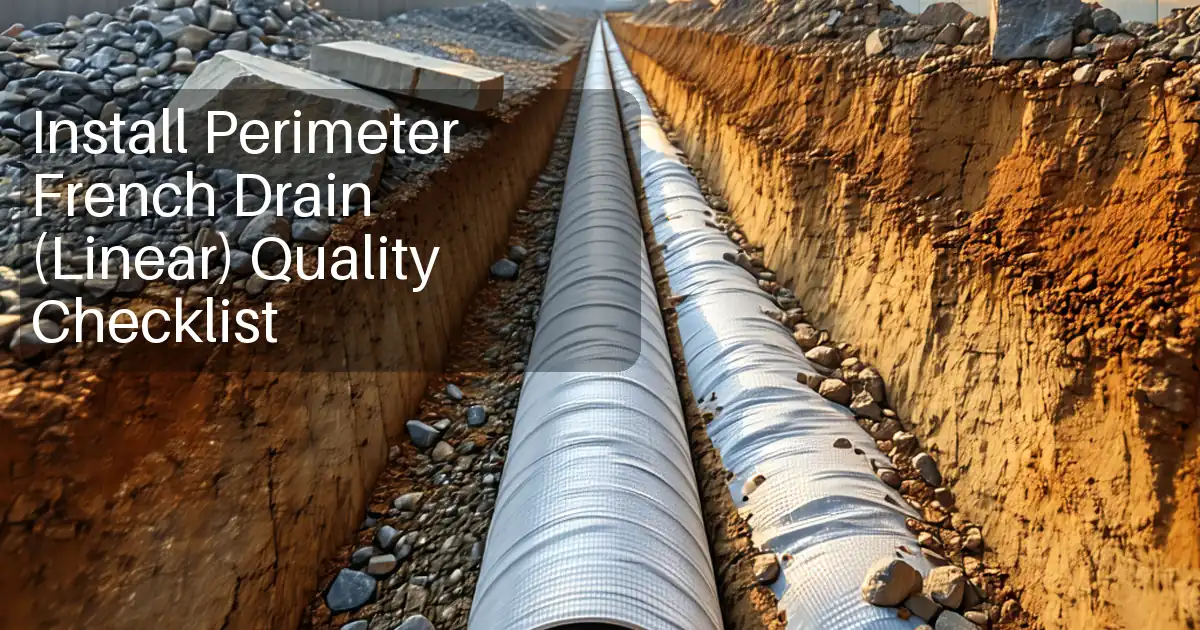
Select perforated PVC or HDPE collector pipes (100–150 mm) rated for burial and compatible couplers. Use 10–20 mm washed aggregate for the drainage envelope, or a geotextile sock when aggregate access is limited. Non-woven geotextiles provide filtration and separation; confirm lap lengths and fabric integrity before covering. Geocomposite drain boards with a cuspated core and bonded filter fabric should be fixed flush to the wall face without buckling and overlapped shingle-fashion. At weepholes, fit stainless insect and rodent screens. At outlets, incorporate headwalls, guards, and energy dissipation suited to the receiving environment. Protect installed components from UV and accidental damage, scheduling backfill within two weeks of exposure. Recording labels, batch numbers, and as-built levels ensures future maintenance can match installed products and slopes.
- Verify pipe orientation at 4 and 8 o’clock perforations.
- Lap geocomposite and geotextile seams by at least 100 mm.
- Document product labels and batch numbers on delivery.
- Protect drains from UV and mechanical damage before backfill.
Quality checks, flow testing, and practical acceptance cues
Quality hinges on measurable criteria: elevations, slopes, overlaps, and flow. Use a laser or digital level to confirm the collector pipe fall and outlet freeboard. Photograph joint details, laps, cleanouts, and screens before covering. During commissioning, run a low, steady hose flow at the upstream end and confirm discharge appears promptly at the outlet; observe clarity, continuity, and any backing up. Keep a time-stamped log to prove performance. Common defects include clogged weepholes from mortar droppings, flattened geocomposite cores from over-compaction, and insufficient fall caused by poor grading. Address them before closing the trench. Clear evidence accelerates approvals and reduces maintenance calls later.
- Record slope readings at regular intervals along the pipe.
- Video the flow test and archive with location references.
- Keep heavy compaction equipment at least 1 m from the wall.
- Remove temporary caps and verify all openings are clear.
How to Use This Interactive Retaining Wall Drainage Checklist
- Preparation: gather drawings, laser level, tape measures, core drill, perforated PVC/HDPE pipe, geocomposite drains, non-woven geotextiles, washed aggregate, screens/guards, PPE, and approvals for discharge locations.
- Open the checklist in interactive mode; assign responsible persons for weepholes, collector pipe, geocomposite, and outlets; set project, chainage, and benchmark references.
- Tick items as completed, record measurements (e.g., slopes, overlaps), attach time-stamped photos and videos, and tag GPS or chainage for each activity.
- Use comments to flag nonconformances, request clarifications, and document corrective actions. Link comments to specific items and attach before/after evidence.
- Export progress or completion reports as PDF/Excel for daily briefings and inspections. The QR code authenticates the version and field evidence.
- Sign-off: capture digital signatures from contractor, inspector, and owner’s rep; distribute final reports; archive with as-built sketches and flow-test logs.
Call to Action
- Start Checklist Tick off tasks, leave comments on items or the whole form, and export your completed report to PDF or Excel—with a built-in QR code for authenticity.
- Download Excel - Retaining Wall Drainage Installation
- Download PDF - Retaining Wall Drainage Installation
- View Image - Retaining Wall Drainage Installation
Cite & Embed
“Retaining Wall Drainage Installation by Quollnet”
with a link to
this source page.

FAQ
Question: How many weepholes do I need and what spacing works best?
Question: What minimum slope should the collector pipe have, and how do I verify it?
Question: When should I choose geocomposite drains instead of gravel and pipe?
Question: How can I prevent clogging and long-term drainage failures?
Related Articles
Broader reading and guidance connected to this checklist topic.

Is The Crack You See On Your Wall Serious Or Minor Cosmetic Issue?


Download Excel Format Snag List

Related Checklists
Keep the workflow moving with nearby templates chosen from similar checklist content.