Place Retaining Wall Footing Concrete (Horizontal)
Definition: Place retaining wall footing concrete (horizontal) checklist for site engineers verifying placement sequence, consolidation, finishing, and curing of horizontal footings, excluding reinforcement checks, to achieve durable, defect-free retaining wall bases.
- Confirms pour sequence to avoid cold joints and segregation.
- Specifies proper internal vibration spacing, dwell time, and frequency.
- Outlines finishing tolerances and curing methods for durability.
- Interactive, commentable, export, QR code for secure field sign-offs.
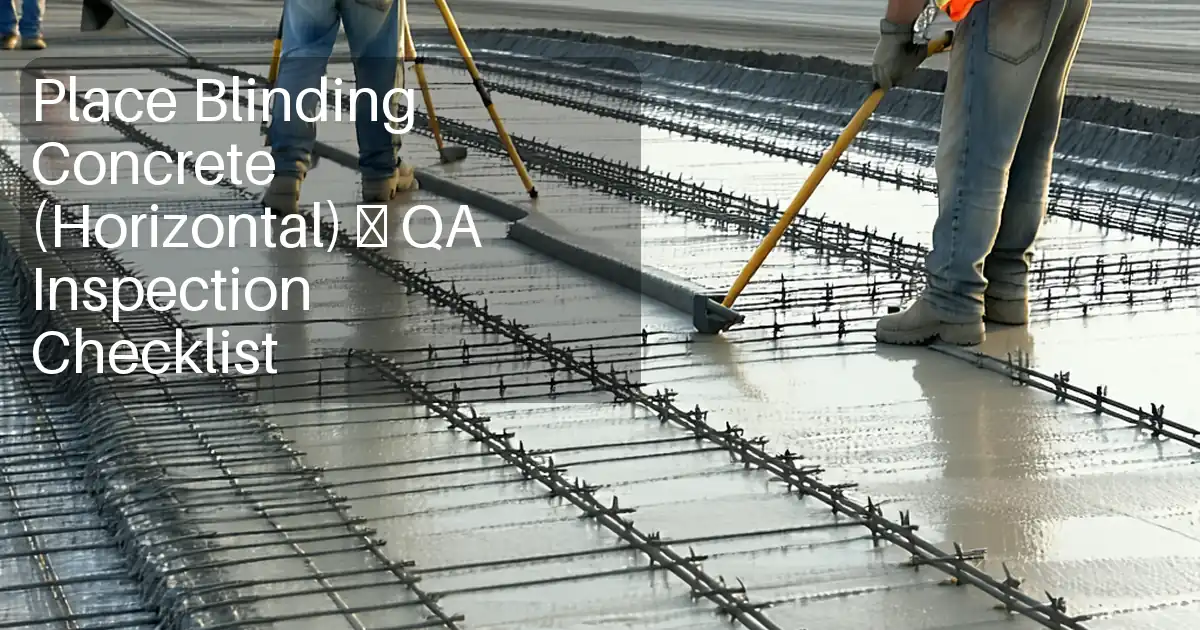
Place retaining wall footing concrete (horizontal) demands disciplined control of sequence, consolidation, finishing, and curing to deliver a stable, durable base. This field-ready guide focuses on the footing pour as a horizontal concrete placement, covering practical steps that prevent cold joints, segregation, honeycombing, curling, and premature cracking. It deliberately excludes reinforcement checks, keeping scope tight around formwork readiness, delivery verification, controlled placement, internal vibration, surface finishing, and curing protection for the retaining wall base. You will find clear acceptance cues, tools, and evidence requirements that help crews act decisively while documenting compliance per approved project specifications and authority requirements. Use it to plan the pour path, set lift thickness, standardize vibrator technique, validate finish elevation, and lock in moisture retention early. Go interactive on-site: tick items in sequence, add comments with photos and readings, and export your record as PDF/Excel with a secure QR link for traceable approvals.
- Ensure a continuous, well-sequenced footing pour with controlled layer thickness, limited drop heights, and proactive interface management, reducing the risk of cold joints and segregation while maintaining productivity and clear crew coordination.
- Standardize consolidation using the right vibrator head, frequency, insertion grid, and dwell time. Acceptance cues focus on paste rise and bubble cessation, preventing honeycombing and blowouts while protecting forms and embedded sleeves.
- Drive finish quality and durability through disciplined strike-off, level control, early bull floating, and surface roughening where specified. Close with timely curing—compounds or wet coverings—to mitigate plastic shrinkage and thermal stress.
- Interactive online checklist with tick, comment, and export features secured by QR code.
Pre-Pour Readiness (Excluding Rebar)
Concrete Delivery and Fresh Properties
Placement and Sequence
Consolidation and Vibration
Finishing and Surface Quality
Curing and Protection
Plan the pour path and control interfaces
Success begins with clear sequencing. For a retaining wall footing poured horizontally, plan the pump reach, hose reducers, and exit route so the crew places from the far end back, preventing disruptive traffic across fresh concrete. Keep lift thickness consistent at 300–450 mm and control drop heights with an elephant trunk or chute to limit segregation. Treat any daywork or construction joints: pressure wash, wire-brush, and wet to a saturated surface-dry condition. Confirm embedded sleeves and inserts are fixed and surveyed; exclude reinforcement verifications to respect scope. Align acceptance criteria to the approved project specifications and authority requirements, then communicate them in a concise toolbox talk so everyone understands limits, roles, and hold points. Document everything: delivery times, photos of pre-pour cleanliness, and the agreed sequence sketch. These habits reduce cold-joint risk, streamline crew movement, and give you an audit-ready trail before the first load arrives.
- Place from the farthest point back toward the exit.
- Keep lift thickness to 300–450 mm for control.
- Limit drop height using an elephant trunk or chute.
- Prepare joints to SSD and remove all laitance.
- Survey non-rebar embeds; photograph and log locations.
Consolidate methodically to prevent honeycombing
Internal vibration must be uniform and deliberate. Select a 25–50 mm head matched to the lift depth. Insert vertically on roughly a 300 mm grid, penetrating 50–75 mm into the previous layer to knit lifts together. Dwell just long enough—typically 5–15 seconds—until bubbles cease and a light paste sheen forms, then withdraw slowly to seal the hole. Keep the vibrator off form faces and embedded items to avoid blowouts and displacement. Where interfaces may cool, re-vibrate within the workable window. Train operators to watch for warning signs: persistent bubbles, dull sound, or surface sinkholes. Record who vibrated which area and capture mid-pour photos. These steps yield dense, defect-free footing concrete, minimize repair work, and protect schedule and cost.
- Match vibrator head and frequency to lift thickness.
- Insert on ~300 mm grid; overlap previous lift 50–75 mm.
- Dwell until bubbles stop; withdraw slowly to seal.
- Avoid contact with form faces and embedded items.
- Re-vibrate interfaces within the workable window.
Finish to elevation and lock in curing early
After consolidation, strike off to elevation with a straightedge or laser screed and verify with level shots at benchmarks. Bull float early to close the surface without bringing up bleed water, and, where specified, create a roughened texture to support future bonding. Edges and chamfers should be straight and continuous. Begin curing immediately after finishing—apply compound at the specified rate, or use wet burlap beneath polyethylene sheets to retain moisture. Maintain moisture and temperature per project requirements; maturity sensors or thermocouples give objective evidence. Protect the footing from rain, sun, wind, traffic, and vibration, and only strip side forms or load the footing after strength criteria are achieved and documented. Thorough finishing and curing practices deliver dimensional accuracy, minimize cracking, and ensure long-term durability.
- Verify elevation; target ±6 mm tolerance at benchmarks.
- Bull float early; avoid overworking bleed water.
- Roughen surface if specified for later bonding.
- Start curing immediately; ensure 100% coverage.
- Delay form stripping and loading until strength is proven.
How to use this interactive checklist
- Preparation: Gather tools (slump cone, thermometer, pressure meter, laser level, internal vibrator, straightedge, curing materials), verify access and pump setup, brief crew on pour sequence and acceptance limits, and confirm all hold points per approved project specifications and authority requirements.
- Using the Interactive Checklist: Start interactive mode on your device, follow the sequence in the field, tick items as completed, add comments with photos/readings, and capture signatures. Use item tags for locations and export progress snapshots for stakeholders.
- Sign-Off: After curing setup and protection are in place, attach test reports and logs, obtain digital approvals from superintendent/inspector, then export the complete, commentable record as PDF/Excel. Archive the QR-authenticated package for traceability.
Call to Action
- Start Checklist Tick off tasks, leave comments on items or the whole form, and export your completed report to PDF or Excel—with a built-in QR code for authenticity.
- Download Excel - Retaining Wall Footing Concrete Placement (Horizontal)
- Download PDF - Retaining Wall Footing Concrete Placement (Horizontal)
- View Image - Retaining Wall Footing Concrete Placement (Horizontal)
Cite & Embed
“Retaining Wall Footing Concrete Placement (Horizontal) by Quollnet”
with a link to
this source page.
FAQ
Question: What lift thickness and drop height should I use for footing placement?
Question: How do I know if vibration is sufficient without overdoing it?
Question: When should curing start and what method should I choose?
Question: Can I strip side forms or load the footing the next day?
Related Articles
Broader reading and guidance connected to this checklist topic.


Is It Important To Customize Your Qr Code And How To Do It?

Concrete Cube Test Register Excel Format – Pdf & Excel Sample
Related Checklists
Keep the workflow moving with nearby templates chosen from similar checklist content.