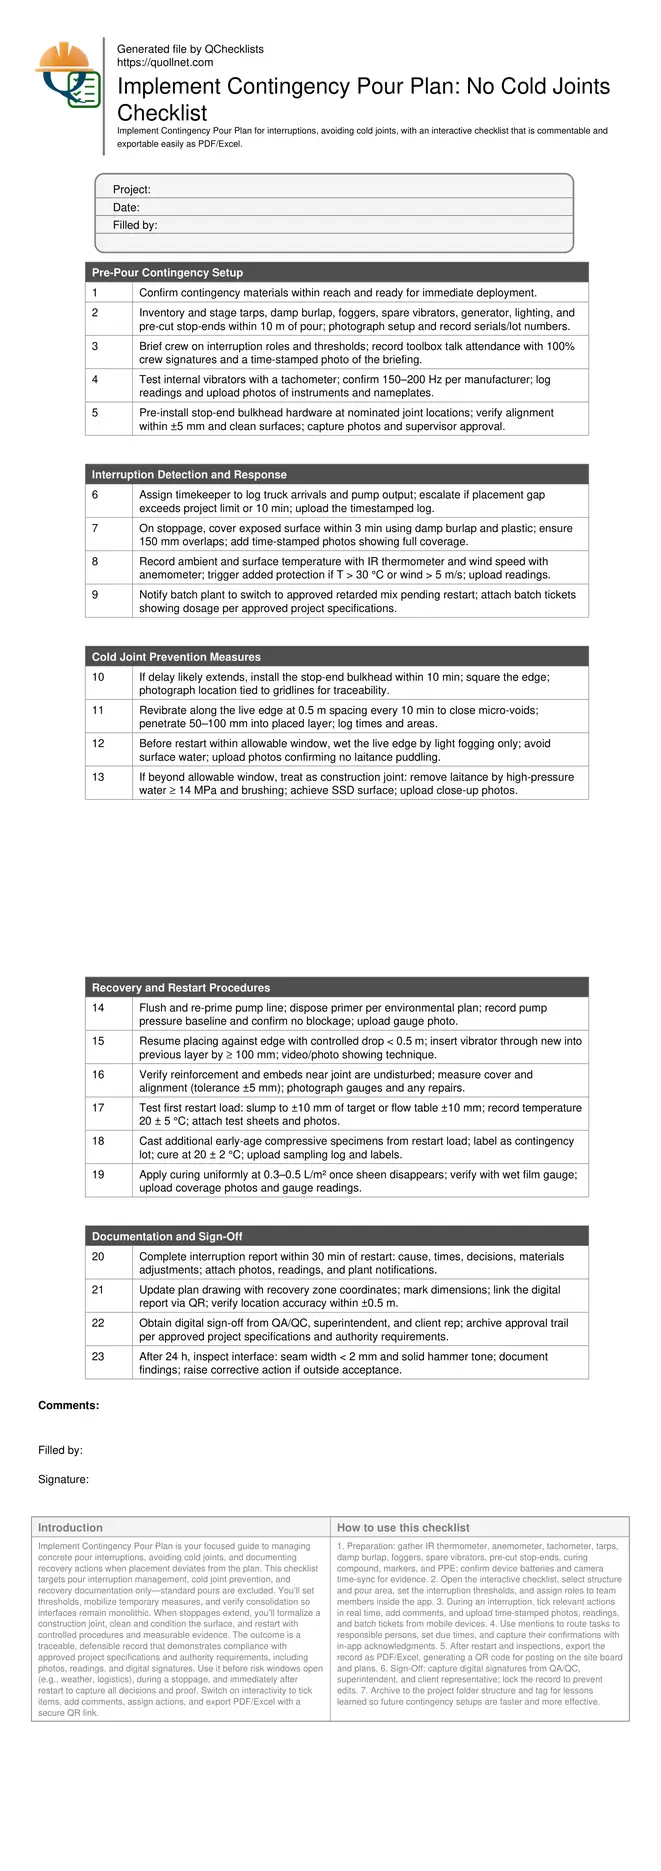
Implement Contingency Pour Plan: No Cold Joints Checklist
Definition: Implement Contingency Pour Plan for site supervisors and QA leads to manage interruptions, prevent cold joints, and document recovery actions during concrete placement outside standard pour conditions.
- Proactive plan to handle pour interruptions without compromising integrity.
- Techniques to avoid cold joints and ensure monolithic consolidation.
- Clear recovery steps with measurable verification and photographic evidence.
- Interactive, commentable, export options with QR code verification.
Implement Contingency Pour Plan is your focused guide to managing concrete pour interruptions, avoiding cold joints, and documenting recovery actions when placement deviates from the plan. This checklist targets pour interruption management, cold joint prevention, and recovery documentation only—standard pours are excluded. You’ll set thresholds, mobilize temporary measures, and verify consolidation so interfaces remain monolithic. When stoppages extend, you’ll formalize a construction joint, clean and condition the surface, and restart with controlled procedures and measurable evidence. The outcome is a traceable, defensible record that demonstrates compliance with approved project specifications and authority requirements, including photos, readings, and digital signatures. Use it before risk windows open (e.g., weather, logistics), during a stoppage, and immediately after restart to capture all decisions and proof. Switch on interactivity to tick items, add comments, assign actions, and export PDF/Excel with a secure QR link.
- This contingency-only checklist helps crews react to unexpected stoppages with preplanned steps, set thresholds, and measurable verification, preventing cold joints and reducing rework while keeping documentation organized for engineer and client acceptance.
- Interactive online checklist with tick, comment, and export features secured by QR code.
- Practical field methods maintain monolithic consolidation: covering, revibration, surface conditioning, and controlled restart. Acceptance cues include temperature, wind speed, vibrator penetration, slump/flow, curing coverage, and post-24-hour seam assessment.
- Digital evidence—time-stamped photos, batch tickets, test results, and signatures—creates a defensible record meeting approved project specifications and authority requirements, streamlining approvals and lessons learned.
Pre-Pour Contingency Setup
Interruption Detection and Response
Cold Joint Prevention Measures
Recovery and Restart Procedures
Documentation and Sign-Off
Plan the Interruption Before It Happens
Contingency planning begins before batching. Identify triggers—weather changes, logistics delays, pump faults—and pre-stage materials and tools at the pour edge. Pre-cut stop-ends allow fast conversion to a planned construction joint. Assign a timekeeper to track delivery gaps, and rehearse the response: cover, log readings, notify plant, and stabilize the live edge. Testing vibrators with a tachometer ensures consolidation remains effective during restart. Set explicit thresholds: gap duration, maximum temperature and wind, and the point at which you switch from a live edge to a formal joint. These thresholds must align with approved project specifications and authority requirements. Photograph staging, obtain signatures from the briefing, and geo-tag equipment locations so the recovery sequence is immediate when needed. Effective preparation reduces panic decisions, shortens downtime, and preserves monolithic placement at interfaces that otherwise risk cold joints.
- Define gap, temperature, and wind thresholds in writing.
- Stage stop-ends, tarps, and backup vibrators within 10 m.
- Assign a timekeeper and escalation path.
- Calibrate vibrators and test backup power.
- Photograph and log the readiness state.
Avoid Cold Joints During and After a Stoppage
The goal is a seamless interface. Immediately cover exposed concrete and maintain moisture without flooding. If the restart is soon, keep a live edge by periodic revibration and controlled fogging to limit evaporation. If delays extend beyond the allowable window, convert to a construction joint deliberately: install the stop-end, remove laitance with high-pressure water, and prepare a saturated surface-dry substrate. On restart, place concrete with a short drop, and insert the vibrator through the fresh layer into the previous layer to knit the interface. Verify consolidation by visual closure of the line and absence of bleed water pockets. Confirm that rebar and embeds near the interface remain within tolerance, and recheck slump/flow and temperature to ensure workability matches the planned restart conditions.
- Cover within 3 minutes of any interruption.
- Revibrate edges at 0.5 m spacing during short delays.
- Prepare SSD surface for formal construction joints.
- Limit drop height to under 0.5 m on restart.
- Penetrate vibrator ≥ 100 mm into previous layer.
Document Recovery for Acceptance and Learning
Thorough documentation turns a disruption into a controlled, auditable process. Capture time-stamped photos of coverings, edge conditions, joint preparation, and restart techniques. Log ambient/surface temperatures and wind speed with instrument IDs. Attach batch tickets showing any admixture adjustments and the results of slump/flow tests and specimen sampling. Update the plan sheet with the recovery zone’s coordinates and dimensions, and link a QR code to the full interruption report. Obtain digital signatures from QA/QC, superintendent, and the client representative to formalize acceptance per approved project specifications and authority requirements. After 24 hours, inspect the interface for seam width, soundness, and delamination; document findings and raise corrective actions if required. Finally, run a lessons learned brief to improve thresholds, staging, and communication for the next event.
- Maintain a single, QR-linked interruption report.
- Include instrument IDs on all readings.
- Attach batch tickets and test sheets.
- Secure tri-party digital signatures.
- Schedule and record post-24-hour checks.
How to Use This Contingency Pour Plan Checklist
- Preparation: gather IR thermometer, anemometer, tachometer, tarps, damp burlap, foggers, spare vibrators, pre-cut stop-ends, curing compound, markers, and PPE; confirm device batteries and camera time-sync for evidence.
- Open the interactive checklist, select structure and pour area, set the interruption thresholds, and assign roles to team members inside the app.
- During an interruption, tick relevant actions in real time, add comments, and upload time-stamped photos, readings, and batch tickets from mobile devices.
- Use mentions to route tasks to responsible persons, set due times, and capture their confirmations with in-app acknowledgments.
- After restart and inspections, export the record as PDF/Excel, generating a QR code for posting on the site board and plans.
- Sign-Off: capture digital signatures from QA/QC, superintendent, and client representative; lock the record to prevent edits.
- Archive to the project folder structure and tag for lessons learned so future contingency setups are faster and more effective.
Call to Action
- Start Checklist Tick off tasks, leave comments on items or the whole form, and export your completed report to PDF or Excel—with a built-in QR code for authenticity.
- Download Excel - Contingency Pour Plan Implementation
- Download PDF - Contingency Pour Plan Implementation
- View Image - Contingency Pour Plan Implementation
Cite & Embed
“Contingency Pour Plan Implementation by Quollnet”
with a link to
this source page.
FAQ
Question: When should I use this contingency pour plan instead of the standard pour checklist?
Question: How long can a pour pause before a cold joint becomes likely?
Question: Are bonding agents recommended at horizontal joints during restart?
Question: What evidence best proves quality and compliance after a stoppage?
Related Articles
Broader reading and guidance connected to this checklist topic.


Master Construction Project Cashflow With Cashflowpot


Related Checklists
Keep the workflow moving with nearby templates chosen from similar checklist content.