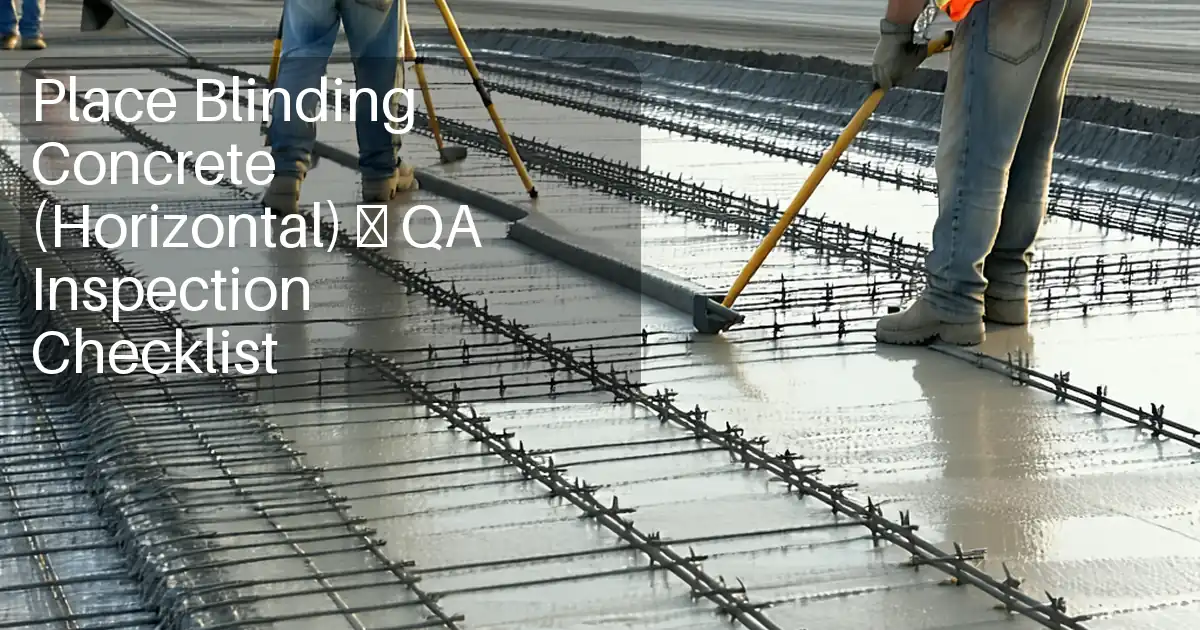
Place Raft Concrete (Horizontal) – Inspection Checklist
Definition: Place raft concrete (horizontal) checklist for site engineers verifies pour planning, controlled placement, proper vibration, joint management, and curing to achieve dense, level, durable raft slabs without rebar inspection scope.
- Confirm pour sequence, rate, access, delivery timing, and crew roles.
- Control placement layers and discharge height to prevent segregation.
- Validate vibration coverage, joint treatment, and curing regime compliance.
- Interactive, commentable, export, QR code for traceable approvals.
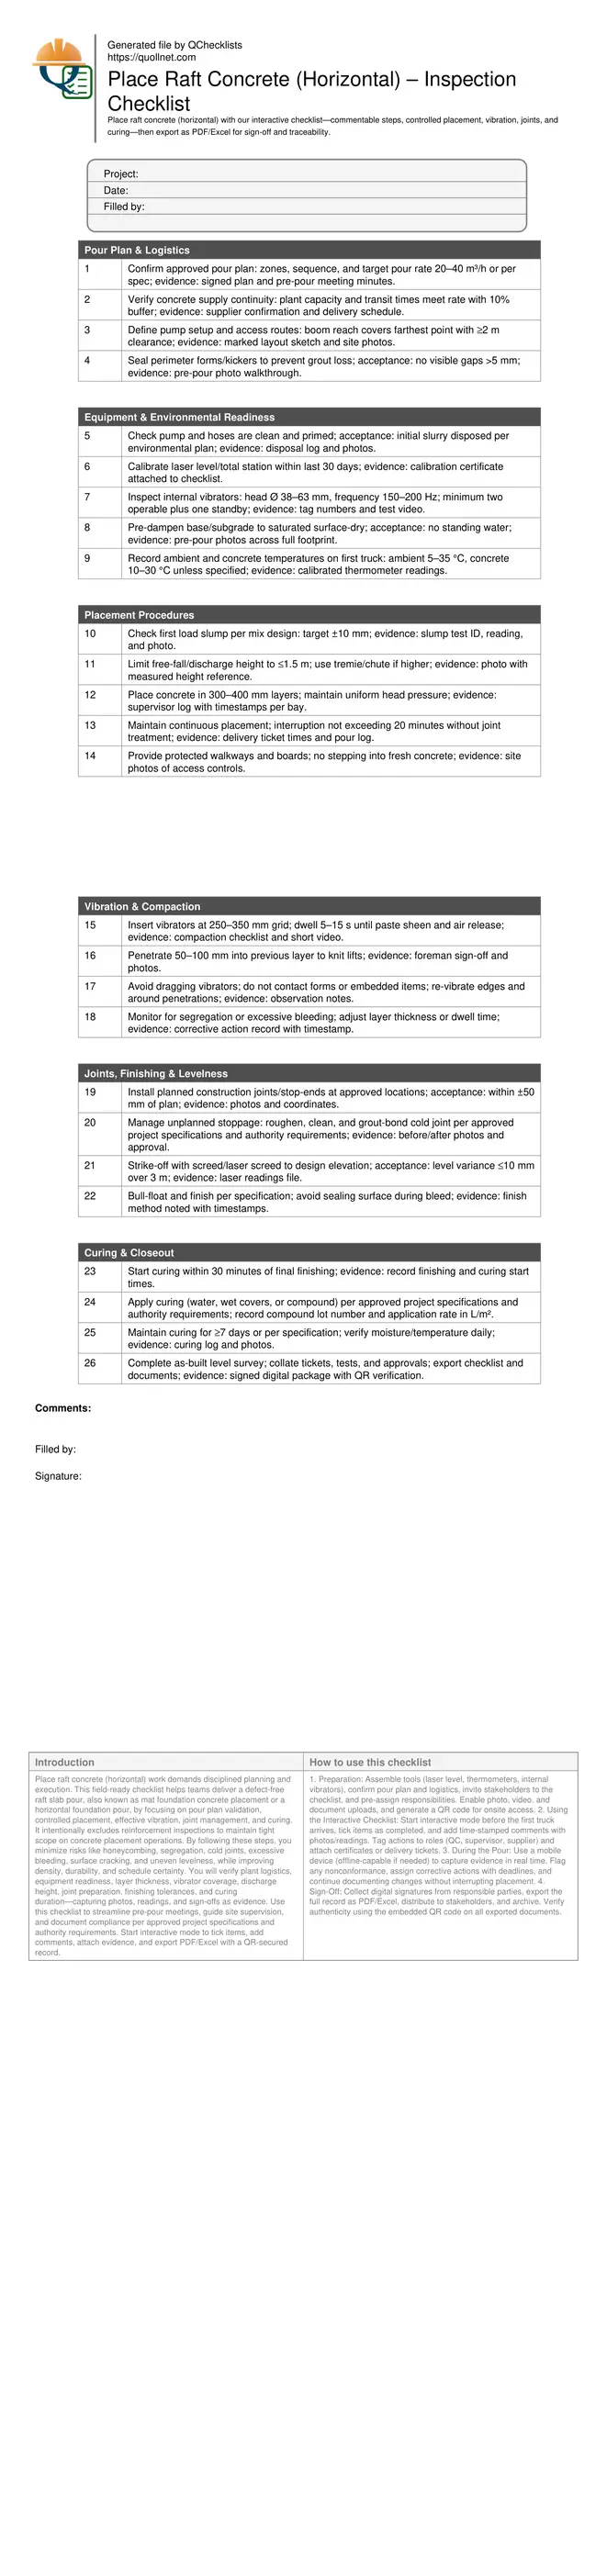
Place raft concrete (horizontal) work demands disciplined planning and execution. This field-ready checklist helps teams deliver a defect-free raft slab pour, also known as mat foundation concrete placement or a horizontal foundation pour, by focusing on pour plan validation, controlled placement, effective vibration, joint management, and curing. It intentionally excludes reinforcement inspections to maintain tight scope on concrete placement operations. By following these steps, you minimize risks like honeycombing, segregation, cold joints, excessive bleeding, surface cracking, and uneven levelness, while improving density, durability, and schedule certainty. You will verify plant logistics, equipment readiness, layer thickness, vibrator coverage, discharge height, joint preparation, finishing tolerances, and curing duration—capturing photos, readings, and sign-offs as evidence. Use this checklist to streamline pre-pour meetings, guide site supervision, and document compliance per approved project specifications and authority requirements. Start interactive mode to tick items, add comments, attach evidence, and export PDF/Excel with a QR-secured record.
- Establishes a practical pour plan with achievable delivery rates, pump reach, access, and crew responsibilities. Aligns the supply chain to continuous placement, prevents stoppages from causing cold joints, and ensures the base is pre-dampened without standing water. Captures approvals and photos before the first truck is dispatched to site.
- Defines measurable acceptance cues for placement and vibration: slump tolerance, discharge height limits, 300–400 mm lifts, 250–350 mm vibrator spacing, and 5–15 second dwell times. Field examples show how to avoid segregation, reduce bleed water issues, and achieve knit layers across the raft footprint with consistent density.
- Interactive online checklist with tick, comment, and export features secured by QR code. Supervisors can attach readings, photos, and delivery tickets; flag nonconformances in real time; and issue corrective actions. Final records include temperatures, levelness surveys, curing logs, and digital signatures for traceable closeout.
Pour Plan & Logistics
Equipment & Environmental Readiness
Placement Procedures
Vibration & Compaction
Joints, Finishing & Levelness
Curing & Closeout
Plan the Pour for Continuity, Access, and Control
A successful raft pour starts with a realistic plan. Confirm the pour sequence, bay sizes, and a delivery rate that the plant and traffic can sustain. Map pump locations so the boom reaches the farthest point with safe clearances, then establish protected access for crews and testing. Pre-dampen the base to saturated surface-dry to prevent rapid suction, and seal edges to avoid grout loss. Agree on communication protocols and set clear criteria for pausing or resuming the pour. Record ambient and initial concrete temperatures to anticipate bleeding and set times. The aim is uninterrupted placement with manageable 300–400 mm lifts, avoiding congestion at the pump or cold joints from delays. Capture the signed pour plan, supplier confirmations, and pre-pour photos as evidence before dispatching the first truck. These controls reduce stoppages, prevent segregation from overhandling, and give supervisors time windows to verify tolerances without compromising continuity.
- Pour rate aligned to plant capacity with 10% buffer.
- Pump reach verified to farthest point with clear access.
- Base pre-dampened; no standing water before placement.
- Edges sealed; no gaps exceeding 5 mm.
Place in Controlled Lifts and Compact Methodically
Control placement to protect the mix. Keep discharge height at or below 1.5 m; use a tremie or chute when needed. Place in even 300–400 mm layers, maintaining a steady head. Validate the first load’s slump against the approved mix; adjust only per instruction. Compact with internal vibrators at 250–350 mm spacing and 5–15 second dwell time, penetrating 50–100 mm into the previous lift to knit layers. Do not drag the head or contact forms and embedded items. Watch for signs of segregation or excessive bleeding; if observed, adjust lift thickness or compaction time. Real jobs benefit from simple, repeated checks: spacing marks on handles, timers clipped to belts, and immediate notes when techniques change. Evidence should include test IDs, photos of discharge height, and short videos of vibration coverage to prove uniform density across the raft.
- Discharge height limited to ≤1.5 m.
- Lifts consistently 300–400 mm thick.
- Vibrator spacing 250–350 mm; dwell 5–15 s.
- Penetrate 50–100 mm into previous layer.
Manage Joints, Finish to Level, and Cure Early
Choose joint positions in advance and install stop-ends where required. If an unplanned stoppage occurs, treat the interface as a cold joint: roughen, clean, and apply bonding grout per approved project specifications and authority requirements. Strike-off with a manual or laser screed to design elevation; verify levelness with a 3 m straightedge or laser, targeting ≤10 mm variance. Begin finishing only after bleed water dissipates, avoiding surface sealing. Start curing within 30 minutes using water ponding, wet covers, or curing compound at the specified coverage rate. Maintain curing for seven days or as required, shielding from wind, heat, and early loading. Close with an as-built level survey and a consolidated record of tickets, test results, and approvals. These actions lock in density, minimize cracking, and deliver durable, level raft slabs.
- Planned joints installed; locations within ±50 mm.
- Cold joints prepared and bonded when required.
- Level variance ≤10 mm over 3 m straightedge.
- Curing starts within 30 minutes of finishing.
How to Use This Interactive Checklist
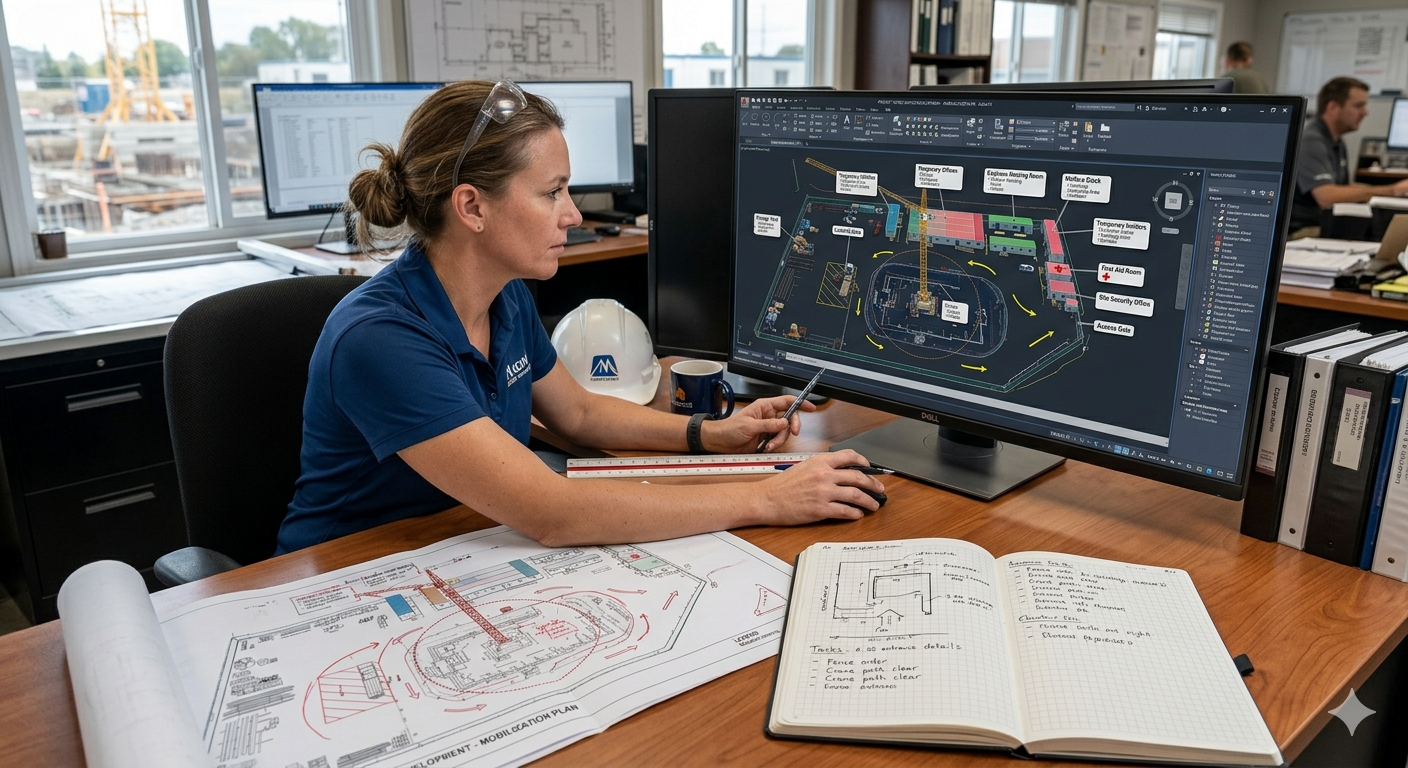
- Preparation: Assemble tools (laser level, thermometers, internal vibrators), confirm pour plan and logistics, invite stakeholders to the checklist, and pre-assign responsibilities. Enable photo, video, and document uploads, and generate a QR code for onsite access.
- Using the Interactive Checklist: Start interactive mode before the first truck arrives, tick items as completed, and add time-stamped comments with photos/readings. Tag actions to roles (QC, supervisor, supplier) and attach certificates or delivery tickets.
- During the Pour: Use a mobile device (offline-capable if needed) to capture evidence in real time. Flag any nonconformance, assign corrective actions with deadlines, and continue documenting changes without interrupting placement.
- Sign-Off: Collect digital signatures from responsible parties, export the full record as PDF/Excel, distribute to stakeholders, and archive. Verify authenticity using the embedded QR code on all exported documents.
Call to Action
- Start Checklist Tick off tasks, leave comments on items or the whole form, and export your completed report to PDF or Excel—with a built-in QR code for authenticity.
- Download Excel - Raft Concrete Placement (Horizontal) Inspection
- Download PDF - Raft Concrete Placement (Horizontal) Inspection
- View Image - Raft Concrete Placement (Horizontal) Inspection
Cite & Embed
“Raft Concrete Placement (Horizontal) Inspection by Quollnet”
with a link to
this source page.

FAQ
Question: What pour rate and layer thickness should I target for a raft slab?
Question: How do I prevent or manage cold joints during an unplanned stoppage?
Question: How much vibration is enough without causing segregation or overworking?
Question: Which curing method is best for a raft in hot or windy weather?
Related Articles
Broader reading and guidance connected to this checklist topic.


Master Construction Project Cashflow With Cashflowpot
Related Checklists
Keep the workflow moving with nearby templates chosen from similar checklist content.