Basement Wall Concrete Placement & Curing (Vertical)
Definition: Place and cure basement wall concrete (vertical) for site engineers and inspectors, focusing on pour rate, vibration, joints, curing, and protection from placement through early-age care.
- Control rise rate to protect forms and prevent cold joints.
- Use correct vibration patterns for dense, void-free vertical walls.
- Apply curing and environmental protection to lock in strength.
- Interactive, commentable, export, QR code for secure field records.
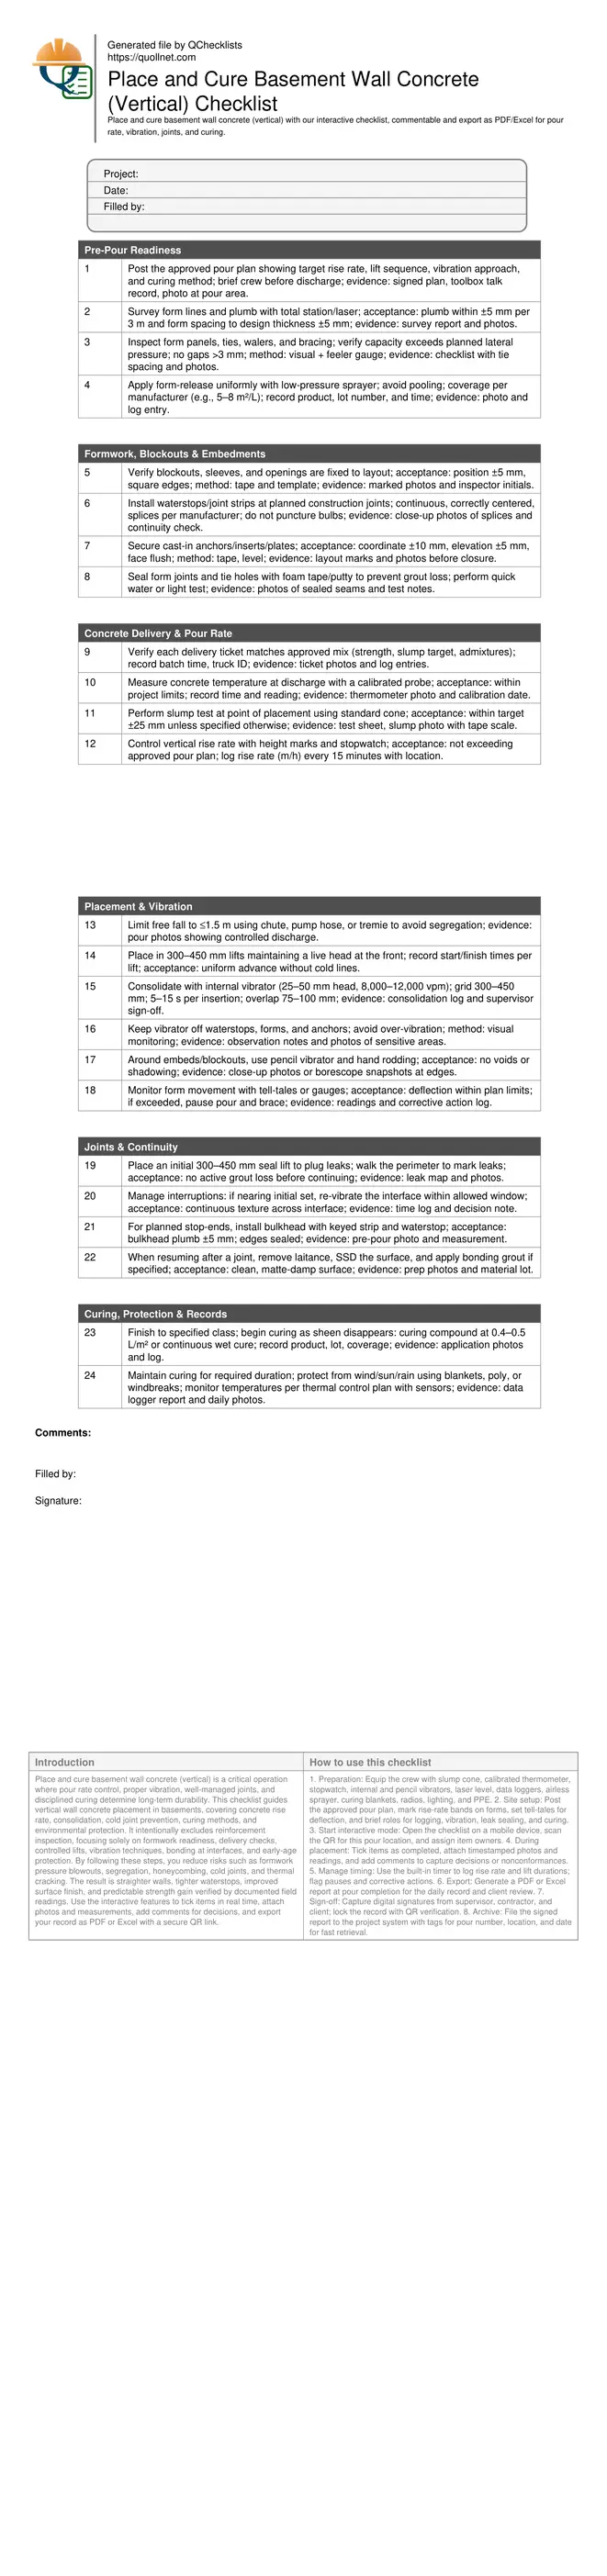
Place and cure basement wall concrete (vertical) is a critical operation where pour rate control, proper vibration, well-managed joints, and disciplined curing determine long-term durability. This checklist guides vertical wall concrete placement in basements, covering concrete rise rate, consolidation, cold joint prevention, curing methods, and environmental protection. It intentionally excludes reinforcement inspection, focusing solely on formwork readiness, delivery checks, controlled lifts, vibration techniques, bonding at interfaces, and early-age protection. By following these steps, you reduce risks such as formwork pressure blowouts, segregation, honeycombing, cold joints, and thermal cracking. The result is straighter walls, tighter waterstops, improved surface finish, and predictable strength gain verified by documented field readings. Use the interactive features to tick items in real time, attach photos and measurements, add comments for decisions, and export your record as PDF or Excel with a secure QR link.
- Comprehensive vertical wall placement process that emphasizes pour planning, controlled rise rates, consistent lift sequencing, and robust vibration. These actions reduce lateral pressure spikes, segregation, and leak paths, while producing plumb, dimensionally accurate basement walls ready for subsequent trades.
- Concrete consolidation details align vibrator size, frequency, spacing, and dwell time to prevent honeycombing around embeds and blockouts. Field cues—pitch change, mortar sheen, and absence of air lines—confirm adequate consolidation without over-vibration or damage to waterstops and forms.
- Curing and protection guidance begins as surface sheen fades, ensuring moisture retention and temperature control. Wet cure, blankets, or curing compound are applied per the plan, with temperature logging and weather shielding to minimize thermal shock, plastic shrinkage, and early-age cracking.
- Interactive online checklist with tick, comment, and export features secured by QR code.
Pre-Pour Readiness
Formwork, Blockouts & Embedments
Concrete Delivery & Pour Rate
Placement & Vibration
Joints & Continuity
Curing, Protection & Records
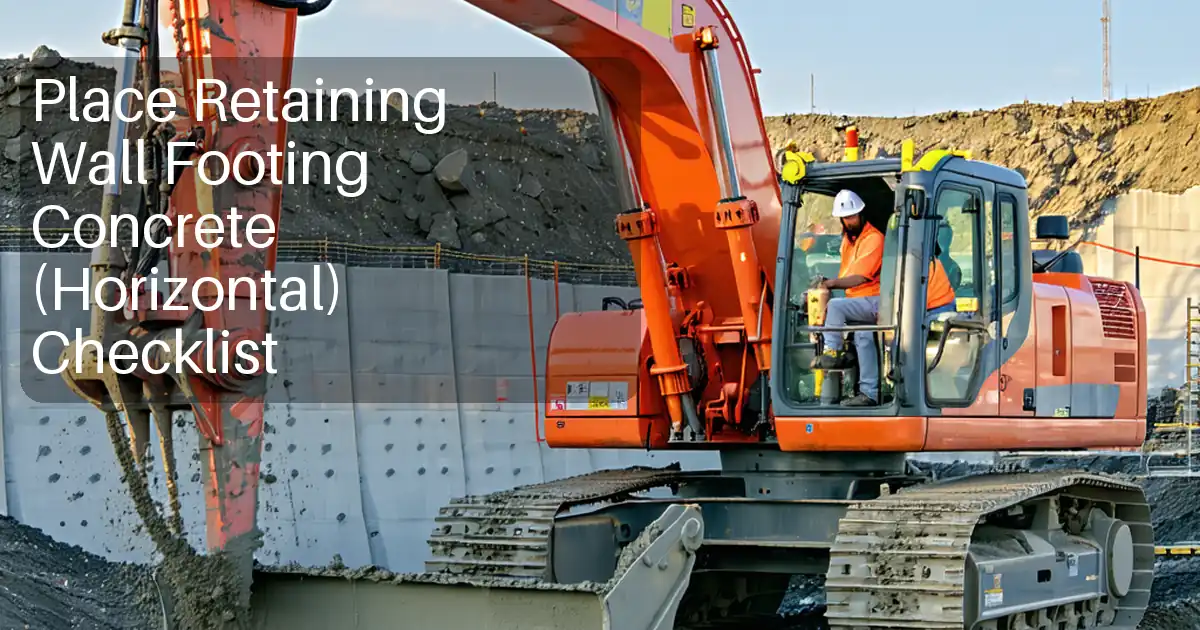
Planning the Pour: Rise Rate, Formwork Pressure, and Readiness
Vertical basement walls demand deliberate control of rise rate to limit formwork pressure spikes and prevent leaks or blowouts. Mark height bands on forms, assign a timekeeper, and log the wall’s rise every 15 minutes with location. Staged lifts (300–450 mm) keep pressure predictable, giving the crew time to seal minor leaks before they escalate. Robust bracing, tight joints, and consistent release application reduce grout loss and improve demolding. Tickets, temperature, and slump readings at the point of placement help confirm the mix behaves as designed. A seal lift early in the pour plugs seams, minimizing surface blemishes. When tell-tales show movement beyond the pour plan, pause, reinforce, and resume at a lower rate. Clear communication on radios, good lighting, and safe access drive consistency and reduce rework. Always anchor decisions to the approved pour plan and record them with photos and timestamps for traceability.
- Mark form heights at 0.5 m increments for rise-rate tracking.
- Log rise rate every 15 minutes with a precise location tag.
- Pause pouring if form deflection exceeds plan limits.
- Seal active leaks before continuing the next lift.
Consolidation Techniques: Vibration Patterns and Lift Management
Effective vibration is the difference between dense, watertight walls and honeycombed repairs. Match vibrator head size (25–50 mm) and frequency (8,000–12,000 vpm) to the mix and spacing of embeds. Insert vertically at 300–450 mm centers, dwell 5–15 seconds, and listen for a pitch change as air escapes and mortar rises. Overlap 75–100 mm into the previous lift to knit layers together. Limit free fall to 1.5 m using a chute or tremie to avoid segregation lines. Around blockouts and anchors, supplement with pencil vibration and hand rodding. Keep the head off waterstops and form faces to avoid damage or blowouts. Supervisors should watch for surface sheen, absence of entrapped air streaks, and consistent paste at the form face—field cues that consolidation is adequate without overworking the mix.
- Use 25–50 mm head at 8k–12k vpm.
- Overlap layers 75–100 mm for continuity.
- Limit free fall to 1.5 m maximum.
- Inspect around embeds with mirrors or borescopes.
Joints, Curing, and Early-Age Protection for Durable Walls
Cold joints often start as unplanned breaks. Track time between lifts, and if delays approach initial set, re-vibrate interfaces within the allowable window. For planned stop-ends, use a bulkhead with keyed strip and centered waterstop, sealing edges to prevent grout loss. Begin curing as the finishing sheen fades: either continuous wet cure or a uniform curing compound coat applied at specified coverage. Maintain moisture and temperature per approved project specifications and authority requirements, using blankets, fogging, or windbreaks to mitigate thermal shock and plastic shrinkage. Log temperatures with thermocouples or data loggers, focusing on the first 24 hours. Protect the wall from rain, wind, and unintended vibration; delay stripping or loading until strength criteria are met via tests or maturity. Document every action with photos, readings, and sign-offs to create a defensible quality record.
- Start curing as the surface sheen disappears.
- Maintain moisture and temperature per the approved plan.
- Shield from wind, sun, and rain immediately.
- Confirm strength before stripping or loading.
How to Use This Interactive Vertical Wall Checklist
- Preparation: Equip the crew with slump cone, calibrated thermometer, stopwatch, internal and pencil vibrators, laser level, data loggers, airless sprayer, curing blankets, radios, lighting, and PPE.
- Site setup: Post the approved pour plan, mark rise-rate bands on forms, set tell-tales for deflection, and brief roles for logging, vibration, leak sealing, and curing.
- Start interactive mode: Open the checklist on a mobile device, scan the QR for this pour location, and assign item owners.
- During placement: Tick items as completed, attach timestamped photos and readings, and add comments to capture decisions or nonconformances.
- Manage timing: Use the built-in timer to log rise rate and lift durations; flag pauses and corrective actions.
- Export: Generate a PDF or Excel report at pour completion for the daily record and client review.
- Sign-off: Capture digital signatures from supervisor, contractor, and client; lock the record with QR verification.
- Archive: File the signed report to the project system with tags for pour number, location, and date for fast retrieval.
Call to Action
- Start Checklist Tick off tasks, leave comments on items or the whole form, and export your completed report to PDF or Excel—with a built-in QR code for authenticity.
- Download Excel - Basement Wall Concrete Placement & Curing (Vertical)
- Download PDF - Basement Wall Concrete Placement & Curing (Vertical)
- View Image - Basement Wall Concrete Placement & Curing (Vertical)
Cite & Embed
“Basement Wall Concrete Placement & Curing (Vertical) by Quollnet”
with a link to
this source page.
FAQ
Question: What is an acceptable pour rate for vertical basement walls?
Question: How do I prevent cold joints during a tall wall pour?
Question: What vibrator size and technique should I use for basement walls?
Question: Which curing method is best for vertical walls in changing weather?
Question: When can I strip forms or load the wall?
Related Articles
Broader reading and guidance connected to this checklist topic.

Concrete Cube Test Register Excel Format – Pdf & Excel Sample

Is The Crack You See On Your Wall Serious Or Minor Cosmetic Issue?


Related Checklists
Keep the workflow moving with nearby templates chosen from similar checklist content.