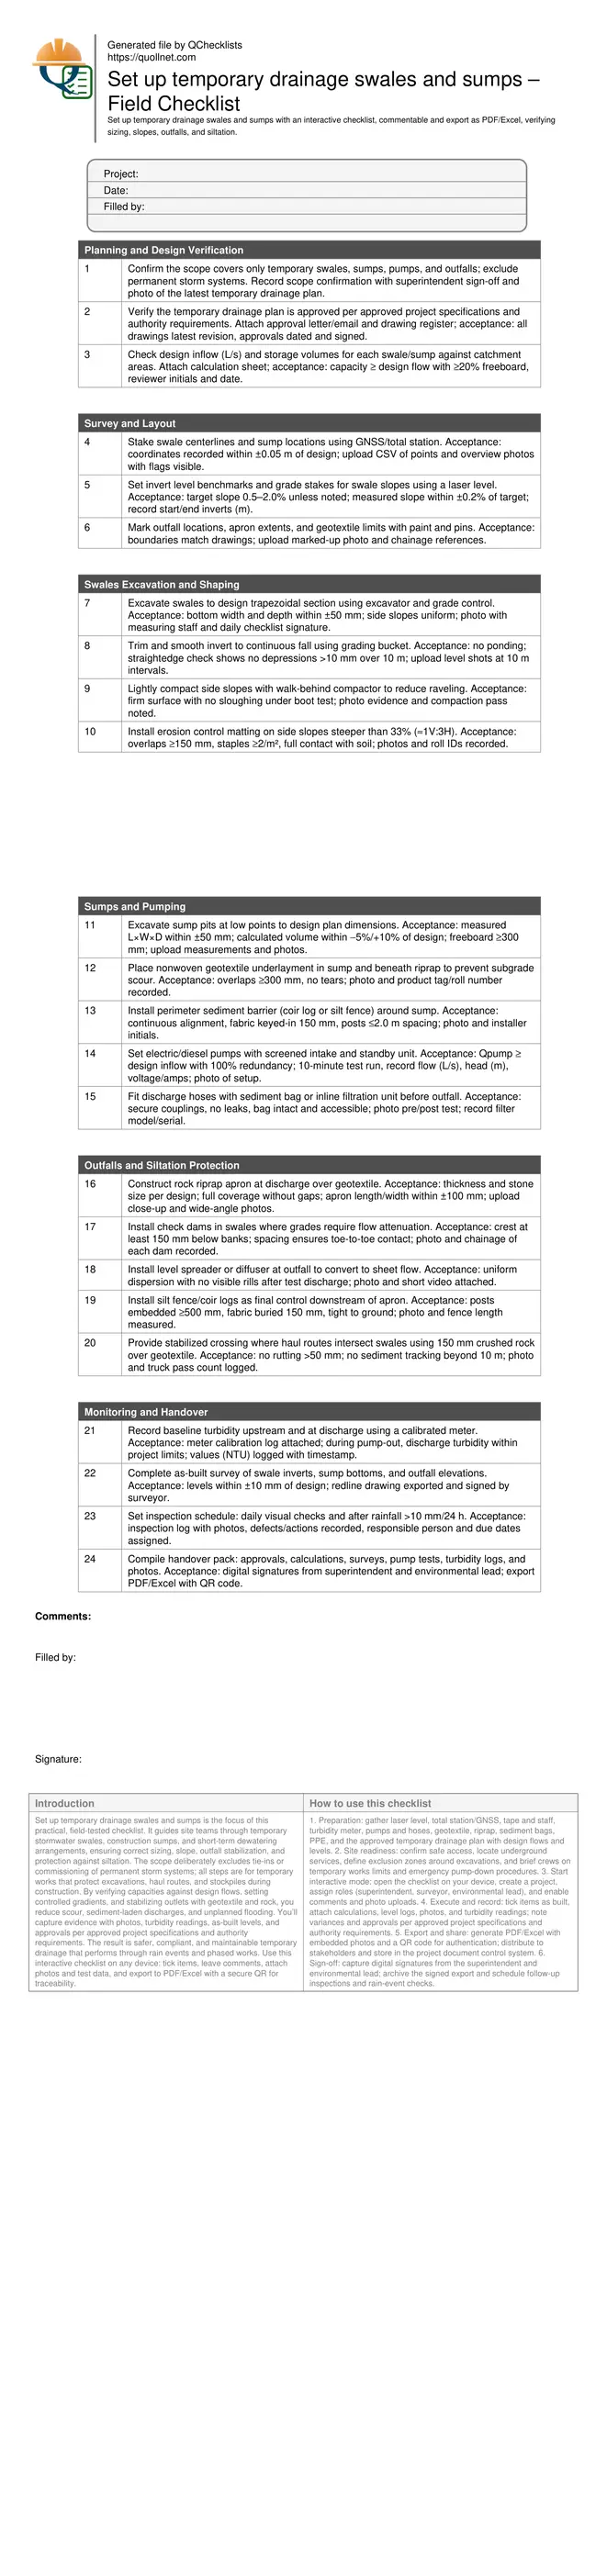
Set up temporary drainage swales and sumps – Field Checklist
Definition: Set up temporary drainage swales and sumps for construction teams, verifying sizing, slopes, outfalls, and siltation protection for temporary stormwater control, excluding tie-ins to permanent storm systems.
- Verify temporary swale and sump sizing against design peak flows.
- Set grades, slopes, and outfalls using laser level and survey.
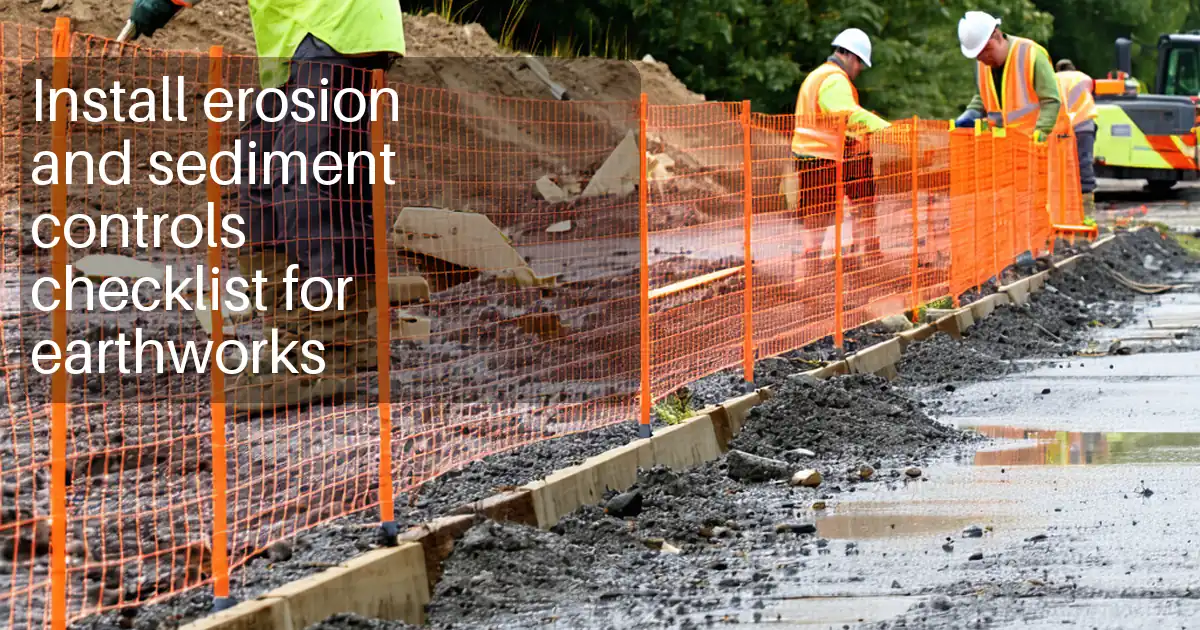
- Install siltation protection, check dams, and stabilized discharge pads.
- Interactive, commentable, export with QR code for field traceability.
Set up temporary drainage swales and sumps is the focus of this practical, field-tested checklist. It guides site teams through temporary stormwater swales, construction sumps, and short-term dewatering arrangements, ensuring correct sizing, slope, outfall stabilization, and protection against siltation. The scope deliberately excludes tie-ins or commissioning of permanent storm systems; all steps are for temporary works that protect excavations, haul routes, and stockpiles during construction. By verifying capacities against design flows, setting controlled gradients, and stabilizing outlets with geotextile and rock, you reduce scour, sediment-laden discharges, and unplanned flooding. You’ll capture evidence with photos, turbidity readings, as-built levels, and approvals per approved project specifications and authority requirements. The result is safer, compliant, and maintainable temporary drainage that performs through rain events and phased works. Use this interactive checklist on any device: tick items, leave comments, attach photos and test data, and export to PDF/Excel with a secure QR for traceability.
- Ensure temporary drainage functions during construction by verifying swale and sump sizing, achievable slopes, and adequate freeboard against anticipated inflows. Stabilize outfalls to prevent scour and deploy sediment controls to keep turbidity within project limits, backed by documented calculations, photos, and level checks.
- Reduce rework and flooding risk by laying out centerlines and invert levels with laser/total station, shaping consistent trapezoidal sections, and installing check dams where grades steepen. Field tolerances and acceptance cues help crews make rapid adjustments before rainfall exposes weaknesses.
- Control siltation with geotextiles, sediment bags, coir logs, and silt fences, positioned to intercept fines without impeding flow. Routine inspections after rainfall events and baseline turbidity measurements ensure corrective actions are timely, measurable, and tied to responsible parties.
- Interactive online checklist with tick, comment, and export features secured by QR code. Real-time collaboration, embedded photos, calculations, and signatures streamline approvals and handover, ensuring transparent compliance with approved project specifications and authority requirements throughout the temporary works phase.
Planning and Design Verification
Survey and Layout
Swales Excavation and Shaping
Sumps and Pumping
Outfalls and Siltation Protection
Monitoring and Handover
Right-sizing Swales and Sumps with Achievable Slopes
Temporary drainage must match real inflows and site grades. Start by confirming catchment areas and expected inflow rates, then test whether proposed swale slopes (typically 0.5–2.0%) are buildable with available cut/fill. A shallow, continuous fall is better than a steep, erodible channel; if grades are flat, increase width or add sumps to maintain capacity and reduce velocities. Provide at least 20% freeboard to accommodate rainfall uncertainty and debris. Shape consistent trapezoids to simplify maintenance and measurement. Survey each 10 m to verify invert falls stay within ±0.2% of target and to detect low spots that collect silt. Sumps at low points should have measured volume within −5%/+10% of design and at least 300 mm freeboard. Document assumptions and field adjustments with annotated photos and redlines to keep reviewers aligned with what was actually built.
- Target swale slopes between 0.5–2.0% unless drawings state otherwise.
- Maintain ≥20% freeboard in swales and sumps for resilience.
- Survey inverts every 10 m; accept ±0.2% slope variance.
- Verify sump volume within −5%/+10% of design.
- Attach calculations, survey CSVs, and redlines.
Stable Outfalls and Energy Dissipation
Outfalls are where temporary systems usually fail. Protect the discharge by laying nonwoven geotextile and placing riprap to the specified thickness and stone size, ensuring full coverage and intimate contact with the subgrade. Where concentrated flow exits hoses or pipes, add a diffuser or level spreader to convert jets into sheet flow. On graded swales, check dams help reduce velocities and trap coarse sediment; their crests must sit below banks and spacing should allow toe-to-toe contact. After a controlled test release or pump run, inspect for rilling, displacement, or undermining. Capture wide-angle and close-up photos and note any remedial stone placement. Use stabilized crossings where traffic intersects swales so vehicles don’t rut channels and mobilize fines, and keep the discharge path free from sharp bends that kink hoses and concentrate energy.
- Geotextile under riprap; ensure full coverage and overlap.
- Riprap thickness and size per design; verify by spot checks.
- Use level spreaders to disperse concentrated flows.
- Check dams crest below banks; toe-to-toe spacing.
- Test discharge and photograph before/after conditions.
Controlling Siltation and Proving Performance
Sediment controls must intercept fines without choking flow. Install silt fences with proper burial, coir logs keyed to the ground, and sediment bags on pump discharges. Place geotextile beneath rock to stop subgrade pumping. Establish baseline turbidity upstream and monitor discharge during pump-out, recording NTU and calibration status. Keep daily inspections and rain-event checks, clearing debris and repairing undermined aprons or tilted fences. If turbidity trends upward, add a second sediment bag, extend the apron, or reduce pump rate. Evidence matters: geotag photos of controls, record lengths and quantities, document corrective actions, and secure digital signatures. All acceptance remains per approved project specifications and authority requirements, ensuring the temporary drainage is robust, auditable, and ready for rapid adaptation as the site evolves through phases.
- Measure turbidity; record NTU and meter calibration.
- Bury silt fence 150 mm; posts ≤2.0 m spacing.
- Use sediment bags on discharge hoses.
- Geotag photos of every installed control.
- Log inspections after ≥10 mm rainfall.
How to Use This Interactive Swales & Sumps Checklist
- Preparation: gather laser level, total station/GNSS, tape and staff, turbidity meter, pumps and hoses, geotextile, riprap, sediment bags, PPE, and the approved temporary drainage plan with design flows and levels.
- Site readiness: confirm safe access, locate underground services, define exclusion zones around excavations, and brief crews on temporary works limits and emergency pump-down procedures.
- Start interactive mode: open the checklist on your device, create a project, assign roles (superintendent, surveyor, environmental lead), and enable comments and photo uploads.
- Execute and record: tick items as built, attach calculations, level logs, photos, and turbidity readings; note variances and approvals per approved project specifications and authority requirements.
- Export and share: generate PDF/Excel with embedded photos and a QR code for authentication; distribute to stakeholders and store in the project document control system.
- Sign-off: capture digital signatures from the superintendent and environmental lead; archive the signed export and schedule follow-up inspections and rain-event checks.
Call to Action
- Start Checklist Tick off tasks, leave comments on items or the whole form, and export your completed report to PDF or Excel—with a built-in QR code for authenticity.
- Download Excel - Temporary Swales and Sumps Setup
- Download PDF - Temporary Swales and Sumps Setup
- View Image - Temporary Swales and Sumps Setup
Cite & Embed
“Temporary Swales and Sumps Setup by Quollnet”
with a link to
this source page.

FAQ
Question: What slope should I aim for in temporary swales to avoid erosion and ponding?
Question: How do I size pumps for temporary sumps on a construction site?
Question: What outfall protection should I use for temporary hose discharges?
Question: How can I prevent siltation from clogging swales and sumps?
Question: When should temporary drainage be modified or extended during the project?
Related Articles
Broader reading and guidance connected to this checklist topic.


Related Checklists
Keep the workflow moving with nearby templates chosen from similar checklist content.