Install Slab Joint Waterstops: Field Checklist & QA
Definition: Install slab joint waterstops with this field checklist for slab pours, focusing on central placement, secure fixing, correct splicing, and end-to-end continuity for durable, watertight horizontal joints only.
- Place centrally within slab thickness; maintain equal embedment both sides.
- Secure with approved clips and forms to prevent displacement during pours.
- Heat-weld splices correctly; verify continuity and document with photos.
- Interactive, commentable checklist with export and QR code verification.
Install slab joint waterstops correctly to ensure watertight horizontal slab joints that resist hydrostatic pressure and long-term leakage. This checklist guides slab teams through PVC waterstop placement, construction joint waterstop embedment, expansion joint detailing, and heat-weld splices. It excludes wall joints and vertical applications to keep focus on slab-on-grade and base slab works. You’ll verify central positioning, secure restraint against pour pressures, proper intersections, and continuous, defect-free splicing to avoid leak paths, honeycombing, and costly rework. The procedure highlights rebar coordination, clean substrates, correct welding temperatures, and consolidation techniques that preserve alignment. Acceptance cues include centering tolerances, uniform weld beads, intact bulbs, and photo/measurement evidence for sign-off. Use this as a practical field tool to deliver predictable quality and traceability on waterstopped slab construction joints and expansion joints. Start interactive mode to tick off tasks, add comments, upload photos, and export as PDF/Excel with a QR-secured record.
- Purpose-built for slab joints, this checklist covers central placement, secure fixing, correct heat-weld splicing, and continuity verification. It excludes wall joints to keep scope tight and drive consistent, watertight results for horizontal slab pours.
- Field-focused steps provide tools, tolerances, and acceptance cues: centering within ±10 mm, protected bulbs, uniform weld beads, clean embedment, and evidence capture. Reduce rework by coordinating rebar, forms, and pour sequence around the waterstop path.
- Interactive online checklist with tick, comment, and export features secured by QR code. Site teams capture photos, batch data, and measurements, while supervisors review approvals and archive authenticated records for audits or turnover packages.
- Built-in documentation requirements—photos, weld coupons, batch numbers, and signatures—create reliable traceability. This supports approvals per approved project specifications and authority requirements and helps demonstrate continuity across splices, corners, and terminations.
Pre-Pour Preparation
Placement and Positioning
Securing and Support
Splicing and Transitions
Pre-Pour Inspection
Concrete Placement and Post-Pour
Central Placement and Restraint for Watertight Slab Joints
Correctly centering the waterstop within the slab thickness creates equal hydrostatic resistance and reliable embedment during both pours. Misalignment leads to unequal cover, honeycombing, or exposure to vibrators, creating leak paths. Use a clear set-out line, then verify centerline at 2 m intervals with a level or laser, aiming for ±10 mm tolerance. Maintain at least 50 mm clearance from reinforcement so concrete can flow and consolidate on both sides. Restrain the profile with clips, brass grommets on flanges, and occasional jigs at splices to stop twist and uplift during pumping and vibration. Before concreting, inspect for cleanliness and continuity, especially at intersections. During placement, keep vibrators at least 50 mm away and use methodical, overlapping passes on both sides to avoid voids while preventing displacement. Continuous observation and immediate correction if drift exceeds 5 mm greatly reduce rework and future leak remediation costs.
- Verify centerline at 2 m intervals, tolerance ±10 mm.
- Keep ≥50 mm clearance from nearest reinforcing bars.
- Use clips and grommets; never puncture the bulb.
- Keep vibrators ≥50 mm from the waterstop.
- Stop and re-secure if drift exceeds 5 mm.
Reliable Splicing and Intersections for Continuity
Waterstop continuity is only as strong as its splices. Prepare ends square, clean, and lightly abraded if required. Heat-weld PVC using a thermostatically controlled iron and a jig to maintain alignment, forming uniform melt beads on both faces. For corners and T-intersections, prefer factory-molded pieces; otherwise, jig-miter with careful fit-up to preserve the centerbulb. Visually inspect every splice: consistent 3–5 mm beads, no pinholes, gaps, fishmouths, or scorched PVC. Retain one welded coupon per splice for records. Simple field bend and peel checks add confidence and catch poor fusions. Photograph each splice and intersection before the pour, logging batch numbers and welder identification. This documented approach builds traceability that supports approvals per approved project specifications and authority requirements, while preventing discontinuities that become direct leak paths under pressure.
- Square, clean, solvent-wiped splice faces.
- Controlled heat-weld using alignment jig.
- Uniform 3–5 mm beads without voids.
- Retain coupons and photo each splice.
- Preserve centerbulb at corners and Ts.
Practical Pour Sequencing and Inspection on Slab Joints
For construction joints, embed half the waterstop in the first pour while keeping the remaining half protected and aligned for the second pour. Use stop-end forms with flange nailing zones only; never puncture the bulb or web. Before the second pour, recheck centering, cleanliness, and restraint, repairing any scuffs or deformations. During concreting, place and consolidate evenly on both sides with pencil vibrators, maintaining a 50 mm standoff. Observe splices and intersections closely; if movement or gapping appears, stop, re-secure, and verify before continuing. After initial set, perform a visual review to confirm no uplift, twist, or exposed voids near the waterstop path. Document the pour sequence, photos at 1 m intervals, measurement checks, and supervisory sign-offs. These habits establish repeatable quality and a reliable archive that streamlines handover and future maintenance investigations.
- Embed half in first pour; protect remainder.
- Nail only through outer flanges at forms.
- Recheck centering before second pour.
- Consolidate both sides with careful passes.
- Photo and sign-off after each stage.
How to Use This Interactive Slab Waterstop Checklist
- Preparation: Gather approved PVC waterstops, clips/grommets, welding iron and jig, measuring tools, PPE (gloves, eye protection), cleaning solvent, camera/phone, and forms aligned to joint set-out.
- Open the interactive checklist on site. Start a new record, enter project, pour area, batch numbers, and responsible personnel.
- Tick items as completed in sequence. Add comments for deviations, measurements, and weld temperatures. Attach photos of placement, splices, and intersections.
- Use the measurement fields to log centerline checks, splice counts, and vibrator standoff distances; tag locations at 5 m intervals.
- Invite supervisor/QC to review in real time. Resolve comments and mark holds or rework actions directly in the checklist.
- Export the record as PDF/Excel for pre-pour and post-pour sign-offs. The QR code secures authenticity and links to attachments.
- Sign-Off: Capture digital signatures from foreman, QA/QC, and engineer. Distribute to stakeholders and archive the QR-authenticated package.

Call to Action
- Start Checklist Tick off tasks, leave comments on items or the whole form, and export your completed report to PDF or Excel—with a built-in QR code for authenticity.
- Download Excel - Slab Joint Waterstop Installation
- Download PDF - Slab Joint Waterstop Installation
- View Image - Slab Joint Waterstop Installation
Cite & Embed
“Slab Joint Waterstop Installation by Quollnet”
with a link to
this source page.

FAQ
Question: What tolerances apply to centering a slab joint waterstop?
Question: How do I verify a good PVC heat-welded splice on site?
Question: Can I vibrate close to the waterstop without dislodging it?
Question: How should I handle corners and T-intersections in slab joints?
Question: What documentation should I keep for quality assurance?
Related Articles
Broader reading and guidance connected to this checklist topic.
Handmade Ceramics And Technique


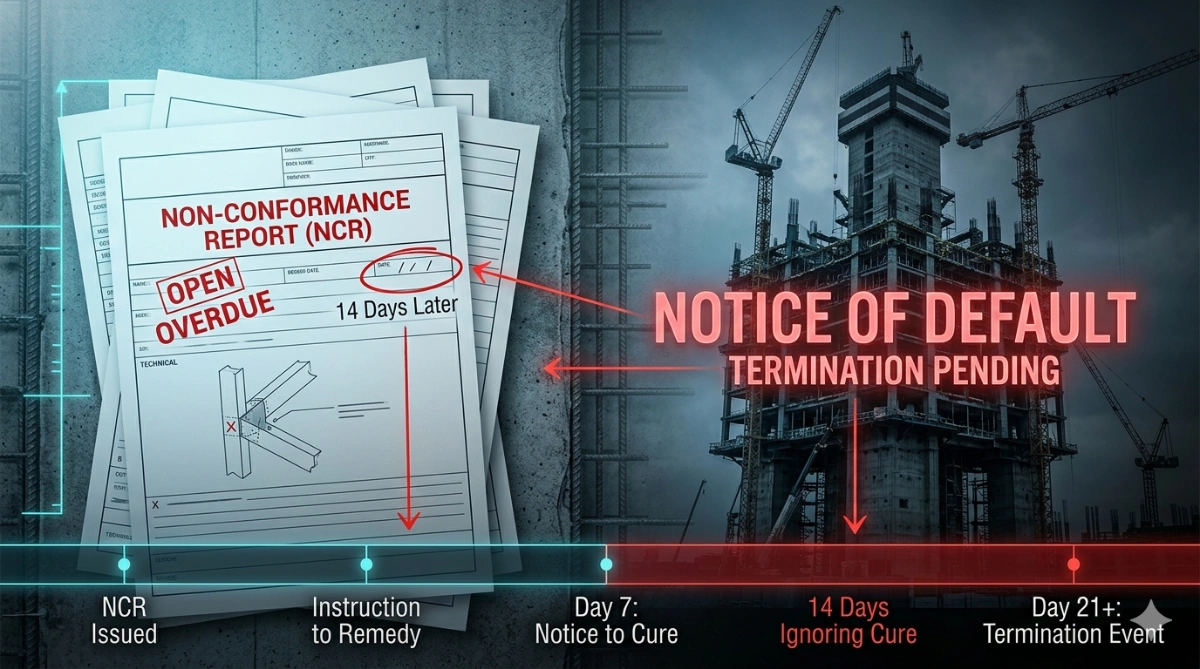
Can An Ncr Lead To Termination? Hidden Risk Behind “notice To Correct”

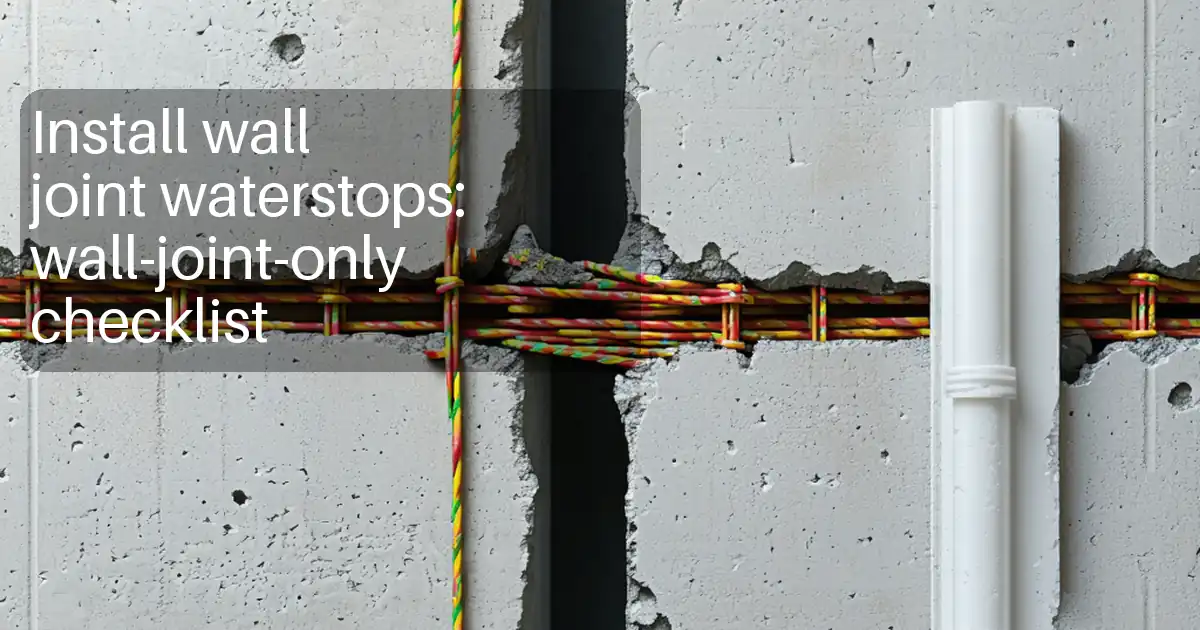
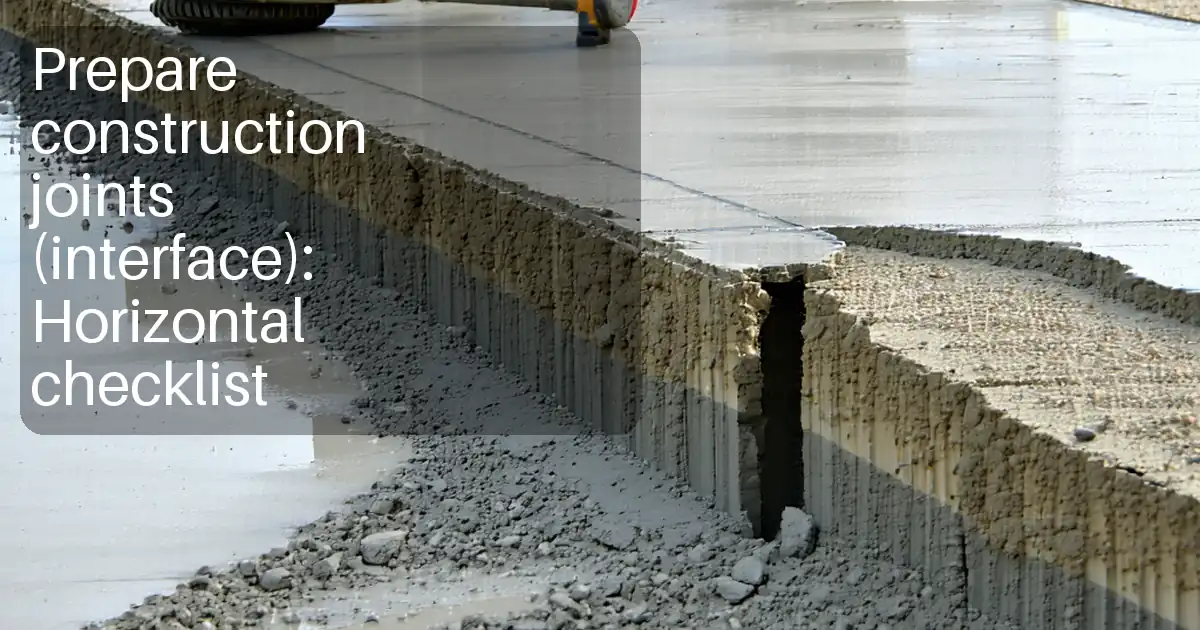
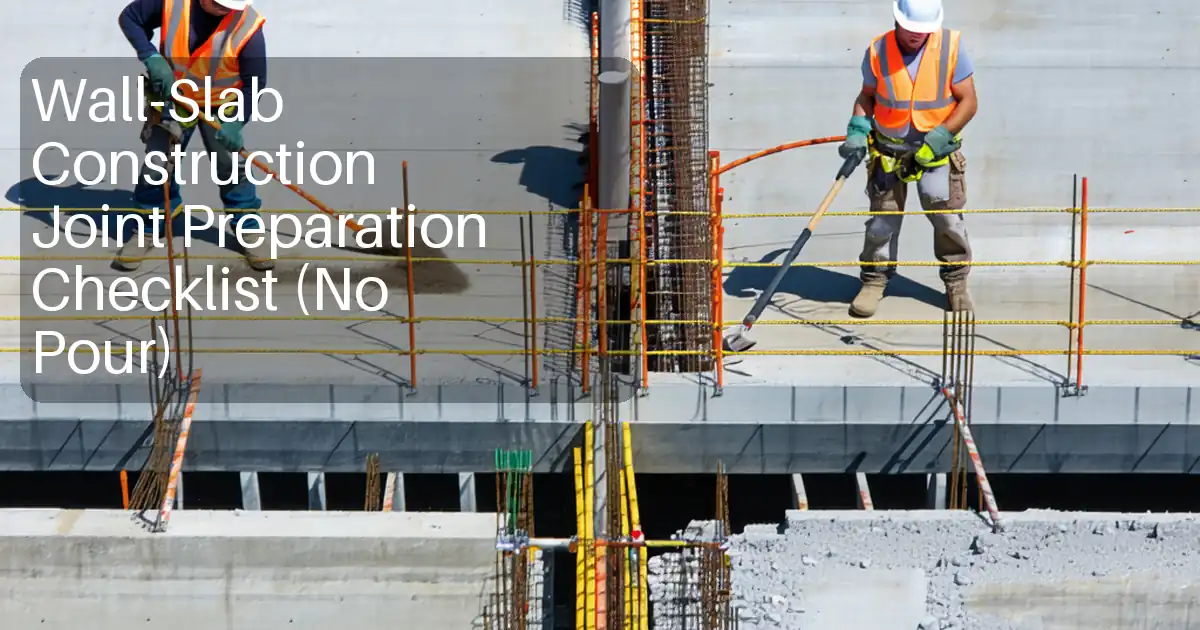
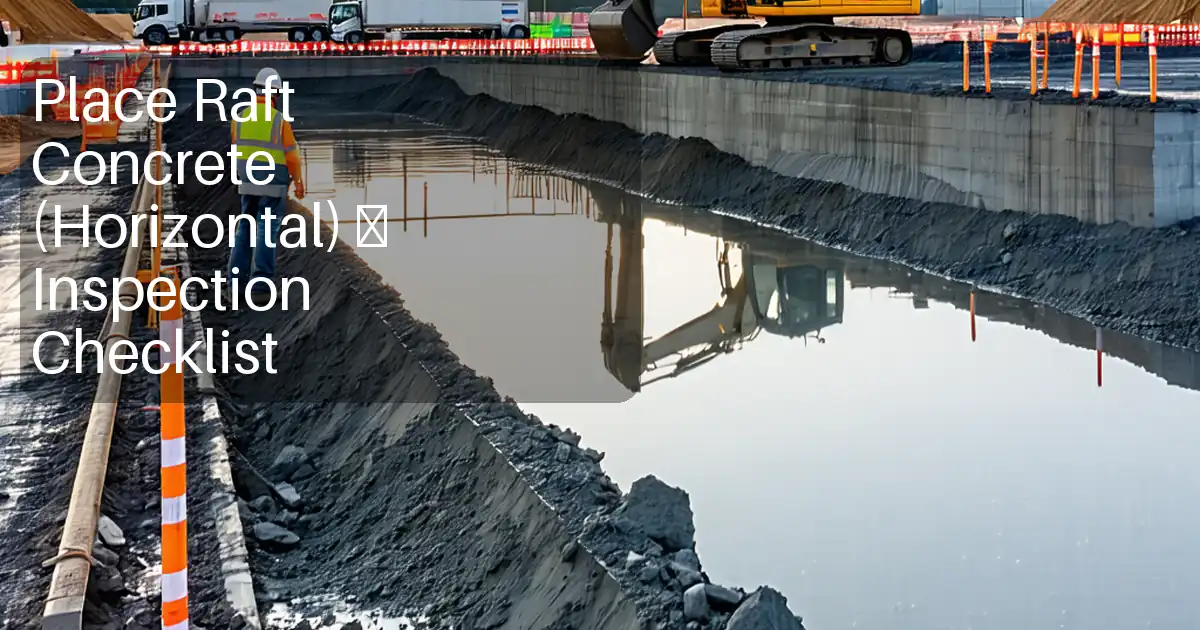
Related Checklists
Keep the workflow moving with nearby templates chosen from similar checklist content.