3D Printed Concrete Inspection Checklist: Before, During & After Printing
Quick Answer: A 3D printed concrete inspection checklist should verify the approved model and print file, substrate and setting out, printer calibration, material traceability, reinforcement and embeds, environmental conditions, extrusion quality, bead and wall geometry, layer timing, interruptions, visible defects, curing, testing, and the final as-built record. The checklist should follow the actual printing sequence and use project-defined acceptance criteria rather than generic tolerances.
Field purpose: This is the practical companion to Quollnet’s 3D printed concrete QA/QC guide.
Use it to answer one question on site: What should I check before, during and after today’s print?
3D concrete printing quality cannot be verified only at the end of the wall. NIST research shows that print shape and performance are influenced by process conditions and material rheology, while ISO/ASTM 52939 treats additive-construction quality assurance as a process-oriented activity. The inspection therefore needs to preserve the print history as well as the final wall condition.
For the complete construction context, see how 3D printed houses are actually built. For recognition of visible problems, use the 3D printed concrete defects field guide.
How to use these five inspection checklists
This article is a field inspection guide, not a substitute for the approved drawings, wall-system qualification, method statement, Inspection & Test Plan (ITP), material supplier procedure, or project specification. Use the five linked checklists as separate templates for individual inspections of a specific wall, segment or interruption event. Wherever this guide says “within tolerance,” the governing value comes from the approved project documents or qualified system.
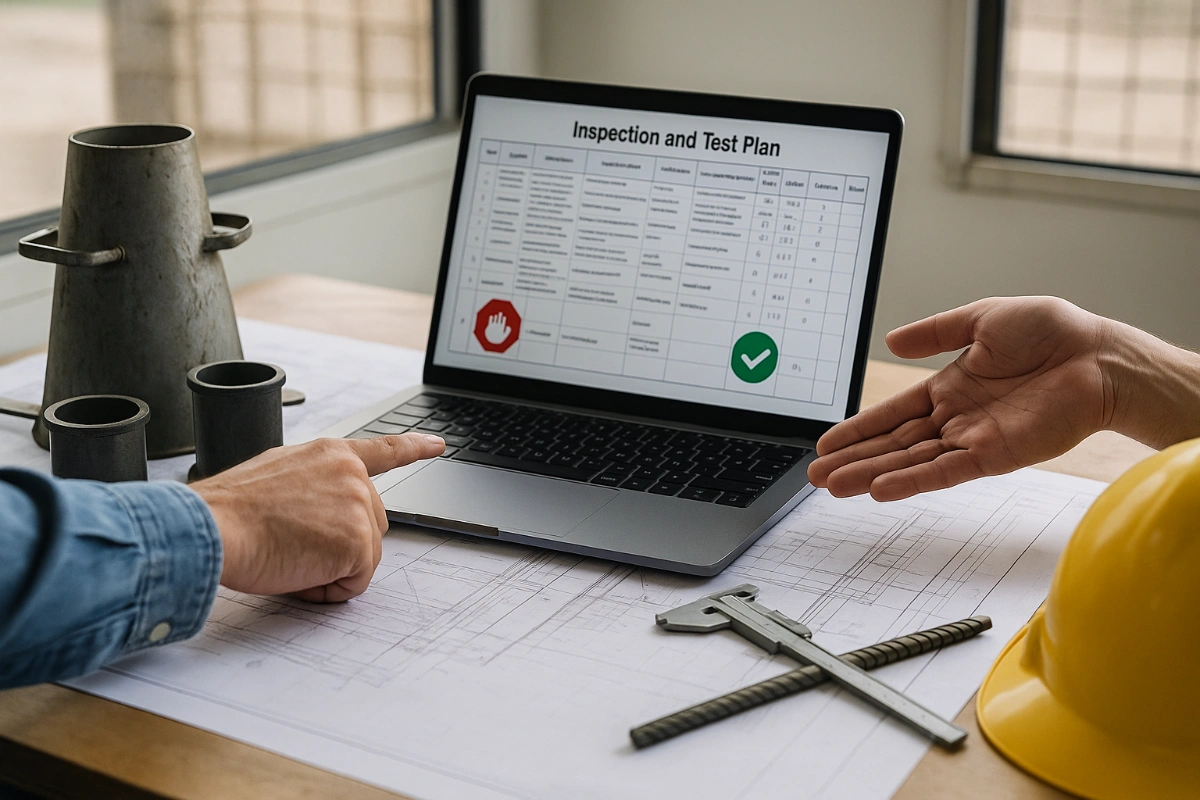
The project’s Inspection & Test Plan should define which items are hold points, witness points or routine surveillance. The normal Work Inspection Request (WIR) workflow can still be used; the inspection evidence is simply specific to 3D printing.
Important: Do not invent a generic allowable layer offset, bead-width percentage or wall-plumb tolerance. Record the measured condition and compare it with the approved system, model, mock-up and project acceptance criteria.
Five focused inspection checklists for 3D concrete printing
Each QChecklist is intended for one specific site inspection visit or event, not for the entire printing operation. Choose the relevant checklist below, complete a separate inspection record for each visit and use the project-approved ITP and acceptance criteria. These checklists do not replace technical release or laboratory test records.
Open the inspection checklist for your visit
- Pre-Printing Readiness Inspection — Before the print starts.
- During-Printing Quality Inspection — During one active printing visit.
- Completed Printed Wall Inspection — After a wall or segment is printed.
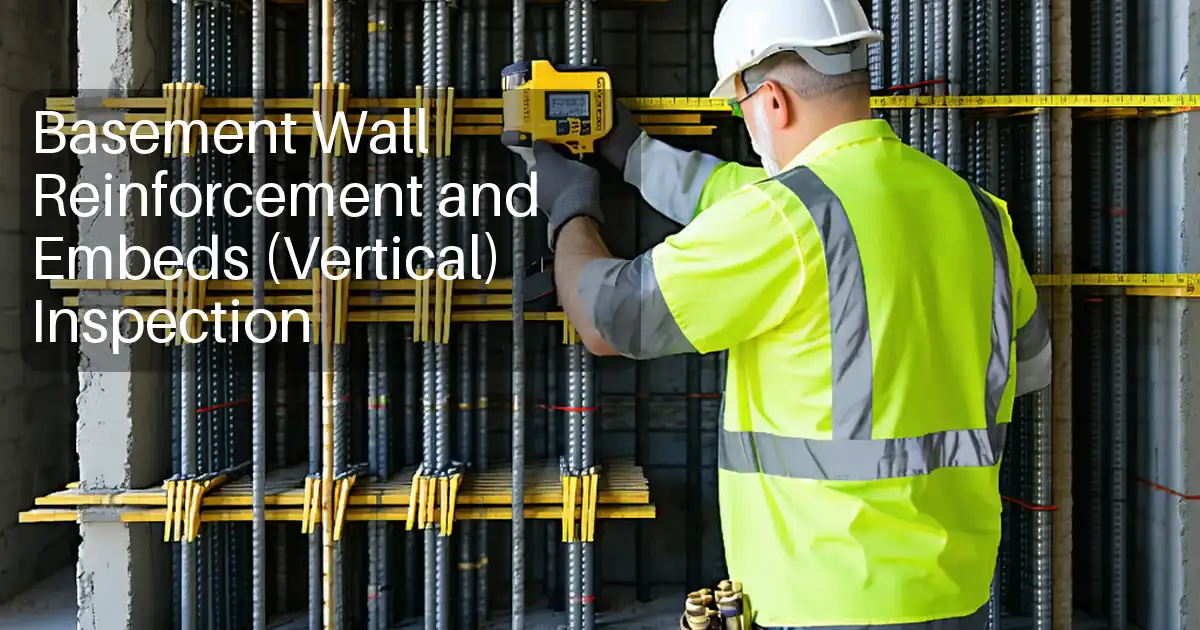
- Reinforcement & Embedded Services Inspection — Before critical work is concealed.
- Print Interruption & Restart Inspection — After a stoppage, before restarting.
Each linked template supports site inspection use and its own downloadable PDF/Excel outputs.
Related execution documents: 3D concrete printing method statement and inspection and test plan. Adapt the documents and inspection criteria to the specific project before use.
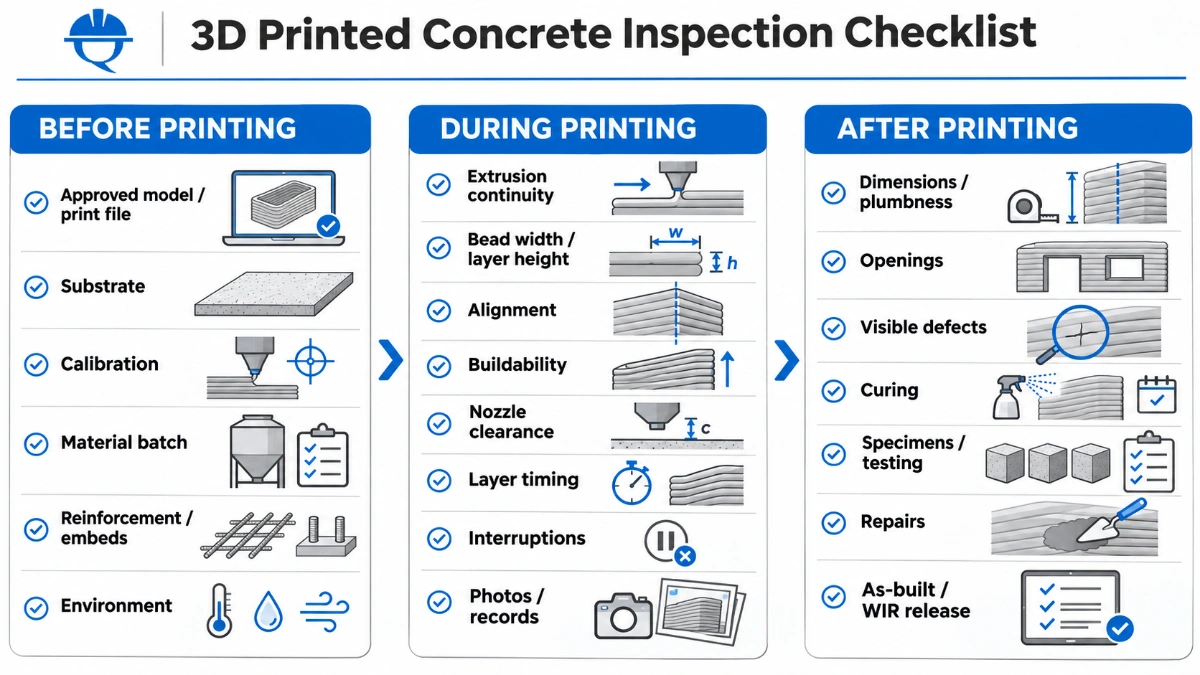
Before printing: pre-print release checklist
The pre-print inspection should confirm that the correct wall can be printed with the correct system before extrusion begins. Errors in revision, setting out or embeds can be repeated automatically once the printer starts.
Use on site: Open the Pre-Printing Readiness Inspection Checklist for the defined wall or segment before printing starts. Complete the inspection and resolve required hold points before authorization to print.
1. Approved model, drawing and print-file revision
- Confirm the current approved drawing/model revision.
- Confirm the print file or toolpath corresponds to that approved revision.
- Check wall locations, thicknesses, shell/cavity arrangement and openings.
- Check connection zones, reinforcement zones and interfaces with conventional construction.
- Verify any late design changes have been incorporated into the production print file.
Hold the print if: the model/print-file revision cannot be verified, there is a mismatch with the approved construction information, or the physical setting out does not correspond with the digital geometry.
2. Foundation, substrate and setting out
- Verify wall centreline, faces, corners and openings against survey control.
- Check substrate/foundation level and local surface condition.
- Confirm starter bars, anchors, dowels and connection hardware.
- Check penetrations, sleeves or embedded items already installed at the base.
- Confirm the printer coordinate system is aligned with the project survey system.
Record: survey reference, wall/segment ID, measured offsets, base elevation and photos before the first layer.
3. Printer identity, setup and calibration
- Record printer, pump, hose and nozzle identification where required.
- Verify setup, level, position and working envelope.
- Confirm nozzle reference and coordinate alignment.
- Confirm calibration/verification is current under the approved procedure.
- Check motion path for potential collisions with reinforcement, embeds, temporary works or completed construction.
Hold the print if: calibration cannot be demonstrated, the physical and digital coordinate systems do not agree, or the planned path conflicts with site conditions.
4. Material batch and traceability
- Confirm approved material/mix identification.
- Record material batch, delivery lot or constituent batch as applicable.
- Record mixing start, production time and any permitted admixture/accelerator additions.
- Confirm the material remains within the approved printing/open-time window.
- Verify any project-specific fresh-state or printability checks required before production.
Do not assume that a conventional concrete slump result alone proves printability. Extrusion stability and buildability depend on the qualified material/process combination.
5. Reinforcement, anchors and embedded items
- Verify reinforcement installed before printing.
- Check vertical bars, starter reinforcement, anchors and connection items.
- Confirm sleeves, boxes, inserts and service openings.
- Check the planned stage for items installed between layers or inside cavities.
- Verify required clearances and access remain possible during printing.
Hold the print if: structural reinforcement or a critical embed is missing, misplaced or conflicts with the print path.
6. Environmental conditions
- Record ambient temperature and relative humidity if required by the procedure.
- Record wind conditions where exposed layers may dry rapidly.
- Note direct solar exposure on the print area.
- Check rain risk and protection arrangements.
- Confirm environmental conditions remain inside the approved material/process range.
High wind, direct sun, elevated temperature or low humidity can accelerate skinning and surface drying, which may affect extrusion quality and interlayer contact.
7. Inspection, testing and restart plan
- Confirm the approved ITP and today's inspection/witness/hold points.
- Confirm required WIR or inspection notification has been issued.
- Confirm the sampling/test plan and specimen IDs.
- Confirm the maximum or controlled interruption/restart procedure.
- Identify who has authority to stop, restart or release the print.
- Confirm curing and post-print protection are ready before printing starts.
During printing: live process inspection checklist
During printing, the objective is to identify process drift while the work is still recoverable. Inspectors should watch trends, not only isolated blemishes.
Use on site: Complete the During-Printing Quality Inspection Checklist for each scheduled or event-driven observation visit, identifying the wall/segment and relevant layer or elevation. A later visit should have its own record.
8. Extrusion continuity
- Check that material flow remains continuous along the intended path.
- Look for under-extrusion, over-extrusion, tearing, gaps or irregular flow.
- Record any pump/nozzle blockage or operator adjustment.
- Check whether a defect repeats in the same location or successive layers.
Escalate when: discontinuity becomes repeated, through-depth, structurally significant, or changes the intended shell/contact geometry.
9. Bead width and layer height
- Measure bead width and layer height at the frequency required by the project.
- Compare measurements with the approved bead geometry.
- Record a sequence of measurements rather than only the worst point.
- Check whether changing bead geometry is affecting wall thickness or cavities.
Escalate when: the measured trend moves outside the approved range or affects wall, cavity, reinforcement or opening geometry.
10. Layer alignment and contact
- Check lateral offset between successive layers.
- Look for reduced contact area, stepped faces or open interfaces.
- Check corners, curves and intersections where deposition geometry can be more difficult.
- Observe whether misalignment is isolated or accumulating upward.
Escalate when: misalignment is progressive, reduces intended bearing/contact, changes shell/cavity layout or drives the wall outside the approved line/plumb envelope.
11. Wall geometry and dimensional drift
- Check wall position against survey/control references.
- Measure thickness where accessible.
- Check line, level and plumb at defined heights.
- Monitor openings and connection zones as the wall rises.
- Compare intermediate geometry with the digital model rather than waiting until completion.
12. Buildability, slumping and deformation
- Watch for spreading, flattening, bulging or leaning of lower layers.
- Check whether deformation grows as new layers are added.
- Record wall height/layer count when deformation starts.
- Record print rate, environmental conditions and material age if a trend appears.
Hold the print if: deformation is progressive rather than stabilizing, the wall is buckling, or continued printing could produce instability or collapse.
13. Nozzle clearance and contact
- Check nozzle clearance above the deposited layer.
- Look for scraping, gouging, dragging or displacement.
- Check whether contact affects reinforcement or embeds.
- Inspect underlying still-fresh layers if a nozzle collision occurs.
Nozzle contact may disturb more than the visibly scraped bead; it can transmit local shear or vibration into fresh layers below.
14. Layer interval and environmental change
- Record layer timing where required.
- Watch for longer-than-normal intervals.
- Recheck wind, temperature, humidity or solar exposure if conditions change.
- Observe surface drying/skin formation before the next layer is placed.
Escalate when: the interlayer interval exceeds the approved process limit or the receiving layer surface is dried, contaminated or otherwise outside the restart procedure.
15. Reinforcement and embeds installed during printing
Before concealment: Where the inspection involves reinforcement, anchors, sleeves or services being covered by subsequent printing or infill, use the Reinforcement & Embedded Services Inspection Checklist for that hold/witness visit. Obtain the applicable release before concealing critical items.
- Verify reinforcement/embeds before they become concealed.
- Check location, continuity and required clearances.
- Confirm sleeves, boxes and inserts remain fixed during deposition.
- Photograph critical items with reference to wall/layer location.
16. Interruptions and restart interfaces
For a stoppage: Record and assess the event using the Print Interruption & Restart Inspection Checklist. A restart outside the qualified process requires the relevant technical disposition and project-defined release, not simply a routine continuation check.
- Record stop time, restart time and reason.
- Identify the affected wall, layer or elevation.
- Record material/environmental condition during the stop.
- Record cleaning or surface preparation before restart.
- Confirm required approval to resume printing.
A planned stop is not automatically a defect. The concern is whether the interruption changes the interface or moves the process outside the qualified sequence.
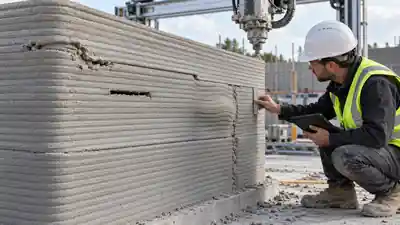
17. Visible defects and process deviations
- Check for tearing, gaps, voids, misalignment, slumping, bulging, nozzle damage and cracking.
- Record photos with scale and wider wall context.
- Record layer/elevation and relevant process history before repair.
- Use Quollnet’s visual defects field guide when classifying a suspicious condition.
Do not repair before documenting. Preserve the original condition and the process context so the engineer can assess what actually happened.
After printing: completed-wall inspection checklist
The post-print inspection verifies the final wall before subsequent work hides interfaces, cavities or defects.
Use on site: Complete the Completed Printed Wall Inspection Checklist for the specific wall or segment, attaching the required survey, defects, curing and traceability evidence. This visit does not replace separate laboratory test results or final acceptance.
18. Final dimensions, position and plumbness
- Check wall position, thickness and height.
- Check line, level and plumbness.
- Verify openings, reveals and connection zones.
- Confirm interfaces with foundations, floors, roofs and adjacent construction.
- Record survey/as-built data where required.
19. Visible wall condition
- Inspect for cracks, tearing, gaps, voids and damaged beads.
- Inspect restart interfaces and long interruption elevations.
- Check for local collapse, repaired areas or unfinished defects.
- Check weather-exposed faces for open paths or incomplete shell continuity.
20. Reinforcement, embeds and penetrations
- Confirm required reinforcement/anchors remain correctly positioned.
- Check openings, sleeves and embedded services.
- Verify any cavity/infill or grouting work that must follow printing.
- Do not authorize cutting/chasing of misplaced items without the required technical review.
21. Curing and protection
- Confirm the approved curing/protection method has started.
- Check protection against rapid drying, rain, impact and site traffic.
- Record curing/protection dates and affected wall segments.
- Check whether later trades could damage exposed printed surfaces.
22. Samples, specimens and test traceability
- Confirm all required specimens were taken or produced.
- Record specimen/companion-wall IDs against the printed wall/segment.
- Confirm test requests and laboratory traceability.
- Record any additional testing required because of defects or interruptions.
This checklist does not prescribe test methods. The separate Quollnet article How Is 3D Printed Concrete Tested? will cover printed specimens, directional behavior, interlayer testing and acceptance evidence.
23. Defects, repairs and dispositions
- Confirm all identified deviations have a recorded status.
- Separate observations from confirmed nonconformances.
- Do not close a defect merely because it has been covered or patched.
- Verify approved repair method and repair evidence.
- Record technical acceptance/concession where applicable.
Quollnet’s Observation vs NCR vs Snag vs Defect guide explains which quality record may apply. Where a requirement has been breached, the NCR guide explains the formal non-conformance workflow.
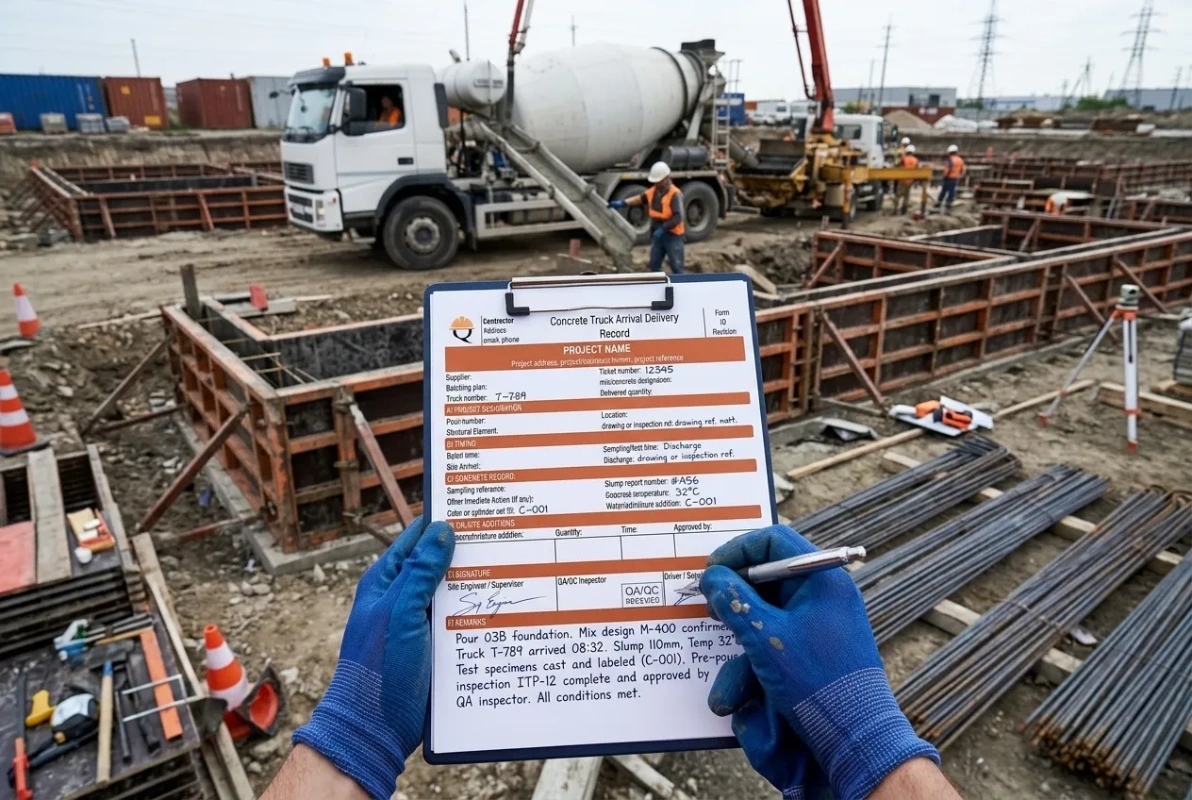
24. As-built print record and inspection release
- Confirm final model/drawing/print-file revision reference.
- Confirm wall/segment ID and print start/finish times.
- Archive material batches and printer/nozzle identification where required.
- Attach measurements, photos, interruption records and test IDs.
- Attach NCR/repair/technical-disposition records.
- Complete the normal WIR/inspection release for the completed stage.
When should the inspector stop or hold the print?
Project-specific hold criteria govern, but the following conditions normally justify stopping or holding the affected work until the required technical review:
- unverified or incorrect model/print-file revision;
- printer calibration or coordinate mismatch;
- missing structural reinforcement, anchor or critical embed;
- repeated extrusion discontinuity or major gaps;
- progressive layer misalignment or dimensional drift;
- progressive slumping, bulging, buckling or instability;
- nozzle collision affecting reinforcement or fresh underlying layers;
- interruption outside the approved restart procedure;
- significant layer separation or suspected delamination;
- wall geometry outside the approved construction tolerance; or
- any condition where continuing would conceal the issue or make recovery more difficult.
Minimum field record for each inspected print segment
| Record | What to capture |
|---|---|
| Identity | Project, wall/segment, drawing/model and print-file revision. |
| Process | Printer/nozzle, material batch, print start/finish, interruption times. |
| Environment | Temperature, humidity, wind/solar exposure where required. |
| Geometry | Bead/layer measurements, wall thickness, position, line/plumb survey. |
| Interfaces | Reinforcement, embeds, openings, restart interfaces and connection zones. |
| Evidence | Photos, comments, defects, repairs, test/specimen IDs and approvals. |
A simple field sequence
Release the correct model → verify substrate, printer, material and embeds → monitor extrusion, geometry and timing → record interruptions and defects → verify final wall geometry and condition → preserve test and as-built evidence → release the work through the normal inspection/WIR process.
References
ICC 1150-2026 — Standard for Automated Construction Technology for 3D Printing Walls
NIST — Additive Manufacturing with Cement-based Materials
NIST — Print Fidelity Metrics for Additive Manufacturing of Cement-based Materials