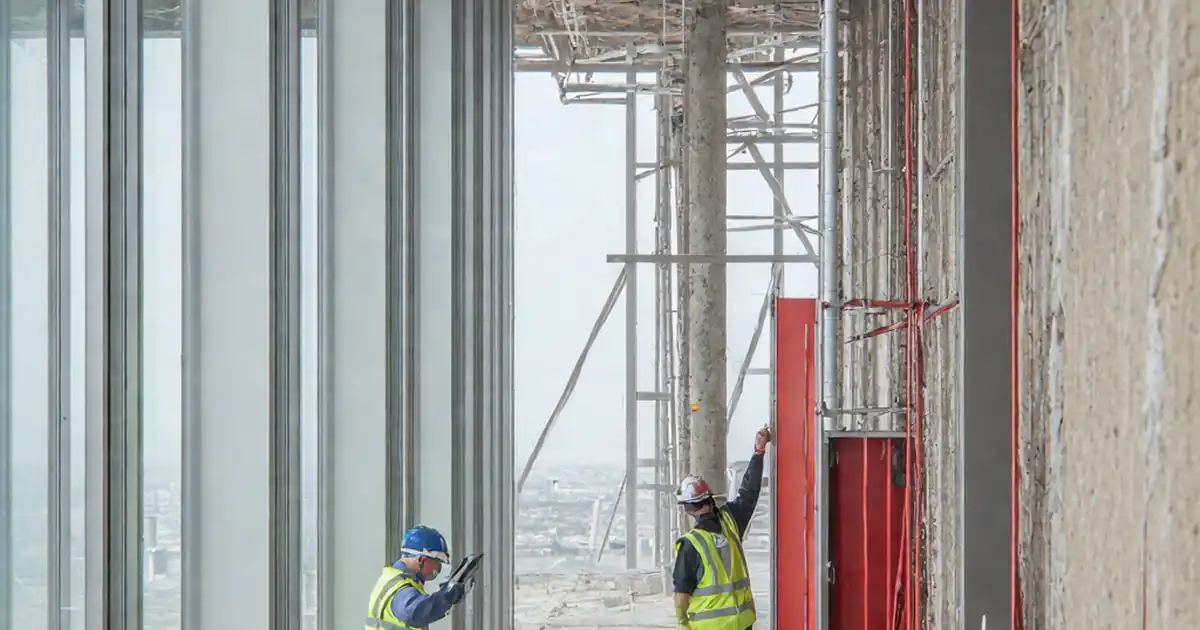
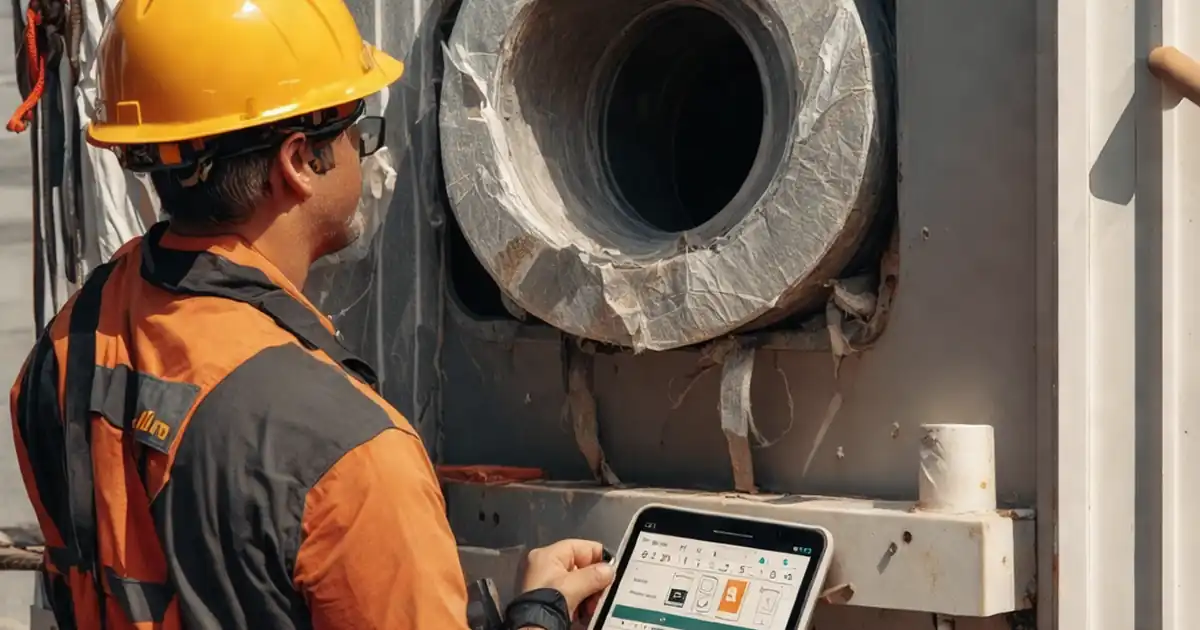
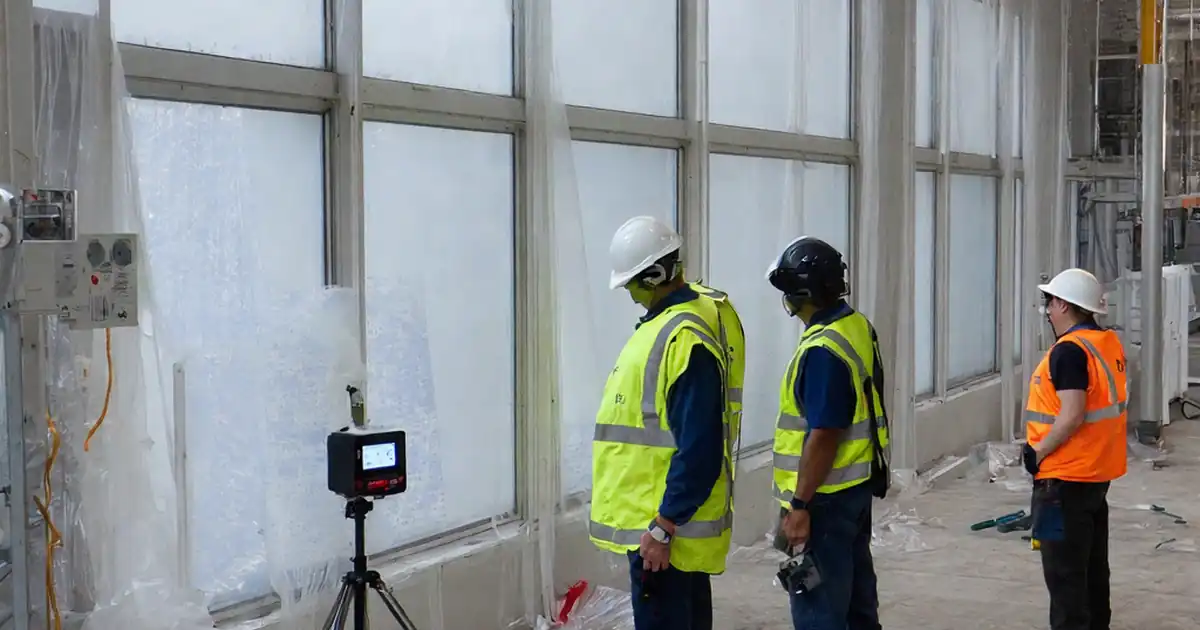
Test Façade Acoustic Sealing Effectiveness at Perimeter Joints
Definition: Test façade acoustic sealing effectiveness at perimeter joints for façade contractors and QA inspectors using pink-noise excitation, Class 1 meters, and visual aids to confirm continuous, documented perimeter joint acoustic performance.
- Define source, measurement points, and acceptance aligned to project specs.
- Use pink noise, Class 1 SLM, intensity probe, and acoustic camera.
- Capture readings, photos, signatures; store calibration and repair evidence.
- Interactive, commentable checklist; export and QR code validation.
Test façade acoustic sealing effectiveness at perimeter joints ensures the building envelope limits flanking paths and localized sound leakage where curtain wall frames meet slabs, spandrels, or adjacent constructions. This field-focused façade acoustics procedure verifies acoustic sealant continuity at the slab-to-façade interface and identifies weak points impacting perimeter joint sound performance. Using a controlled pink-noise source, Class 1 sound level meter, and optional intensity probe or acoustic camera, teams compare joint-adjacent readings against field-of-wall controls to detect deficiencies without destructive access. The scope is limited to diagnostic verification and documentation of perimeter joint acoustic sealing; it does not replace laboratory ratings or broader airborne/impact performance tests and should be applied per approved project specifications and authority requirements. By following this checklist, you will standardize setup, measurements, acceptance decisions, and retesting after repairs, reducing callbacks and handover risk. Start in interactive mode to tick items, add comments, and export PDF/Excel with a QR-secured record.
- This checklist provides a repeatable, site-ready method to evaluate acoustic sealing at façade perimeter joints using pink-noise excitation and calibrated instrumentation. It pinpoints leakage paths at slab edges, mullion interfaces, and spandrel zones, guiding targeted remediation and objective sign-off with annotated photos and time-stamped readings.
- Procedures standardize equipment calibration, measurement spacing, control-point baselines, ambient-noise checks, and acceptance cues to avoid false results. Teams capture models, serials, and calibration certificates, compare joint readings against field-of-wall references, and document repairs and retests to demonstrate traceable improvements aligned with project specifications.
- Interactive online checklist with tick, comment, and export features secured by QR code.
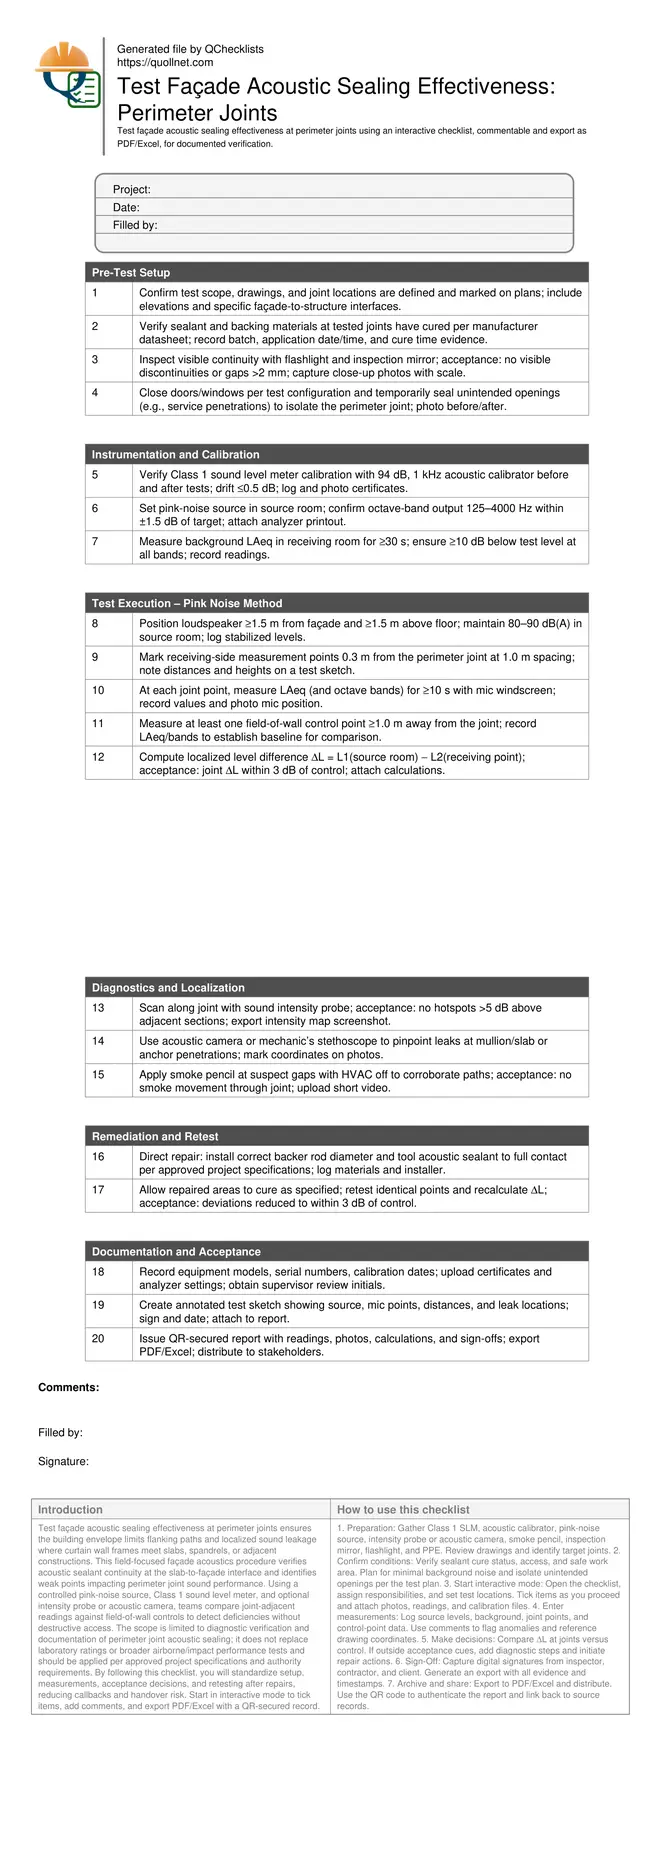
Pre-Test Setup
Instrumentation and Calibration
Test Execution – Pink Noise Method
Diagnostics and Localization
Remediation and Retest
Documentation and Acceptance
Field method for detecting perimeter joint sound leakage
This method uses a controlled pink-noise source in the source room and Class 1 measurements in the adjacent space to assess acoustic sealing at the façade perimeter joint. You measure near-joint points at 0.3 m spacing and compare them with a field-of-wall control point at least 1.0 m away from the joint. The localized level difference (ΔL) at the joint should be consistent with the control, typically within 3 dB, indicating that the joint is not a dominant flanking path. Where deviations exceed the acceptance cue, scan with a sound intensity probe or acoustic camera to localize leakage at mullion/slab interfaces, brackets, or transitions. Use a smoke pencil to corroborate airflow paths when safe. A typical jobsite example is a slab edge where sealant bridged over a recessed anchor plate; intensity mapping revealed a distinct hotspot, and tooling the sealant to full contact eliminated the anomaly on retest.
- Measure joint at 0.3 m offset and 1.0 m spacing.
- Include a field-of-wall control comparison point.
- Target joint ΔL within 3 dB of control.
- Use intensity or camera to pinpoint hotspots.
Preparation, instrumentation quality, and ambient noise control
Reliable results require disciplined preparation. Confirm sealant cure times from the datasheet and avoid testing while materials are still plastic. Verify sound level meter calibration before and after using a 94 dB, 1 kHz calibrator, with drift not exceeding 0.5 dB. Confirm loudspeaker spectral balance across 125–4000 Hz within ±1.5 dB and maintain a stable source level around 80–90 dB(A). Background levels in the receiving room must sit at least 10 dB below the test signal across measured bands; schedule out-of-hours if needed. Close operable elements per the defined configuration and temporarily seal unintended openings to isolate the joint. Record all settings, instrument models, and serial numbers. Photograph microphone placements to prove geometry consistency. These preparatory controls reduce uncertainty and prevent false fails or unwarranted passes, supporting transparent acceptance decisions per approved project specifications and authority requirements.
- Verify Class 1 meter calibration and document drift.
- Keep background at least 10 dB below test.
- Stabilize source at 80–90 dB(A).
- Photograph mic positions and source setup.
Typical defects, remedies, and retesting for closure
Common defects include discontinuous sealant beads, undersized backer rods causing thin sections, voids behind trims, unsealed bracket penetrations, and incomplete contact at slab edges with irregular concrete. After locating a defect, specify repair with the correct backer rod diameter and acoustic sealant, ensuring full contact with both substrates and neat tooling. Where trims mask the joint, temporarily remove sections to achieve proper access. Allow curing as per datasheet before retesting the exact same points with identical geometry and settings. On retest, the previously elevated joint-adjacent levels should drop, bringing the ΔL within 3 dB of the field-of-wall control. Capture before/after photos, updated readings, and installer sign-offs to close the loop and provide traceable evidence that the perimeter joint now meets the project’s acoustic intent.
- Gaps >2 mm or thin sealant are red flags.
- Backer rod must size for correct sealant depth.
- Seal bracket and anchor penetrations fully.
- Retest same points after full cure.
How to Use This Interactive Checklist
- Preparation: Gather Class 1 SLM, acoustic calibrator, pink-noise source, intensity probe or acoustic camera, smoke pencil, inspection mirror, flashlight, and PPE. Review drawings and identify target joints.
- Confirm conditions: Verify sealant cure status, access, and safe work area. Plan for minimal background noise and isolate unintended openings per the test plan.
- Start interactive mode: Open the checklist, assign responsibilities, and set test locations. Tick items as you proceed and attach photos, readings, and calibration files.
- Enter measurements: Log source levels, background, joint points, and control-point data. Use comments to flag anomalies and reference drawing coordinates.
- Make decisions: Compare ΔL at joints versus control. If outside acceptance cues, add diagnostic steps and initiate repair actions.
- Sign-Off: Capture digital signatures from inspector, contractor, and client. Generate an export with all evidence and timestamps.
- Archive and share: Export to PDF/Excel and distribute. Use the QR code to authenticate the report and link back to source records.
Call to Action
- Start Checklist Tick off tasks, leave comments on items or the whole form, and export your completed report to PDF or Excel—with a built-in QR code for authenticity.
- Download Excel - Façade Perimeter Joint Acoustic Sealing Test
- Download PDF - Façade Perimeter Joint Acoustic Sealing Test
- View Image - Façade Perimeter Joint Acoustic Sealing Test
Cite & Embed
“Façade Perimeter Joint Acoustic Sealing Test by Quollnet”
with a link to
this source page.
FAQ
Question: What source level should I use for testing perimeter joint acoustic sealing?
Question: How many measurement points are needed along a perimeter joint?
Question: Does this field method replace laboratory sound insulation ratings?
Question: What if background noise is too high to meet the 10 dB margin?
Related Articles
Broader reading and guidance connected to this checklist topic.

Open Ncrs At Taking-over / Dlp: What Happens At Handover And How To Escalate

High Or Low Concrete Slump: Retest, Hold, Adjust Or Reject?

Eot Claim Checklist | Free Extension Of Time Submission Guide
Related Checklists
Keep the workflow moving with nearby templates chosen from similar checklist content.