Review Façade Acoustic Performance Requirements and Perimeter Sealing
Definition: Review façade acoustic performance requirements and perimeter sealing details for design managers, façade engineers, and site QA staff, ensuring compliant sound insulation, airtight interfaces, and durable, compatible perimeter joints.
- Verify ratings, movement, and flanking paths early to prevent rework.
- Align air, vapour, and mass layers across slab edges.
- Inspect sealant materials, backer rods, and adhesion with field tests.
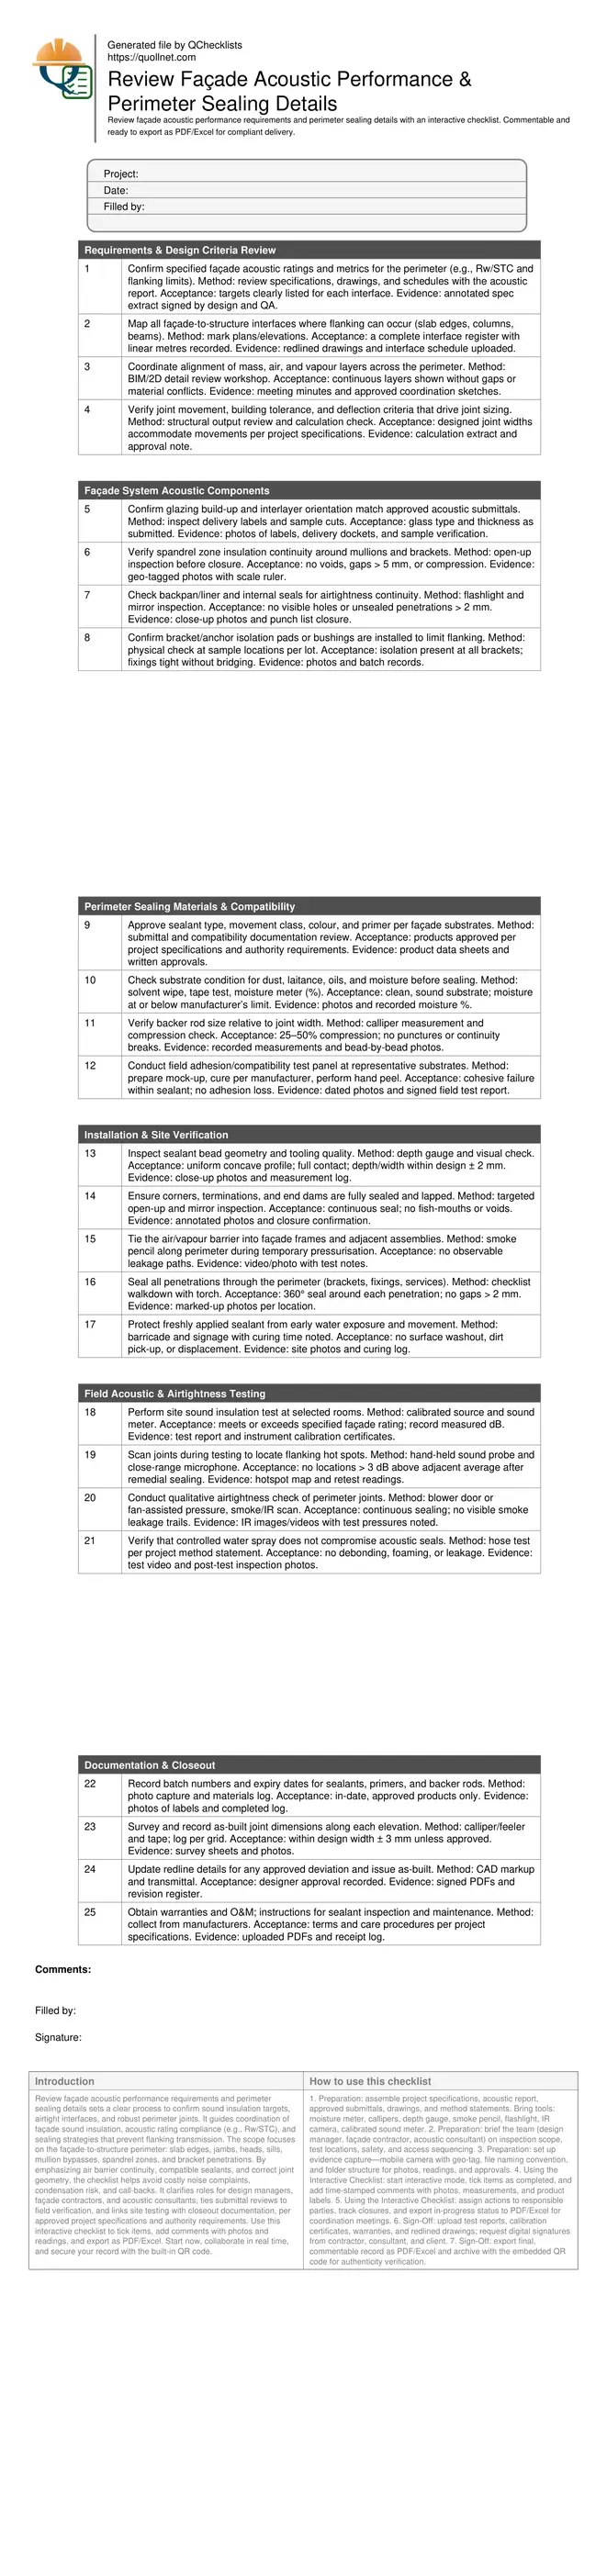
- Interactive, commentable, export-ready checklist with QR code verification.
Review façade acoustic performance requirements and perimeter sealing details sets a clear process to confirm sound insulation targets, airtight interfaces, and robust perimeter joints. It guides coordination of façade sound insulation, acoustic rating compliance (e.g., Rw/STC), and sealing strategies that prevent flanking transmission. The scope focuses on the façade-to-structure perimeter: slab edges, jambs, heads, sills, mullion bypasses, spandrel zones, and bracket penetrations. By emphasizing air barrier continuity, compatible sealants, and correct joint geometry, the checklist helps avoid costly noise complaints, condensation risk, and call-backs. It clarifies roles for design managers, façade contractors, and acoustic consultants, ties submittal reviews to field verification, and links site testing with closeout documentation, per approved project specifications and authority requirements. Use this interactive checklist to tick items, add comments with photos and readings, and export as PDF/Excel. Start now, collaborate in real time, and secure your record with the built-in QR code.
- Ensure façade acoustic criteria are understood, coordinated, and achieved at all perimeter interfaces. The checklist connects design targets to buildable details, verifies compatible sealants, and confirms airtightness. Outcomes include reduced flanking transmission, predictable indoor comfort, and a verifiable as-built record for handover.
- Bridge the gap between submittals and site conditions with actionable inspections. You will capture product data, joint measurements, photographs, and test readings, aligning installers, supervisors, and consultants under one sequence that prevents omissions and enables timely corrective actions.
- Practical verification steps translate acoustic intent into field outcomes. From backer rod selection and bead geometry to smoke, IR, and sound level checks, acceptance cues and tolerances guide decisions, reduce ambiguity, and document compliance per approved project specifications and authority requirements.
- Interactive online checklist with tick, comment, and export features secured by QR code.
Requirements & Design Criteria Review
Façade System Acoustic Components
Perimeter Sealing Materials & Compatibility
Installation & Site Verification
Field Acoustic & Airtightness Testing
Documentation & Closeout
Translating Acoustic Intent into Buildable Façade Interfaces
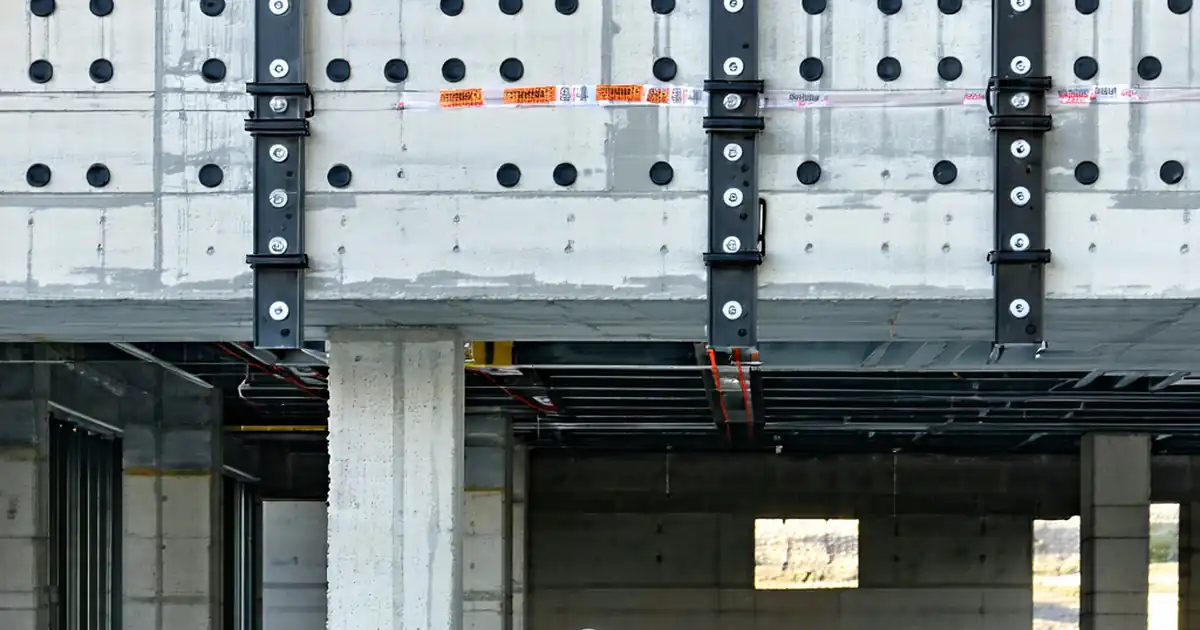
Achieving façade acoustic performance hinges on translating design targets into details that installers can build consistently. Start by confirming the rating metrics and which interfaces govern them. Align mass, air, and vapour layers so the façade system, slab edge, and partitions act as a continuous barrier. Spandrel and mullion zones often hide weaknesses—insulation gaps, unsealed backpans, or rigid brackets that transmit vibration. Early coordination workshops make the connection between acoustic intent and tolerances for joint size, movement, and deflection. During submittal reviews, require traceability: products, drawings, and calculations must show how every perimeter joint meets performance. Sealant compatibility with adjacent substrates is essential; primers and cleaners should be specified, tested, and documented. Field mock-ups then confirm workmanship, bead geometry, and curing behavior under site conditions. When this sequence is followed, façade edges avoid flanking transmission, finish interfaces remain airtight, and sound insulation targets are reliably met at handover.
- Define metrics and governing perimeter interfaces early.
- Coordinate layer continuity across slabs and frames.
- Target spandrel and bracket zones for hidden leaks.
- Tie submittals to measurable field acceptance.
- Prove constructability with representative mock-ups.
Perimeter Joint Design, Materials, and Workmanship
Perimeter sealing details control both airtightness and acoustic performance. Effective joints start with correct geometry: the width accommodates movement and depth is limited by a compressible backer rod or bond-breaker tape to avoid three-sided adhesion. Select sealants whose movement class and modulus match joint dynamics and substrates; ensure primers and cleaners are compatible. Substrate preparation matters—dry, clean, and sound surfaces promote adhesion. Field adhesion tests on representative substrates provide confidence before production sealing. During installation, consistent bead profiles, full tooling, and clean terminations prevent voids and micro-paths for sound or air. Corners, end dams, and transitions deserve targeted inspection, especially where curtain wall frames meet adjacent construction. Protect curing sealant from early loading or water. Document batch numbers and expiry dates to maintain traceability. With disciplined preparation, materials selection, and workmanship, perimeter joints deliver durable acoustic seals that remain serviceable over the building’s life.
- Size joints for movement and controlled depth.
- Use compatible primers, cleaners, and sealants.
- Prove adhesion with on-site test panels.
- Tool beads to uniform concave profiles.
- Record batch numbers for traceability.
Site Verification, Testing, and Closeout Confidence
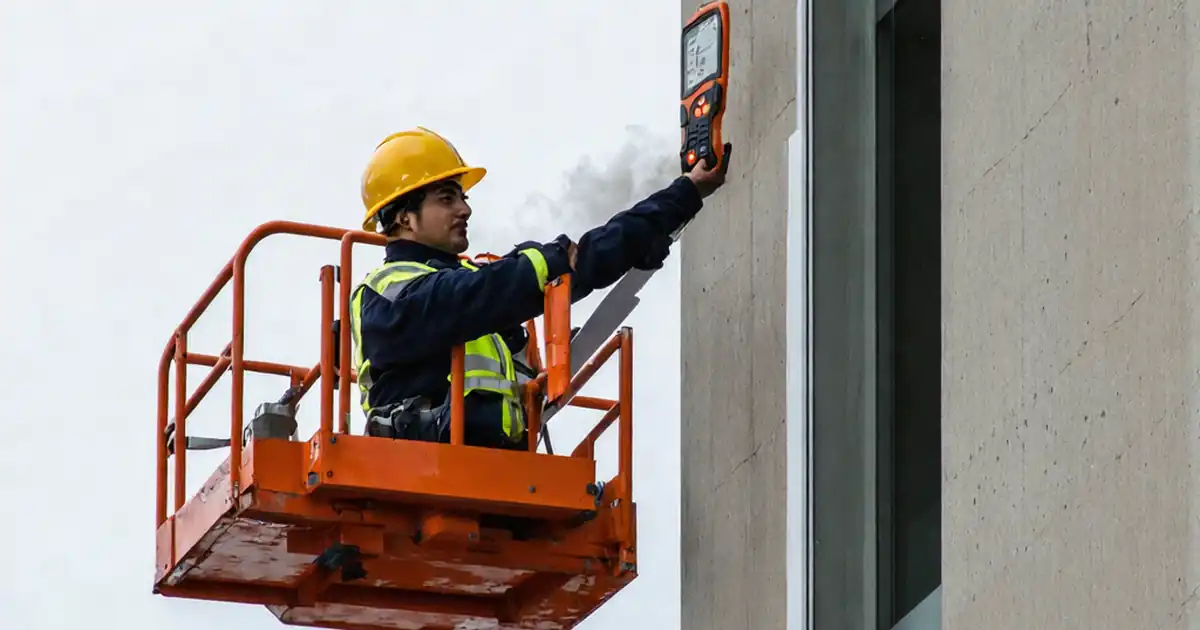
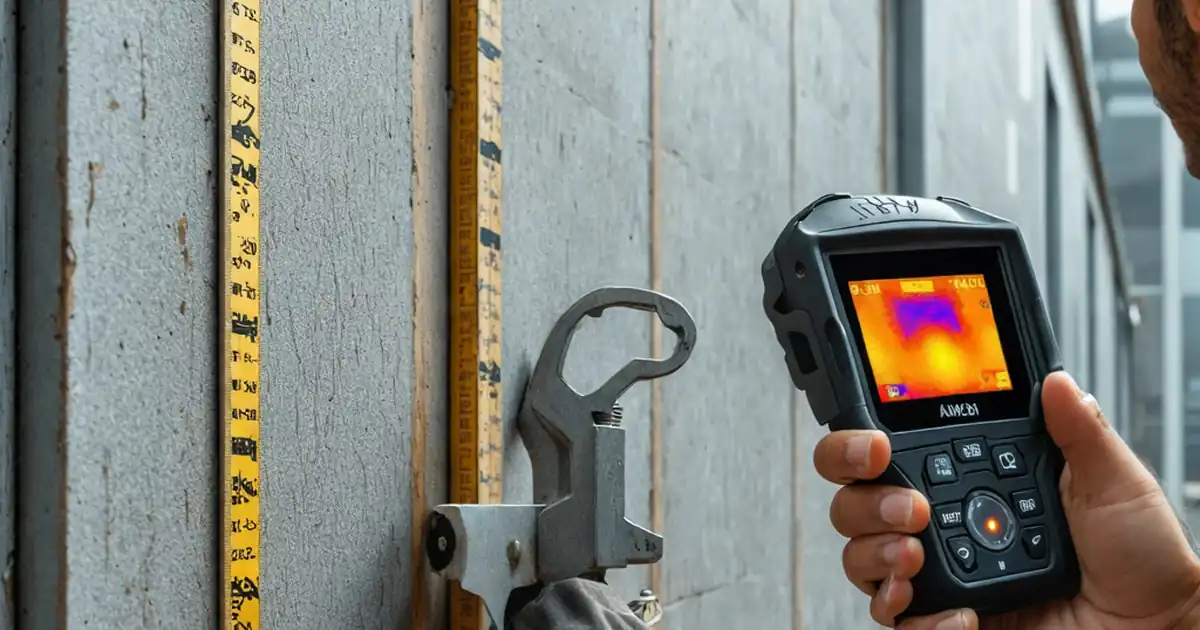
Field verification links drawings to outcomes. Qualitative checks—smoke pencils, mirrors, and IR—quickly reveal leakage paths, while quantitative sound tests confirm ratings at representative rooms. Scan joints during tests to find hot spots and immediately reseal. Inspect spandrel zones before closure to avoid inaccessible defects. Ensure penetrations at brackets and fixings receive 360-degree seals and that air/vapour barriers tie cleanly into frame elements. After sealing, protect curing beads and confirm no washout under controlled spray. Keep a tight record: photos with scales, moisture readings, tool calibrations, and test reports. Update redlines when deviations are approved and collect warranties and O&M instructions for future maintenance. A structured closeout with multi-party sign-off ensures all items are closed, delivering predictable acoustic comfort and airtight façades that align with approved project specifications and authority requirements.
- Combine qualitative scans with quantitative tests.
- Inspect concealed areas before permanent closure.
- Reseal hot spots and retest immediately.
- Maintain photos, readings, and approvals.
- Secure multi-party digital sign-off.
How to Use This Interactive Façade Acoustic & Perimeter Sealing Checklist
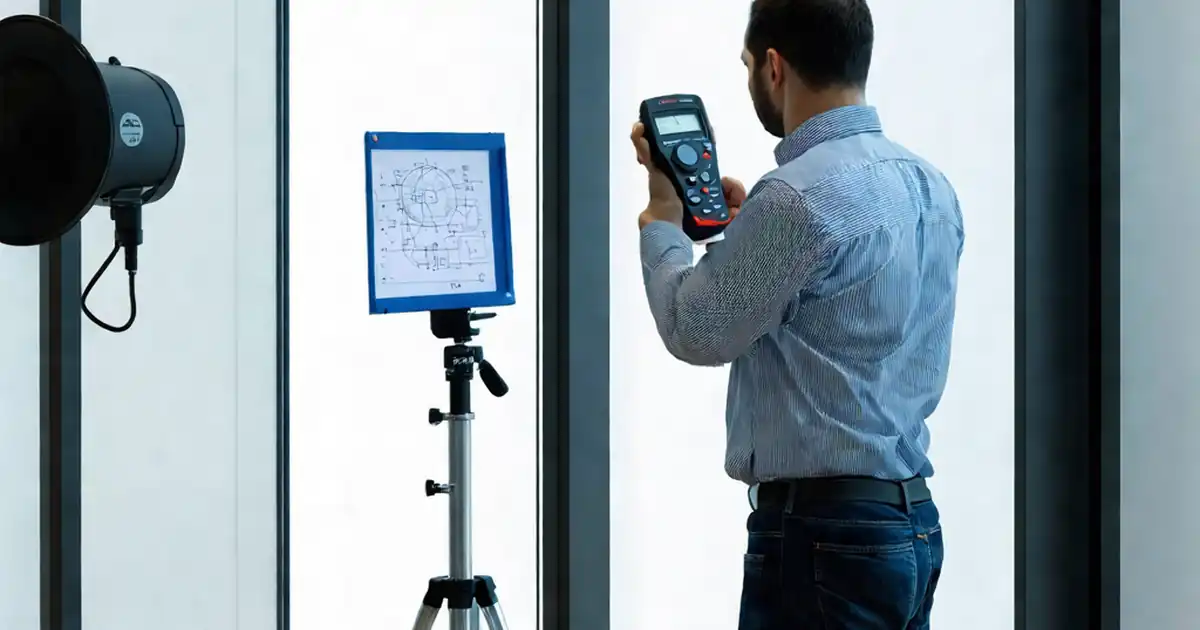
- Preparation: assemble project specifications, acoustic report, approved submittals, drawings, and method statements. Bring tools: moisture meter, callipers, depth gauge, smoke pencil, flashlight, IR camera, calibrated sound meter.
- Preparation: brief the team (design manager, façade contractor, acoustic consultant) on inspection scope, test locations, safety, and access sequencing.
- Preparation: set up evidence capture—mobile camera with geo-tag, file naming convention, and folder structure for photos, readings, and approvals.
- Using the Interactive Checklist: start interactive mode, tick items as completed, and add time-stamped comments with photos, measurements, and product labels.
- Using the Interactive Checklist: assign actions to responsible parties, track closures, and export in-progress status to PDF/Excel for coordination meetings.
- Sign-Off: upload test reports, calibration certificates, warranties, and redlined drawings; request digital signatures from contractor, consultant, and client.
- Sign-Off: export final, commentable record as PDF/Excel and archive with the embedded QR code for authenticity verification.
Call to Action
- Start Checklist Tick off tasks, leave comments on items or the whole form, and export your completed report to PDF or Excel—with a built-in QR code for authenticity.
- Download Excel - Façade Acoustic Performance & Perimeter Sealing Review
- Download PDF - Façade Acoustic Performance & Perimeter Sealing Review
- View Image - Façade Acoustic Performance & Perimeter Sealing Review
Cite & Embed
“Façade Acoustic Performance & Perimeter Sealing Review by Quollnet”
with a link to
this source page.
FAQ
Question: What acoustic metric should I use for façade perimeter performance?
Question: How do I select the right sealant and backer rod for perimeter joints?
Question: When should field acoustic testing be performed during the build?
Question: How can I quickly detect flanking paths at slab edges and mullions?
Related Articles
Broader reading and guidance connected to this checklist topic.


Is It Important To Customize Your Qr Code And How To Do It?


Related Checklists
Keep the workflow moving with nearby templates chosen from similar checklist content.