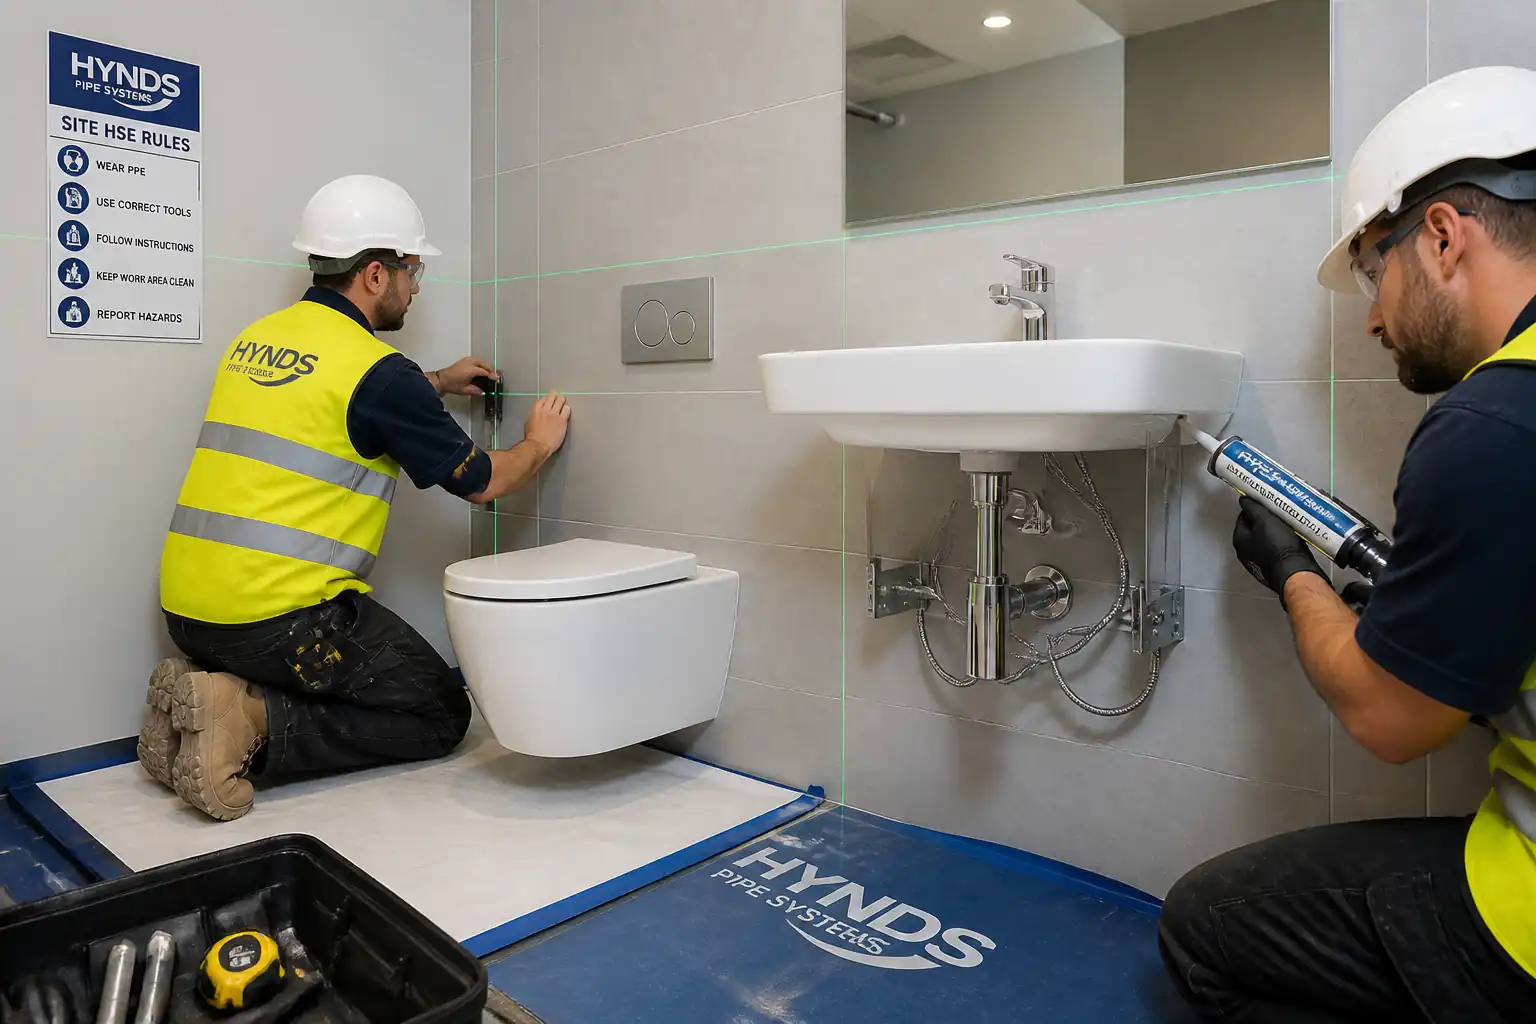

Method Statement: Installation of Final Sanitary Ware Fixtures (WCs, Wash Basins, Bidets, Showers, Urinals) – Method Statement
AI-assisted method statement with matching ITP, PDF download, and Excel export.
More than a static template
Unlike a downloadable Word or PDF template, this method statement is an AI-assisted editable starting point connected directly to a matching Inspection and Test Plan. Every section is structured, project-adaptable, and ready to export.
- AI-assisted drafting — Customize every section with AI for your specific project scope.
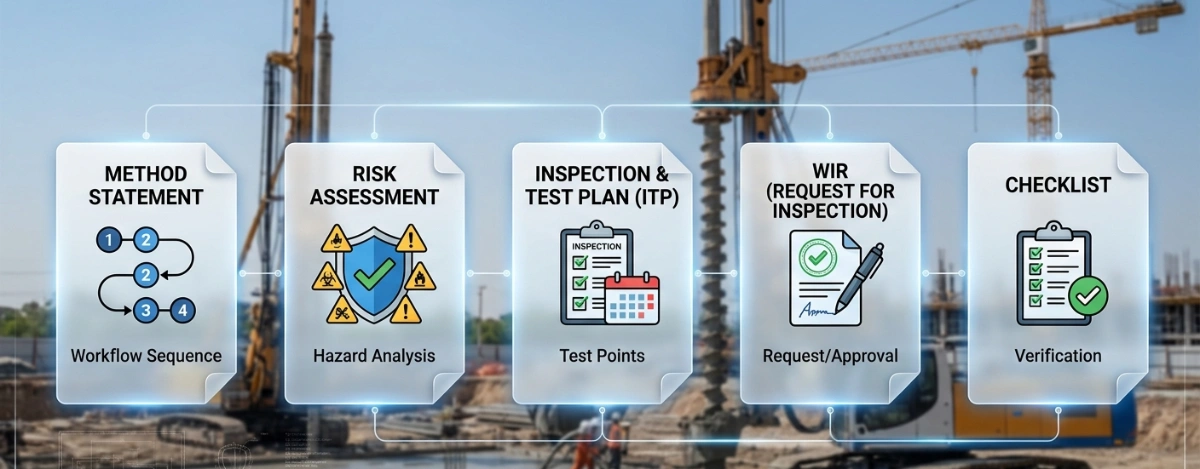
- Linked ITP — A matching inspection and test plan is generated alongside the method statement.
- Multiple export formats — Download as a formatted PDF or editable Excel spreadsheet.
- Editable starting point, not a final document — Review, verify, and adjust all content against your project requirements before use.
Static template vs. Quollnet workflow
| Feature | Static template | Quollnet |
|---|---|---|
| Project-specific content | Manual fill-in required | AI-assisted customization |
| Linked ITP | Separate document, no link | Matching ITP included |
| Export formats | Usually PDF only | PDF and Excel |
| Structured sections | Free-form layout | 13 standardized sections |
| Saved to your account | Local file only | Cloud-saved, reusable |
| Content accuracy | You verify everything | AI-assisted, you still verify |
| Cost | Often free but time-intensive | Free to customize and download |
What you can customize
When you save this method statement to your account, every section becomes editable. The following 13 sections are included:
- Scope — Defines the activity and its boundaries.
- References — Standards, specifications, and drawings.
- Responsibilities — Roles and accountabilities.
- Resources — Labour, plant, and equipment summary.
- Materials — Materials and compliance requirements.
- Equipment — Tools and equipment details.
- Prerequisites — Hold points and pre-conditions.
- Method sequence — Step-by-step construction sequence.
- Safety controls — HSE risk controls and PPE.
- Environmental controls — Environmental mitigation measures.
- QA/QC — Quality inspection and test requirements.
- ITP — Inspection and Test Plan table (has its own page).
- Attachments — Referenced drawings and documentation.
Why this method statement is used
This method statement is used to define and communicate the approved procedure for carrying out method statement: installation of final sanitary ware fixtures (wcs, wash basins, bidets, showers, urinals) on site. It ensures the work is planned in advance, the correct resources and controls are in place, and all personnel understand responsibilities, sequence, quality requirements, and safety controls before work begins. It aligns site execution with the documented scope and acceptance expectations.
Who uses this method statement
This method statement is used by contractors, site supervisors, project engineers, QA/QC engineers, HSE officers, consultants, and client representatives. It serves as a shared reference for planning, execution, supervision, inspection, and approval of the activity on site.
When it is prepared and submitted
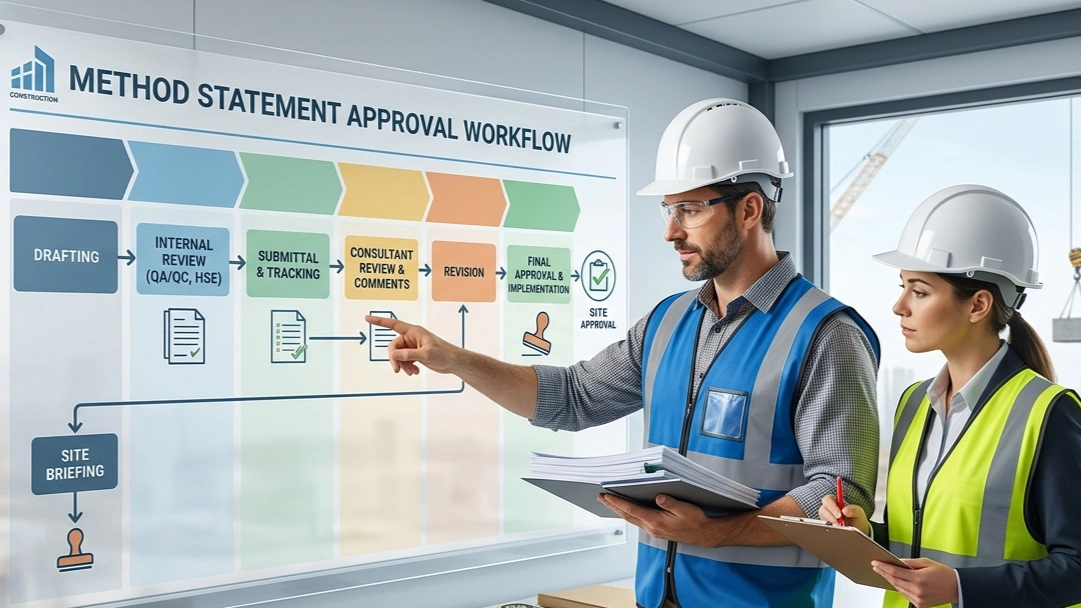
The method statement is prepared before the work activity starts and submitted as part of the pre-construction documentation package for review and approval.
Who reviews or approves it
The method statement is usually submitted to the client representative, consultant, resident engineer, or project management consultant for review and approval before the work commences.
Important approval note
This method statement is an AI-assisted editable starting point, not a pre-approved document. Before use on any project, all content must be reviewed and approved by the relevant parties (superintendent, principal contractor, or client representative) in accordance with your contract and project quality plan.
For example: if your specification requires a departure from a referenced standard, that departure must be documented and approved separately — this method statement will not capture that automatically. Always verify against your applicable drawings, specifications, and regulatory requirements.
Method statement content
Scope
Overview
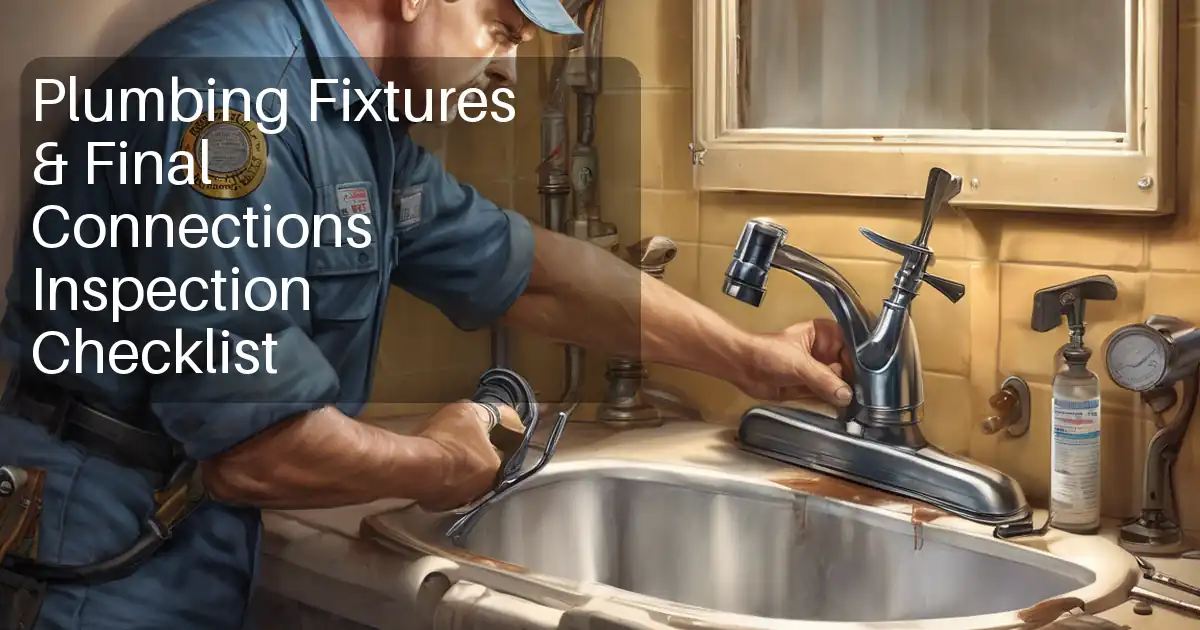
This method statement defines the detailed procedure for the final installation of sanitary ware fixtures including WCs (floor- and wall-hung), wash basins (wall-hung, pedestal, countertop), bidets, showers (mixers, heads/handsets, trays or floor gullies), and urinals (bowl and trough types). It covers:
- Brackets, carriers, and anchoring to substrates
- Connection of water supplies via isolation valves and flexible braided connectors
- Installation of traps (P-trap/Bottle trap), wastes, and pan connectors
- Silicone perimeter jointing and sealing at sanitary interfaces
- Functional testing (leak, flow, flush, trap seal, operation) and commissioning checks
- Protection of installed fixtures until handover and damage prevention measures
Exclusions
- Rough-in of concealed pipework and frames already installed and pressure-tested
- Waterproofing works beyond local sealing at fixture interfaces
- Electrical connections to sensor valves/flush valves (covered by electrical MS)
Objectives
- Achieve compliant, watertight, dimensionally accurate, hygienic installations without damage to finished surfaces
- Meet architectural intent, accessibility requirements, and performance standards [Verify per project specifications]
References
| Document Type | Reference / Number | Revision | Notes |
|---|---|---|---|
| Standard | BS EN 806 / BS 8558 | Latest [Verify] | |
| Code of Practice | BS 8000 (relevant parts), BS 8000-13/-15 [Verify] | Latest [Verify] | |
| Standard | BS EN 997 / ASME A112.19.2 / CSA B45.1 | Latest [Verify] | |
| Standard | BS EN 14688 (basins), BS EN 14528 (bidets) | Latest [Verify] | |
| Standard | BS EN 14527 (trays), ASSE 1016/ASME A112.1016 (mixing valves) | Latest [Verify] | |
| Standard | BS EN 13407 | Latest [Verify] | |
| Standard | BS EN 274 | Latest [Verify] | |
| Standard | BS EN 13618; Potable-water approval (e.g., WRAS, KIWA) [Verify] | Latest [Verify] | |
| Standard | BS EN 1717 | Latest [Verify] | |
| Standard | ISO 11600 (e.g., F/G-25LM) | Latest [Verify] | |
| Standard | BS EN 12056 (relevant parts) | Latest [Verify] | |
| Standard | ISO 3822 | Latest [Verify] |
Responsibilities
| Role | Responsibility | Name / Party |
|---|---|---|
| CM | Construction Manager | Main Contractor |
| Engineer | MEP Engineer | Main Contractor |
| QA/QC | QA/QC Inspector | Main Contractor |
| HSE | HSE Officer | Main Contractor |
| Foreman/Technicians | Plumbing Foreman & Plumbers | Main Contractor |
| Consultant | Consultant/Employer’s Rep. | Engineer |
Resources
| Resource Type | Description | Quantity | Remarks |
|---|---|---|---|
| Personnel | Overall supervision | 1 | |
| Personnel | Technical lead | 1 | |
| Personnel | Quality inspections | 1 | |
| Personnel | Safety oversight | 1 | |
| Personnel | Day-to-day supervision | 1 | |
| Personnel | Fixture installation, connections, sealing | 2–6 [Verify per area size] | |
| Personnel | Material handling, protection, housekeeping | 2–4 | |
| Personnel | Provide/inspect mobile towers or podiums | 1 | For high-level shower heads/urinals |
Materials
| Material | Specification / Grade | Quantity | Remarks |
|---|---|---|---|
| Vitreous china | Glazed, low-porosity, color per architect | As per BOQ | Include seat/cover with soft-close if specified |
| Vitreous china / Solid surface | As per BOQ | ||
| Vitreous china | As per BOQ | ||
| Vitreous china / Stainless steel | As per BOQ | ||
| Brass/chrome | As per BOQ | Include non-return/check valves if integral not provided | |
| SS braid, brass ends | Nominal DN10–DN15 [Verify] | As required | Length to suit; avoid kinks |
| Brass chrome-plated | 1–2 per outlet | ||
| ABS/PP/Brass | As required | Seal depth ≥50 mm | |
| PVC-U/PP/EPDM seals | As required | ||
| SS/galvanized steel | M8–M12 [Verify] | As required | SS A4 recommended in wet areas |
| Silicone | Color per finishes | As required |
Equipment
| Equipment | Capacity / Type | Quantity | Inspection Required |
|---|---|---|---|
| SDS-plus/Max | Ø6–14 mm | 1–2 | |
| 5–25 Nm (typical) | 1 each | ||
| 1 | |||
| 1–2 | |||
| Sets as required | |||
| As required |
Prerequisites
- Approvals: IFC drawings, coordinated shop drawings, method statement, ITP, material submittals, and samples approved by the Consultant.
- Area readiness: Final wall/floor finishes completed and protected; waterproofing signed-off in wet areas; access available and safe lighting provided.
- Services status: Upstream hot/cold water systems pressure-tested, disinfected/flushed where required; soil/waste stacks tested; isolation valves tagged and operable.
- Set-out: Confirm fixture coordinates and mounting heights vs. architectural schedules and accessibility codes (e.g., ISO 21542/ADA where applicable) [Verify per project].
- Utilities survey: Scan walls/floors for embedded services and reinforcement at drill locations to avoid strikes.
- Tools & calibration: Drills, torque tools, and test gauges calibrated and tagged; PAT testing current.
- Permits/briefing: Task-specific risk assessment and Toolbox Talk completed; permits for drilling in structural elements and work at height as required [Verify per project HSE plan].
- Manufacturer instructions: Latest installation manuals on site; verify required gaskets, templates, and special fasteners supplied.
- Mock-up: Execute and approve a typical bay/room mock-up before rolling out to the wider area, if specified.
Method Sequence
| Step | Activity | Description | Responsibility | Inspection / Hold Point |
|---|---|---|---|---|
| 1 | Pre-start verification | Verify area readiness, approvals, isolation, and access; place protection boards and drain covers. | Foreman/QA-QC | Pre-work checklist |
| 2 | Material receipt & inspection | Check fixtures and components for damage, model, finish, and certification. | Storekeeper/QA-QC | Visual 100% |
| 3 | Set-out and marking | Mark fixture centerlines, heights, bracket hole positions using laser. Confirm clearances from walls/partitions. | Foreman | Survey check |
| 4 | Substrate verification & scanning | GPR/scanner to confirm drilling safe zones; confirm substrate type and thickness. | HSE/Engineer | Witness (W) |
| 5 | Drilling for anchors | Drill holes with depth stop; vacuum dust; avoid over-sizing. Use corrosion-resistant anchors per design. | Plumber | In-process |
| 6 | Install brackets/carriers | Fix basin brackets, urinal carriers, or WC frames. Plumb and level; tighten to specified torque. | Plumber | Dimensional check |
| 7 | Mount wash basins | Install basin on bracket/pedestal/countertop; fit waste and seal to countertop with gasket/silicone as required. | Plumber | Witness |
| 8 | Install WCs | For floor-mounted: place pan connector, bed pan on approved seal; fix bolts capped. For wall-hung: hang on frame, set projection per drawing, tighten per spec. | Plumber | Witness |
| 9 | Install bidets | Fix to floor/wall as per type; align with WC line; install waste and overflow (if any). | Plumber | Witness |
| 10 | Install urinals | Mount bowls on carrier/brackets; align; install spreader/inlet and waste; connect flush control (manual/sensor by others if electrical). | Plumber | Witness |
| 11 | Install shower mixers and heads | Mount thermostatic/pressure-balance mixer, connect to outlets; fit shower head/arm and handset kit. Seal wall penetrations. | Plumber | Witness |
| 12 | Connect isolation valves and flexible hoses | Install POU valves; connect braided hoses without kinks; support hoses to avoid strain. | Plumber | In-process |
| 13 | Install traps and wastes | Fit bottle/P-traps; ensure washers correctly seated; set outlet fall to pipework 1:40–1:60 where applicable. | Plumber | Witness |
| 14 | Silicone perimeter jointing | Mask edges; clean with isopropyl alcohol; apply neutral-cure silicone; tool smooth; remove masking. | Plumber/Finisher | Visual |
| 15 | Functional testing | Open isolation valves; purge air; check for leaks at all joints; test flows and operation; perform WC flush test. | QA/QC + Plumber | Witness (W) |
| 16 | Finishing, protection, and handover | Fit caps/covers; clean; install protective films/boxing; post signage 'Do Not Use'; record as-builts and O&M. | Foreman | Final inspection |
Health & Safety Controls
Task-specific hazards and controls
- Hazard: Drilling into walls/floors striking live services or rebar
- Consequence: Electrocution, flooding, structural damage
- Engineering/Procedural Control: Service scan (GPR/locator) before drilling; use stop-depth collars; approved anchor locations only; live services isolated where feasible
- Required PPE: Safety glasses, cut-resistant gloves, dielectric footwear
- Collective Measure: Barriers and signage to restrict area; buddy system
-
Inspection/Permit: Permit to drill/penetrate; pre-task briefing; supervision by Engineer [Verify per project HSE plan and local regulations]
-
Hazard: Manual handling of heavy/fragile ceramics (WCs, basins, urinals)
- Consequence: Musculoskeletal injuries; dropped-object damage
- Engineering/Procedural Control: Team lifts or lifting aids; plan route; store near point-of-use; do not remove packaging until at location
- Required PPE: Cut-resistant gloves, safety shoes with toe caps
- Collective Measure: Use trolleys/dollies; clear walkways
-
Inspection/Permit: Manual handling assessment; supervisor check
-
Hazard: Sharp edges and breakage of vitreous china
- Consequence: Lacerations
- Engineering/Procedural Control: Keep protective edge guards until installation complete; handle with both hands; avoid contact with hard surfaces
- Required PPE: Cut-resistant gloves, long sleeves
- Collective Measure: Padded work surfaces
-
Inspection/Permit: HSE inspections; defective items quarantined
-
Hazard: Chemical exposure to sealants/cleaners
- Consequence: Dermal/eye irritation, respiratory effects
- Engineering/Procedural Control: Use low-VOC, neutral-cure silicone; ensure ventilation; follow SDS; avoid mixing chemicals
- Required PPE: Nitrile gloves, goggles; RPE if indicated by SDS
- Collective Measure: Local exhaust fans where needed
-
Inspection/Permit: COSHH/SDS review; chemical register
-
Hazard: Work at height for high-level shower heads/urinals
- Consequence: Falls
- Engineering/Procedural Control: Use inspected podiums/towers with guardrails; 3:1 rule for ladders only for short-duration; maintain 3-point contact
- Required PPE: Non-slip footwear; harness if required by risk assessment
- Collective Measure: Edge protection; exclusion zone
-
Inspection/Permit: Scafftag/inspection tag; Work at Height permit [Verify]
-
Hazard: Pressurized water release during testing
- Consequence: Scalding, slips
- Engineering/Procedural Control: Open valves slowly; temperature setpoints per spec; use drip trays; immediate cleanup of spills
- Required PPE: Gloves, eye protection
- Collective Measure: Wet floor signs; squeegees on standby
-
Inspection/Permit: Test permit if required; supervisor present
-
Hazard: Noise/vibration from drilling
- Consequence: Hearing loss, HAVS
- Engineering/Procedural Control: Low-vibration tools; task rotation; keep exposure within limits
- Required PPE: Hearing protection (SNR per assessment)
- Collective Measure: Time restrictions; acoustic screens if needed
-
Inspection/Permit: Noise monitoring where specified [Verify]
-
Hazard: Biological exposure from existing waste lines
- Consequence: Infection risk
- Engineering/Procedural Control: Cap/plug open drains; disinfect area if backflow suspected; use backflow preventers per EN 1717
- Required PPE: Nitrile gloves, eye/face protection
- Collective Measure: Hygiene stations
-
Inspection/Permit: Permit for sewage work if applicable
-
Hazard: Slips/trips from water, tools, and packaging
- Consequence: Minor to serious injuries
- Engineering/Procedural Control: Good housekeeping; maintain dry floors; cable management
- Required PPE: Safety footwear
- Collective Measure: Tool tethers in elevated work; floor mats
- Inspection/Permit: Daily HSE checks
[Verify all controls per project HSE plan and local regulations]
Environmental Controls
- Water conservation: Use flow cups to set aerators/showers to specified flow rates; avoid prolonged running; capture and reuse test water where allowed [Verify].
- Waste segregation: Separate cardboard, plastics, pallets, and ceramics; dispose of sealant cartridges and contaminated rags as per local regulations.
- Dust and noise: Use drills with on-tool extraction; schedule noisy works in permitted hours; maintain tool condition to minimize noise.
- Chemical management: Store silicone/cleaners in bunded trays; use low-VOC sealants; prevent discharge to drains.
- Spill prevention: Use drip trays beneath valves during testing; immediate cleanup; maintain spill kits in area.
- Protection of finishes: Use reusable floor and wall protection; avoid adhesive tapes that damage finishes; remove residues with approved cleaners only.
- Potable water hygiene: Keep open pipe ends capped; avoid back-siphonage; comply with EN 1717 categories and local water authority requirements.
Quality Assurance & Quality Control
Submittals and approvals
- Approved datasheets and samples for all fixtures, valves, hoses, traps, anchors, and sealants.
- Certificates: Potable-water approvals (e.g., WRAS/KIWA/NSF), ETA for anchors, conformity to EN/ASME standards.
Key workmanship tolerances [Verify per project specifications]
- Fixture heights: ±5 mm from scheduled height.
- Level/plumb: ±2 mm over 600 mm.
- Centerlines: ±3 mm.
- Anchor embedment: per ETA/manufacturer; edge distances per design.
- Silicone joints: 5–10 mm width, uniform bead; adhesion to both flanks.
- Trap seal depth: ≥50 mm.
- Waste pipe falls: 1:40–1:60 where applicable.
- Torque: As per manufacturer; typical 10–15 Nm for brass compression nuts; record actuals.
Testing and inspection
- 100% visual and dimensional checks for each installed fixture.
- Leak test: pressurize by opening POU valves; observe all joints for 10 minutes—no visible leaks.
- Functional: Flow rates within specified ranges; WC flush and refill normal; thermostatic mixers set to anti-scald limit (e.g., 38–40°C) [Verify].
- Documentation: IRs, checklists, torque logs, photos, as-built markups.
Nonconformance and corrective action
- Log any chips/cracks, misalignment, leaks, or loose fixings. Rectify or replace components. Re-test after correction.
Hold/Witness points
- Carrier/bracket installation before fixture mounting (HOLD).
- Final functional testing (WITNESS).
Calibration & traceability
- Torque tools and measuring devices calibrated within 12 months [Verify].
- Batch numbers of sealants and hoses recorded for traceability.
Attachments
- Approved product datasheets and installation manuals for all fixtures, traps, valves, hoses, anchors, and sealants
- Manufacturer torque specifications and anchor ETA documents
- Pre-start checklist (sanitary ware installation)
- ITP forms and inspection request (IR) templates
- Functional test sheets (flow/flush/trap seal)
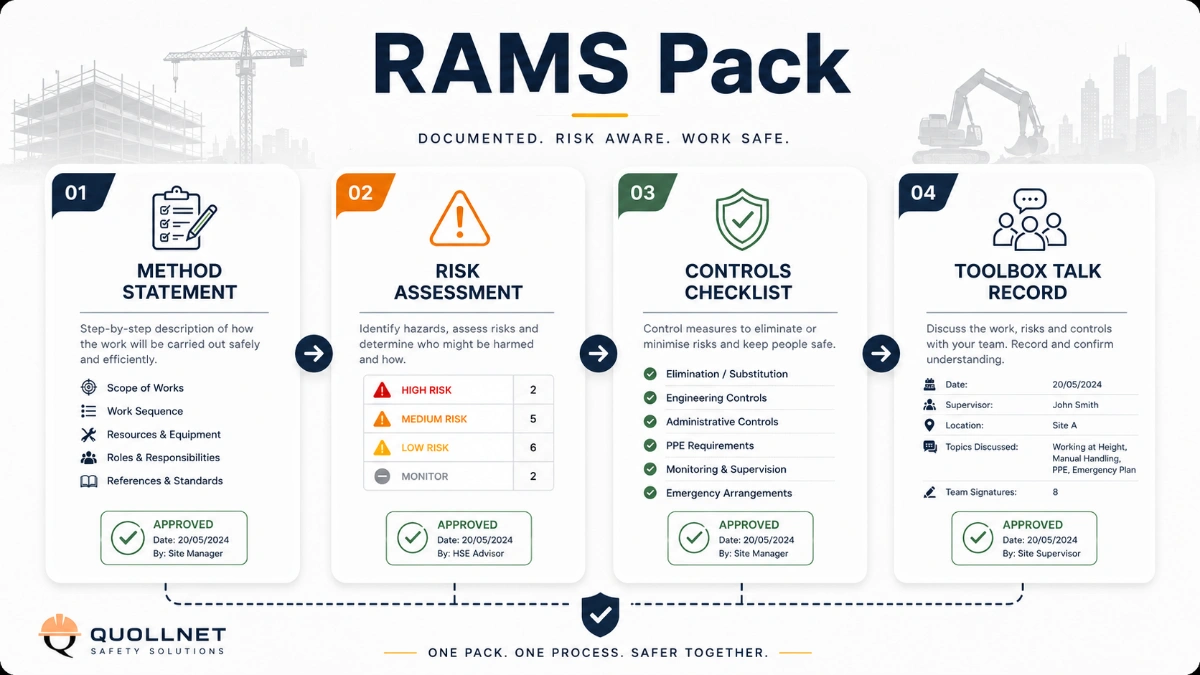
- Risk assessment and Toolbox Talk records
- Area scan records for drilling (GPR/locator)
- As-built markups of fixture coordinates and heights
- O&M manuals and spare parts lists
This content is a read-only public reference. Download or customize to get an editable version.
ITP preview
The first inspection activities from the linked ITP for Method Statement: Installation of Final Sanitary Ware Fixtures (WCs, Wash Basins, Bidets, Showers, Urinals):
| Activity | Inspection / Test | Acceptance Criteria | Responsibility | Record |
|---|---|---|---|---|
| Material receipt and verification | Check models, finishes, certifications (WRAS/KIWA/NSF), damages | Conforms to approved submittal; no damage | QA/QC + Storekeeper | MIR, delivery notes, photos |
| Area readiness and permits | Verify finishes, waterproofing sign-off, isolation, permits | Area safe and ready; permits valid | Foreman + HSE | Pre-start checklist, PTW |
| Set-out verification | Heights, clearances, centerlines vs drawings | Heights ±5 mm; centerline ±3 mm | Engineer + QA/QC | Survey record/as-built |
Showing 3 of 11 inspection activities. View full ITP →
Related Inspection and Test Plan
An Inspection and Test Plan (ITP) is available for Method Statement: Installation of Final Sanitary Ware Fixtures (WCs, Wash Basins, Bidets, Showers, Urinals). The ITP defines the inspection activities, acceptance criteria, hold and witness points, responsible parties, and records required to verify the work described in this method statement.
View the Method Statement: Installation of Final Sanitary Ware Fixtures (WCs, Wash Basins, Bidets, Showers, Urinals) ITP →Frequently asked questions
Continue with related Quollnet resources connected to this method statement.