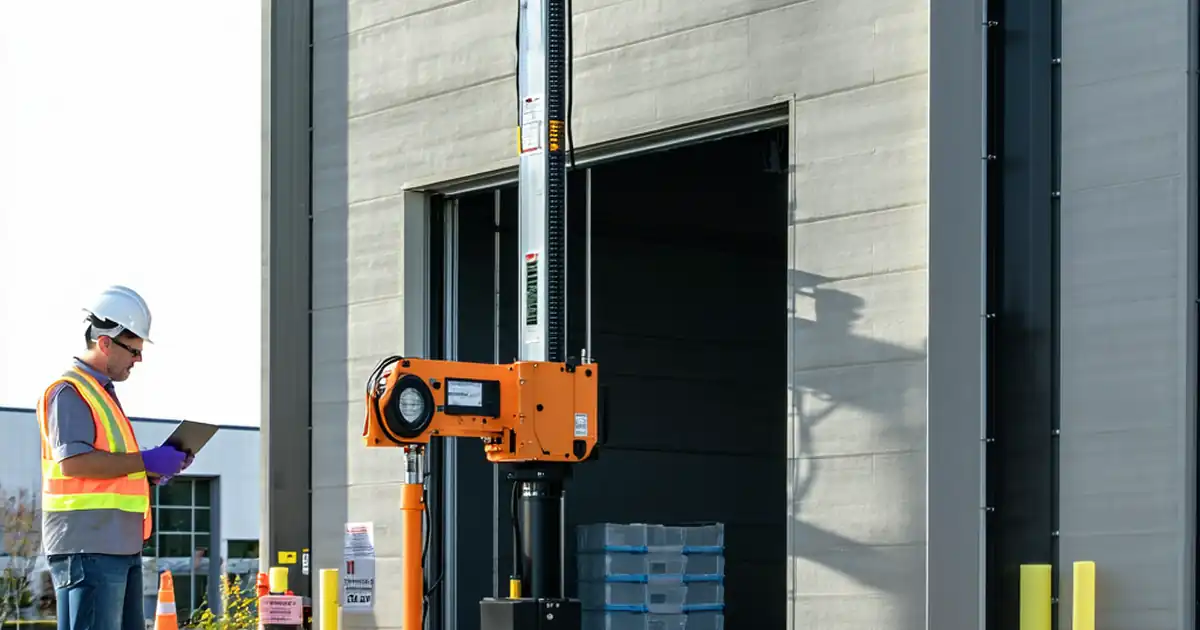
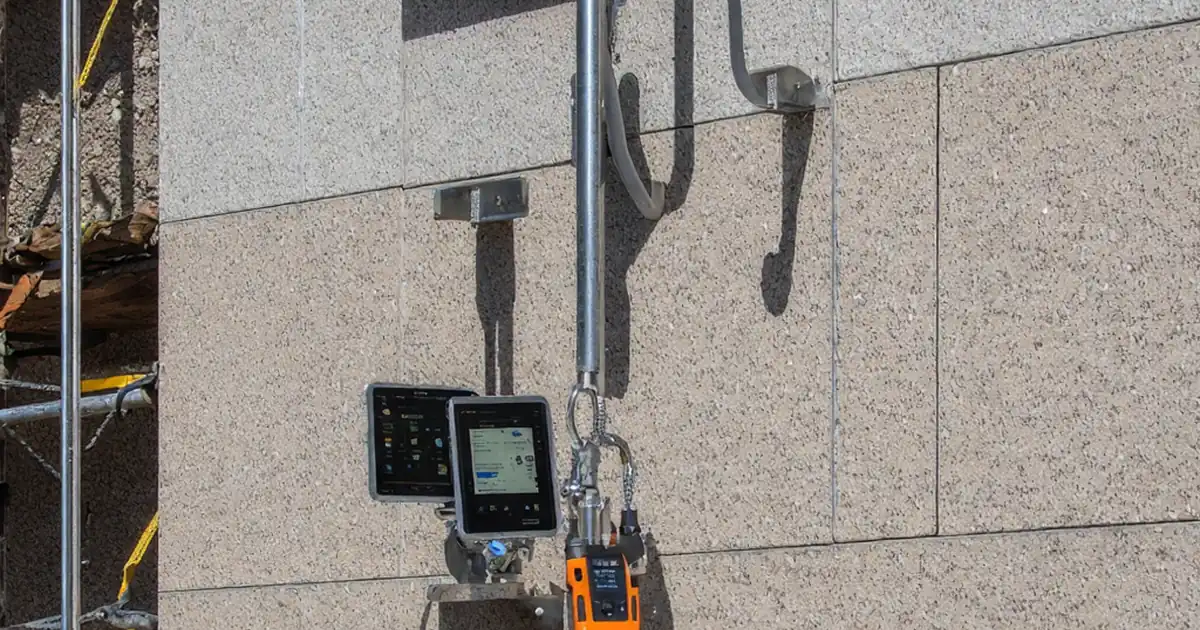
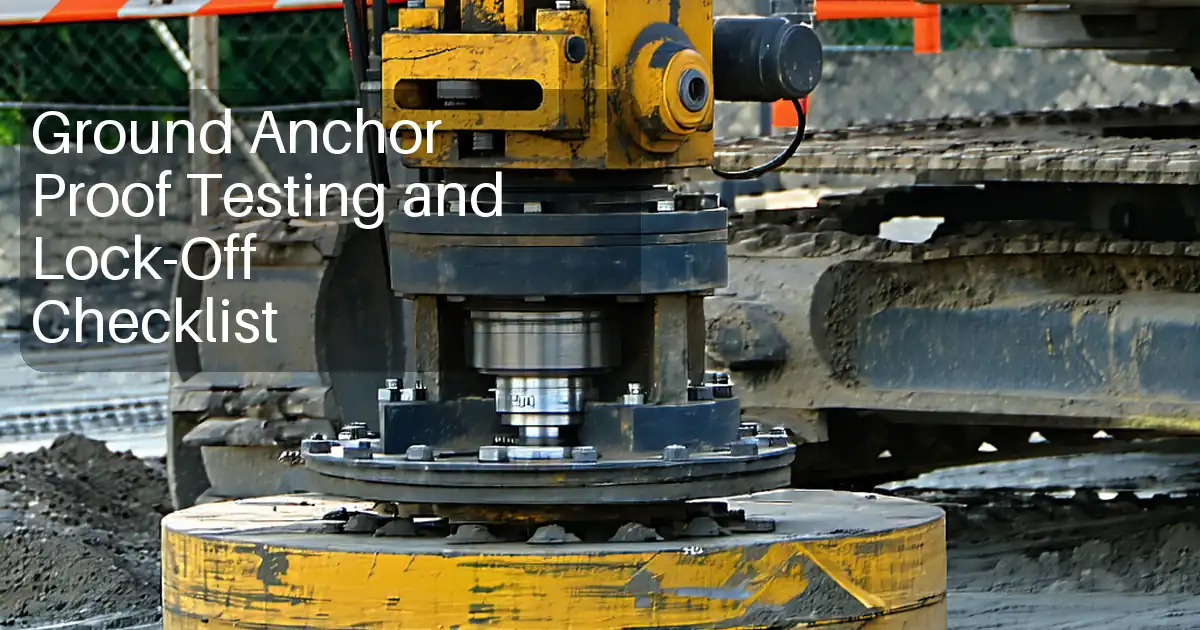
Inspect Façade Anchor Pull-Out Testing and Acceptance
Definition: Inspect façade anchor pull-out testing and acceptance to verify in-situ anchor capacity, control load application, measure displacement, and capture evidence for consultant and client acceptance on building envelope projects.
- What: verify anchor capacity via controlled on-site tensile pull tests.
- Why: prevent façade failures, water ingress, and costly rework later.
- How: calibrated pull tester, controlled load rate, displacement monitoring, documentation.
- Interactive, commentable checklist; export results with QR code verification.
Inspect façade anchor pull-out testing and acceptance is a critical field process used to validate the tensile capacity of façade restraint anchors before full system installation. This checklist supports anchor proof testing, pull testing, and fixing validation on concrete or masonry substrates. It focuses on planning, safe access, calibrated equipment, controlled load application, displacement measurement, and evidence capture. By following a consistent procedure, teams confirm substrate suitability, verify installation quality, and reduce the risk of panel movement, cracking, or detachment. The scope covers in-situ anchors used for brackets, sub-frames, and cladding supports; it excludes laboratory coupon testing and structural load testing of complete façade assemblies. You will record loads, dwell times, and displacements, and compare results with the required characteristic resistance per approved project specifications and authority requirements. Use this interactive checklist to tick steps, comment on issues, attach photos and readings, and export as PDF/Excel with a QR-secured audit trail.
- Establishes a repeatable, auditable method for planning, executing, and documenting façade anchor pull-out tests, including calibrated equipment checks, risk-based sampling, controlled loading, and displacement measurement, ensuring objective acceptance decisions supported by photos, readings, and verified calibration certificates.
- Reduces rework and delays by identifying unsuitable substrates, installation errors, or incorrect anchor types early. Built-in evidence fields, unique test IDs, and location mapping create traceability from test point to drawing, enabling quick root-cause analysis and targeted remediation without broad program disruption.
- Interactive online checklist with tick, comment, and export features secured by QR code.
- Strengthens compliance and stakeholder confidence by aligning execution and acceptance with approved project specifications and authority requirements, capturing digital signatures from contractor, consultant, and client, and auto-compiling a shareable report for handover and long-term maintenance reference.
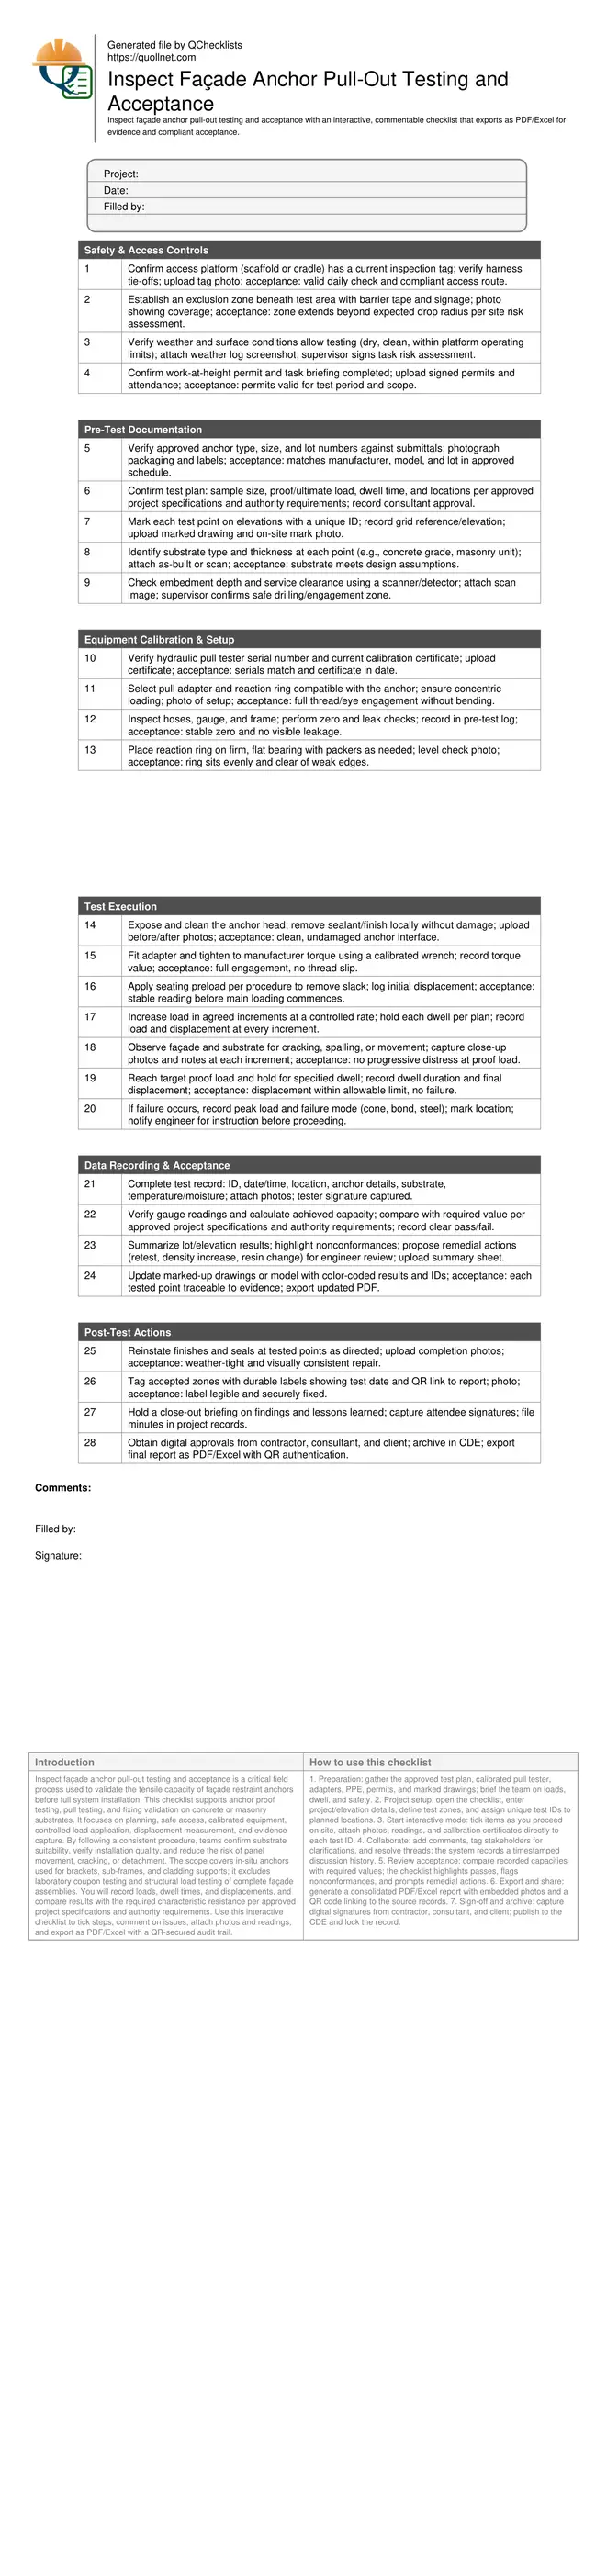
Safety & Access Controls
Pre-Test Documentation
Equipment Calibration & Setup
Test Execution
Data Recording & Acceptance
Post-Test Actions
Plan sampling to reflect real risk and ensure traceability
Effective pull-out testing starts with a risk-based sampling plan that targets typical zones and worst-case conditions. Prioritize corners, edges, high-load brackets, and areas with variable substrates or historic repairs. Randomize within zones to avoid bias while ensuring representative coverage. Mark each point with a durable on-site ID and the same ID on the elevation drawing. Confirm anchor types, embedment availability, and service clearances using scanners and as-built records before committing to a test. Early verification minimizes damage and rework. Obtain stakeholder buy-in on loads, dwell times, and acceptance logic per approved project specifications and authority requirements. Lock in logistics such as safe access, exclusion zones, and waste control before mobilizing. This planning approach produces statistically meaningful results, reduces retests, and provides a transparent rationale for acceptance or remediation. Above all, it creates a clean chain of custody from the test location to the recorded evidence in your final report.
- Target corners, edges, and high-load brackets.
- Randomize within zones to reduce selection bias.
- Use scanners to confirm safe embedment depth.
- Assign unique IDs and mirror them on drawings.
- Get written approval of loads and dwell times.
Apply load correctly and measure displacement objectively
Accurate results depend on concentric loading and precise displacement tracking. Use adapters and reaction rings that align with the anchor axis to avoid bending. Seat the system with a small preload, then load in defined increments at a steady rate. Hold each step for the agreed dwell to observe creep or distress. Record both load and displacement at every increment, along with observations of cracking, spalling, or anchor movement. A calibrated gauge and, where possible, a dial indicator or integrated displacement transducer help create defensible data. Avoid shock loading and ensure the reaction ring bears on competent substrate. Acceptance is typically demonstrated by holding the proof load for the dwell with displacement within allowable limits and no visible distress. If failure occurs early, stop, document thoroughly, and seek instruction before proceeding elsewhere.
- Maintain concentric, axial loading at all times.
- Record load and displacement at each increment.
- Hold dwells to observe movement or cracking.
- Avoid shock loads; keep a steady application rate.
- Stop and escalate after unexpected failures.
Document, judge acceptance, and close out cleanly
Reliable acceptance decisions require complete, organized records. Each test should capture ID, date/time, location, anchor details, substrate, environmental conditions, calibration proof, photos, and readings. Summarize results by lot or elevation and clearly flag nonconformances. Compare achieved capacities with the required values per approved project specifications and authority requirements. Where results are marginal or failing, propose practical remedies such as retesting adjacent points, adjusting anchor density, or changing resin systems for review by the engineer. Update marked-up drawings or the model with color-coded outcomes and maintain traceability through QR-linked documents. Finally, reinstate finishes, secure digital approvals from stakeholders, and archive the report and data in the common data environment. A disciplined close-out turns test data into actionable decisions and a durable audit trail for future maintenance.
- Capture calibration certificates with serial numbers.
- Color-code pass/fail on elevations for clarity.
- Propose targeted, documented remedial actions.
- Export reports and drawings into the CDE.
- Obtain digital approvals before demobilizing.
How to Use the Interactive Pull-Out Test Checklist
- Preparation: gather the approved test plan, calibrated pull tester, adapters, PPE, permits, and marked drawings; brief the team on loads, dwell, and safety.
- Project setup: open the checklist, enter project/elevation details, define test zones, and assign unique test IDs to planned locations.
- Start interactive mode: tick items as you proceed on site, attach photos, readings, and calibration certificates directly to each test ID.
- Collaborate: add comments, tag stakeholders for clarifications, and resolve threads; the system records a timestamped discussion history.
- Review acceptance: compare recorded capacities with required values; the checklist highlights passes, flags nonconformances, and prompts remedial actions.
- Export and share: generate a consolidated PDF/Excel report with embedded photos and a QR code linking to the source records.
- Sign-off and archive: capture digital signatures from contractor, consultant, and client; publish to the CDE and lock the record.
Call to Action
- Start Checklist Tick off tasks, leave comments on items or the whole form, and export your completed report to PDF or Excel—with a built-in QR code for authenticity.
- Download Excel - Façade Anchor Pull-Out Testing & Acceptance
- Download PDF - Façade Anchor Pull-Out Testing & Acceptance
- View Image - Façade Anchor Pull-Out Testing & Acceptance
Cite & Embed
“Façade Anchor Pull-Out Testing & Acceptance by Quollnet”
with a link to
this source page.

FAQ
Question: How many façade anchors should be pull-tested on a project?
Question: What load rate and dwell time should be used during pull-out testing?
Question: Can pull-out tests be performed on finished façades without damage?
Question: What should we do if an anchor fails before reaching proof load?
Question: Which substrates are suitable for on-site pull-out testing?
Related Articles
Broader reading and guidance connected to this checklist topic.



How To Perform a Concrete Compressive Strength Test: Cubes & Cylinders

Related Checklists
Keep the workflow moving with nearby templates chosen from similar checklist content.