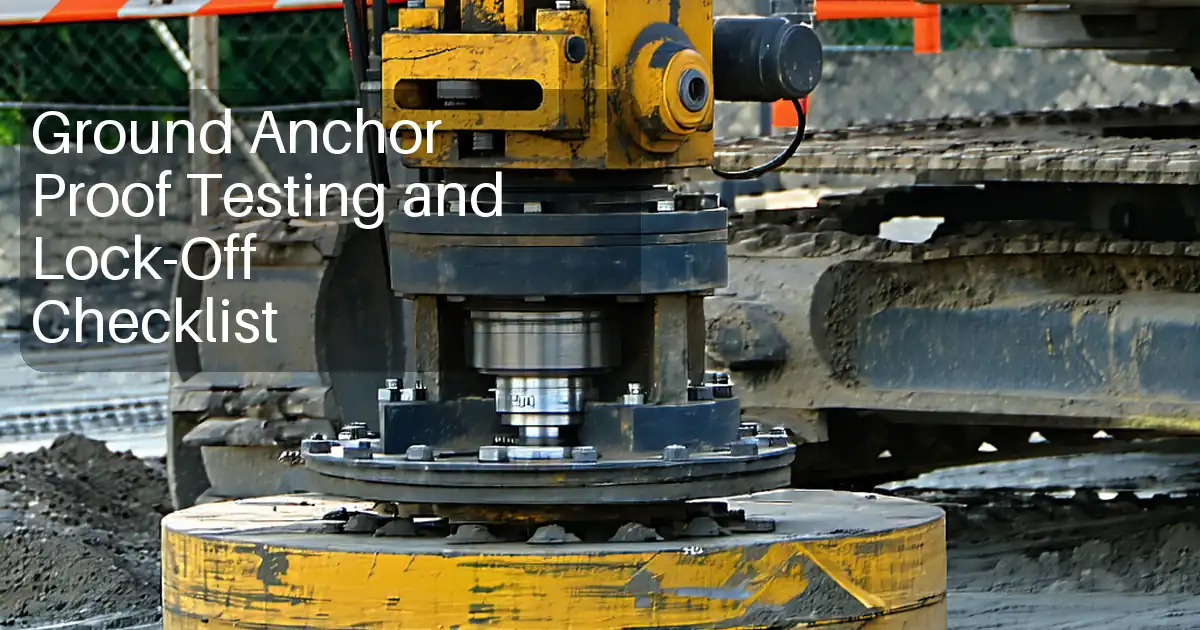
Proof Load Testing for Façade Access Anchors and Davit Points
Definition: Test façade access anchors and davit points for proof load compliance with this field-ready checklist for inspectors, rope access supervisors, and facility managers ensuring safe suspended access operations.
- Confirms identification, condition, and orientation of anchors and davit sockets.
- Uses calibrated load cells to apply and record stepwise proof loads safely.
- Captures photos, readings, signatures, and asset tags for full traceability.
- Interactive, commentable checklist with export and QR code verification.
Test façade access anchors and davit points for proof load compliance to verify that installed hardware can safely sustain in-service forces. This checklist supports proof loading, pull testing, and functional verification of permanent fall arrest anchors and davit sockets used for rope access and suspended platforms. The scope covers onsite testing only—planning, calibration, controlled loading, and documentation—not design calculations or permanent repairs. By following these steps, you reduce risks of anchor failure, uncontrolled movement, façade damage, and water ingress while producing traceable evidence for audits. The checklist emphasizes correct loading direction, load increments, hold times, and acceptance criteria per approved project specifications and authority requirements. You will confirm equipment calibration, establish exclusion zones, verify asset identity, and record displacement and pass/fail outcomes. Use this interactive template to tick items, add comments, attach photos and calibration certificates, and export results. Start now: tick, comment, and export to PDF/Excel with QR-secured records.
- This checklist drives consistent proof load testing of façade anchors and davit bases by aligning procedures with approved project specifications and authority requirements. It emphasizes correct loading direction, calibrated measurement, and thorough evidence capture, helping teams prevent structural or waterproofing damage and ensuring safe rope access and suspended platform operations.
- Interactive online checklist with tick, comment, and export features secured by QR code. It also embeds photo capture, calibration certificates, displacement logs, and digital signatures. Supervisors can assign actions, track status across assets, and archive version-controlled reports for audits, warranty claims, and insurance or regulatory compliance reviews.
- Technicians follow stepwise increments to full proof load, holding and monitoring for displacement or distress before controlled release. The workflow includes pre-test admin, rooftop safety measures, equipment setup, anchor/davit inspection, loading, and formal handover, with pass/fail tagging and a durable QR-linked asset record for future maintenance planning.
Pre-Test Administration
Site Safety and Setup
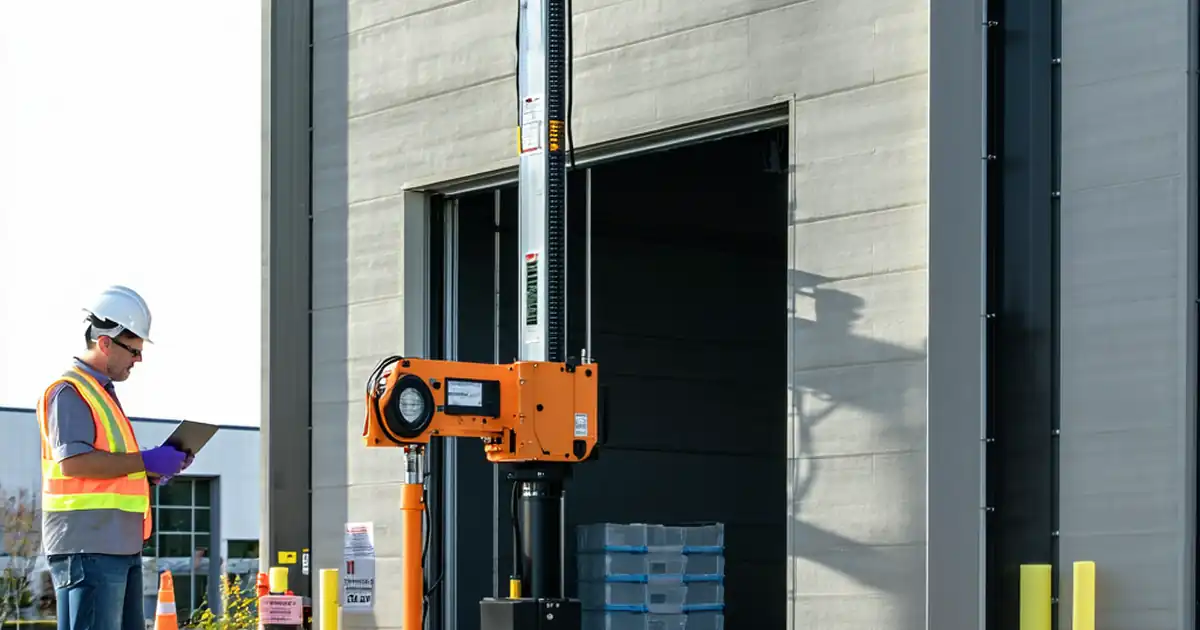
Equipment Calibration and Setup
Anchor and Davit Inspection
Proof Load Procedure
Post-Test Documentation and Handover
Proof Load Method That Mirrors Real Use
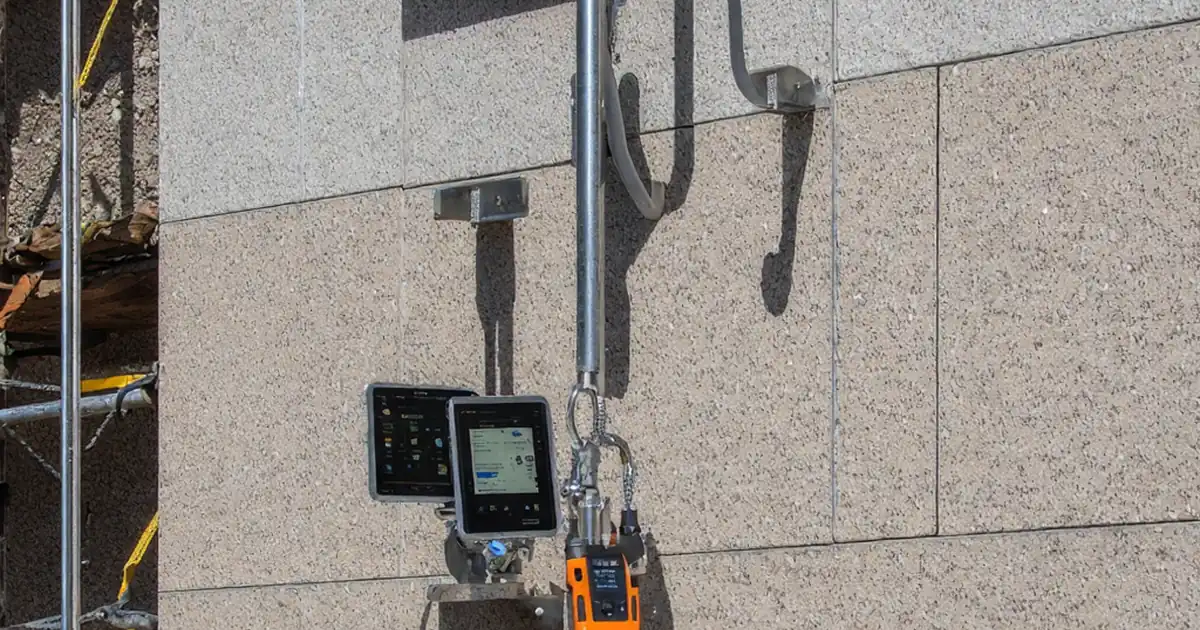
Reliable proof load testing depends on reproducing the anchor or davit’s in-service load path. Align the tester axially for eye anchors or outward for façade tie-backs, eliminating side-loading that can underrepresent true demand. Use a calibrated load cell and a displacement gauge to record both force (kN) and movement (mm). Apply a short seating preload to remove slack, then step in equal increments to the target proof load, holding and monitoring at each step. At maximum load, hold long enough to observe stability before controlled release. Permanent set should remain within the specified tolerance, and there should be no visible damage, cracking, or waterproofing breach. Document the setup with photos showing alignment, reaction points, and gauge readings. This approach validates capacity without approaching failure, protects the façade, and creates clear, auditable evidence that the installed system can safely support rope access or suspended platform operations.
- Match load direction to actual service conditions.
- Use calibrated load and displacement measurement.
- Apply increments and hold periods consistently.
- Record stability at peak load before release.
- Photograph alignment, gauges, and reaction points.
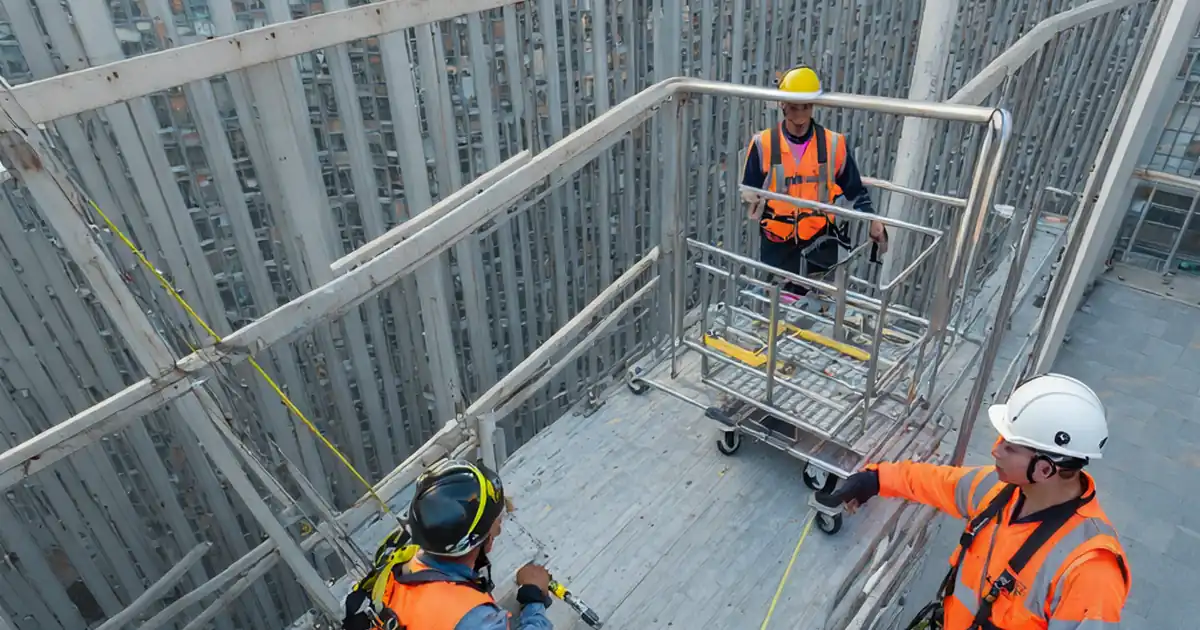
Managing Rooftop and Public Safety During Testing
Rooftop proof loading introduces hazards to technicians and the public below. Plan and install edge protection or certified lifelines, with users clipped to approved points at all times. Establish a rooftop exclusion zone to prevent accidental entry to the test area, and a ground-level drop zone aligned to the test point’s vertical, each with clear signage. Weather matters: wind above practical limits increases risk of uncontrolled movement and inaccurate readings. Confirm substrate integrity and waterproofing before connecting any rig to avoid hidden damage paths. Assign a spotter to manage access, watch gauges during holds, and communicate via radio. Keep all loose materials secured and maintain clean pathways. With these controls, the procedure stays predictable, readings are trustworthy, and the test leaves no unintended harm to the roof or façade systems.
- Implement edge protection or lifelines before setup.
- Create rooftop and ground exclusion zones.
- Confirm acceptable wind and dry conditions.
- Assign a spotter and clear communications.
- Protect waterproofing and finishes throughout.
Traceability, Acceptance, and Handling Failures
Traceable results start with asset identity, calibration, and photos that prove the exact point tested. Capture serial tags, GPS coordinates, and before/after condition images. Embed calibration certificates and logbook entries so any auditor can confirm accuracy. Acceptance hinges on stable readings at full proof load and residual displacement within the specified tolerance. If an anchor or davit fails, isolate it immediately, label Do Not Use, notify the responsible engineer, and document the defect. After remediation, retest using the same method to confirm compliance. Finally, publish a report with graphs, displacement tables, signatures, and next due dates. Affix a durable QR tag that links straight to the record, creating a reliable cycle for inspections, maintenance, and future audits without repeating groundwork.
- Identify the exact asset with verifiable data.
- Attach calibration and method evidence.
- Assess permanent set against tolerance.
- Isolate and document any failures promptly.
- QR-link reports for rapid future access.
How to Use This Interactive Proof Load Testing Checklist
- Preparation: Assemble calibrated load cell and pump, reaction frame, slings, shackles, displacement gauge, PPE (harness, lanyard, helmet), barriers, anemometer, and documents (permits, asset register, specs). Confirm weather and access, then open the checklist on a connected device.
- Start Interactive Mode: Tick items as you proceed, add comments for site-specific notes, and attach photos of tags, setups, and gauges. Record loads (kN), displacements (mm), and hold times directly into the fields.
- Evidence Capture: Upload calibration certificates, GPS location, and pre/post condition photos. Use comments to flag anomalies and assign actions. The system timestamps entries for audit trails.
- Sign-Off: Enter pass/fail status, obtain digital signatures from the technician and supervisor, and confirm next due date. Generate the report and export as PDF/Excel for distribution.
- Archive and Verify: Link the asset with a durable QR label. Scan to verify the report authenticity and version, then store all records in your asset register for future audits.

Call to Action
- Start Checklist Tick off tasks, leave comments on items or the whole form, and export your completed report to PDF or Excel—with a built-in QR code for authenticity.
- Download Excel - Façade Anchor and Davit Point Proof Load Testing
- Download PDF - Façade Anchor and Davit Point Proof Load Testing
- View Image - Façade Anchor and Davit Point Proof Load Testing
Cite & Embed
“Façade Anchor and Davit Point Proof Load Testing by Quollnet”
with a link to
this source page.

FAQ
Question: How often should façade anchors and davit points be proof load tested?
Question: What is the difference between proof load testing and ultimate load testing?
Question: What if an anchor or davit point fails the proof load test?
Question: Does proof load testing risk damaging waterproofing or the façade?
Related Articles
Broader reading and guidance connected to this checklist topic.


Related Checklists
Keep the workflow moving with nearby templates chosen from similar checklist content.