Soil Nail Pull-Out Testing: Proof/Performance, Measurement, Acceptance
Definition: Soil Nail Pull-Out Testing checklist guides site engineers through proof and performance tests, precise load–displacement measurement, acceptance decisions, and complete documentation, while explicitly excluding installation inspections.
- Plan and execute proof/performance tests with calibrated jack and load cell.
- Measure displacement with LVDTs or dial gauges against rigid datum beam.
- Decide acceptance using project-specified displacement and creep criteria.
- Interactive, commentable, export-ready checklist with secure QR code.
Soil Nail Pull-Out Testing verifies bond capacity by applying controlled axial tension and measuring load–displacement response. This checklist covers soil nail proof test and performance test procedures focused on accurate instrumentation, stepwise loading, creep measurement, and clear pass/fail acceptance. It excludes installation checks such as drilling records, centralizers, grout take, or nail head construction. You will plan tests, set up a rigid reference beam, calibrate a hydraulic jack and load cell, and log displacement using LVDTs or dial gauges to produce a reliable load–displacement curve. The process mitigates risks like gauge drift, eccentric loading, reference movement, and unsafe exclusion zones, helping avoid false failures and rework. Outcomes include defensible acceptance decisions per approved project specifications and authority requirements, traceable data with photos and signatures, and a standardised report suitable for geotechnical design validation. Use this interactive checklist to tick items, add comments, and export a signed report as PDF/Excel via a secure QR code.
- Execute standardized proof and performance pull-out tests with calibrated equipment, stable datum beams, and controlled load increments to generate reliable load–displacement curves and creep data for acceptance against project requirements.
- Reduce risk of false readings by verifying calibration traceability, gauge zeroing, axial alignment, and independent reference supports, then documenting every step with time-stamped photos, readings, and witness sign-offs.
- Make confident pass/fail decisions by comparing measured displacement, rebound, and creep rate to approved project specifications and authority requirements, with automatic graphing and transparent audit trails.
- Interactive online checklist with tick, comment, and export features secured by QR code.
Test Planning & Safety
Instrumentation & Calibration
Test Setup & Alignment
Loading Procedure
Measurement & Recording
Acceptance & Reporting
Proof vs Performance Tests: Purpose and Practical Differences
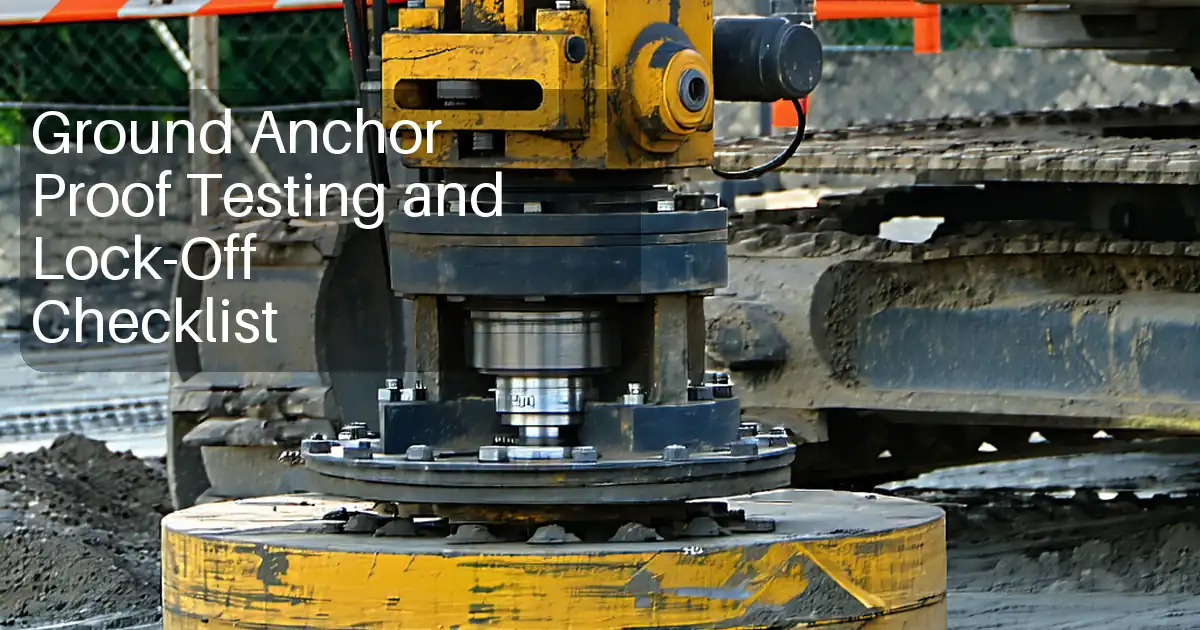
Proof tests verify production nail bond by applying a specified test load to a representative percentage of installed nails, confirming capacity with limited holds and straightforward acceptance. Performance tests are more detailed, typically on sacrificial or designated test nails, using longer holds, load cycles, and higher test loads to characterise system behaviour and bond parameters. On site, you will plan different loading sequences, hold durations, and acceptance measures for each. Performance testing usually generates a full load–displacement curve with creep segments to validate design assumptions and calibrate bond strength. Proof testing focuses on compliance and screening, optimising time without compromising confidence. Ensure the test plan clearly distinguishes both regimes, including any cycling, the number of increments, and the maximum test load. Keep tooling identical—jack, load cell, LVDTs—but expect more readings for performance tests. Always document the test type on the data sheet and in file names for traceability.
- Define test type and sequence before mobilising equipment.
- Use identical, calibrated instruments for both regimes.
- Performance tests include longer holds and cycles.
- Proof tests emphasise screening and compliance.
- Document test type on sheets and filenames.
Getting Accurate Load–Displacement and Creep Measurements
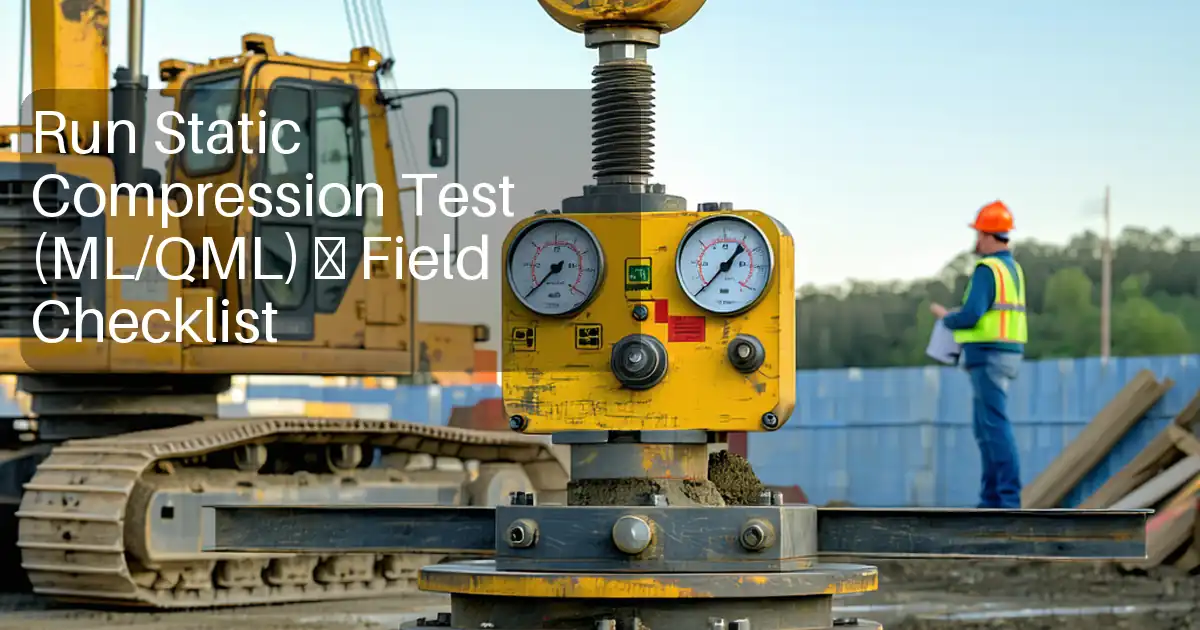
Accurate measurement depends on stable references and aligned loading. Set displacement gauges on a rigid beam isolated from the jack and tested nail; even small beam movements can distort results. Zero gauges at the seating load to remove slack effects. Maintain axial alignment with a spherical seat and centred reaction plate to avoid bending that inflates displacement. Record time, load, and displacement at consistent intervals, increasing frequency near maximum load and during creep holds. Monitor environmental factors—temperature and vibration—that may affect instruments and grout behaviour. Real-time plotting helps detect anomalies such as sudden slips or drift. If any anomaly appears, hold the load, investigate reference stability, and only continue once resolved. Consistently label readings with nail ID and timestamp to streamline review and reduce transcription errors.
- Use an independent, rigid reference beam.
- Zero gauges at seating load.
- Maintain axial alignment with spherical seat.
- Increase logging frequency during creep.
- Label data with nail ID and timestamps.
Acceptance Decisions and Reporting That Stand Up to Review
Acceptance relies on comparing measured displacement at test load, creep rate over the hold period, and residual displacement after unloading to the approved project specifications and authority requirements. Capture the full audit trail: calibration certificates, instrument serials, photos, load steps, time stamps, and plotted curves. Summarise outcomes with a clear pass/fail statement for each nail, noting any hold points, adjustments, or interruptions. If criteria are not met, document the non-conformance, proposed retest parameters, and any mitigation or design review. Package results in a structured report with executive summary, methodology, equipment, raw data, graphs, and sign-offs. Store the report in a managed location and link it via a QR code on the as-built drawings or test log to simplify future verification and audits.
- Compare results to approved criteria only.
- Provide full calibration and photo evidence.
- State clear pass/fail for each nail.
- Document non-conformances and retests.
- Archive with QR-linked access.
How to Use This Soil Nail Pull-Out Testing Checklist
- Preparation: confirm test plan, mobilise calibrated jack, load cell, LVDTs, rigid datum beam, PPE, barriers, and reporting templates; verify grout strength eligibility and site safety arrangements.
- Open the interactive checklist, select project and nail IDs, and switch to live mode; assign roles for load control, gauge reading, and data entry to avoid missed readings.
- During testing, tick items in sequence, enter time–load–displacement readings, attach photos, and add comments for anomalies; use the built-in graph to validate curve shape and creep.
- After completion, generate the acceptance decision, compile calibration attachments, and export the report as PDF/Excel; include graphs, photos, and signatures for stakeholders.
- Sign-Off: capture digital signatures from responsible parties, distribute the report, and archive with QR authentication for future verification and audits.
Call to Action
- Start Checklist Tick off tasks, leave comments on items or the whole form, and export your completed report to PDF or Excel—with a built-in QR code for authenticity.
- Download Excel - Soil Nail Pull-Out Testing
- Download PDF - Soil Nail Pull-Out Testing
- View Image - Soil Nail Pull-Out Testing
Cite & Embed
“Soil Nail Pull-Out Testing by Quollnet”
with a link to
this source page.
FAQ
Question: What is the difference between a proof test and a performance test for soil nails?
Question: How many soil nails should be tested and at what loads?
Question: What measurements are critical during pull-out testing?
Question: How are acceptance criteria decided for pass or fail?
Question: What should we do if a nail fails the pull-out test?
Related Articles
Broader reading and guidance connected to this checklist topic.


Is It Important To Customize Your Qr Code And How To Do It?

Related Checklists
Keep the workflow moving with nearby templates chosen from similar checklist content.


