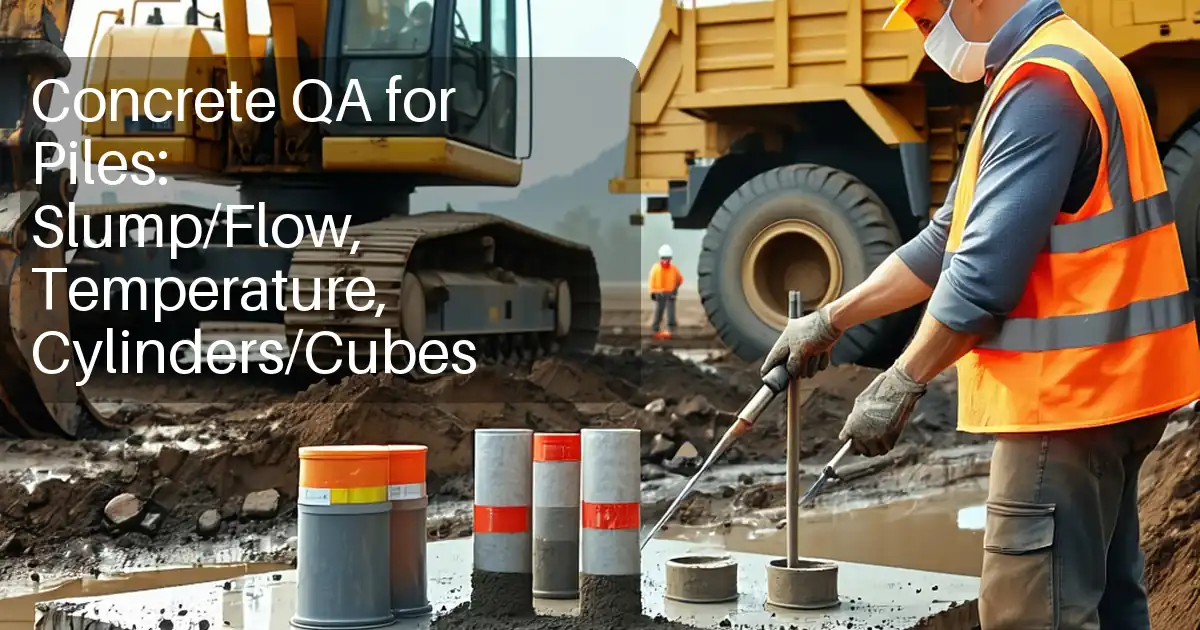
Concrete Compressive Strength Testing: Cubes, Cylinders, Results and Acceptance
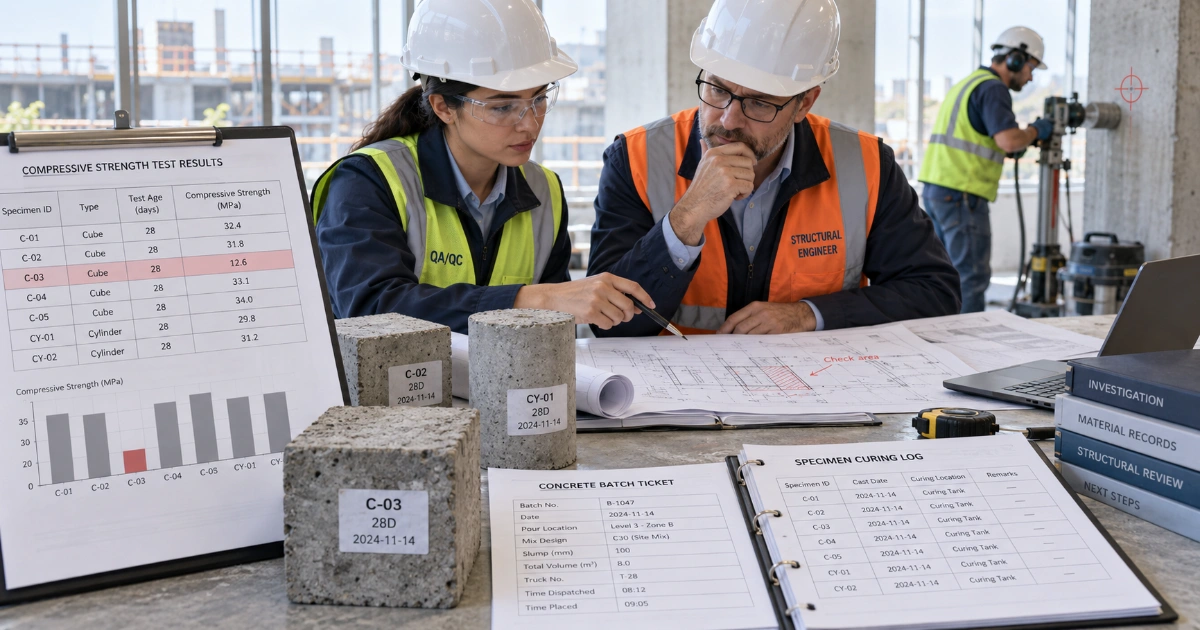
Concrete compressive strength testing can trigger NCRs, delayed follow-on work, core drilling, structural review, strengthening or replacement decisions. A false failure caused by poor sampling, incorrect specimen curing, the wrong cube/cylinder basis, the wrong test age or misapplied code criteria can therefore create major cost and delay even when the in-place concrete may be satisfactory. Before treating a low result as failed concrete, verify the specimen history, the defined strength test and the governing acceptance rule.
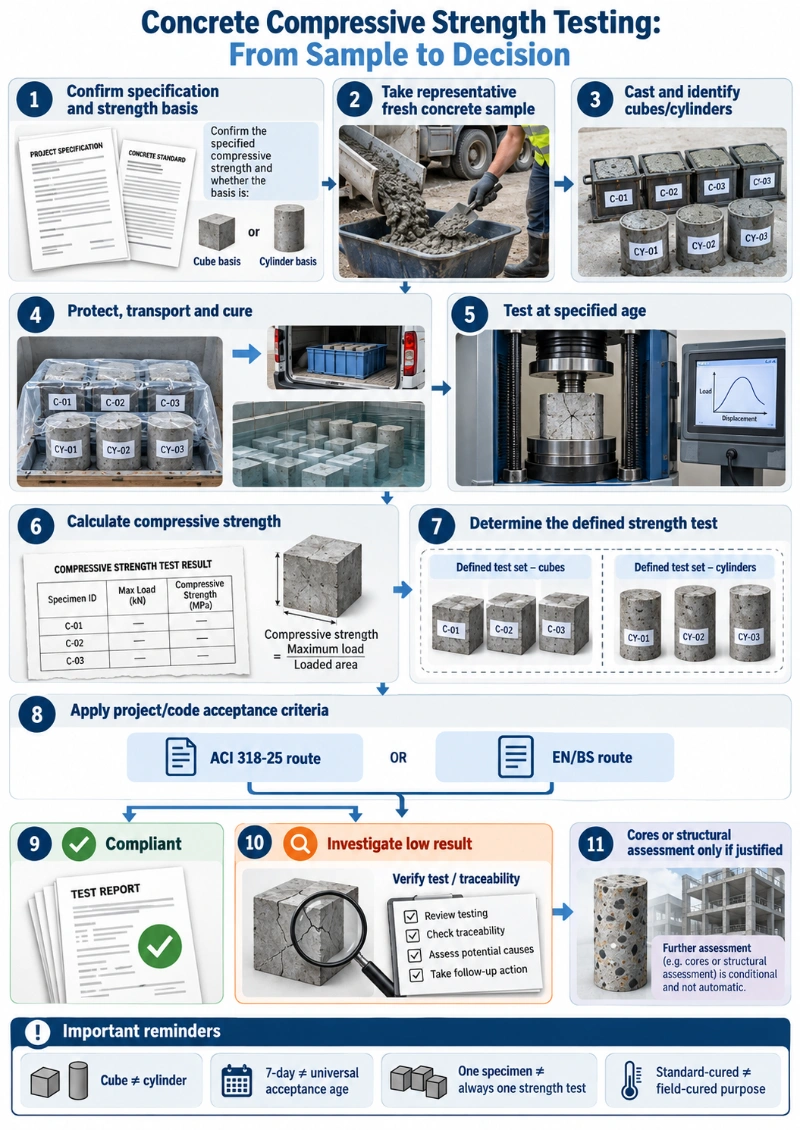
Representative sample → make cubes or cylinders → identify and protect specimens → cure correctly → test at the specified age → calculate compressive strength → determine the defined strength test → apply the governing acceptance criteria → investigate only when required.
What does a concrete compressive strength test actually measure?
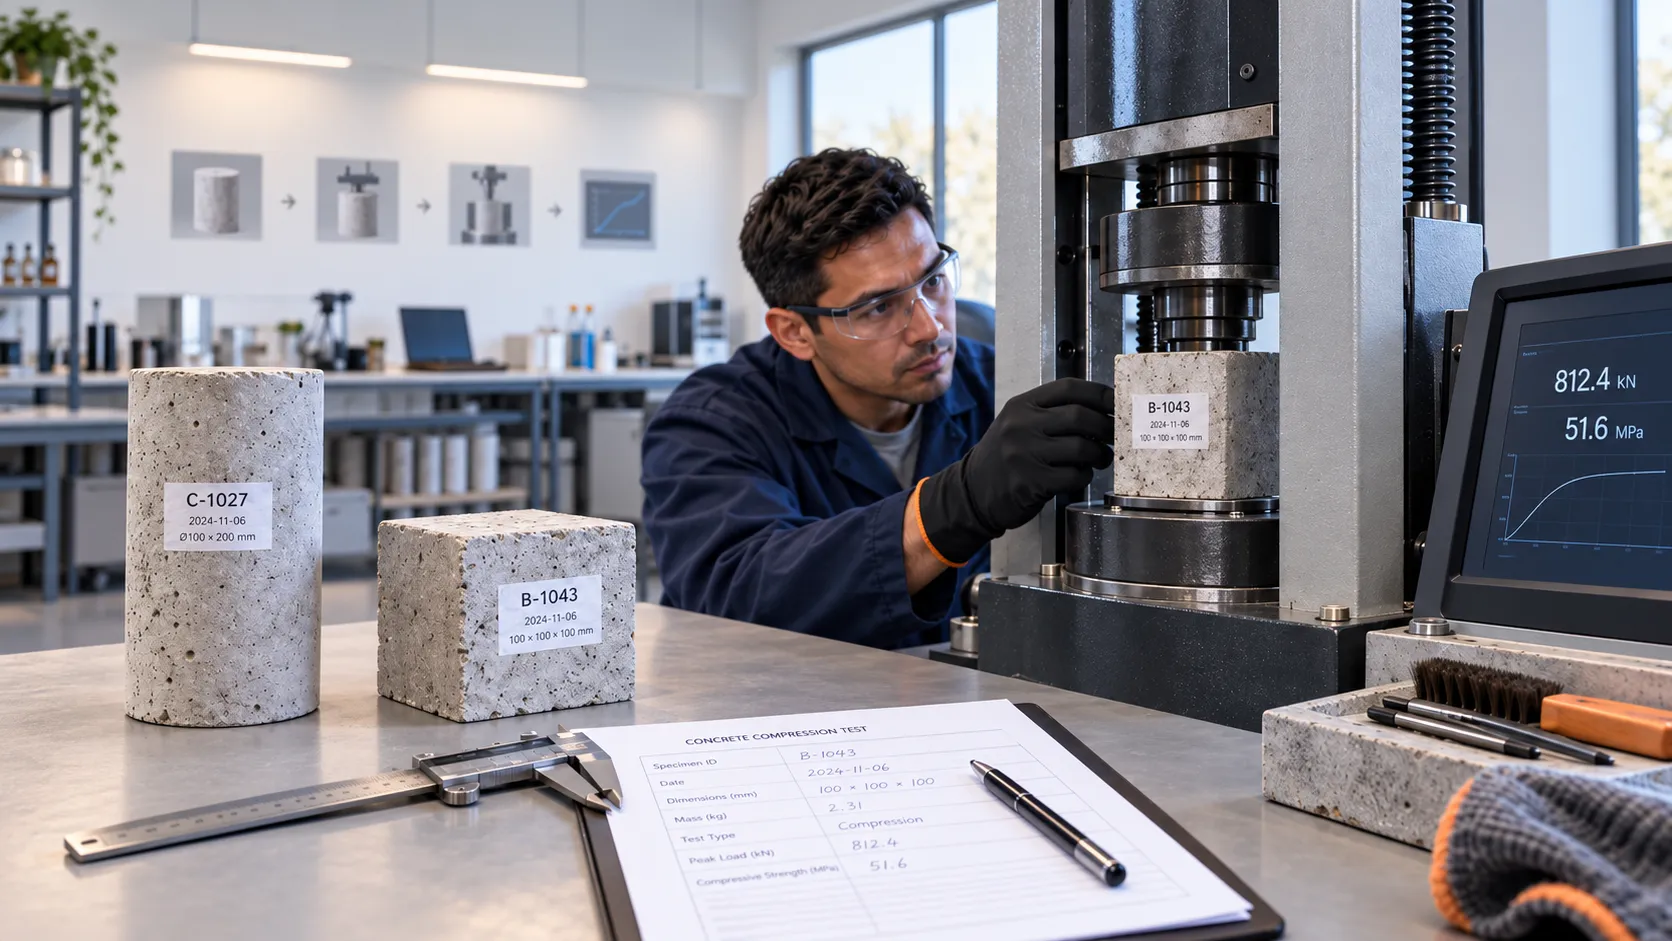
A compressive strength test measures the maximum compressive stress a concrete specimen can sustain under the prescribed test conditions. The laboratory records the maximum load and divides it by the loaded cross-sectional area:
\[f_c = \frac{P}{A}\]where \( f_c \) is the measured compressive strength, \( P \) is the maximum applied load, and \( A \) is the loaded area.
The equation is simple. Interpreting the number is not. ASTM C39/C39M notes that measured cylinder strength depends on factors such as specimen size and shape, sampling, molding, fabrication, age, temperature and moisture conditions during curing. A reported MPa value is therefore the result of a controlled test system, not an intrinsic number independent of how the specimen was produced.
Cube or cylinder: use the specimen system required by the project
Concrete projects commonly use either cubes or cylinders for compressive-strength testing. The two specimen shapes do not give identical results because geometry and platen restraint influence the measured failure behavior.
That is why a project specified on a cylinder-strength basis should not be checked against cube results using an informal 0.8 or 0.85 multiplier, and a cube-strength specification should not be converted to cylinders after the test unless the governing code or approved project procedure establishes that relationship.
For the detailed explanation, see Concrete Cube vs Cylinder Strength: Why the 0.8 Rule Can Mislead.
| Question | What to check |
|---|---|
| Cube or cylinder? | Project specification, structural design basis and adopted test standard. |
| 7-day or 28-day result? | The specified acceptance age; do not assume every 7-day result is contractual acceptance. |
| One specimen or one strength test? | The governing code definition of a strength test and the required companion specimens. |
Representative sampling comes before strength testing
A perfect laboratory test cannot correct a biased or unrepresentative sample. The sample used to make cubes or cylinders must represent the concrete being assessed and remain traceable to the truck, batch, mix, pour location and test set.
For site QA/QC, record the sampling time and location together with the specimen IDs. If water or admixture is added on site under an approved procedure, the sample used for acceptance should reflect the concrete state required by the applicable specification and test practice.
Traceability becomes especially important when one result is low. Without a reliable link between the specimen and the actual pour, even a technically valid test may be difficult to use for an engineering decision.
Making and curing specimens can change the result
Strength specimens are part of the test system from the moment they are cast. Poor consolidation, damaged molds, loss of moisture, temperature extremes, delayed demoulding, rough transport or incorrect laboratory curing can all affect the result.
Under the ASTM route, ASTM C31/C31M covers making, curing, protecting and transporting field-made cylinders and beams. Its standard-cured specimens are used for purposes such as acceptance testing, mixture-strength verification and quality control, while field-cured specimens serve different purposes such as evaluating curing and protection or supporting construction decisions.
For cube-focused site practice, see Concrete Cube Curing: Site Storage, Water Tank & Laboratory Requirements.
If there is evidence that curing was abnormal, do not automatically apply a correction percentage to rescue or reject the test. Review the actual curing history and its likely significance. See Improper Concrete Specimen Curing: Impact on Cube & Cylinder Test Strength.
Standard-cured and field-cured specimens answer different questions
Standard-cured specimens are primarily used to judge the strength potential and acceptance of the concrete mixture under the governing acceptance procedure. Field-cured specimens are exposed to site conditions so they can support different construction questions, such as curing effectiveness or the timing of form removal or post-tensioning.
Do not apply a standard-cured acceptance rule to a field-cured cylinder merely because both specimens came from the same concrete. Their exposure history and purpose are different.
How the compression test is performed
The laboratory test itself requires more than placing a specimen between platens. The specimen must be identified, measured where required, checked for condition, properly centered and loaded in the prescribed manner using suitable equipment.
Under the ASTM route, ASTM C39/C39M-26 covers compressive strength testing of cylindrical concrete specimens. Under the EN/BS route, BS EN 12390-3:2019 covers compressive strength testing of hardened concrete test specimens, including specimen preparation, positioning, loading to failure and reporting.
The detailed laboratory procedure, common failure observations and calculation steps are covered in How to Perform a Concrete Compressive Strength Test: Cubes & Cylinders.
7-day strength is usually an early indicator, not a universal acceptance rule
Seven-day testing is useful because it gives the project team an early indication of strength development. It can help identify an abnormal trend before the governing later-age test is available.
However, the common statement that concrete “must reach 70% at 7 days” is not a universal acceptance requirement. Strength development depends on cementitious materials, temperature, curing, mixture proportions and the specified concrete system.
The project documents determine the contractual acceptance age. Twenty-eight days is common, but another age may govern for a particular mixture or project. For a detailed interpretation, see 7-Day vs 28-Day Concrete Strength: What the Results Actually Mean.
One specimen result is not always one strength test
Before comparing a reported number with the specified strength, determine what the governing code defines as one strength test. Some acceptance systems use the average of companion specimens made from the same sample rather than treating every individual cube or cylinder as an independent contractual pass/fail result.
ACI CODE-318-25, for example, defines the standard-cured cylinder strength test using companion cylinders from the same sample. It then applies acceptance criteria to those strength tests, including a running-average requirement and a lower limit for an individual strength test.
This distinction is central to avoiding false nonconformances. The detailed ACI and EN/BS acceptance logic is covered in Concrete Compressive Strength Acceptance Criteria: ACI 318-25 vs EN 206.
ACI 318-25 and EN/BS do not use one universal acceptance formula
Under ACI CODE-318-25, standard-cured strength acceptance is based on the defined strength test and includes both a three-test running-average criterion and a lower limit for an individual strength test.
The EN/BS route is different. BS EN 206-1:2026 covers concrete performance requirements, factory production control and assessment criteria for individual values, while BS EN 206-2:2026 covers conformity assessment and certification. Project and national provisions may add further requirements.
Do not apply an ACI threshold to a project specified under EN/BS simply because the number is familiar, and do not transfer an EN strength class directly into an ACI acceptance calculation without a defined contractual basis.
What does a low compressive-strength result mean?
A low result is a trigger to verify and investigate. It is not automatic proof that the concrete in the structure is deficient, and it is not a reason to invent a new acceptance calculation after the result becomes known.
Start by checking:
- Identity and traceability: specimen ID, sample, truck or batch, pour location and test age.
- Specimen validity: dimensions, condition, molding, consolidation and curing history.
- Laboratory procedure: machine, loading, positioning, end condition and calculation.
- Acceptance basis: correct specimen type, defined strength test, specified age and governing code.
- Related results: companion specimens and nearby test sets from the same concrete production.
For the full investigation sequence, see Low Concrete Compressive Strength: What to Do Before You Reject the Concrete.
When does core testing become relevant?
Drilled cores are used when the investigation needs direct information about hardened concrete in the structure. They should not be ordered automatically after one disappointing cylinder or cube result.
The engineering question should be defined first: what concrete is represented, where should cores be taken, how will reinforcement be avoided, what test standard applies, and how will the results be interpreted?
ASTM C42/C42M is used for obtaining and testing drilled cores under the ASTM route. Under EN/BS, BS EN 12504-1 covers taking and compression testing cores, while BS EN 13791 provides an in-situ strength assessment framework.
For the detailed procedure and interpretation, see Concrete Core Test Guide: ASTM C42, ACI 318-25 & BS EN 13791.
Strength records need to preserve the full test history
A useful concrete strength register should allow an engineer to move from a result back to the original concrete placement. The record should preserve at least:
- project and pour reference;
- date, element and location;
- mix designation and specified strength basis;
- truck or batch reference;
- sample and specimen IDs;
- cube or cylinder type and size;
- casting date and test age;
- individual specimen results and the defined strength-test result;
- acceptance status under the project procedure;
- remarks on curing, damage, abnormal failure or retest;
- NCR, investigation or core references where applicable.
For a practical example, see Concrete Cube Test Register Excel Format – PDF & Excel Sample.
Common mistakes in concrete compressive strength testing
- Treating every specimen as an independent acceptance test.
- Mixing cube and cylinder strength bases.
- Assuming 7-day strength must equal a universal percentage of 28-day strength.
- Ignoring specimen curing and transport history.
- Using field-cured specimens as though they were standard-cured acceptance specimens.
- Applying the wrong code's acceptance thresholds.
- Changing the test grouping after results are known.
- Drilling cores before confirming that the original acceptance criterion actually failed.
- Losing the link between specimen IDs and the concrete placement they represent.
Practical QA/QC workflow from fresh concrete to final disposition
Confirm the project strength basis → obtain a representative sample → cast and identify the required specimens → protect, transport and cure correctly → test at the specified age → calculate and record the specimen strengths → determine the defined strength test → apply the governing acceptance criteria → close the record if compliant or open the defined investigation pathway if not.
How the concrete strength articles fit together
This guide is the overview. Use the specialist articles when the project needs deeper detail:
- Compression test procedure for cubes and cylinders — machine testing, calculation and reporting.
- Cube vs cylinder strength — specimen geometry and why universal conversions mislead.
- Concrete cube curing — site storage, transport and laboratory curing.
- Improper specimen curing — how curing deviations can affect results.
- 7-day vs 28-day strength — early trends versus governing acceptance age.
- Concrete strength acceptance criteria — ACI 318-25 and EN/BS acceptance logic.
- Low compressive strength investigation — what to verify before rejecting concrete.
- Concrete core testing — when destructive in-place testing is justified and how results are interpreted.
References
ACI CODE-318-25 – Building Code for Structural Concrete—Code Requirements and Commentary
ASTM C31/C31M-26 – Standard Practice for Making and Curing Concrete Test Specimens in the Field
ASTM C39/C39M-26 – Standard Test Method for Compressive Strength of Cylindrical Concrete Specimens
BS EN 12390-3:2019 – Testing hardened concrete. Compressive strength of test specimens
BS EN 206-2:2026 – Concrete. Conformity assessment and certification