How Concrete Test Cubes Should Be Stored and Cured Before Strength Testing
Concrete cube curing is the controlled protection and storage of strength-test specimens from casting until testing. The specimen must stay correctly identified, protected from moisture loss, temperature extremes, vibration and damage, then be demoulded, transported and cured under the conditions required by the project test standard. Poor curing can make a compressive-strength result unrepresentative even when the laboratory compression test itself is performed correctly.
- Curing starts immediately after casting: the first site-storage period is part of the test history, not dead time before the laboratory receives the specimens.
- Control moisture, temperature and disturbance: drying, overheating, chilling, impact or vibration can change specimen development.
- Keep identity unbroken: every cube or specimen set should remain tied to the original sample, truck/load, mix and pour location.
- Do not mix standards: ASTM C31/C31M addresses field-made cylinders and beams; BS EN 12390-2 covers making and curing strength-test specimens under the EN/BS route.
- Record deviations rather than hiding them: if curing conditions were not maintained, preserve the specimen and document what actually happened.
The specimen journey: from concrete truck to strength result
A cube does not become a valid strength specimen simply because it eventually reaches a compression machine. Its history should be traceable through every stage.
| Stage | Main control | Useful evidence |
|---|---|---|
| Cast and identify | Correct sample, mould filling, compaction and unique specimen/set ID | Sample ID, truck/load, mix, pour location, casting time |
| Initial site storage | Protection from moisture loss, temperature extremes, vibration and impact | Storage location, condition, protection method, time record |
| Demould | Required timing, correct identification, no specimen damage | Demould date/time and specimen condition |
| Transport | Moisture protection, shock protection and chain of custody | Dispatch and laboratory receipt record |
| Laboratory curing | Controlled curing environment under the governing method | Tank/room ID and curing-facility records |
| Strength test | Correct specimen ID, age and test method | Compression-test report and project register |
The upstream traceability starts with the fresh-concrete sample. Quollnet's Fresh Concrete Sampling Checklist covers obtaining and identifying the representative sample before cubes or cylinders are made. The Concrete Truck Arrival & Delivery Record Template can also link the specimen IDs to the concrete delivery and pour.
Why curing changes the meaning of the strength result
Concrete strength develops through hydration, so the specimen's moisture and temperature history influences its development. The purpose of standardized curing is not to imitate every possible site condition; it is to give the project a controlled test specimen whose result can be interpreted using the governing acceptance system.
If a specimen dries, overheats, chills, is disturbed early or is damaged during transport, the later strength number may reflect those specimen conditions as well as the concrete itself. That is why an apparently simple curing mistake can create a difficult QA/QC dispute weeks later.
If the curing record is incomplete or a specimen was exposed to unsuitable conditions, record the deviation. Do not relabel the specimen as normally cured just because it was later placed in the correct curing tank.
How bad curing can disguise good concrete — and vice versa
This is one of the most common sources of argument after a low 28-day strength result. The contractor may argue that the specimen was badly stored or cured, while the consultant or laboratory may point to the recorded break result as the available test evidence. The useful engineering questions are more precise:
- Was the specimen cured in accordance with the selected test procedure?
- If not, is the documented deviation large enough to plausibly influence the measured strength?
- Could that curing issue explain the full shortfall, only part of it, or very little of it?
- What does the governing project specification require when the validity or representativeness of the test is disputed?
Controlled research shows why the issue cannot be dismissed as merely administrative. A 2023 Auburn University study tested concrete cylinders at six initial-curing temperatures and three initial-curing durations before final moist curing. Relative to the study's 68°F reference condition, increasing initial curing temperature generally reduced 28-day strength; at 100°F (37.8°C), the maximum observed reduction among the concretes tested was 23%. The magnitude varied with mixture and exposure, so this is evidence of sensitivity rather than a universal correction factor.
A curing deviation should not automatically invalidate a low result, and a low result should not automatically end the curing discussion. Preserve the measured result, reconstruct the specimen history, compare it with the selected standard and assess whether the documented deviation is of a magnitude that could materially affect the result.
Estimate the potential effect of a curing deviation
The estimator below is intended for the engineering-review stage when a specimen-curing deviation has been documented. It separates the selected standard's reference conditions from an empirical estimate of possible 28-day strength impact and can compare that modeled range with an observed strength shortfall.
Concrete Specimen Curing Impact Estimator
Estimate the potential effect of a documented specimen-curing deviation on a 28-day compressive-strength result.
Estimated 28-Day Strength Impact vs Initial Curing Deviation
Advanced curing documentation
ASTM C511 specifies calcium-hydroxide-saturated storage water to prevent leaching. This check does not add a percentage penalty.
Compare with the failed result
Observed shortfall: Enter both strengths.
Model assumptions & sources
Standards comparison and empirical estimation are independent. The 28-day model uses local published data only; no standard supplies the percentage-loss equation.
- ASTM C31/C31M-26b — field specimen making, initial curing, transport and standard/field-cured purposes.
- ASTM C511-21 — moist-room and water-storage equipment and conditions.
- BS EN 12390-2:2019 — making, initial protection, demoulding, final curing and transport.
- White (2023), Auburn University — Type I cylinder data transcribed from Table 4-2 and interpolated only inside its temperature/duration grid.
- Obla et al. (2018), Concrete International — coupled air-exposure regimes; values reproduced in Fleming (2023), Table 2-2.
Supported numerical domain: 28-day molded specimens, 24–72 hours of initial exposure, 100% Type I Portland cement concrete, and compliant final moist curing. The protected-temperature grid covers 15.6–37.8 °C. A documented temperature span—or a known difference between the average and a one-sided extreme—above 4 °C, inconsistent average/extreme records, or an excursion outside the applicable source-temperature range receives no percentage estimate; missing extremes lower confidence. The 4 °C and ±2 °C air-regime limits are applicability guards, not strength coefficients. Cube results lower applicability confidence. Type III, SCM/unknown binders, moist-covered or other moisture histories, continued nonstandard final curing, and source-regime temperature mismatches receive no percentage estimate. Interpolation reproduces source points exactly; predictive uncertainty between points and experimental variability are not quantified.
Engineering estimate based on selected standards and published experimental data. Preserve the original laboratory result. Project acceptance, retesting and structural investigation remain subject to the governing specification and engineer's review.
Important: the estimator does not replace or “correct” the recorded laboratory strength. It is a scenario-analysis tool. Contractual acceptance, retesting, core investigation and structural disposition remain subject to the project specification and responsible engineer.
Initial site curing begins as soon as the specimen is made
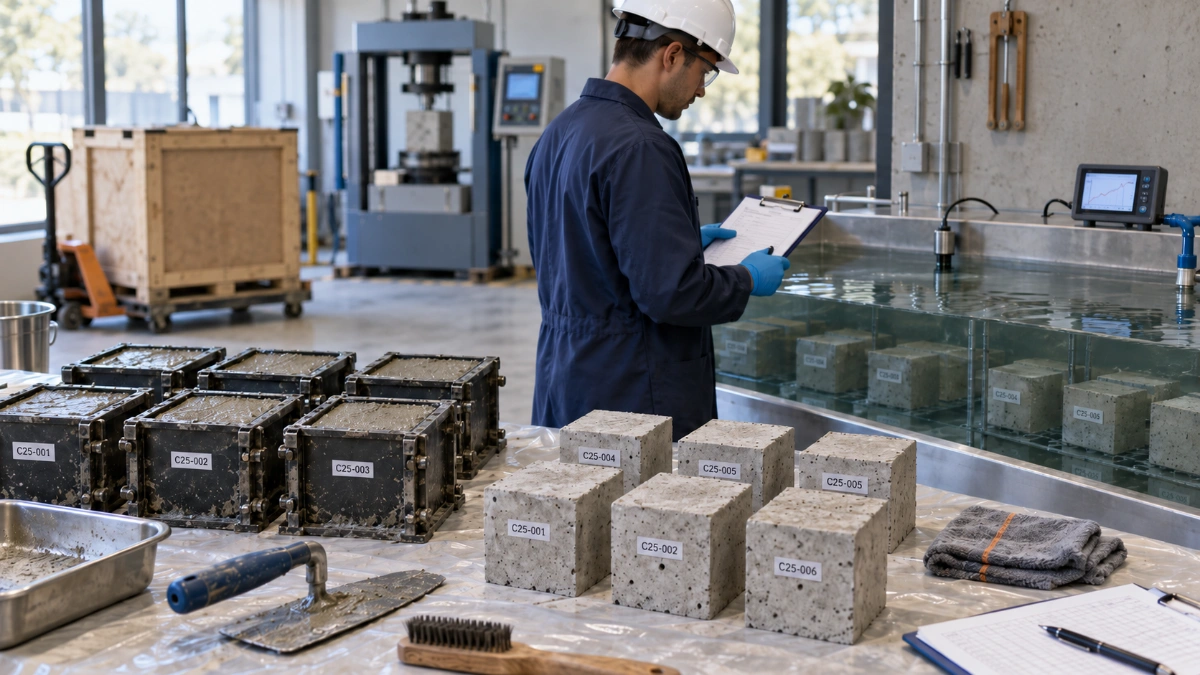
Freshly made test specimens are vulnerable. Before they are strong enough to demould and transport, they need a protected initial-storage environment appropriate to the selected test method.
The practical controls are straightforward:
- keep the moulds on a stable, level support;
- protect the concrete surface from moisture loss;
- avoid direct sun, strong wind, rain contamination and uncontrolled heating or cooling;
- keep specimens away from vibration, vehicle movement and impact;
- prevent water from being added to the specimen surface in a way not permitted by the procedure;
- preserve the specimen and set identification throughout storage; and
- record the actual storage location and times.
The exact temperature range, protection method and permitted initial-curing duration are standard- and project-dependent. This article therefore does not publish one universal site-curing temperature or demoulding time.
Cube identification should survive moulding, demoulding and curing
Specimen traceability is a quality-control requirement in its own right. A cube ID written only on a loose piece of paper beside the mould is not a robust chain of custody.
A specimen set should be traceable to at least:
- project and pour;
- sample ID;
- concrete supplier and mix designation;
- truck/load or delivery-ticket reference where applicable;
- element and location;
- casting date and time;
- individual specimen IDs;
- planned test ages; and
- curing basis or special field-curing purpose where applicable.
After testing, the same IDs should appear in the project-level Concrete Cube Test Register Excel Format – PDF & Excel Sample, so a strength result can be traced backward to the original pour rather than existing as an isolated MPa number.
Demoulding: protect the specimen while removing the mould
Demoulding is a transition point, not an administrative step. The specimen is still relatively young and can be chipped, cracked or misidentified while moulds are removed.
Use the timing and procedure required by the governing standard. When demoulding:
- confirm the specimen ID before removing the mould;
- avoid striking, prying or dropping the specimen;
- inspect for visible damage or defects;
- preserve identification immediately after the mould is removed; and
- move the specimen promptly into the next required curing condition.
If a specimen is damaged during demoulding, record the condition. Do not simply choose a better-looking specimen from the same set and erase the damaged one from the record.
Transporting concrete cubes to the laboratory
Transport should preserve both the physical specimen and its curing history. The journey to the laboratory can introduce drying, impact, vibration, temperature exposure and specimen mix-ups if it is treated like ordinary material delivery.
- Confirm every specimen against the dispatch list.
- Protect specimens from impact and excessive vibration.
- Maintain the moisture/protection condition required by the test procedure.
- Avoid unnecessary exposure to environmental extremes.
- Record dispatch and laboratory receipt times.
- Confirm specimen IDs again at receipt before they enter laboratory curing.
ASTM C31/C31M explicitly includes requirements for transporting field-made test specimens to the laboratory. BS EN 12390-2 also includes transport within its scope for strength-test specimens.
Laboratory curing and water tanks
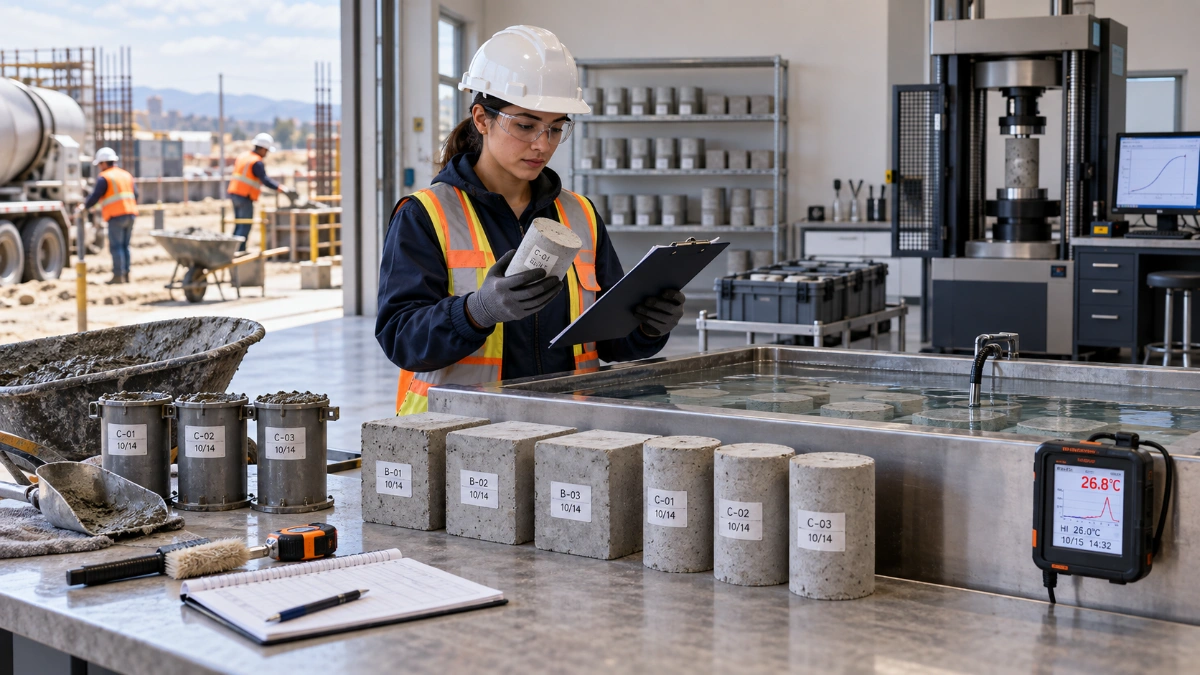
Once specimens reach the laboratory, curing should move from temporary site protection to the controlled storage required by the adopted test system. Depending on the method, this may involve a controlled water tank or other specified moist-curing environment.
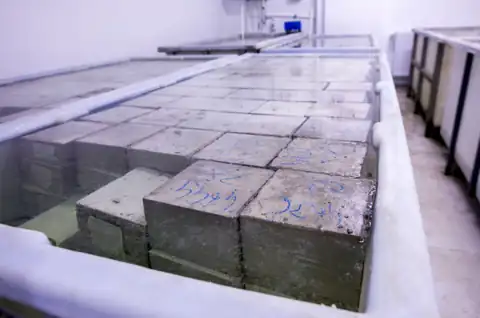
ASTM C511 is the ASTM specification for laboratory moist cabinets, moist rooms and water storage tanks used in testing hydraulic cements and concretes. It covers facility-level controls such as controlled conditions, monitoring equipment and water-storage-tank requirements. It should be read together with the specimen practice that sends the specimen into that curing environment.
For EN/BS projects, BS EN 12390-2 governs making and curing strength-test specimens and should be used as the primary procedure for the specimen route rather than importing ASTM curing details into an EN test regime.
Why ASTM curing tanks use lime-saturated water
Under ASTM C511, water in a curing storage tank is required to be saturated with calcium hydroxide to prevent leaching. This is an important distinction: a random tank filled with ordinary tap water is not automatically equivalent to the prescribed ASTM laboratory curing environment.
The purpose is to control the storage environment and reduce dissolution or leaching from concrete specimens during immersion. The requirement should be checked together with tank temperature control, monitoring and specimen identification.
If the curing tank did not meet the selected standard, record the deviation. Do not apply a generic percentage penalty unless a project-approved engineering assessment has a defensible experimental basis.
ASTM C31/C31M and BS EN 12390-2 should not be blended
| Route | What it covers | Important scope point |
|---|---|---|
| ASTM C31/C31M | Making, field curing, transport and laboratory curing of project test specimens | Its scope is field-made cylinder and beam specimens, not cube specimens. |
| BS EN 12390-2 | Making and curing specimens for strength tests, including mould preparation, filling, compaction, marking, curing and transport | Use this route with the EN/BS hardened-concrete test system and the specimen shape specified by the project. |
The word cube is commonly used on many international projects, but that does not make ASTM C31 a cube-curing standard. First identify the project test system, then follow that procedure consistently.
Standard-cured vs field-cured specimens
Under ASTM C31/C31M, test specimens are deliberately distinguished by purpose. Standard-cured specimens are used for purposes including specified-strength acceptance, checking mixture proportions and quality control. Field-cured specimens are used for different questions, such as estimating in-place strength, comparing the effect of field curing, determining form/shoring removal timing or supporting other construction decisions.
Those two specimen histories should not be mixed in the record. A field-cured result is not simply a badly cured standard specimen, and a standard-cured specimen is not intended to reproduce every environmental condition experienced by the structure.
Curing history and test-day moisture condition are separate issues
The curing history discussed in this article concerns how the specimen was protected and stored before the strength test. The specimen's moisture and surface condition immediately before crushing is a separate test-procedure issue. Do not use a curing-impact estimate to compensate for poor end preparation, abnormal bearing conditions or another problem that occurred at the compression machine.
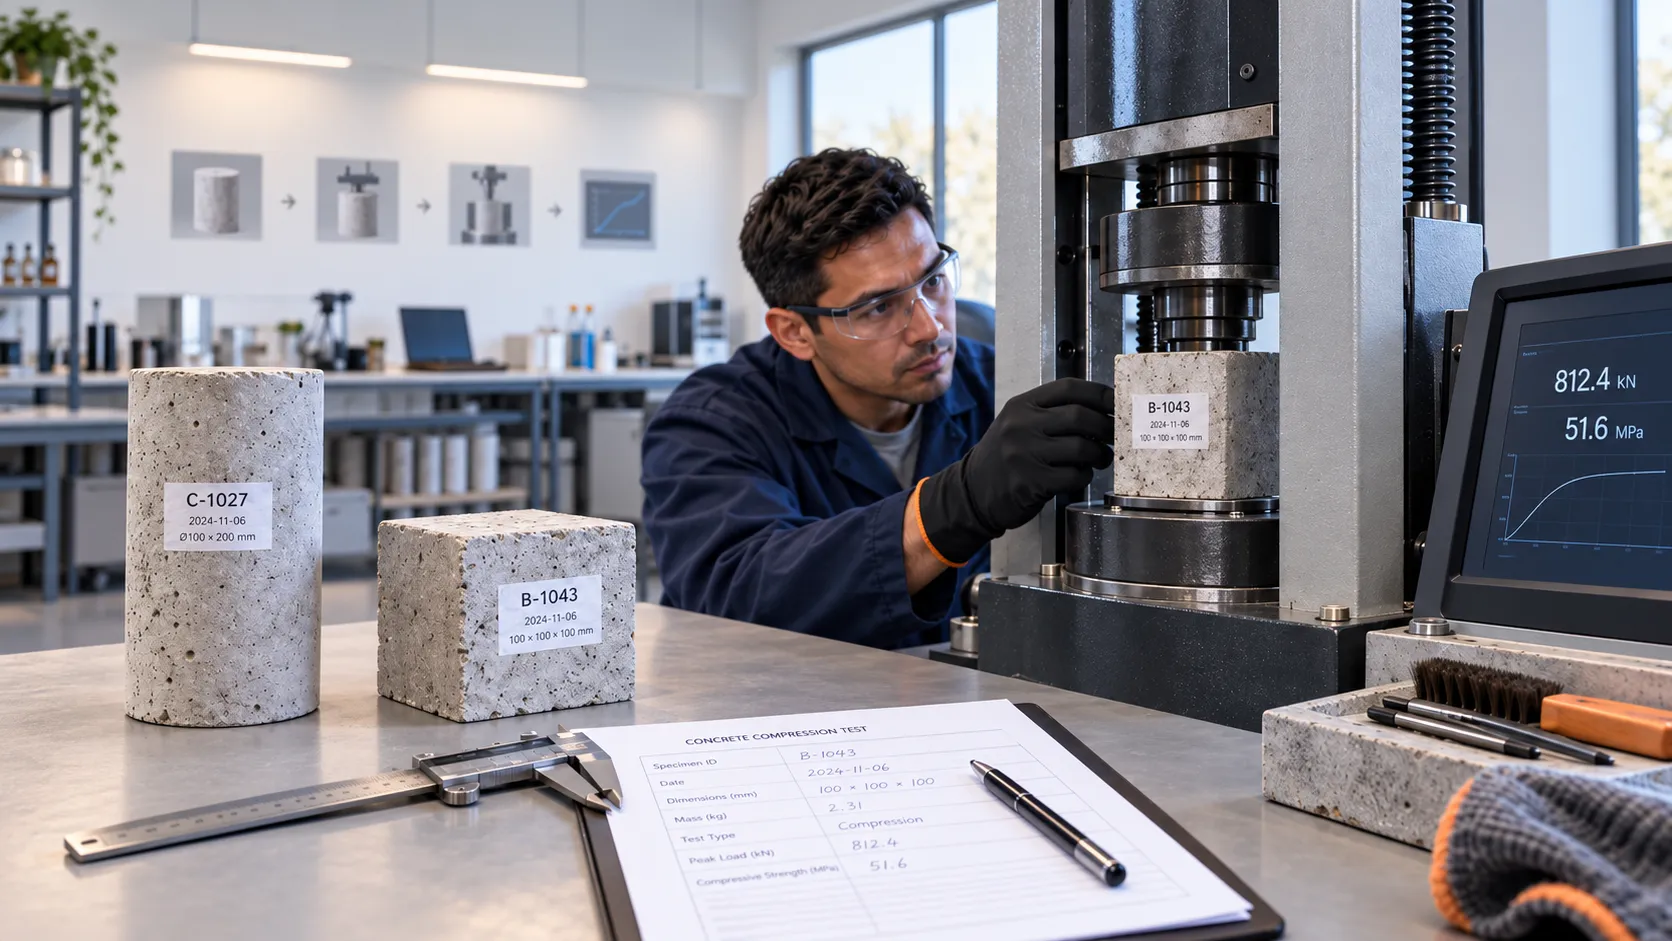
For specimen checks, loaded-area calculation, cylinder end preparation, machine centering and failure observations, see How to Perform a Concrete Compressive Strength Test: Cubes & Cylinders.
What if a cube dries out, overheats, is chilled or misses the curing tank?
The correct response is documentation and technical review, not concealment. Record:
- which specimens were affected;
- the actual condition observed;
- when the deviation started and ended, if known;
- measured temperature or other available evidence;
- where the specimens were stored;
- what corrective action was taken; and
- who was notified.
The specimen may still be tested if the responsible procedure calls for it, because the result and the curing deviation together may provide useful evidence. But the result should not be presented as though the prescribed curing history was achieved when it was not.
Common concrete cube curing mistakes
- Leaving moulds exposed to direct sun or wind after casting.
- Storing specimens beside active plant, generators or traffic where vibration and heat are uncontrolled.
- Allowing labels to detach or specimen IDs to become ambiguous.
- Demoulding roughly and damaging cube corners or faces.
- Delaying transfer to the required curing environment without recording the delay.
- Transporting specimens loosely in a vehicle.
- Letting specimens dry during transport.
- Placing unidentified cubes into a common curing tank.
- Failing to maintain laboratory curing records.
- Using an ASTM cylinder-curing rule as though it were automatically the requirement for EN cube specimens.
- Recording the 28-day strength but retaining no evidence of how the specimen was cured for the previous four weeks.
Concrete Cube Casting & Curing Record
A simple curing record can close the gap between the fresh-concrete sample and the later compression report. The most useful version is a single set-level form rather than another project strength register.
Concrete Cube Casting & Curing Record – Excel
Concrete Cube Casting & Curing Record – PDF
Download the Concrete Cube Casting & Curing Record in Excel
Download the printable Concrete Cube Casting & Curing Record PDF
The form should capture sample and truck traceability, cube IDs, casting time, initial storage location, demoulding, dispatch, laboratory receipt, curing tank/reference, planned test ages and any curing deviations. The existing cube register remains the higher-level project log; this form documents the specimen journey for one set.
Concrete Specimen Curing Deviation / NCR Record
When curing conditions depart from the approved procedure, the useful record is not just “cube not cured correctly.” The deviation should be documented with enough evidence for later engineering review, laboratory audit and any project dispute.
Concrete Specimen Curing Deviation / Non-Conformance Record – Excel
Concrete Specimen Curing Deviation / Non-Conformance Record – PDF
Download the Concrete Specimen Curing Deviation Record in Excel
Download the printable Concrete Specimen Curing Deviation Record PDF
The record should capture the affected specimen IDs, standard/reference procedure, start and end of the excursion, actual temperature data where available, moisture protection, storage location, laboratory tank/room reference, corrective action, photographs, notified parties and final engineering disposition. This creates an auditable record for ISO/IEC 17025 laboratory review or project QA/QC without altering the original test result.
From curing tank to compression machine
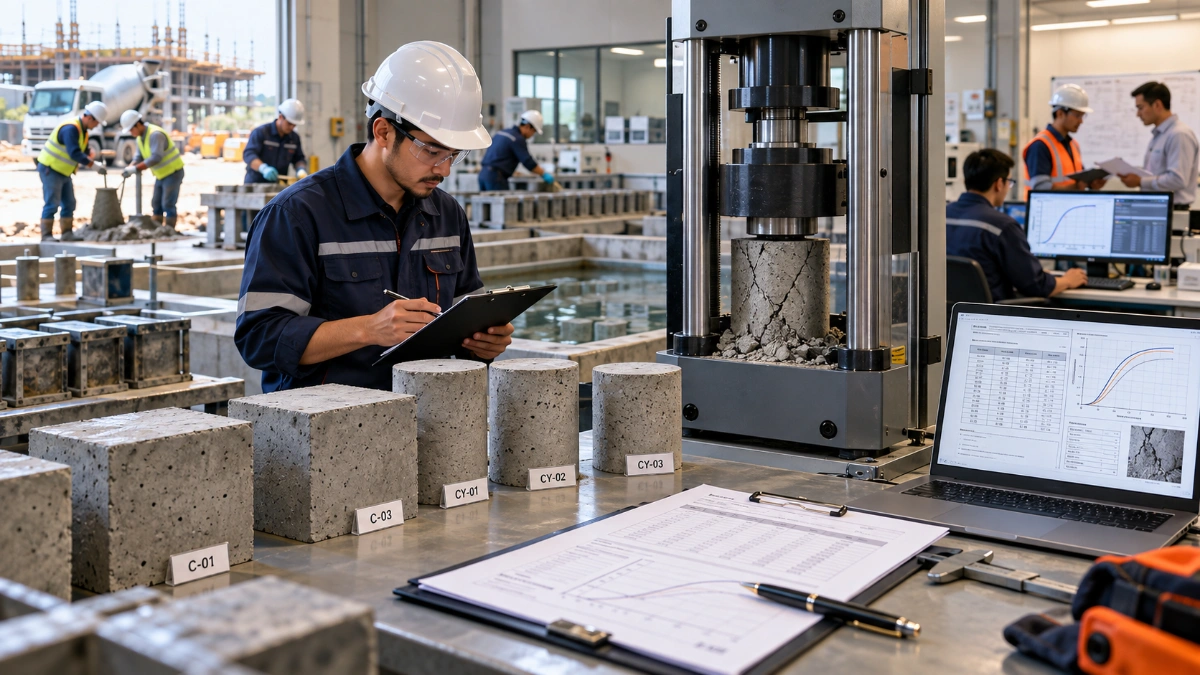
When the specimen reaches its required test age, curing history should travel with it into the test record. Before testing, the technician should be able to confirm which specimen is being tested, its age, its curing basis and whether any deviation occurred.
Continue with How to Perform a Concrete Compressive Strength Test: Cubes & Cylinders for specimen checks, machine setup, maximum-load recording, strength calculation and failure observations.
References
ASTM C31/C31M-26b – Standard Practice for Making and Curing Concrete Test Specimens in the Field
BS EN 12390-2:2019 – Testing hardened concrete: Making and curing specimens for strength tests