Concrete Slump Test Procedure: ASTM C143 / BS EN 12350-2 Checklist
Definition: How to perform concrete slump test for site engineers and technicians, detailing ASTM C143 and BS EN 12350-2 procedures, tools, timings, measurement, shape classification, and field-ready evidence capture.
- Step-by-step field method from apparatus setup to final recording
- Clear separation of ASTM C143 and BS EN 12350-2 sequences
- Avoids common errors: unstable cone, uneven rodding, delayed reading
- Interactive, commentable checklist with export and QR code verification
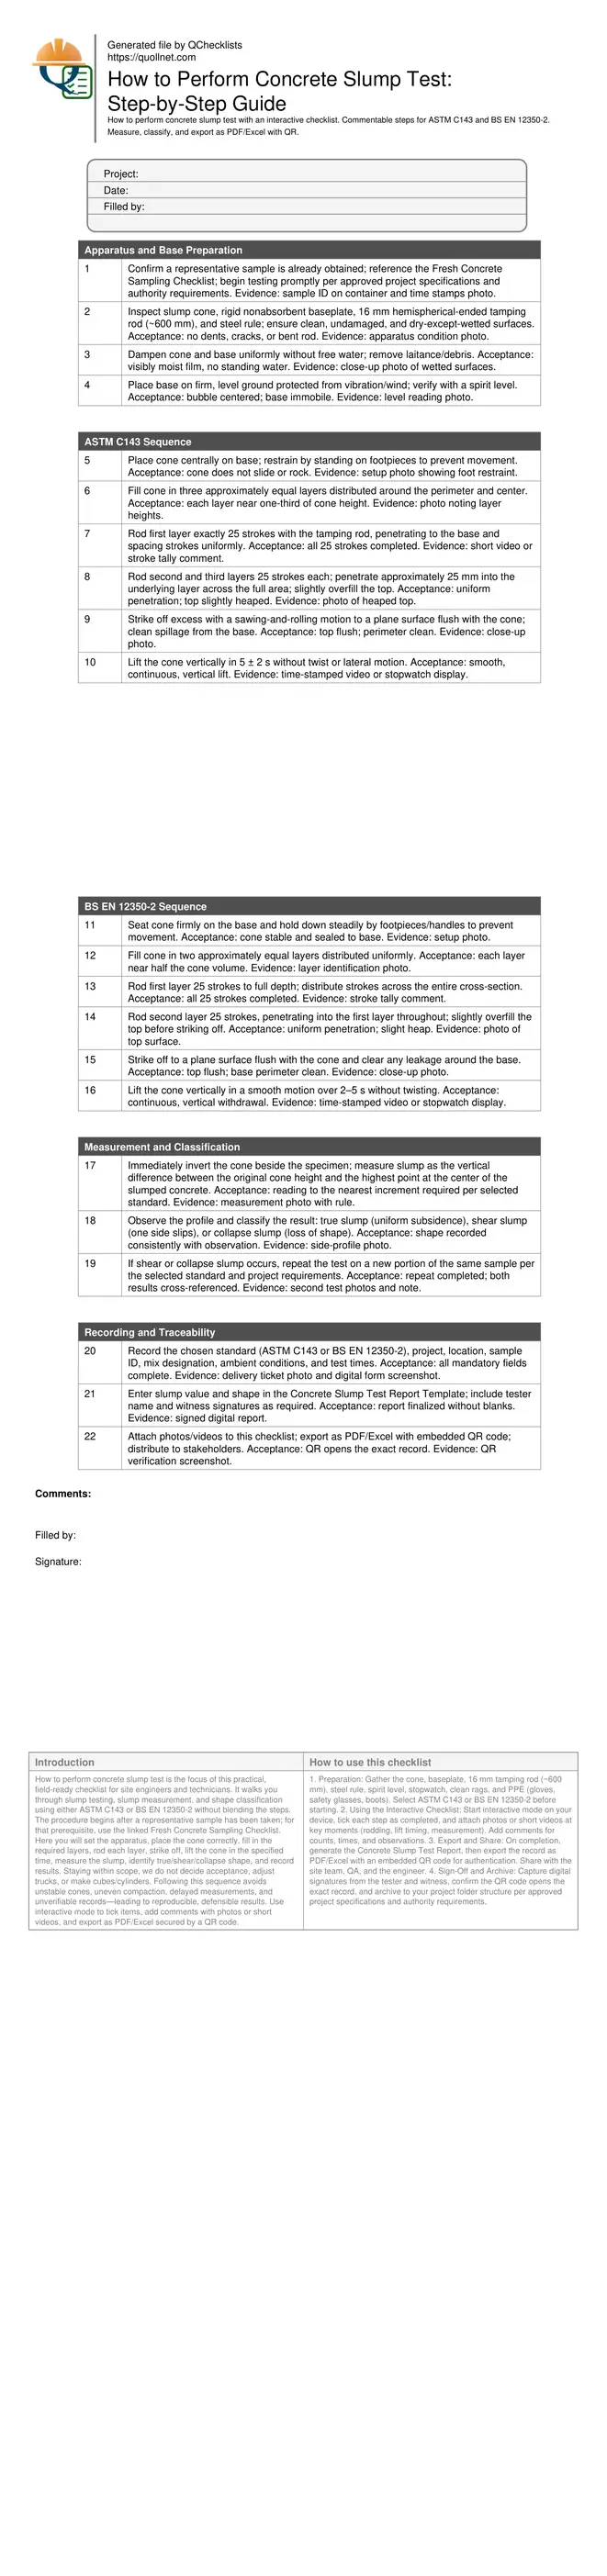
How to perform concrete slump test is the focus of this practical, field-ready checklist for site engineers and technicians. It walks you through slump testing, slump measurement, and shape classification using the test standard required by the project specification, ITP or approved procedure, while keeping ASTM C143/C143M and BS EN 12350-2 requirements clearly identified. The procedure begins after a representative sample has been taken; for that prerequisite, use the linked Fresh Concrete Sampling Checklist. Here you will set the apparatus, place the cone correctly, fill in the required layers, rod each layer, strike off, lift the cone in the specified time, measure the slump, identify true/shear/collapse shape, and record results. Staying within scope, we do not decide acceptance, adjust trucks, or make cubes/cylinders. Following this sequence avoids unstable cones, uneven compaction, delayed measurements, and unverifiable records—leading to reproducible, defensible results. Use interactive mode to tick items, add comments with photos or short videos, and export as PDF/Excel secured by a QR code.
- Field-proven sequence from apparatus setup to result recording, constrained to post-sampling actions only. You’ll avoid unstable cones, uneven rodding, and late readings by following a consistent order with built-in evidence prompts at each step.
- Clear separation of ASTM C143 (three layers, defined lift time) and BS EN 12350-2 (two layers, defined lift time) so crews don’t mix methods. Select once, follow through, and document the chosen standard on the report.
- Interactive online checklist with tick, comment, and export features secured by QR code. Attach photos or brief videos of rodding, lift timing, and the measurement to create auditable, shareable records across site and office teams.
- Linked resources keep the workflow tight: use the Fresh Concrete Sampling Checklist before starting, record values in the Concrete Slump Test Report Template after measuring, and consult the out-of-range guidance when results fall outside project requirements.
Apparatus and Base Preparation
ASTM C143/C143M Procedure
BS EN 12350-2 Sequence
Measurement and Classification
Recording and Traceability
Set up the apparatus to eliminate avoidable test error
Most slump-test errors start with poor setup. Use a rigid, nonabsorbent base on stable, level ground protected from traffic, vibration, and wind. Dampen both cone and base to a uniform film without leaving free water that can lubricate the interface. Inspect the cone for dents and the rod for straightness and a true hemispherical tip—small defects can bias rodding and measurement. Keep the tamping pattern even: distribute strokes across the full cross-section to avoid preferential compaction. Start testing promptly after sampling to minimize time-dependent workability changes, and always restrain the cone during filling to prevent leakage at the base. Prepare a steel rule and a clean rag in advance so you can measure immediately after lifting without hunting for tools. Photograph key stages—layering, rodding, strike-off, lift timing, and the measurement—with scale references. These simple controls yield repeatable results and defensible records under audit.
- Use a rigid, level, nonabsorbent baseplate.
- Moisten cone and base; avoid standing water.
- Restrain the cone during filling and striking off.
- Distribute rodding strokes evenly across the section.
- Measure immediately after lifting; have tools ready.
Keep ASTM C143 and BS EN 12350-2 methods clearly separate
Avoid mixing steps from different standards. Under ASTM C143, fill the cone in three approximately equal layers and rod each layer 25 times; lift the cone vertically in a defined, short time window without twisting. Under BS EN 12350-2, fill in two approximately equal layers and rod each 25 times; lift smoothly within its specified time range. Both require a stable base, uniform rodding, a flush strike-off, and immediate measurement. Always document which standard you followed on the report and keep your photos consistent with that choice. If your site alternates between standards, label the cone and checklist at the outset to lock the pathway. Use a tally method for rodding strokes, and place a stopwatch where it’s visible in the video when lifting the cone. These habits prevent hybrid procedures that undermine result validity.
- ASTM: three layers; 25 strokes per layer; defined lift time.
- EN: two layers; 25 strokes per layer; smooth timed lift.
- Declare the selected standard on the report.
- Tally rodding strokes; avoid mixing sequences.
- Lift vertically without twist or lateral motion.
Measure, classify the slump shape, and decide on repeats
Immediately place the steel rule beside the specimen and read the vertical difference between the original cone height and the highest point at the center of the slumped concrete. Photograph the side profile and the rule for traceability. Classify the shape: true slump (uniform subsidence), shear slump (one side shears and slumps), or collapse slump (loss of shape). Shear or collapse typically indicates the need to repeat the test on a fresh portion of the same sample as directed by the selected standard and project requirements. Record test times to demonstrate compliance with timing limits, and enter results in the Slump Test Report Template. If the value falls outside the project requirement, stop here and consult the dedicated high/low-result guidance rather than adjusting the truck within this checklist’s scope.
- Measure immediately using a steel rule with photos.
- Classify shape: true, shear, or collapse.
- Repeat after shear or collapse per standard.
- Record times to demonstrate compliance.
- Log results in the report template.
How to use this interactive slump-test checklist
- Preparation: Gather the cone, baseplate, 16 mm tamping rod (~600 mm), steel rule, spirit level, stopwatch, clean rags, and PPE (gloves, safety glasses, boots). Select ASTM C143 or BS EN 12350-2 before starting.
- Using the Interactive Checklist: Start interactive mode on your device, tick each step as completed, and attach photos or short videos at key moments (rodding, lift timing, measurement). Add comments for counts, times, and observations.
- Export and Share: On completion, generate the Concrete Slump Test Report, then export the record as PDF/Excel with an embedded QR code for authentication. Share with the site team, QA, and the engineer.
- Sign-Off and Archive: Capture digital signatures from the tester and witness, confirm the QR code opens the exact record, and archive to your project folder structure per approved project specifications and authority requirements.
Call to Action
- Start Checklist Tick off tasks, leave comments on items or the whole form, and export your completed report to PDF or Excel—with a built-in QR code for authenticity.
- Download Excel - Concrete Slump Test Procedure
- Download PDF - Concrete Slump Test Procedure
- View Image - Concrete Slump Test Procedure
Cite & Embed
“Concrete Slump Test Procedure by Quollnet”
with a link to
this source page.
FAQ
Question: How many layers are used in the concrete slump test?
Question: How many rodding strokes are required per layer?
Question: How quickly should the cone be lifted?
Question: Where is slump measured from and to what precision?
Question: What is true, shear, and collapse slump, and when should I repeat?
Related Articles
Broader reading and guidance connected to this checklist topic.

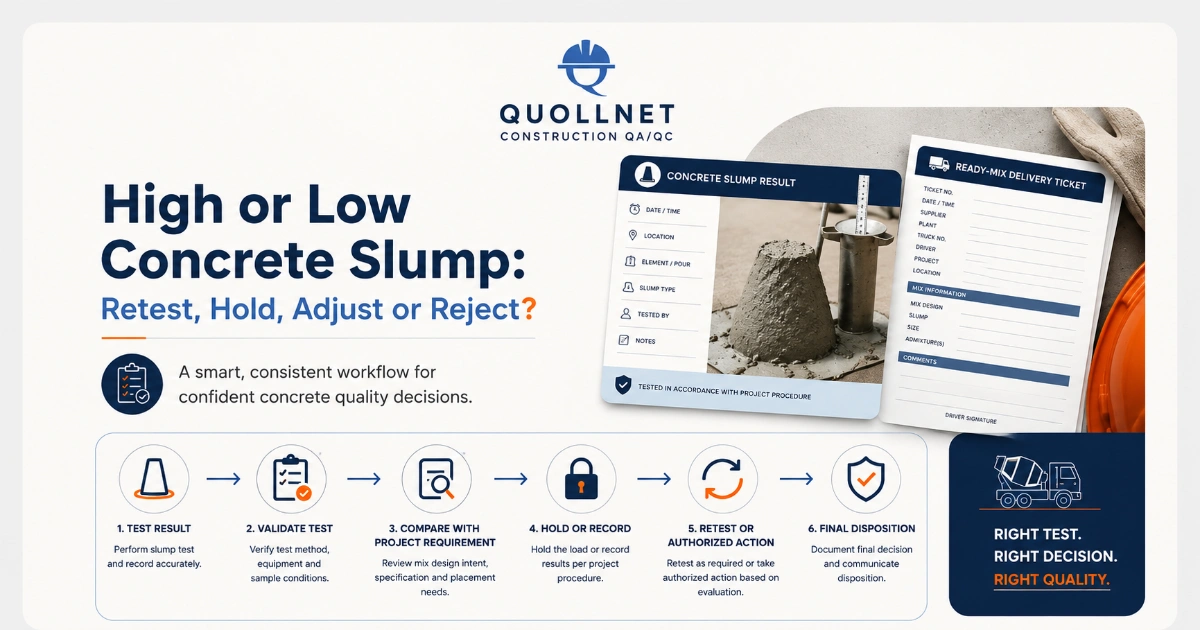
High Or Low Concrete Slump: Retest, Hold, Adjust Or Reject?
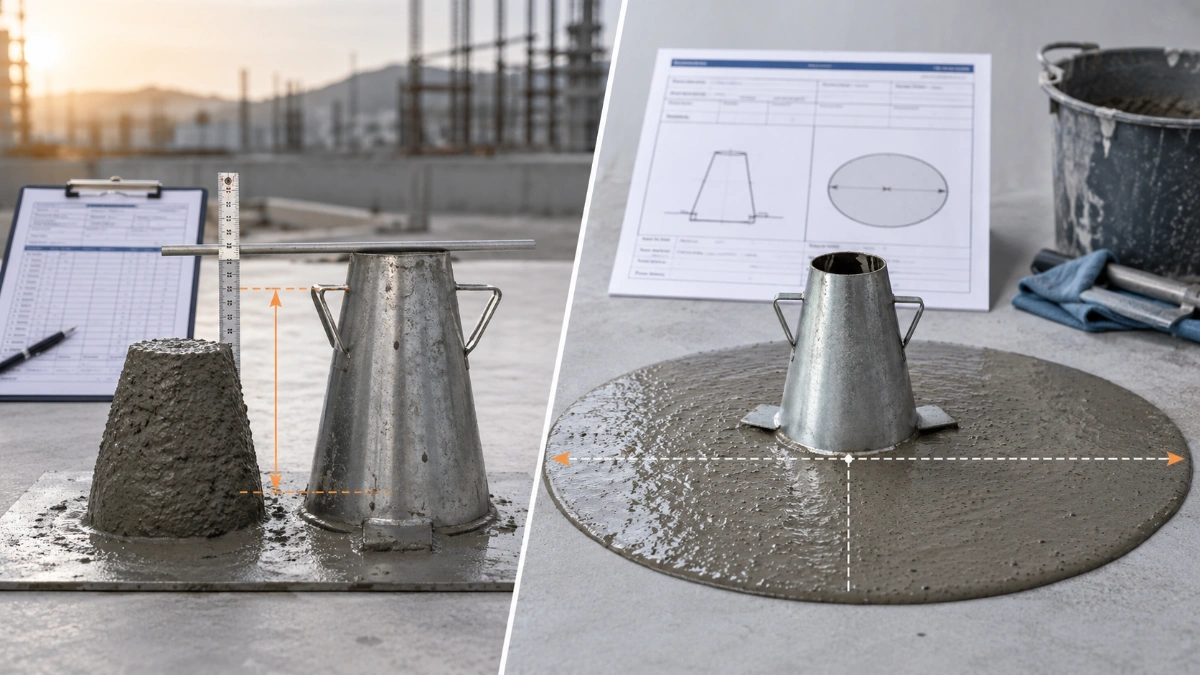
Slump Test Vs Slump Flow Test: When To Use Each
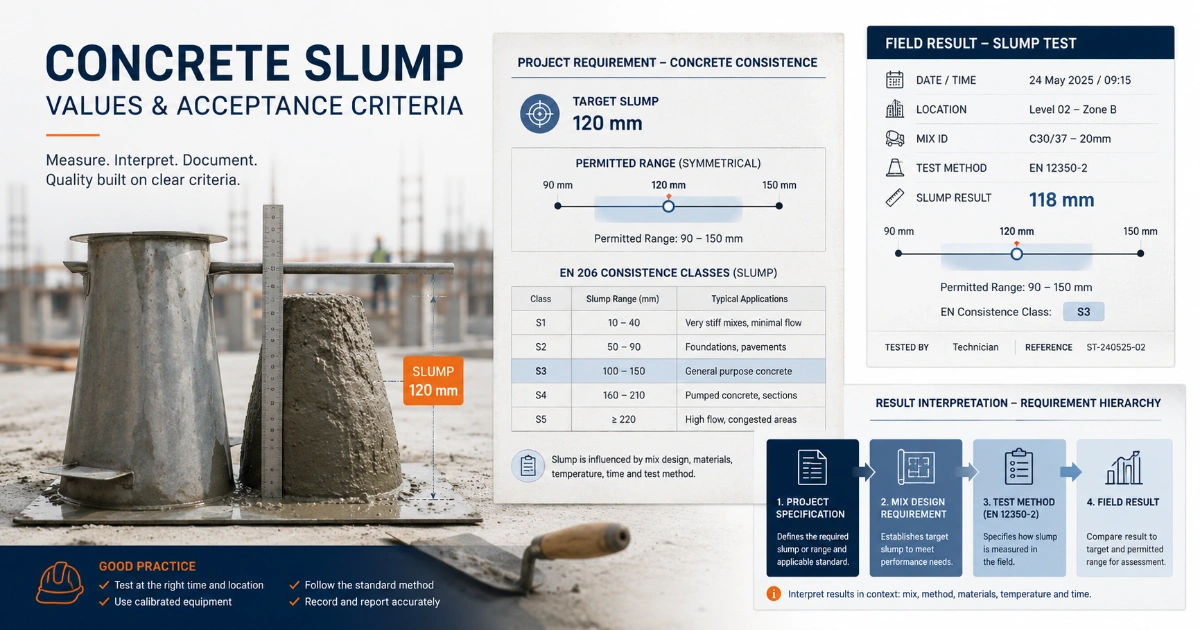

How To Specify Concrete Slump For Slabs, Beams, Columns And Walls
Related Checklists
Keep the workflow moving with nearby templates chosen from similar checklist content.