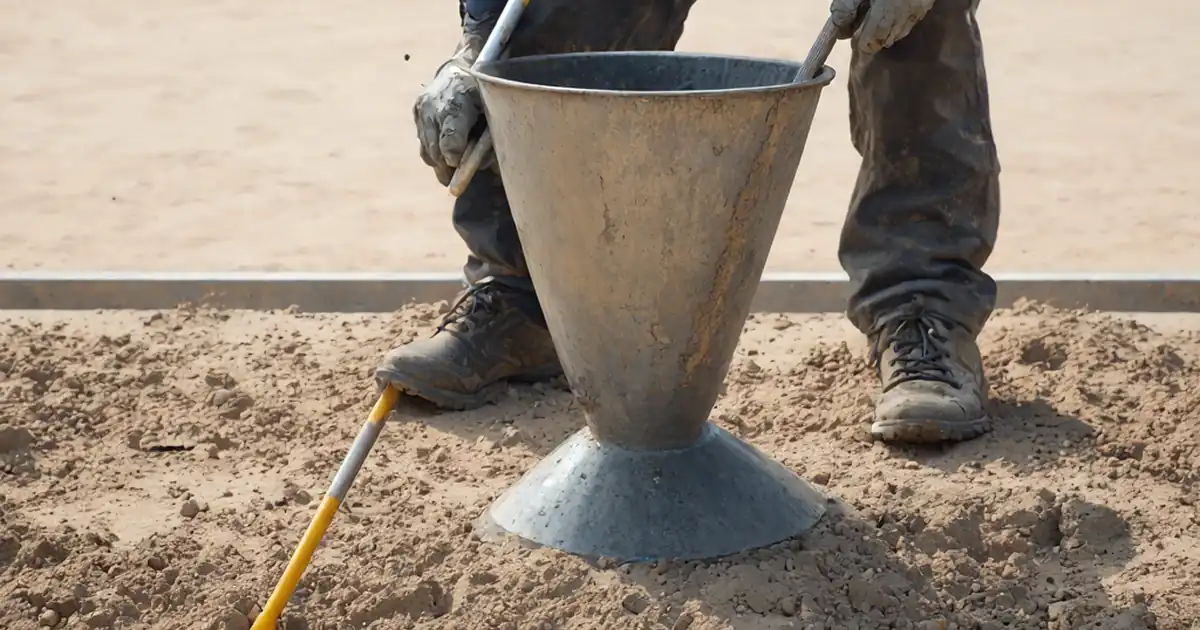
Fresh Concrete Sampling Checklist
Definition: Fresh Concrete Sampling Checklist guides site engineers, QA/QC inspectors, and technicians to obtain, handle, and identify representative fresh-concrete samples before testing, per approved project specifications and authority requirements.
- Clarifies where and when to take a representative sample.
- Prevents contamination, segregation, and environmental effects on samples.
- Ensures traceability to load, delivery ticket, and later test records.
- Interactive, commentable checklist; export records with secure QR code.
Fresh Concrete Sampling Checklist ensures field teams obtain, handle, and identify a representative fresh-concrete sample before testing. This practical guide focuses on concrete sampling operations only—choosing a suitable sampling point, collecting a spot or composite fresh concrete sample, and safeguarding it for immediate testing. It emphasises clean equipment, prevention of contamination or segregation, correct timing during discharge, and clear identification so the representative sample links back to the truck/load and forward to slump, temperature, and cube/cylinder records. It does not cover performing the slump test, temperature measurement, casting/curing specimens, acceptance decisions, or placement/finishing. By following project specifications and the applicable sampling standard, site engineers, QA/QC inspectors, and technicians avoid biased results, rework, and disputes, delivering traceable, defensible outcomes on site. Use this interactive checklist to tick items, add comments, attach photos, and export PDF/Excel reports secured by QR for quick verification.
- Focuses strictly on obtaining, handling, and identifying fresh-concrete samples before testing. It helps teams choose suitable locations and timing, use clean equipment, prevent contamination and segregation, and document everything with photos, timestamps, and signatures, aligning with approved project specifications and authority requirements.
- Interactive online checklist with tick, comment, and export features secured by QR code. Field teams capture photos, link records to truck tickets and test forms, and share compliant reports instantly, reducing errors and speeding sign-off without adding unnecessary administrative workload.
- Promotes representative sampling by directing users to discard initial discharge, take increments during steady flow, and combine/remix when composite sampling is specified. It records rationale and approvals for spot sampling where permitted, ensuring transparent, auditable decisions that stand up to quality reviews and client scrutiny.
- Strengthens traceability by assigning a unique sample ID tied to mix reference, load/truck number, element, and location, then linking forward to slump, temperature, and cube/cylinder entries. The data chain clarifies responsibility, enables rapid retrieval, and supports investigations if nonconformances arise.
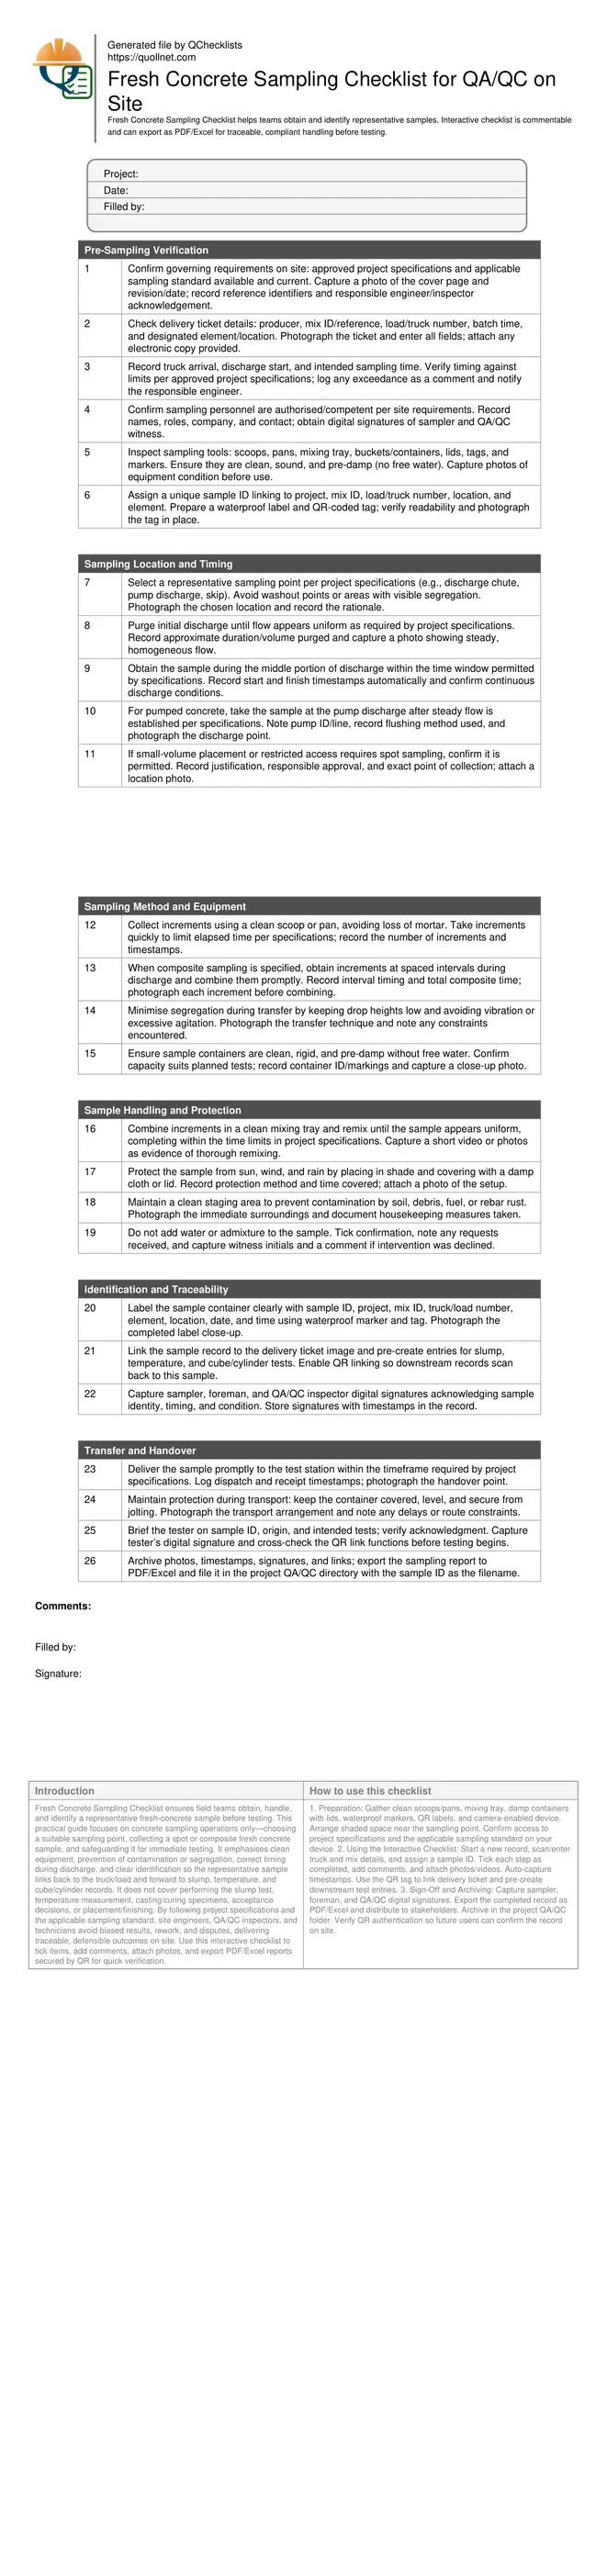
Pre-Sampling Verification
Sampling Location and Timing
Sampling Method and Equipment
Sample Handling and Protection
Identification and Traceability
Transfer and Handover
Representative Sampling: Location, Timing, and Method
Representativeness starts with where and when you collect the fresh concrete. Choose a point that reflects the concrete going into the element, typically from the middle of discharge at the chute or the pump outlet after steady flow is established. Discard the initial discharge to avoid carryover water or segregated material. For composite sampling, obtain multiple increments spaced during discharge and combine them promptly to reflect variability over time. Spot sampling can be acceptable for small pours or constrained access, but only when the project specifications allow it and with clear justification recorded. Keep the elapsed time from collection to remixing within the specified window, noting arrival and sampling timestamps. Photograph the location and sampling sequence so reviewers can see that the sample truly represents the placed concrete. These practices anchor test credibility and prevent disputes over whether measured properties reflect the delivered mix.
- Sample during the middle of discharge, not the initial stream.
- Take composite increments when specifications require variability capture.
- Use the pump discharge point once flow is steady.
- Record timestamps for arrival, discharge, and sampling.
- Attach photos proving location and sequence.
Handling to Avoid Segregation, Contamination, and Environmental Effects
Proper handling preserves the sample’s integrity between collection and testing. Use clean, damp (no free water) tools and containers so paste is not absorbed or diluted. Transfer gently, keeping drop heights low and avoiding vibration to prevent segregation. Combine increments in a clean tray and remix until the sample appears uniform, finishing within the timeframe defined by project specifications and authority requirements. Shield the sample from direct sun, wind, or rain to minimize evaporation or accidental wetting; a damp cloth or fitted lid in shade is often sufficient. Maintain a tidy staging area away from soil, fuel, or debris. Never add water or admixture at the sampling stage. If conditions challenge these controls, document mitigations and obtain approvals where necessary. Photos of equipment condition, protection measures, and the remixing sequence strengthen evidence that the sample remained representative.
- Use clean, pre-damp equipment—no free water.
- Minimise drop heights; avoid vibration during transfer.
- Remix promptly until the sample appears uniform.
- Cover and shade the sample against sun, wind, and rain.
- Document mitigations for adverse conditions.
Identification, Handover, and Traceability to Subsequent Tests
Clear identification and seamless handover close the loop between the delivery ticket and downstream test records. Assign a unique sample ID that encodes project, mix, truck/load, element, and sampling time. Mark it with waterproof pen on the container and a durable tag; add a QR code that links to the digital record. Log sampler and witness details with signatures and timestamps. Link the sample to the delivery ticket image and create placeholders for slump, temperature, and cube/cylinder records so technicians can scan and continue the chain. Deliver the sample promptly to the test station under protection, then capture receipt confirmation. Finally, export the complete sampling report to PDF/Excel and archive it in the project QA/QC folder for audits and quick retrieval. This disciplined data chain enables fast investigations and prevents mix-ups between loads or test results.
- Unique ID ties project, mix, load, and element.
- Durable label and QR link the physical and digital record.
- Signatures confirm identity, timing, and condition.
- Forward links to test forms prevent data breaks.
- Export and archive for audit readiness.
How to Use the Interactive Fresh Concrete Sampling Checklist
- Preparation: Gather clean scoops/pans, mixing tray, damp containers with lids, waterproof markers, QR labels, and camera-enabled device. Arrange shaded space near the sampling point. Confirm access to project specifications and the applicable sampling standard on your device.
- Using the Interactive Checklist: Start a new record, scan/enter truck and mix details, and assign a sample ID. Tick each step as completed, add comments, and attach photos/videos. Auto-capture timestamps. Use the QR tag to link delivery ticket and pre-create downstream test entries.
- Sign-Off and Archiving: Capture sampler, foreman, and QA/QC digital signatures. Export the completed record as PDF/Excel and distribute to stakeholders. Archive in the project QA/QC folder. Verify QR authentication so future users can confirm the record on site.
Call to Action
- Start Checklist Tick off tasks, leave comments on items or the whole form, and export your completed report to PDF or Excel—with a built-in QR code for authenticity.
- Download Excel - Fresh Concrete Sampling Checklist
- Download PDF - Fresh Concrete Sampling Checklist
- View Image - Fresh Concrete Sampling Checklist
Cite & Embed
“Fresh Concrete Sampling Checklist by Quollnet”
with a link to
this source page.
FAQ
Question: Where should I collect a representative fresh-concrete sample on site?
Question: When is composite sampling preferred over a single spot sample?
Question: How do I protect the sample from environmental effects before testing?
Question: What identification and records ensure traceability to later tests?
Question: What if sampling timing falls outside specification limits?
Related Articles
Broader reading and guidance connected to this checklist topic.

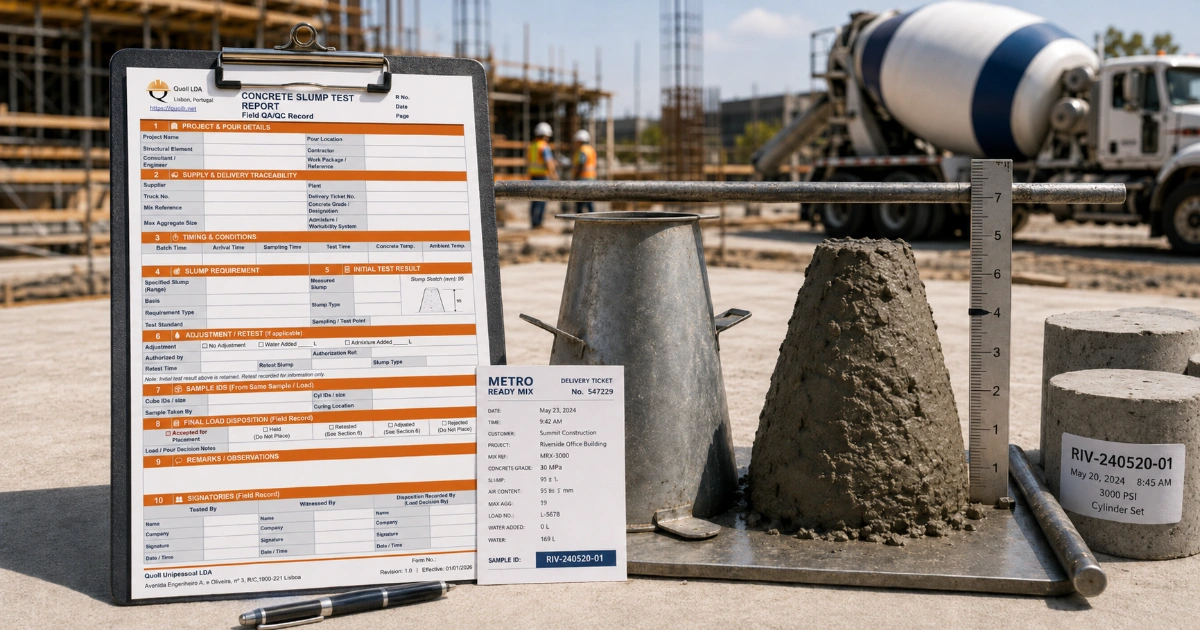
Concrete Slump Test Report Template

Plasticizers And Superplasticizers: How They Affect Concrete Slump

How To Specify Concrete Slump For Slabs, Beams, Columns And Walls

Related Checklists
Keep the workflow moving with nearby templates chosen from similar checklist content.