Façade Coating Adhesion and Continuity Testing Checklist
Definition: Test façade protective coatings or finishes for adhesion and continuity on exterior building surfaces by site engineers and QA inspectors to confirm bond strength, coverage, and long-term weathering performance before handover.
- Verify bond strength using cross-cut and pull-off methods with evidence.
- Confirm film continuity via thickness readings, raking light, and water spray.
- Document results with photos, readings, batch numbers, and digital signatures.
- Interactive, commentable checklist with export and QR code verification.
Test façade protective coatings or finishes for adhesion and continuity to ensure durable, weather-resistant building envelopes. This checklist supports façade coating adhesion testing and finish continuity verification across typical substrates, guiding inspectors through cross-cut and pull-off adhesion methods, dry film thickness measurement, and visual continuity checks under raking light. It defines the sampling frequency, environmental controls, acceptable outcomes, and documentary evidence needed for a defensible quality record. By following these steps, teams reduce risks such as premature peeling, water ingress, uneven coverage, and warranty disputes, while validating application workmanship per approved project specifications and authority requirements. The scope covers finished, accessible exterior areas only; it excludes laboratory testing and in-process application controls except where noted for correlation. Use this interactive tool to capture readings in MPa and µm, attach calibration certificates, and geo-tag photos. Start interactive mode to tick items, add comments for nonconformities, and export the record as PDF/Excel secured by a QR code.
- This checklist aligns site teams on when and how to sample, measure, and classify façade coating adhesion and continuity. It details representative location selection, instrument calibration, and acceptance cues, reducing rework and ensuring traceable evidence for approvals and warranties.
- Adhesion is verified using both cross-cut (classification and detachment percentage) and pull-off (peak stress in MPa and failure mode). Continuity is confirmed through dry film thickness readings, raking-light inspections for pinholes or sags, and a controlled water spray observation on representative façade zones.
- Records include mapped test locations, calibrated instrument logs, photos before/after, batch and lot numbers for coatings and adhesives, and signatures. These artifacts substantiate compliance with approved project specifications and authority requirements, supporting clear handover and maintenance planning.
- Interactive online checklist with tick, comment, and export features secured by QR code.
Pre-Test Planning and Documentation
Environmental and Substrate Conditions
Adhesion Testing – Cross-Cut
Adhesion Testing – Pull-Off
Continuity and Thickness Verification
Defects, Remediation, and Records
Sampling Strategy and Environmental Controls
Representative sampling is essential for meaningful façade coating verification. Plan test locations across orientations, elevations, and feature transitions (edges, penetrations, repaired zones) to capture workmanship variability. Establish minimum frequencies, such as one cross-cut per 50 m² and three pull-off tests per 100 m² of uniform substrate, scaling up for complex geometries. Environmental conditions strongly influence adhesion outcomes, so record ambient temperature, relative humidity, dew point, and substrate temperature at each session. Ensure the substrate remains at least 3 °C above the dew point, and confirm moisture content on masonry/render is within the coating manufacturer’s limit. Verify that testing only proceeds after full cure, as early tests can underreport adhesion and damage finishes. Clear, time-stamped photographs, geotagged annotations, and calibration certificates create a defensible record and help isolate process variables if results fall below expectations.
- Distribute tests across orientations, heights, and risk-prone transitions.
- Document weather and substrate temperatures for each test window.
- Confirm cure status to avoid artificially low adhesion readings.
- Capture calibration certificates and instrument IDs in the report.
- Increase frequency where defects or repairs are observed.
Executing Cross-Cut and Pull-Off Adhesion Tests
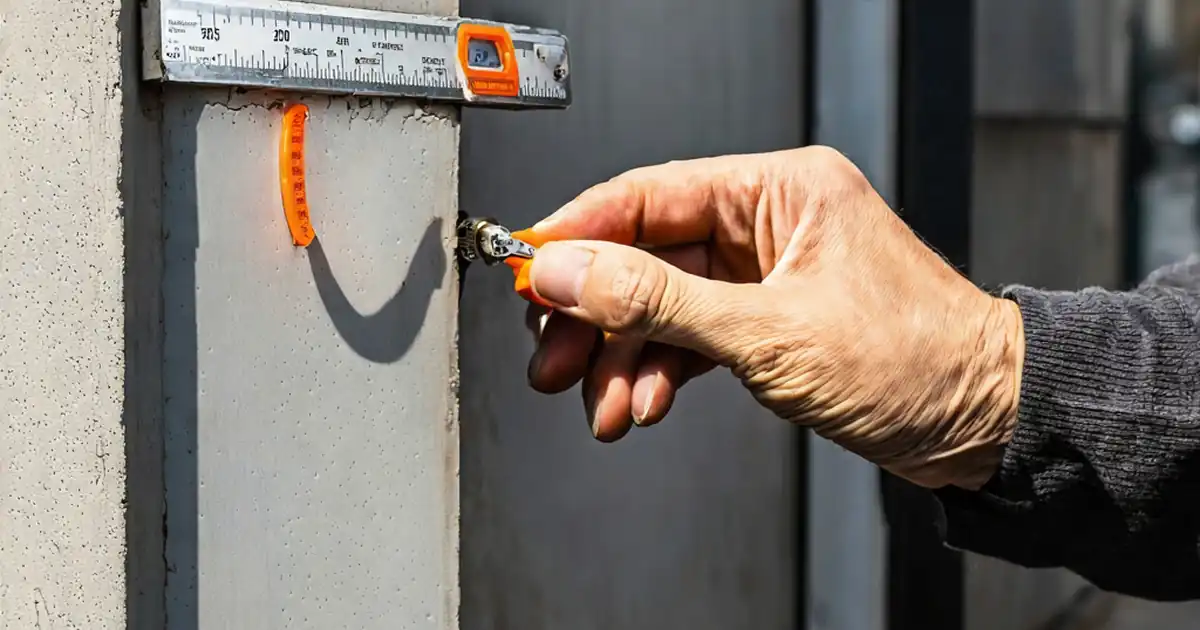
Cross-cut testing quickly classifies adhesion and identifies weak interfaces. Use a sharp, standardized cutter to create a clean 6×6 grid with 2 mm spacing, then apply and remove tape at 180°. Classifications of 0–1 or detachment ≤ 5% typically indicate acceptable performance; adhesive failures at the substrate interface require investigation. Pull-off testing provides quantitative bond strength: prepare dollies, use a two-component epoxy, allow full cure, isolate the test area with a core, and load at a controlled rate. Record peak stress in MPa and the failure mode. Cohesive failures in the substrate or coating at stresses above the specified minimum suggest the coating bond exceeds surrounding strength, which may be acceptable. Always repair scored areas after testing to restore protection and avoid unintended water ingress.
- Cut grids cleanly; avoid over-scoring into substrate.
- Control tape removal angle and dwell time consistently.
- Record peak MPa and precise failure modes.
- Isolate dollies to prevent load spreading.
- Patch test scars promptly with matching coating.
Confirming Continuity and Thickness on Façade Finishes
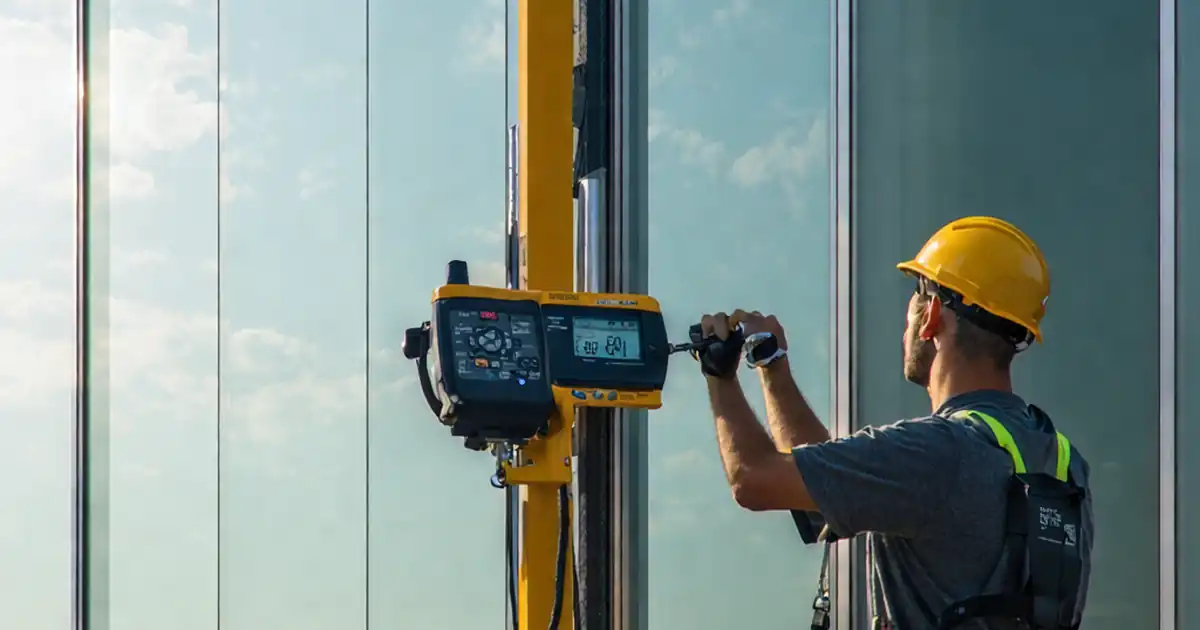
Continuity ensures coatings resist weathering and moisture. Verify dry film thickness using the correct gauge: magnetic for metal cladding or ultrasonic for nonmetal substrates. Take multiple readings per area and confirm the average meets the specified range, with no individual reading falling more than 20% below the minimum. Inspect under raking light (1,000–2,000 lm) to reveal pinholes, sags, roller marks, or misses that daylight can hide. For conductive metal substrates, a low-voltage wet-sponge holiday detector can supplement visual checks. A controlled water spray on a small façade area helps confirm resistance to wetting or early blistering. Document all observations with annotated photos, meter logs, and marked elevations to support clear acceptance decisions and targeted remedial work if needed.
- Use the correct DFT gauge for the substrate type.
- Inspect under raking light to reveal subtle defects.
- Apply holiday testing only on conductive substrates.
- Correlate DFT averages and minimums to specifications.
- Photograph and geo-tag all anomalies for follow-up.
How to Use This Interactive Façade Coating Test Checklist
- Preparation: Assemble cross-cut kit, pull-off tester with dollies and epoxy, DFT gauge, hygrometer, IR thermometer, moisture meter, raking light, access equipment, PPE, drawings, and manufacturer TDS.
- Open the checklist, assign roles, and load project data (areas, elevations, substrates). Upload calibration certificates and relevant product documentation for quick reference.
- Start interactive mode and tick preparation items as you validate cure status, safety access, and environmental conditions. Add comments with photos where clarifications are needed.
- During testing, record readings (MPa, µm) directly in the steps, attach instrument screen photos, and tag precise locations on elevation plans for traceability.
- Use comments to flag nonconformities, assign remedial actions, and set retest reminders. Link batch numbers, lot labels, and TDS excerpts to the affected entries.
- Export the completed checklist to PDF/Excel for stakeholder review. The export includes embedded photos, maps, and QR code authentication for document integrity.
- Sign-Off: Capture digital signatures from contractor, consultant, and client. Archive the signed record in the project QC system for future audits and warranty support.

Call to Action
- Start Checklist Tick off tasks, leave comments on items or the whole form, and export your completed report to PDF or Excel—with a built-in QR code for authenticity.
- Download Excel - Façade Coating Adhesion and Continuity Testing
- Download PDF - Façade Coating Adhesion and Continuity Testing
- View Image - Façade Coating Adhesion and Continuity Testing
Cite & Embed
“Façade Coating Adhesion and Continuity Testing by Quollnet”
with a link to
this source page.
FAQ
Question: Which adhesion test should I use on different façade substrates?
Question: What minimum adhesion strength is acceptable for façade coatings?
Question: How many tests are needed and how do I select locations?
Question: What should I do if results fail or are inconsistent?
Related Articles
Broader reading and guidance connected to this checklist topic.



How To Use Quollnet To Predict Construction Project Cashflow

Related Checklists
Keep the workflow moving with nearby templates chosen from similar checklist content.