
Method Statement: Construction and Treatment of Longitudinal and Transverse Joints in Hot Mix Asphalt (HMA) Paving – Method Statement
AI-assisted method statement with matching ITP, PDF download, and Excel export.
More than a static template
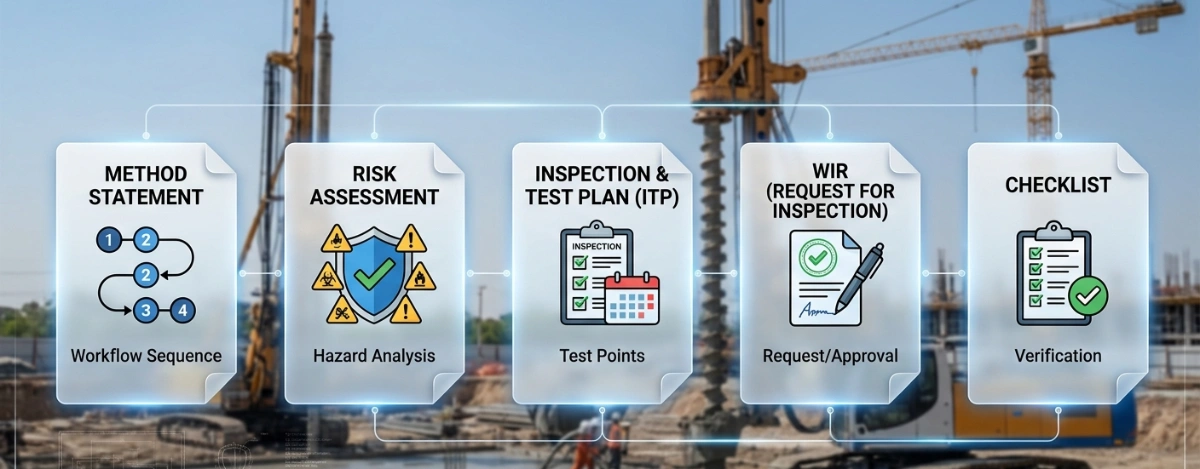
Unlike a downloadable Word or PDF template, this method statement is an AI-assisted editable starting point connected directly to a matching Inspection and Test Plan. Every section is structured, project-adaptable, and ready to export.
- AI-assisted drafting — Customize every section with AI for your specific project scope.
- Linked ITP — A matching inspection and test plan is generated alongside the method statement.
- Multiple export formats — Download as a formatted PDF or editable Excel spreadsheet.
- Editable starting point, not a final document — Review, verify, and adjust all content against your project requirements before use.
Static template vs. Quollnet workflow
| Feature | Static template | Quollnet |
|---|---|---|
| Project-specific content | Manual fill-in required | AI-assisted customization |
| Linked ITP | Separate document, no link | Matching ITP included |
| Export formats | Usually PDF only | PDF and Excel |
| Structured sections | Free-form layout | 13 standardized sections |
| Saved to your account | Local file only | Cloud-saved, reusable |
| Content accuracy | You verify everything | AI-assisted, you still verify |
| Cost | Often free but time-intensive | Free to customize and download |
What you can customize
When you save this method statement to your account, every section becomes editable. The following 13 sections are included:
- Scope — Defines the activity and its boundaries.
- References — Standards, specifications, and drawings.
- Responsibilities — Roles and accountabilities.
- Resources — Labour, plant, and equipment summary.
- Materials — Materials and compliance requirements.
- Equipment — Tools and equipment details.
- Prerequisites — Hold points and pre-conditions.
- Method sequence — Step-by-step construction sequence.
- Safety controls — HSE risk controls and PPE.
- Environmental controls — Environmental mitigation measures.
- QA/QC — Quality inspection and test requirements.
- ITP — Inspection and Test Plan table (has its own page).
- Attachments — Referenced drawings and documentation.
Why this method statement is used
This method statement is used to define and communicate the approved procedure for carrying out method statement: construction and treatment of longitudinal and transverse joints in hot mix asphalt (hma) paving on site. It ensures the work is planned in advance, the correct resources and controls are in place, and all personnel understand responsibilities, sequence, quality requirements, and safety controls before work begins. It aligns site execution with the documented scope and acceptance expectations.
Who uses this method statement
This method statement is used by contractors, site supervisors, project engineers, QA/QC engineers, HSE officers, consultants, and client representatives. It serves as a shared reference for planning, execution, supervision, inspection, and approval of the activity on site.
When it is prepared and submitted
The method statement is prepared before the work activity starts and submitted as part of the pre-construction documentation package for review and approval.
Who reviews or approves it
The method statement is usually submitted to the client representative, consultant, resident engineer, or project management consultant for review and approval before the work commences.
Important approval note
This method statement is an AI-assisted editable starting point, not a pre-approved document. Before use on any project, all content must be reviewed and approved by the relevant parties (superintendent, principal contractor, or client representative) in accordance with your contract and project quality plan.
For example: if your specification requires a departure from a referenced standard, that departure must be documented and approved separately — this method statement will not capture that automatically. Always verify against your applicable drawings, specifications, and regulatory requirements.
Method statement content
Scope
Purpose
This method statement defines the procedures, resources, HSE controls, quality requirements, and inspection/testing for forming, preparing, heating, painting, overlapping, compacting, and sealing longitudinal and transverse construction joints in Hot Mix Asphalt (HMA) paving works. It covers joints in binder and surface courses and applies to both hot (echelon or near-hot) and cold joints where adjacent lanes/lifts are placed at different times.
Work Included
- Identification and setting out of joint lines and tie-ins.
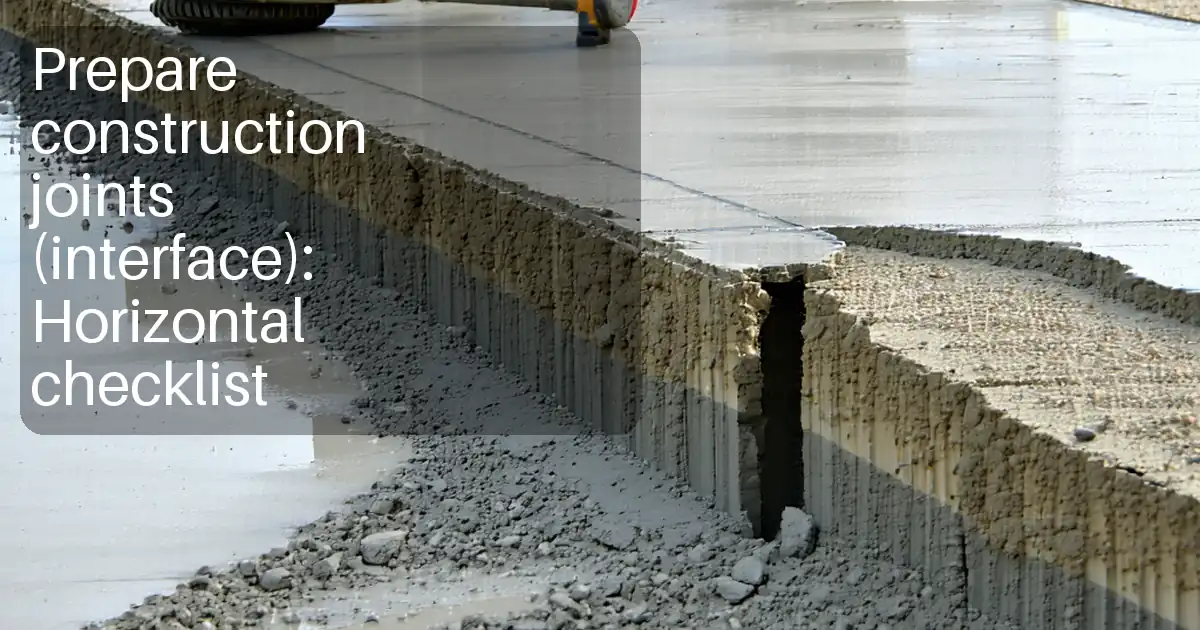
- Cutting back/wheel-cut/saw-cut to sound vertical faces for cold longitudinal and transverse joints.
- Cleaning and drying of joint faces and adjacent mat.
- Application of tack coat/edge joint adhesive to vertical faces and adjacent horizontal surfaces as specified.
- Use of infrared (IR) joint heaters for reactivating cold joint edges prior to placing adjacent mat.
- Paving techniques for overlaps and joint matching (longitudinal and transverse).
- Rolling sequences across joints to achieve target density and smoothness.
- Final edge sealing and housekeeping.
- Inspection, test, and records including density, temperature, and surface tolerance.
Exclusions
- Asphalt mix design and plant production controls (covered under separate method).
- Structural pavement design or base preparation (covered under earthworks/base method).
Key Objectives
- Achieve dense, low-permeability joints with minimal segregation and a smooth, flush interface.
- Meet specified density, smoothness, and appearance requirements while maintaining safety and environmental compliance.
References
| Document Type | Reference / Number | Revision | Notes |
|---|---|---|---|
| Standard | BS 594987 | ||
| Standard | EN 13108 | ||
| Standard | EN 12697 | ||
| Standard | ASTM/AASHTO | ||
| Standard | ASTM/EN 13808 | ||
| Standard | AASHTO/ASTM | ||
| Standard | ASTM D979 | ||
| Guidance | DMRB / MCHW SHW Series 900 |
Responsibilities
| Role | Responsibility | Name / Party |
|---|---|---|
| Project Manager | ||
| QA/QC Manager | ||
| Surveyor / Site Engineer | ||
| Paving Superintendent / Foreman | ||
| HSE Officer | ||
| Materials Engineer / Plant Liaison | ||
| Lab Technician / QC Inspector |
Resources
| Resource Type | Description | Quantity | Remarks |
|---|---|---|---|
| Manpower | Paving superintendent (1), foreman (1), paver operator (1), screed operator (1), roller operators (2–3), laborers/luters (4–6), traffic marshals (2), QC tech (1), surveyor (1), heater operator (1–2). | ~14–18 | |
| Traffic Control | TMP implementation with cones, signs, arrow board, pilot vehicle if required. | As plan |
Materials
| Material | Specification / Grade | Quantity | Remarks |
|---|---|---|---|
| HMA | Per mix design | ||
| Emulsion/Adhesive | Project spec | ||
| Sealant | Project spec |
Equipment
| Equipment | Capacity / Type | Quantity | Inspection Required |
|---|---|---|---|
| Paver | 1 | ||
| IR heater | 1–2 | ||
| Rollers | 2–3 | ||
| Cutters/cleaners | As required | ||
| Sprayer | 1 | ||
| QA tools | Set |
Prerequisites
- Approved mix design, method statement, ITP, TMP, and HSE plan.
- Calibrations: sprayer, IR heater, thermometers, nuclear gauge (if used) – in date.
- Weather: Surface dry; no standing water; wind and ambient conditions suitable. Minimum substrate temperature typically ≥5–10°C and rising; avoid precipitation [Verify per specification].
- Base/underlying layer accepted (levels, cleanliness, bond, temperature if placing over hot layer).
- Utilities located; traffic control in place; exclusion zones marked.
- Materials on site: tack/edge adhesive within shelf life; HMA delivery temperatures within limits.
- Trial joint (if required) completed and accepted to set parameters.
- Toolbox talk completed focusing on joint works and heater safety.
- Lighting for night works compliant and positioned to avoid glare to traffic.
- Permits: hot works (for heaters), plant movement, and working in live traffic [Verify per project HSE plan and local regulations].
Method Sequence
| Step | Activity | Description | Responsibility | Inspection / Hold Point |
|---|---|---|---|---|
| 1 | Set out joint lines and checks | Mark longitudinal joint offset from centerline as per drawings; confirm crossfall. For tie-ins, establish sawcut limits at sound material and correct elevation. | Surveyor / Site Engineer | Witness |
| 2 | Prepare existing cold longitudinal joint | Wheel-cut or saw-cut to full course depth to create a clean vertical face; remove loose/segregated mix min 150–300 mm back if necessary; clean with broom and oil-free compressed air until dust-free and dry. | Paving Foreman | Hold Point |
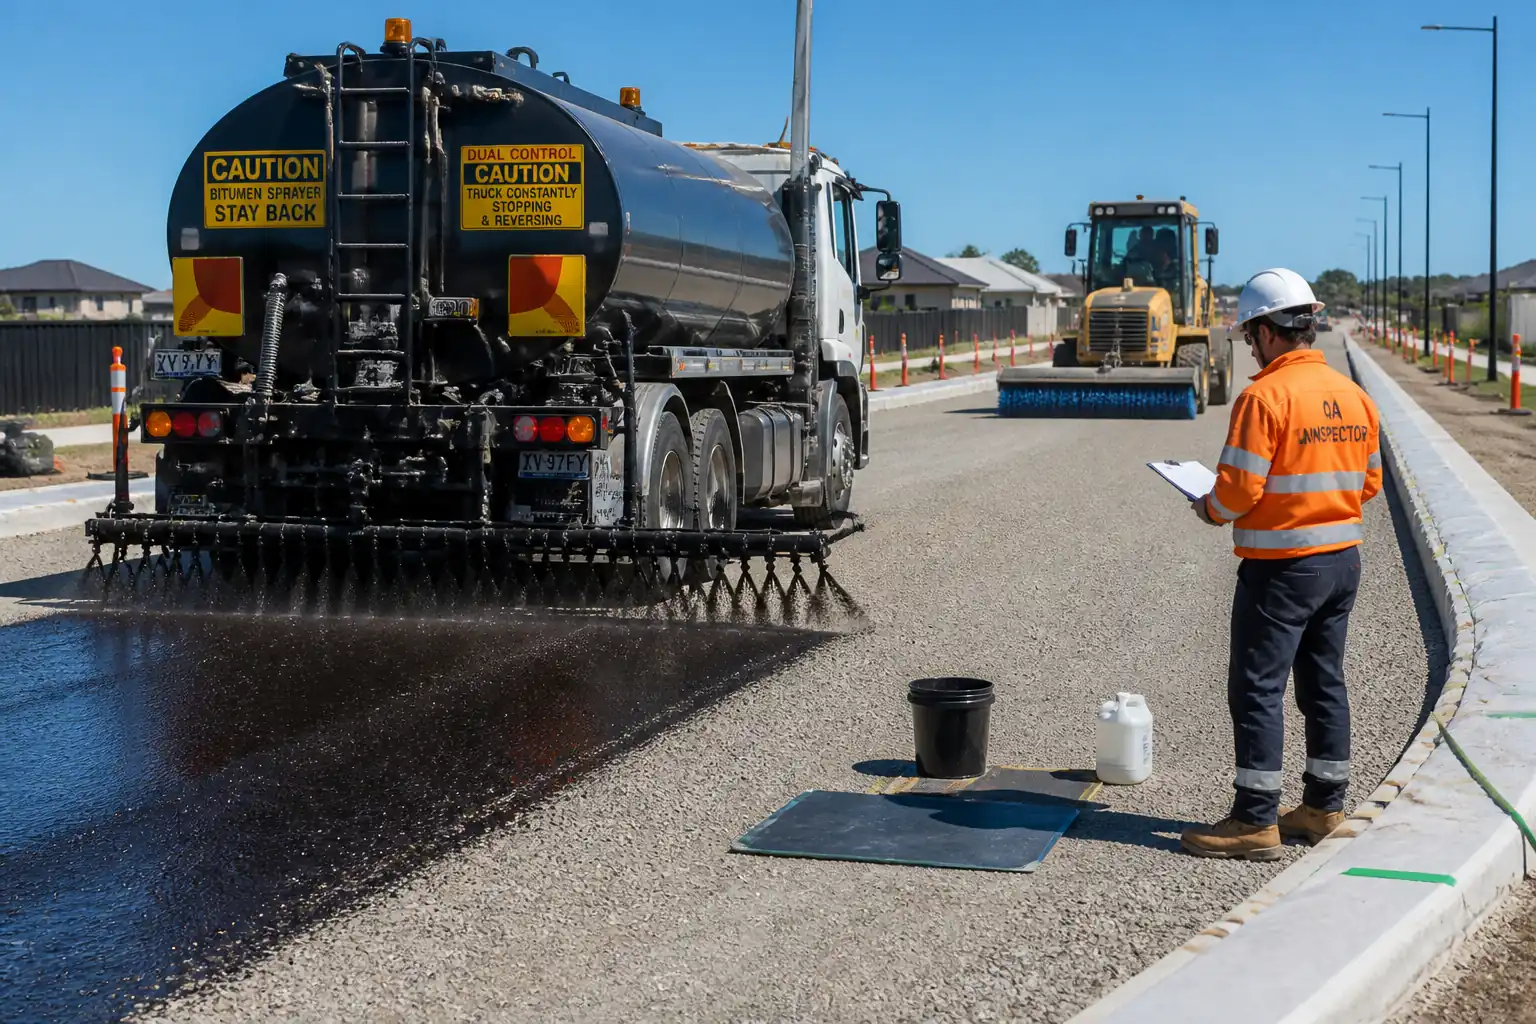
| 3 | Apply tack/edge adhesive to vertical face | Brush/hand-spray continuous, uniform film over full height of the vertical face and 100–150 mm onto the adjacent horizontal mat. Allow emulsion to break (color change to dark black) before paving. | Paving Foreman | Witness |
| 4 | Pre-heat cold joint with infrared heater (where specified) | Position IR heater to uniformly warm the vertical face and 100–150 mm of adjacent mat. Monitor with IR thermometer and/or probe. Avoid scorching or smoking. | Heater Operator | Witness |
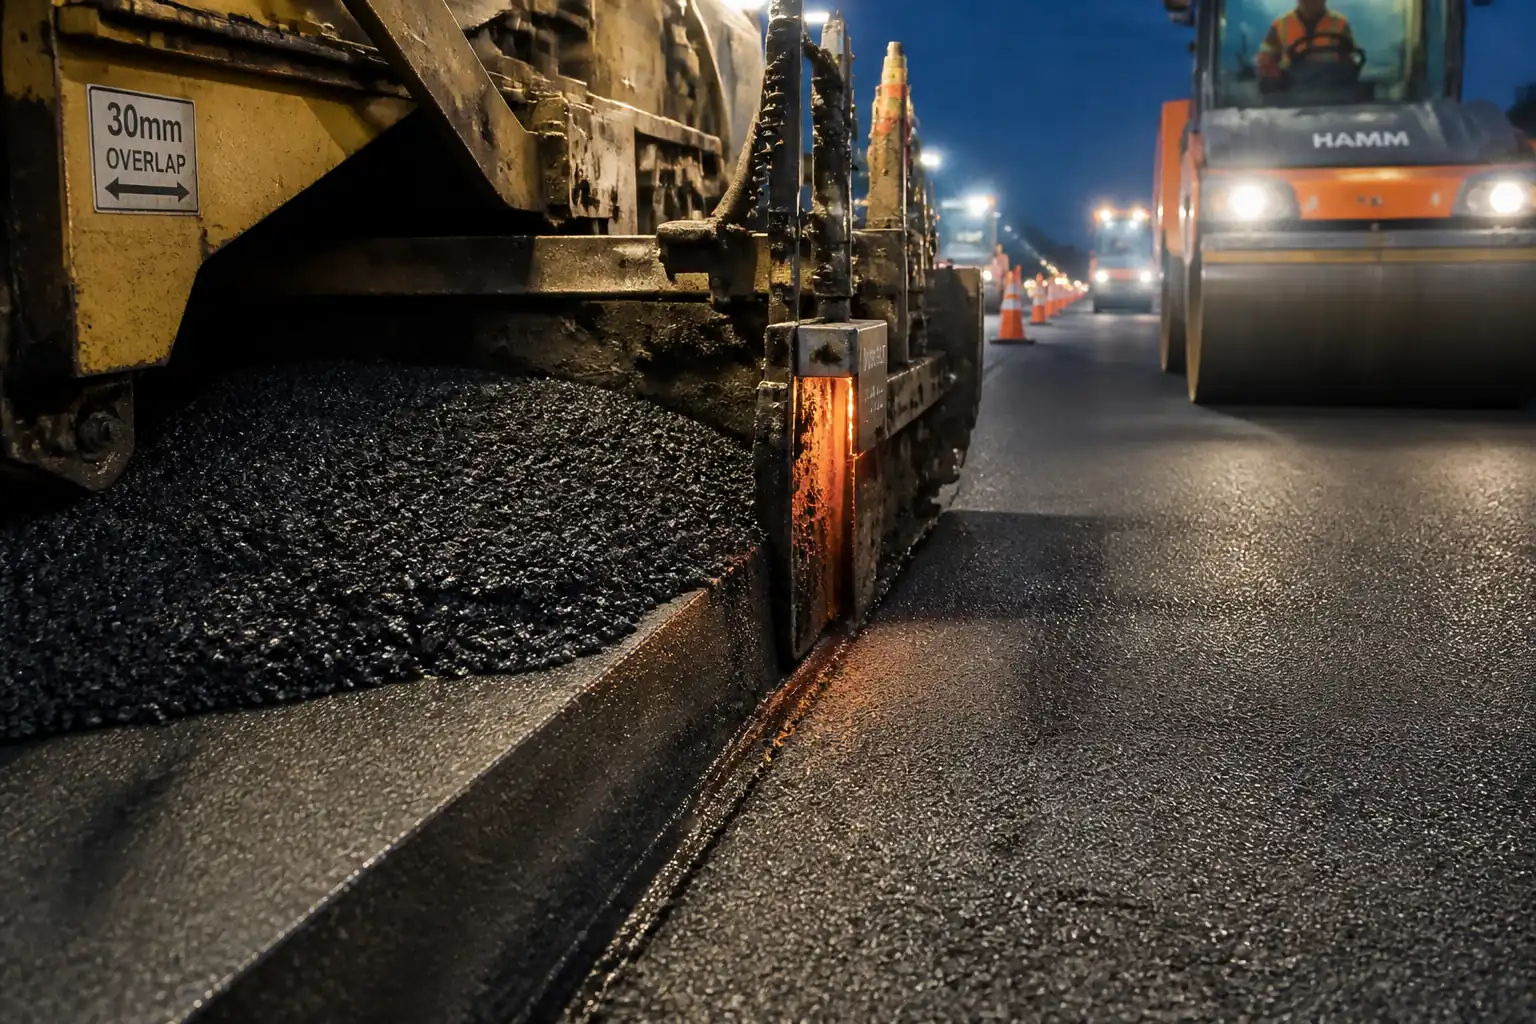
| 5 | Pave adjacent lane (longitudinal joint formation) | Run paver with joint matcher to maintain elevation. Place mat so that fresh mix overlaps the cold/hot mat by 25–40 mm. Lute lightly to ensure a tight, slightly proud edge ready for rolling; avoid heavy raking that causes segregation. | Paver & Screed Operators | Witness |
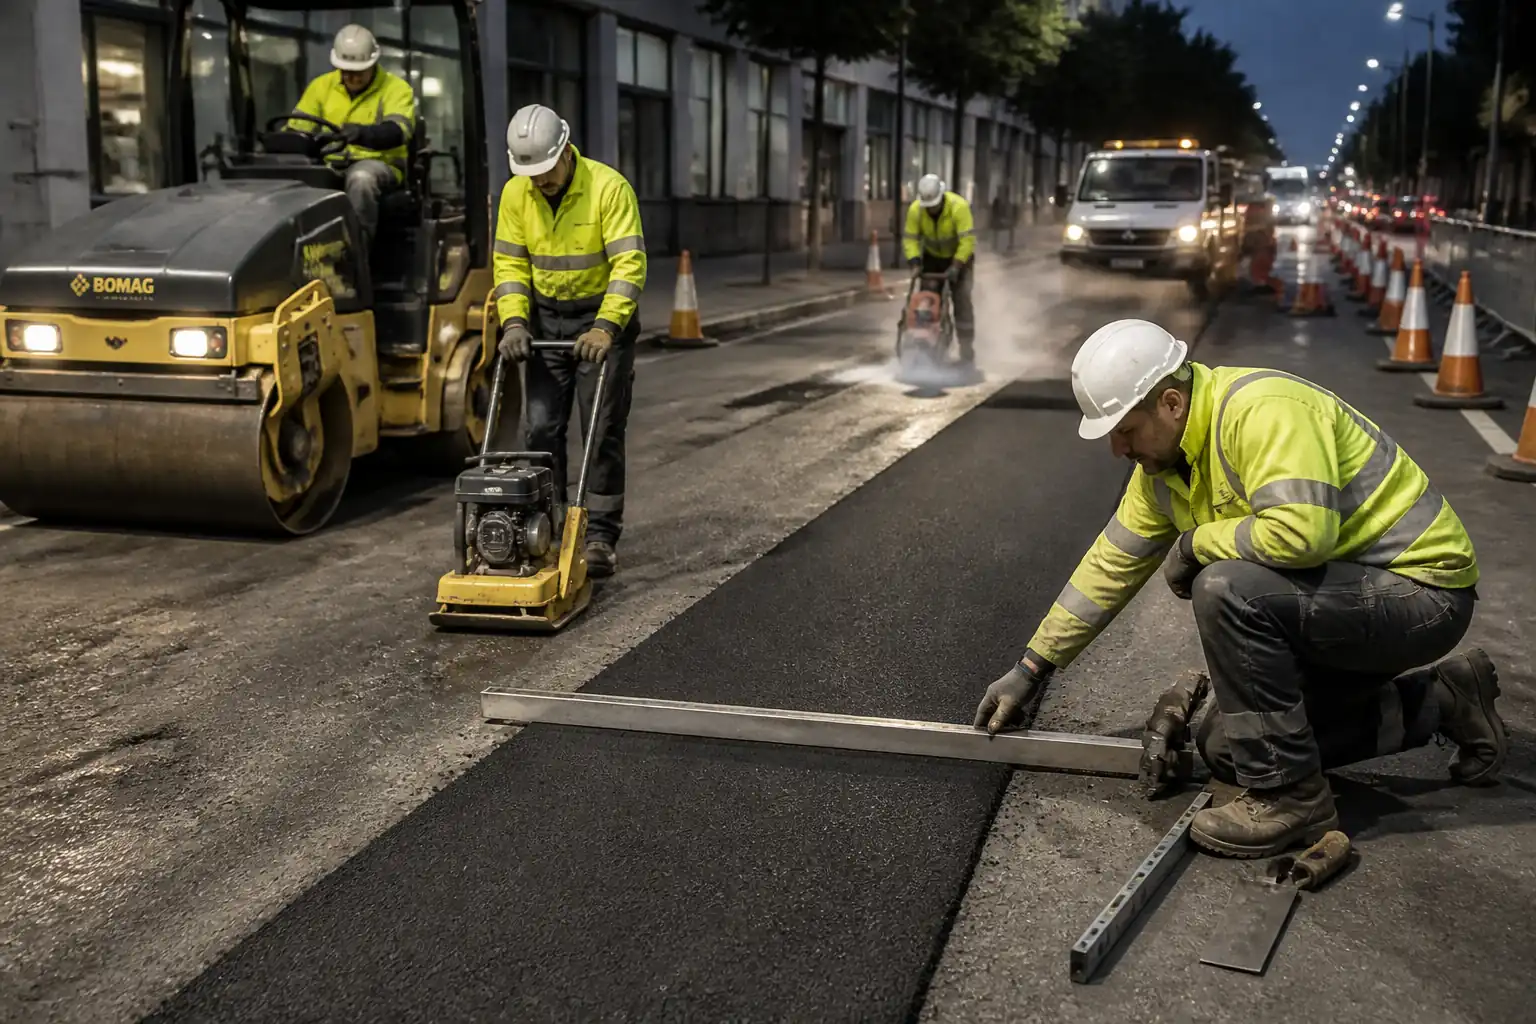
| 6 | Compaction across longitudinal joint | Begin breakdown rolling 150–300 mm from joint on hot side with drum ~150 mm from joint, rolling parallel to joint; then shift towards the joint so drum pinches the joint and overlaps onto colder mat by ~150 mm. Use vibratory mode per mix and thickness initially, switch to static at the joint to prevent shoving. Follow with intermediate and finish rolling as per rolling pattern. | Roller Operators | Witness |
| 7 | Form transverse construction joint (end-of-day) | Stop paver; place and compact head-of-material. After cooling, saw-cut back 150–300 mm to sound, full-depth, straight vertical face at 90°. Remove material; clean and dry the face. | Paving Foreman | Hold Point |
| 8 | Treat transverse joint face | Apply tack/edge adhesive to the entire vertical face. For restart, heat with IR heater if specified to reactivate the joint. Position paver to butt tightly to the cut face; use sufficient head of material to avoid a dip at restart. | Paving Superintendent | Witness |
| 9 | Compact across transverse joint | First roller pass starts on the hot side, 300–500 mm from the joint, advancing toward and over the joint; use static mode for initial pass at the joint to prevent shoving; continue with vibratory passes away from joint, finishing with static iron to remove marks. | Roller Operators | Witness |
| 10 | Final edge sealing (if specified) | After compaction and cooling, apply a thin, continuous edge seal to exposed free edges and visible longitudinal joints to prevent water ingress; lightly dress with fine sand if required to prevent tracking. | Paving Foreman | Witness |
| 11 | QA checks and rectification | Perform density (cores or gauge), joint straightedge checks, level/thickness checks, and visual assessment for segregation/tearing. Rectify defects by reheating (if permissible), trimming and re-compacting, or localized replacement. | QC Inspector / Lab Tech | Hold/Surveillance |
| 12 | Opening to traffic | Only after cooling and achieving specified quality. Remove traffic control progressively; ensure no tracking of sealant. | Engineer / Traffic Manager | Witness |
Health, Safety, and Environment (HSE) – Task-Specific Safety Controls
Principal Hazards and Controls
- Hazard: Contact with hot asphalt, tack, and heated joint faces
- Consequence: Burns, skin injury
- Engineering/Procedural Control: Exclusion zones around paver/heaters; designate safe approach paths; use insulated tools; maintain heater standoff per manufacturer; cool-down verification before hand contact
- Required PPE: Heat-resistant gloves, long sleeves, flame-resistant clothing, safety boots, safety glasses/face shield
- Collective Measure: Physical barriers/cones and spotters around heaters and paver augers
-
Inspection/Permit: Hot-works permit for IR heaters; pre-use inspection of heaters [Verify per project HSE plan and local regulations]
-
Hazard: LPG/propane use for IR heaters
- Consequence: Fire/explosion, asphyxiation
- Engineering/Procedural Control: Leak test with soapy water; flashback arrestors; cylinders upright, secured, away from heat; no smoking/ignition sources; emergency shutoff valves accessible
- Required PPE: Flame-resistant clothing, gloves, eye protection
- Collective Measure: Fire extinguishers (foam/dry powder) within 10 m; wind shielding
-
Inspection/Permit: Hot-works permit; daily leak checks; cylinder certification
-
Hazard: Moving plant and traffic interface
- Consequence: Collision, run-over
- Engineering/Procedural Control: Approved TMP; plant–people separation; spotters; reversing alarms and beacons; designated pedestrian routes
- Required PPE: Hi-vis vest/jacket, hard hat, safety footwear
- Collective Measure: Impact-rated barriers, crash cushions, pilot vehicles where needed
-
Inspection/Permit: Daily TMP inspection; night-work lighting checks; permit to work in live traffic
-
Hazard: Roller operation near unsupported mat edge/joint
- Consequence: Mat shoving, edge collapse, machine instability
- Engineering/Procedural Control: Follow joint-specific rolling pattern; avoid bridging; static pass at joint initially; maintain safe offsets
- Required PPE: Standard site PPE
- Collective Measure: Operator training and supervision; exclusion of personnel near drum edges
-
Inspection/Permit: Supervisor verification of rolling pattern at start of shift
-
Hazard: Saw cutting/trim cutting
- Consequence: Lacerations, silica dust inhalation, eye injury
- Engineering/Procedural Control: Guards in place; wet cutting or local extraction where permitted; maintain cutting guides; control sparks away from flammables
- Required PPE: Cut-resistant gloves, eye/face protection, hearing protection, RPE (P2/P3) if dust risk
- Collective Measure: Water suppression or on-tool extraction; dust monitoring
-
Inspection/Permit: Hot-works/dust control permit as required
-
Hazard: Bitumen/emulsion fumes and solvents
- Consequence: Respiratory/skin irritation, sensitization
- Engineering/Procedural Control: Use low-fume products where specified; avoid heating above manufacturer’s limits; position workers upwind
- Required PPE: Nitrile gloves for emulsion handling, RPE if inadequate ventilation [Verify]
- Collective Measure: Product substitution and decanting controls
-
Inspection/Permit: SDS available; COSHH assessment/verification
-
Hazard: Noise and vibration from rollers and saws
- Consequence: Hearing loss, hand–arm vibration
- Engineering/Procedural Control: Time limits; maintain equipment; use low-vibration tools
- Required PPE: Hearing protection, anti-vibration gloves
- Collective Measure: Noise mapping and signage
-
Inspection/Permit: HAVS exposure records; noise monitoring
-
Hazard: Night work/poor visibility
- Consequence: Struck-by, slips, quality defects
- Engineering/Procedural Control: Task lighting ≥50 lux uniformity; light towers positioned to avoid glare; reflective signage
- Required PPE: Class 3 hi-vis
- Collective Measure: Dedicated lookout/spotter
-
Inspection/Permit: Night-work permit and lighting inspection
-
Hazard: Manual handling of cores and gas cylinders
- Consequence: Musculoskeletal injury, crush
- Engineering/Procedural Control: Use trolleys/lifters; team lifts; secure cylinders with trolleys
- Required PPE: Gloves, safety boots
- Collective Measure: Handling aids
-
Inspection/Permit: Manual handling assessment
-
Hazard: Burns during edge sealing
- Consequence: Thermal injury
- Engineering/Procedural Control: Use long-handled wands; maintain safe distance; allow cool-down
- Required PPE: Heat-resistant gloves, face shield
- Collective Measure: Barriers during application
- Inspection/Permit: Hot-works controls
[All controls to be verified per project HSE plan and local regulations.]
Environmental Controls
- Bitumen/emulsion spills: Use drip trays and absorbent kits near sprayers and heaters; seal drains; clean immediately; dispose waste as per hazardous waste rules [Verify per local regulations].
- Emulsion run-off: Apply only required quantity; prevent application during rain; ensure emulsion breaks before trafficking.
- Air emissions/fumes: Avoid overheating; maintain burner efficiency; use wind shields to minimize fugitive emissions.
- Noise: Restrict high-noise activities to permitted hours; use acoustic shrouds where feasible; maintain equipment.
- Dust from cutting/cleaning: Use wet cutting or on-tool extraction; damp down surrounding area if safe; prevent contamination of fresh mat.
- Waste asphalt and cores: Collect and send to approved recycler; store cores in sealed containers to prevent leachate.
- Fuel and LPG storage: Segregated, bunded storage; cylinders upright and secured; daily leak checks.
- Water protection: No washout to drains; designate washout area for tools and sprayers; use spill booms around gully pots if working adjacent.
- Material provenance: Use suppliers with certified EMS (ISO 14001) where practicable [Verify].
Quality Assurance and Quality Control (QA/QC)
Key Acceptance Criteria [Verify per project specifications]
- Joint density: ≥92% of Gmm (AASHTO T209 baseline) or within 2.0% of adjacent mat density; alternatively ≥97% of target mat density where specified.
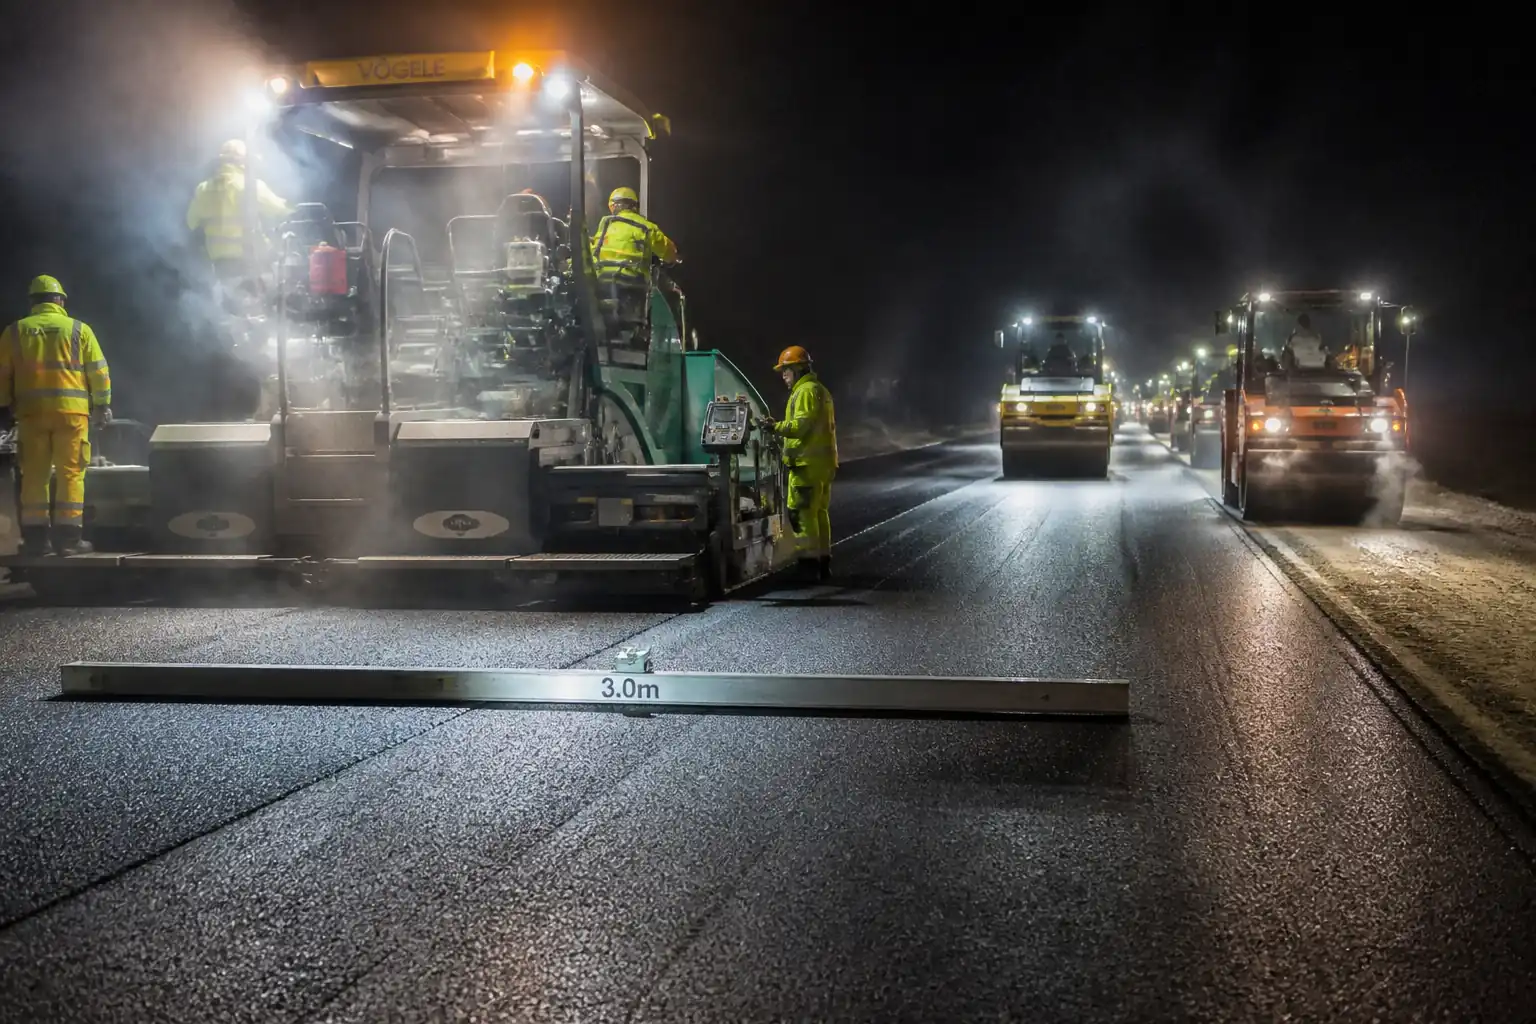
- Smoothness/step at joint: Deviation across joint ≤3 mm; longitudinal smoothness under 3 m straightedge ≤6 mm.
- Bond at joint: No visible separation; tack/adhesive fully covers vertical face; emulsion broken before overlay.
- Overlap: 25–40 mm for longitudinal joint prior to compaction; joint line visually tight after rolling, free of open texture and tearing.
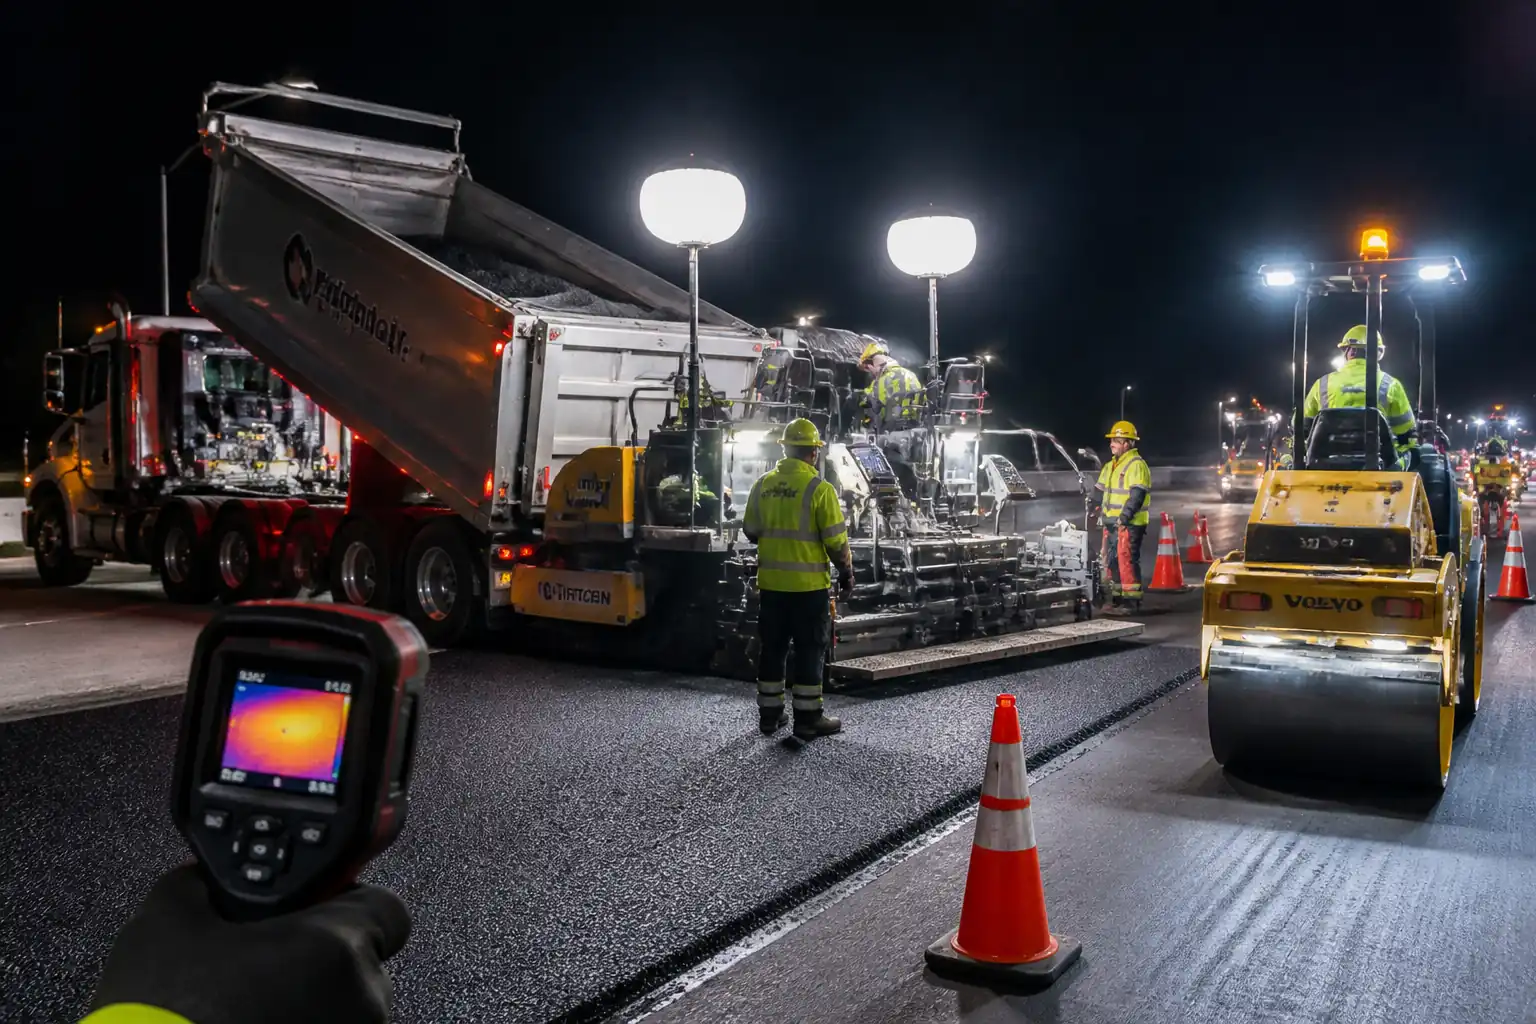
- Temperatures: Mix delivery per approved range (typically 135–165°C depending on binder); joint face heating 90–110°C at ~25–40 mm depth; surface temp not to exceed 150°C.
- Thickness: Within ±5–10 mm of specified course thickness.
- Appearance: No segregation, flushing, or ravelling along joints; neat edge sealing where specified.
Testing and Frequency [Benchmark – verify per project]
- Temperatures: At truck arrival and behind paver – minimum 1 per truck at start then 1 per 5 trucks, plus at joint heater every 15–30 min.
- Density at joints: Cores – 1 per 150 m per joint per lane (min 2 per shift), or nuclear gauge equivalent where allowed (correlated to cores).
- Smoothness: Straightedge checks at joint every 25 m and at all transverse joints.
- Tack coverage: Visual each joint setup and at minimum every 50 m.
- Thickness: 1 core per 250 m or as specified; alternative non-destructive if approved.
Documentation
- Batch tickets, CoCs, tack/heater logs, temperature logs, rolling pattern logs.
- Calibration certificates for gauges, thermometers, sprayers, heaters.
- Test reports (density, thickness), inspection checklists, NCRs/Corrective Actions.
Hold/Witness Points
- Prepared vertical faces (longitudinal and transverse) – Hold.
- Tack/edge adhesive and heater setup – Witness.
- Initial compaction at joint – Witness.
- Density test selection and results – Hold for acceptance.
Rectification
- Localized low density: Reheat (if permissible), cut back 150–300 mm, re-tack, re-lay and compact.
- Open texture/segregation: Trim and replace; do not apply excessive sealers as a substitute for compaction unless specifically approved.
- Smoothness defects: Iron out when hot; if set, cut and replace to full depth of course.
Attachments
- Manufacturer data sheets: tack/edge adhesive, IR heater O&M, paver and roller manuals.
- Calibration certificates: sprayer, thermometers, nuclear gauge, IR heater output verification.
- Checklists: joint face preparation; tack application; heater setup; rolling pattern; straightedge record.
- Drawings/details: typical longitudinal joint (hot and cold), transverse butt joint cutback, overlap and rolling diagrams.
- Risk assessment/Job hazard analysis for joint operations and LPG handling.
- Trial joint report (parameters, outcomes, approvals).
- SDS for bitumen, emulsions, propane.
- Traffic Management Plan and permits.
- Training/competency records for heater operators and roller operators.
This content is a read-only public reference. Download or customize to get an editable version.
ITP preview
The first inspection activities from the linked ITP for Method Statement: Construction and Treatment of Longitudinal and Transverse Joints in Hot Mix Asphalt (HMA) Paving:
| Activity | Inspection / Test | Acceptance Criteria | Responsibility | Record |
|---|---|---|---|---|
| Setting out and line/level verification | Check levels, crossfall, joint alignment | Levels ±5 mm; crossfall ±0.3% [Verify] | Surveyor / QA | Survey report, ITP checklist |
| Cold joint preparation (longitudinal) | Visual cleanliness; verticality; dryness | Straight vertical face; clean, dry; no loose material | Foreman / QA | Hold point release, photos |
| Tack/edge adhesive application | Coverage inspection; emulsion break check | 100% face coverage; no runs; emulsion broken before overlay | Foreman / QA | Tack log, ITP checklist |
Showing 3 of 12 inspection activities. View full ITP →
Related Inspection and Test Plan
An Inspection and Test Plan (ITP) is available for Method Statement: Construction and Treatment of Longitudinal and Transverse Joints in Hot Mix Asphalt (HMA) Paving. The ITP defines the inspection activities, acceptance criteria, hold and witness points, responsible parties, and records required to verify the work described in this method statement.
View the Method Statement: Construction and Treatment of Longitudinal and Transverse Joints in Hot Mix Asphalt (HMA) Paving ITP →Frequently asked questions
Continue with related Quollnet resources connected to this method statement.