Inspect movement joint covers and expansion joint sealing in façades
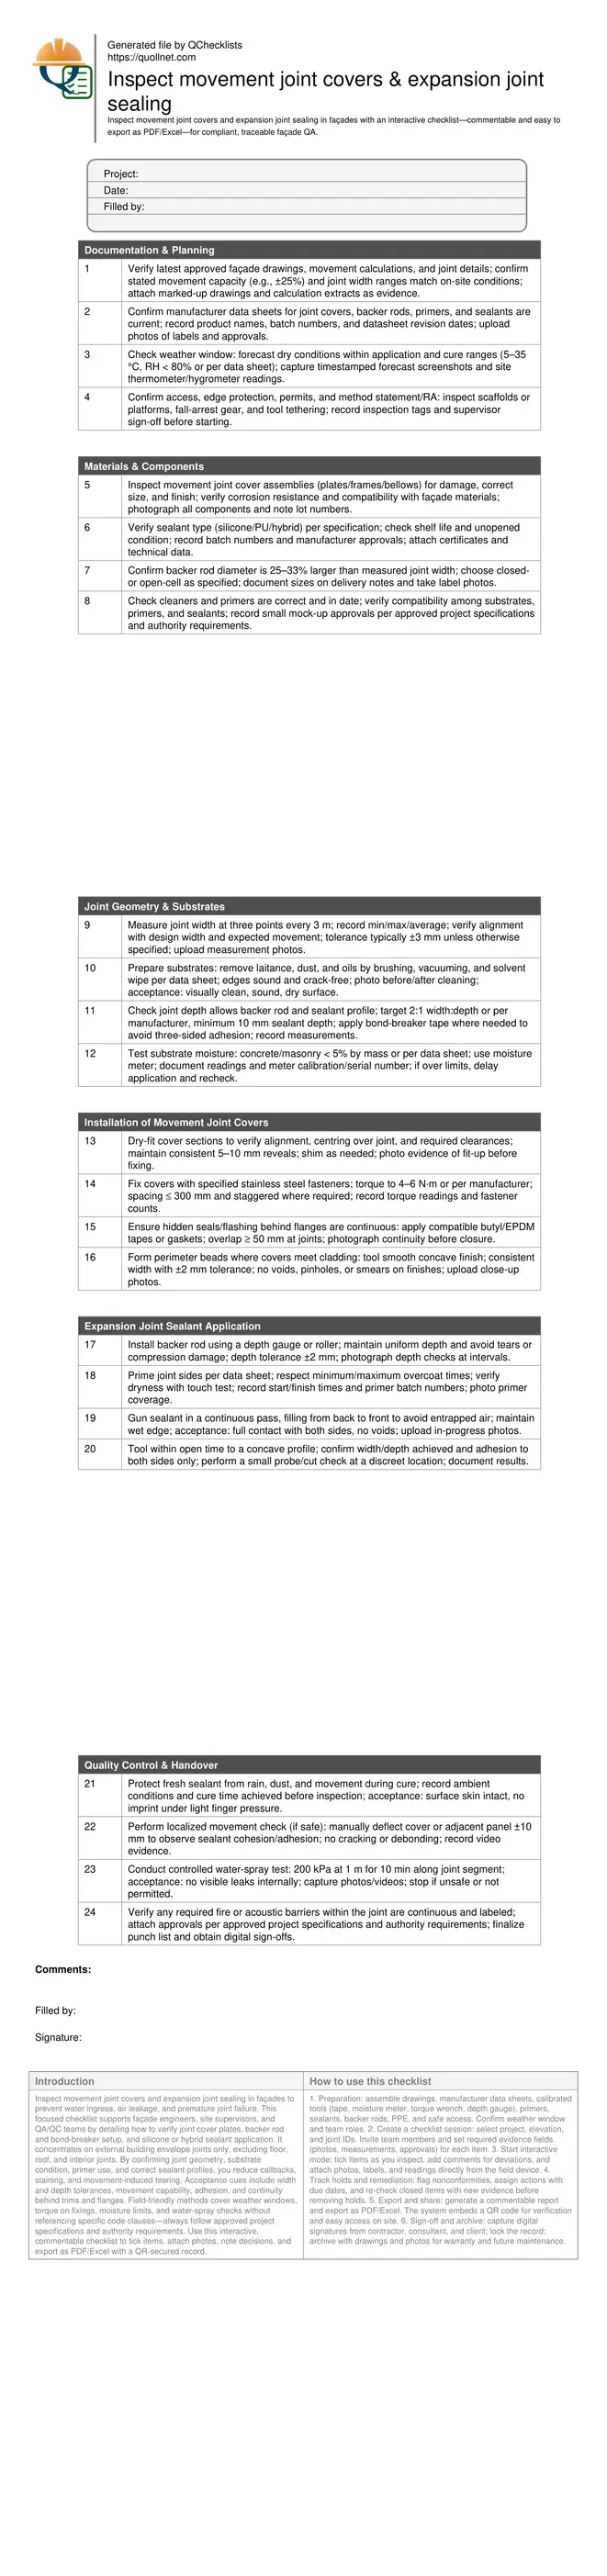
Definition: Inspect movement joint covers and expansion joint sealing in façades for site engineers, QA/QC, and façade supervisors, defining checks for planning, substrate readiness, installation, testing, and compliant records.
- Verify joint geometry, component compatibility, and environmental conditions before work.
- Check installation of cover plates, backer rods, primers, and sealants.
- Confirm movement capacity, watertightness, and fire or acoustic continuity.
- Interactive, commentable checklist with export and QR code verification.
Inspect movement joint covers and expansion joint sealing in façades to prevent water ingress, air leakage, and premature joint failure. This focused checklist supports façade engineers, site supervisors, and QA/QC teams by detailing how to verify joint cover plates, backer rod and bond-breaker setup, and silicone or hybrid sealant application. It concentrates on external building envelope joints only, excluding floor, roof, and interior joints. By confirming joint geometry, substrate condition, primer use, and correct sealant profiles, you reduce callbacks, staining, and movement-induced tearing. Acceptance cues include width and depth tolerances, movement capability, adhesion, and continuity behind trims and flanges. Field-friendly methods cover weather windows, torque on fixings, moisture limits, and water-spray checks without referencing specific code clauses—always follow approved project specifications and authority requirements. Use this interactive, commentable checklist to tick items, attach photos, note decisions, and export as PDF/Excel with a QR-secured record.
- Ensure façade joints accommodate designed movement while remaining weatherproof and durable. This checklist drives disciplined verification of drawings, joint geometry, substrate moisture, component compatibility, and workmanship, helping teams prevent adhesion loss, cover misalignment, water ingress, and sealant failures in changing temperatures and wind-driven rain.
- Gain repeatable acceptance criteria for joint cover installation and sealant application, including width-to-depth ratios, backer rod oversizing, primer dwell times, fastener spacing and torque, and post-installation curing and protection. Capture photo evidence, batch labels, and measurements to prove compliance and support smooth handovers and warranty approvals.
- Interactive online checklist with tick, comment, and export features secured by QR code. Share links with field teams, upload markups and approvals, and archive records for audits and future maintenance planning while maintaining traceability to approved drawings, manufacturer data sheets, and inspection sign-offs.
Documentation & Planning
Materials & Components
Joint Geometry & Substrates
Installation of Movement Joint Covers
Expansion Joint Sealant Application
Quality Control & Handover
Why façade movement joints demand disciplined inspection
Façade movement joints expand and contract with temperature, wind, and structural drift. Movement joint covers shield the gap, while expansion joint sealing with backer rod and sealant keeps the envelope watertight and airtight. This checklist focuses strictly on exterior façade joints, not interior or floor/roof joints. By confirming joint geometry, substrate soundness, compatibility between primers and sealants, and the correct installation of cover plates, you mitigate water ingress, staining, adhesive failure, and racking damage. Acceptance cues include consistent reveals, fastener spacing and torque, continuous hidden flashing, and a sealant profile that permits designed movement without three-sided adhesion. Field-friendly practices—like measuring widths at set intervals, logging ambient conditions, and photographing mock-ups—yield reproducible results. Always align checks with the approved project specifications and authority requirements. When teams capture batch numbers, measurements, and photos against each step, handovers become faster and defects fewer.
- Limit scope to exterior façade joints only.
- Confirm movement capacity matches design assumptions.
- Log batch numbers, measurements, and photos for traceability.
- Check compatibility among substrates, primers, and sealants.
- Use consistent, repeatable acceptance cues on site.
Geometry, substrates, and profiles that actually work
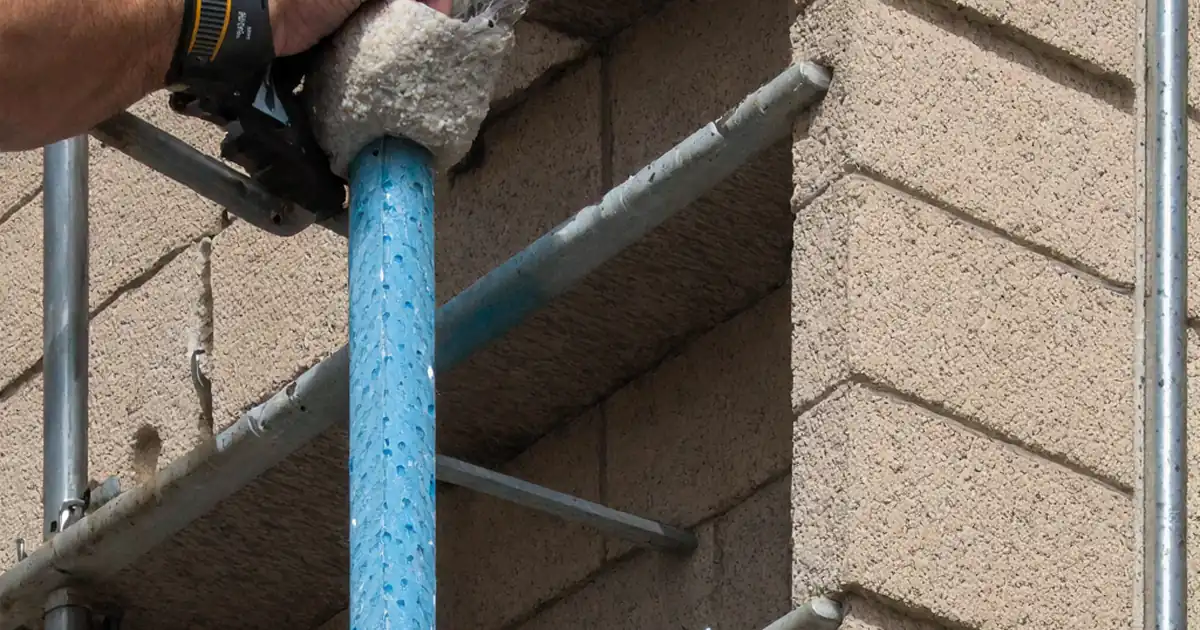
Successful sealing depends on clean, sound joint sides and predictable geometry. Backer rod should be 25–33% larger than the measured joint width to prevent three-sided adhesion and control depth. A typical sealant profile follows a 2:1 width-to-depth ratio or the manufacturer’s specific recommendation, with a minimum 10 mm depth for durability. Substrate moisture must be under the sealant manufacturer’s limit—commonly below 5% for concrete and masonry—before priming. Respect primer dwell and overcoat windows, and tool sealant within open time to a smooth concave finish. For movement joint covers, maintain even reveals, fix with stainless fasteners at specified spacing, and verify torque with a calibrated wrench. Continuous flashing or gaskets behind flanges complete the defense against driven rain. These practices, recorded with photos and measurements, yield predictable performance during seasonal cycling.
- Backer rod oversize: 25–33% of joint width.
- Target 2:1 width-to-depth or manufacturer guidance.
- Moisture limit typically below 5% for concrete/masonry.
- Maintain even cover reveals and correct torque.
- Ensure continuous hidden flashing or gaskets.
Testing, documentation, and durable outcomes
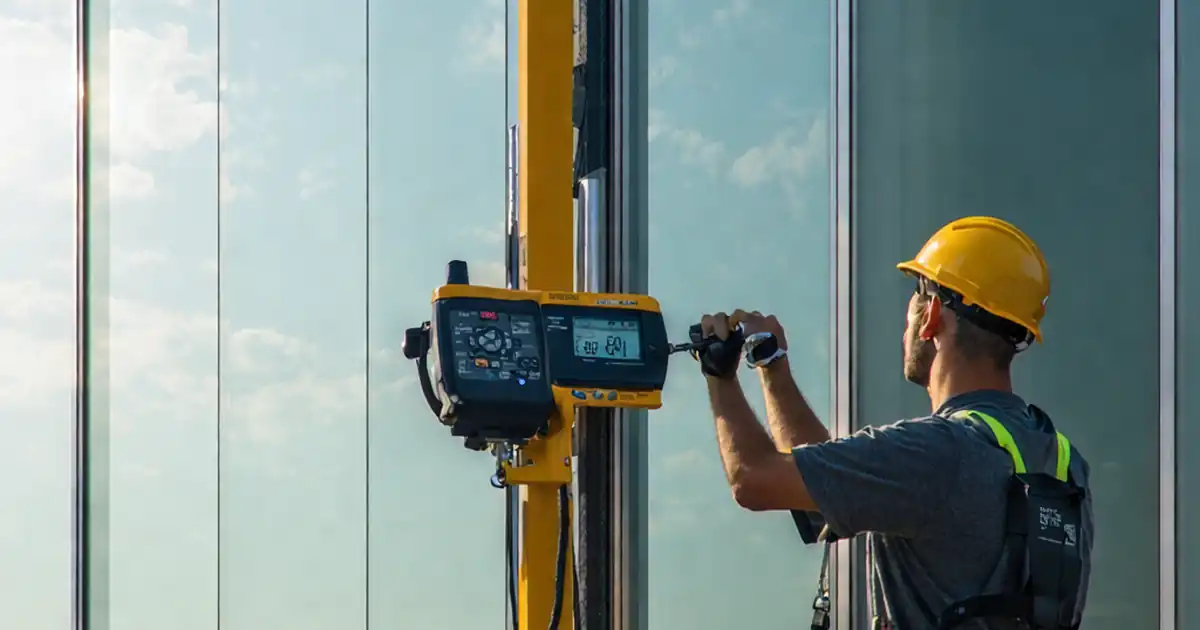
Verification should not stop at visual checks. Conduct safe, localized movement checks to observe adhesion and cohesion, and perform controlled water-spray tests where permitted to confirm watertightness. Cure protection is critical—record ambient conditions and time before inspection. Where required by the specification, confirm fire or acoustic barriers remain continuous around the joint path. Capture evidence systematically: close-ups of sealant beads, depth gauges on backer rods, torque readings, moisture meter results, and labeled product batches. Document any remedial steps, such as resealing voids, adjusting fasteners, or replacing damaged cover sections, and re-inspect with photos. Organizing this data against each location enables swift punch-list closures, warranties, and future maintenance planning while maintaining compliance with approved project specifications and authority requirements.
- Test movement and watertightness where safe and permitted.
- Protect and document curing before sign-off.
- Verify fire/acoustic continuity if specified.
- Photograph all measurements and label evidence.
- Record remediation and re-inspections clearly.
How to Use This Interactive Checklist
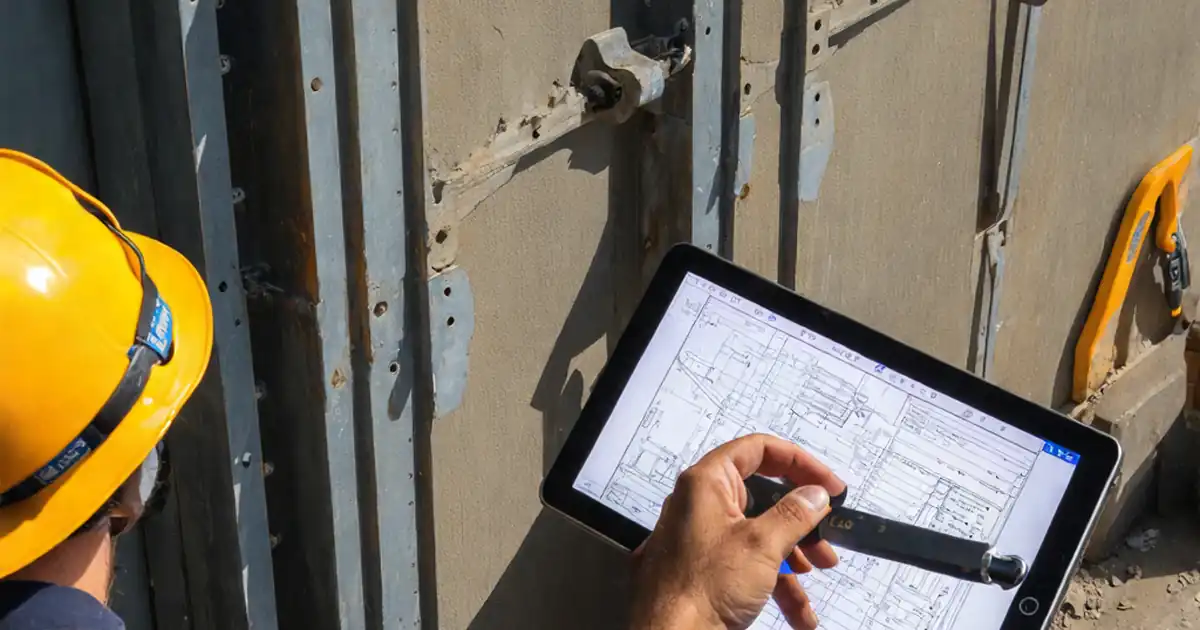
- Preparation: assemble drawings, manufacturer data sheets, calibrated tools (tape, moisture meter, torque wrench, depth gauge), primers, sealants, backer rods, PPE, and safe access. Confirm weather window and team roles.
- Create a checklist session: select project, elevation, and joint IDs. Invite team members and set required evidence fields (photos, measurements, approvals) for each item.
- Start interactive mode: tick items as you inspect, add comments for deviations, and attach photos, labels, and readings directly from the field device.
- Track holds and remediation: flag nonconformities, assign actions with due dates, and re-check closed items with new evidence before removing holds.
- Export and share: generate a commentable report and export as PDF/Excel. The system embeds a QR code for verification and easy access on site.
- Sign-off and archive: capture digital signatures from contractor, consultant, and client; lock the record; archive with drawings and photos for warranty and future maintenance.
Call to Action
- Start Checklist Tick off tasks, leave comments on items or the whole form, and export your completed report to PDF or Excel—with a built-in QR code for authenticity.
- Download Excel - Façade Movement Joint Covers & Expansion Sealant Inspection
- Download PDF - Façade Movement Joint Covers & Expansion Sealant Inspection
- View Image - Façade Movement Joint Covers & Expansion Sealant Inspection
Cite & Embed
“Façade Movement Joint Covers & Expansion Sealant Inspection by Quollnet”
with a link to
this source page.

FAQ
Question: What sealant profile and backer rod size should I use for façade expansion joints?
Question: Which environmental conditions are acceptable for installing joint covers and sealants?
Question: How can I verify adhesion and watertightness without damaging completed joints?
Question: What common defects should I watch for and how are they corrected?
Related Articles
Broader reading and guidance connected to this checklist topic.

3d Printed Concrete Qa/qc: Inspection, Process Control & Acceptance

How Bim Modeling Supports Prefabrication And Modular Construction


Is It Important To Customize Your Qr Code And How To Do It?
Related Checklists
Keep the workflow moving with nearby templates chosen from similar checklist content.