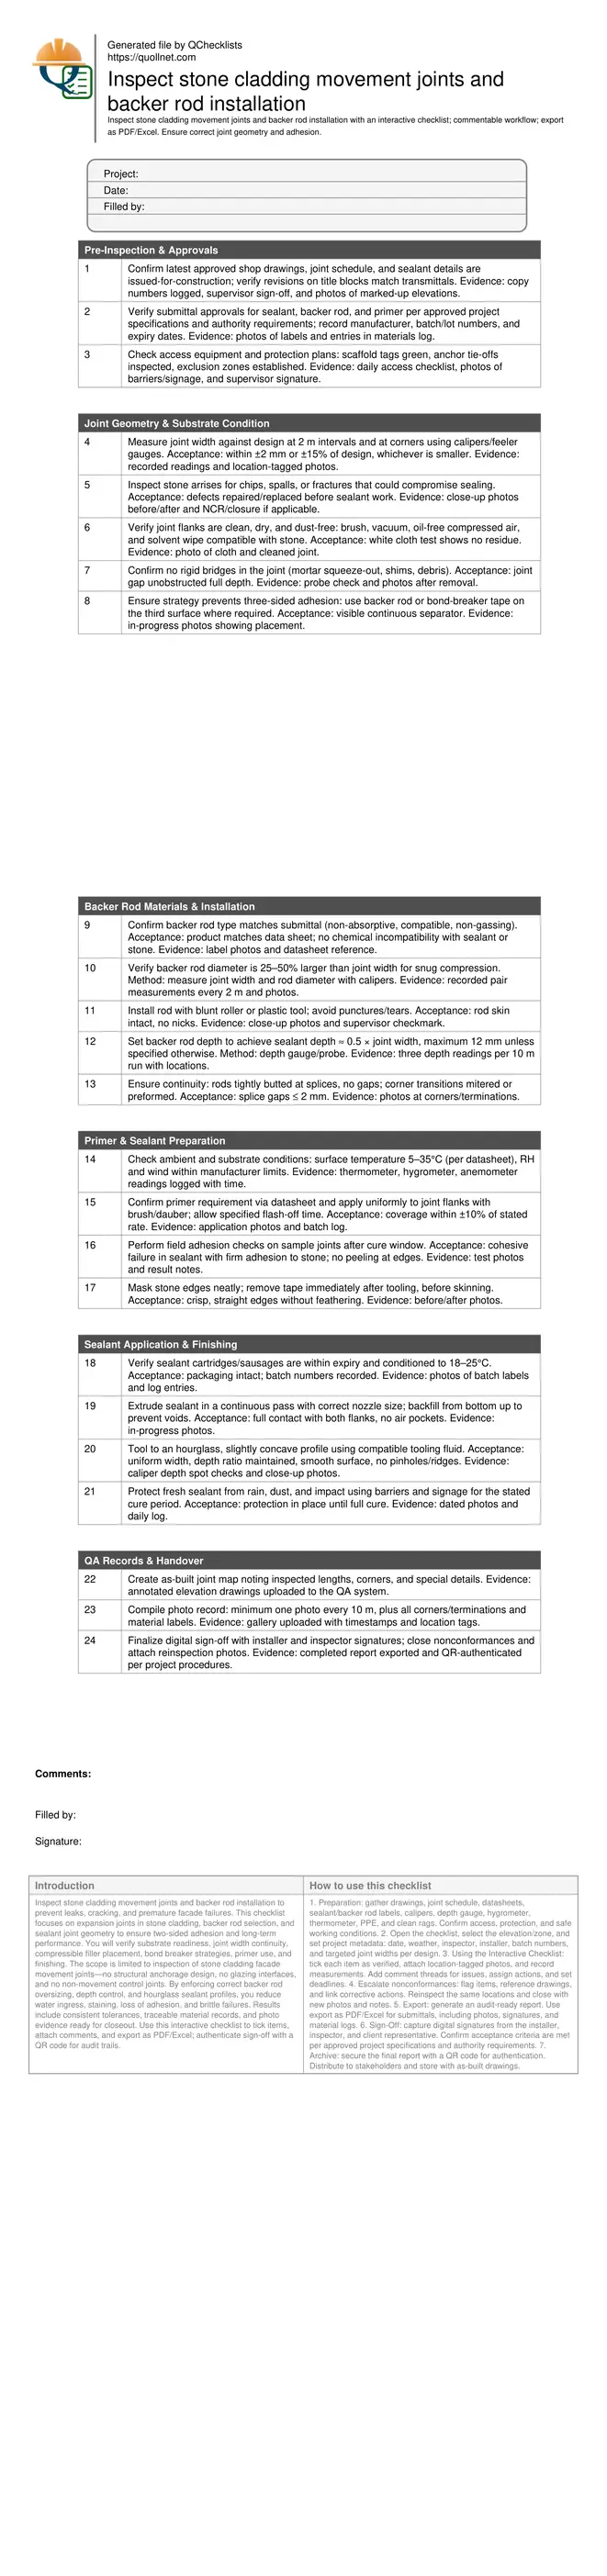
Inspect stone cladding movement joints and backer rod installation
Definition: Inspect stone cladding movement joints and backer rod installation for facade QA teams, ensuring correct joint geometry, backer rod sizing, sealant adhesion, and durable weatherproofing on ventilated and anchored stone cladding systems.
- Verify joint sizing, backer rod fit, and sealant geometry.
- Prevent three-sided adhesion and premature sealant failures in service.
- Field-measure tolerances with gauges; capture photos and batch records.
- Interactive, commentable checklist with export and QR code sign-off.
Inspect stone cladding movement joints and backer rod installation to prevent leaks, cracking, and premature facade failures. This checklist focuses on expansion joints in stone cladding, backer rod selection, and sealant joint geometry to ensure two-sided adhesion and long-term performance. You will verify substrate readiness, joint width continuity, compressible filler placement, bond breaker strategies, primer use, and finishing. The scope is limited to inspection of stone cladding facade movement joints—no structural anchorage design, no glazing interfaces, and no non-movement control joints. By enforcing correct backer rod oversizing, depth control, and hourglass sealant profiles, you reduce water ingress, staining, loss of adhesion, and brittle failures. Results include consistent tolerances, traceable material records, and photo evidence ready for closeout. Use this interactive checklist to tick items, attach comments, and export as PDF/Excel; authenticate sign-off with a QR code for audit trails.
- This checklist guides inspectors through joint layout confirmation, substrate cleaning, and consistent joint widths. It then validates backer rod type, oversizing, continuity, and depth to achieve two‑sided adhesion, followed by primer confirmation, sealant application, tooling profile, protection, and comprehensive documentation for traceability and warranty support.
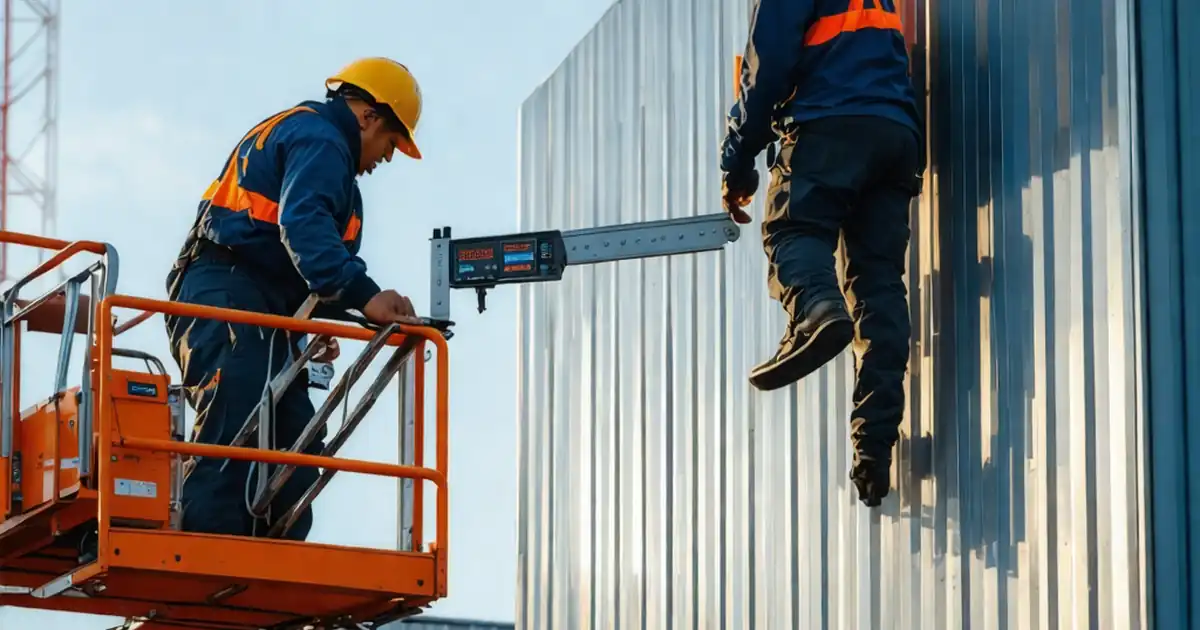
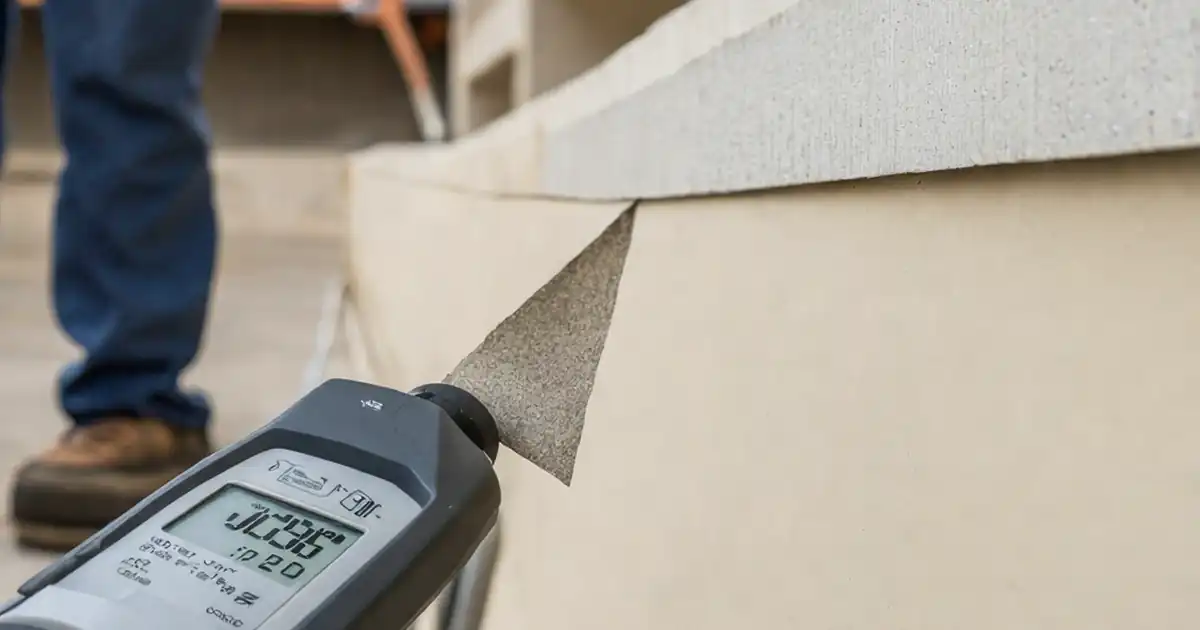
- Technicians measure with calipers, depth gauges, and hygrometers, logging environmental conditions against product datasheets. Acceptance cues include uniform width, correct depth‑to‑width ratio, intact backer rod skin, cohesive sealant profile, and clean arrises—minimizing water ingress, edge staining, blistering, and split adhesion at service temperatures.
- Interactive online checklist with tick, comment, and export features secured by QR code.
Pre-Inspection & Approvals
Joint Geometry & Substrate Condition
Backer Rod Materials & Installation
Primer & Sealant Preparation
Sealant Application & Finishing
QA Records & Handover
Why movement joint geometry in stone facades matters
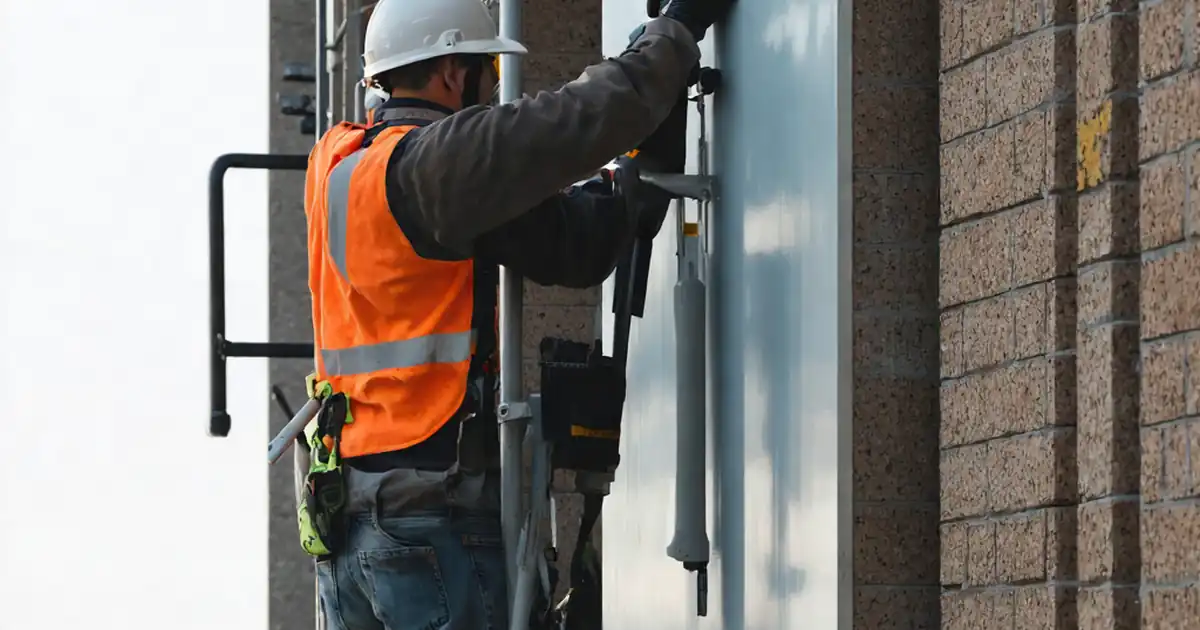
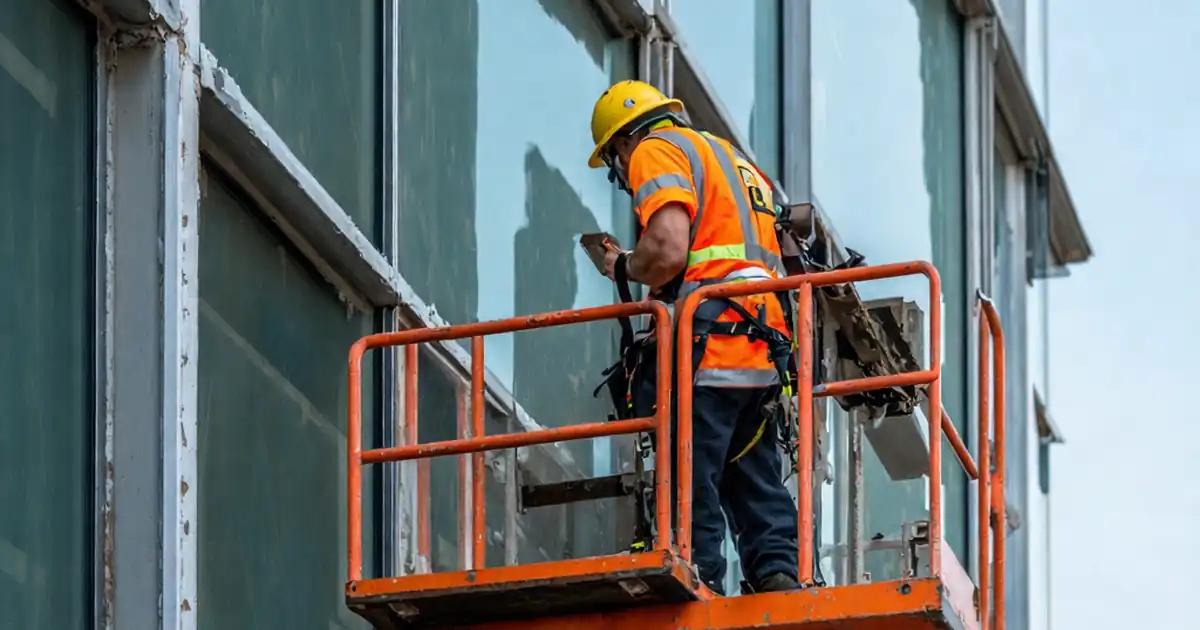
Movement joints in stone cladding absorb thermal, moisture, creep, and settlement movements. When joint width varies or flanks are dirty, the sealant bond weakens, inviting water ingress, edge staining, and cracking. Consistent geometry and clean, dry stone flanks are your first acceptance cues. Use calipers, feeler gauges, and straightedges to verify continuity at regular intervals and critical points like corners or shelf angles. Probe the full joint depth to ensure there is no rigid bridging from mortar or shims. Check environmental conditions before priming and sealing; cold stone faces or high winds can lead to poor wetting and blistering. On a tower facade, for instance, solar exposure can drive daily joint cycling; correct joint sizing and adhesion preserve elasticity and prevent cohesive tearing. By documenting each reading and adding location-tagged photos, you create traceable evidence that the facade is sealed to design intent and ready for service.
- Measure widths at 2 m intervals and all terminations.
- Clean, dry flanks are essential for durable adhesion.
- Eliminate rigid bridges before installing backer rods.
- Record conditions: temperature, humidity, and wind speed.
Backer rod selection and installation essentials
Backer rods control sealant depth and prevent three-sided adhesion, enabling the joint to flex without tearing. Choose a compatible, non-absorptive rod per approved project specifications and authority requirements, and oversize it 25–50% above joint width for reliable compression. Insert with a blunt roller to avoid punctures; an intact skin limits outgassing and provides a stable substrate for tooling. Depth governs performance: too deep wastes sealant and stiffens the joint; too shallow leaves a thin skin that splits. Corners need tight butt or mitered joints to maintain continuity. Field checks with a depth gauge and calipers make nonconformances obvious and correctable immediately. On ventilated rainscreens, ensure the rod doesn’t block cavity ventilation or weeps; maintain clear drainage paths. A disciplined approach to rod type, size, and placement produces the hourglass sealant profile designers expect, supporting long-term weatherproofing and aesthetics.
- Oversize rods 25–50% beyond joint width.
- Use blunt tools; avoid puncturing the rod skin.
- Target sealant depth ≈ half the joint width.
- Keep corners continuous; butt or miter snugly.
- Do not obstruct weeps or cavity ventilation.
Adhesion, primer, sealant profile, and protection
Primer promotes adhesion on certain stones and in marginal conditions; apply only when required by the datasheet and allow proper flash-off. Conduct simple field adhesion checks on sample joints to confirm bond quality before proceeding widely. Extrude sealant in a continuous pass and tool to a slightly concave hourglass profile, ensuring wetting of both flanks and no contact with the third surface. Control environmental conditions; cold substrates or direct sun can change viscosity, trap bubbles, and create surface defects. Remove masking before skin forms to avoid tearing edges. Protect joints from rain, dust, and traffic until cured, and verify that drainage paths and terminations remain free. Photograph profiles and record batch numbers to close out QA. With measured widths, correct depth-to-width ratios, and verified adhesion, the movement joint will flex repeatedly while maintaining a weathertight seal and clean visual lines.
- Prime only per datasheet; log coverage and times.
- Confirm adhesion on samples before full production.
- Tool to a smooth, slightly concave hourglass profile.
- Protect joints for the full cure period.
How to Use This Interactive Inspection Checklist
- Preparation: gather drawings, joint schedule, datasheets, sealant/backer rod labels, calipers, depth gauge, hygrometer, thermometer, PPE, and clean rags. Confirm access, protection, and safe working conditions.
- Open the checklist, select the elevation/zone, and set project metadata: date, weather, inspector, installer, batch numbers, and targeted joint widths per design.
- Using the Interactive Checklist: tick each item as verified, attach location-tagged photos, and record measurements. Add comment threads for issues, assign actions, and set deadlines.
- Escalate nonconformances: flag items, reference drawings, and link corrective actions. Reinspect the same locations and close with new photos and notes.
- Export: generate an audit-ready report. Use export as PDF/Excel for submittals, including photos, signatures, and material logs.
- Sign-Off: capture digital signatures from the installer, inspector, and client representative. Confirm acceptance criteria are met per approved project specifications and authority requirements.
- Archive: secure the final report with a QR code for authentication. Distribute to stakeholders and store with as-built drawings.
Call to Action
- Start Checklist Tick off tasks, leave comments on items or the whole form, and export your completed report to PDF or Excel—with a built-in QR code for authenticity.
- Download Excel - Stone Cladding Movement Joint & Backer Rod Inspection
- Download PDF - Stone Cladding Movement Joint & Backer Rod Inspection
- View Image - Stone Cladding Movement Joint & Backer Rod Inspection
Cite & Embed
“Stone Cladding Movement Joint & Backer Rod Inspection by Quollnet”
with a link to
this source page.
FAQ
Question: What joint width and sealant depth should I target for stone cladding?
Question: Should I use closed-cell or open-cell backer rods with stone cladding?
Question: How do weather conditions affect sealant and backer rod installation?
Question: What is the correct repair approach if voids or adhesion loss are found later?
Related Articles
Broader reading and guidance connected to this checklist topic.




Is It Important To Customize Your Qr Code And How To Do It?
Download Excel Format Snag List
Related Checklists
Keep the workflow moving with nearby templates chosen from similar checklist content.