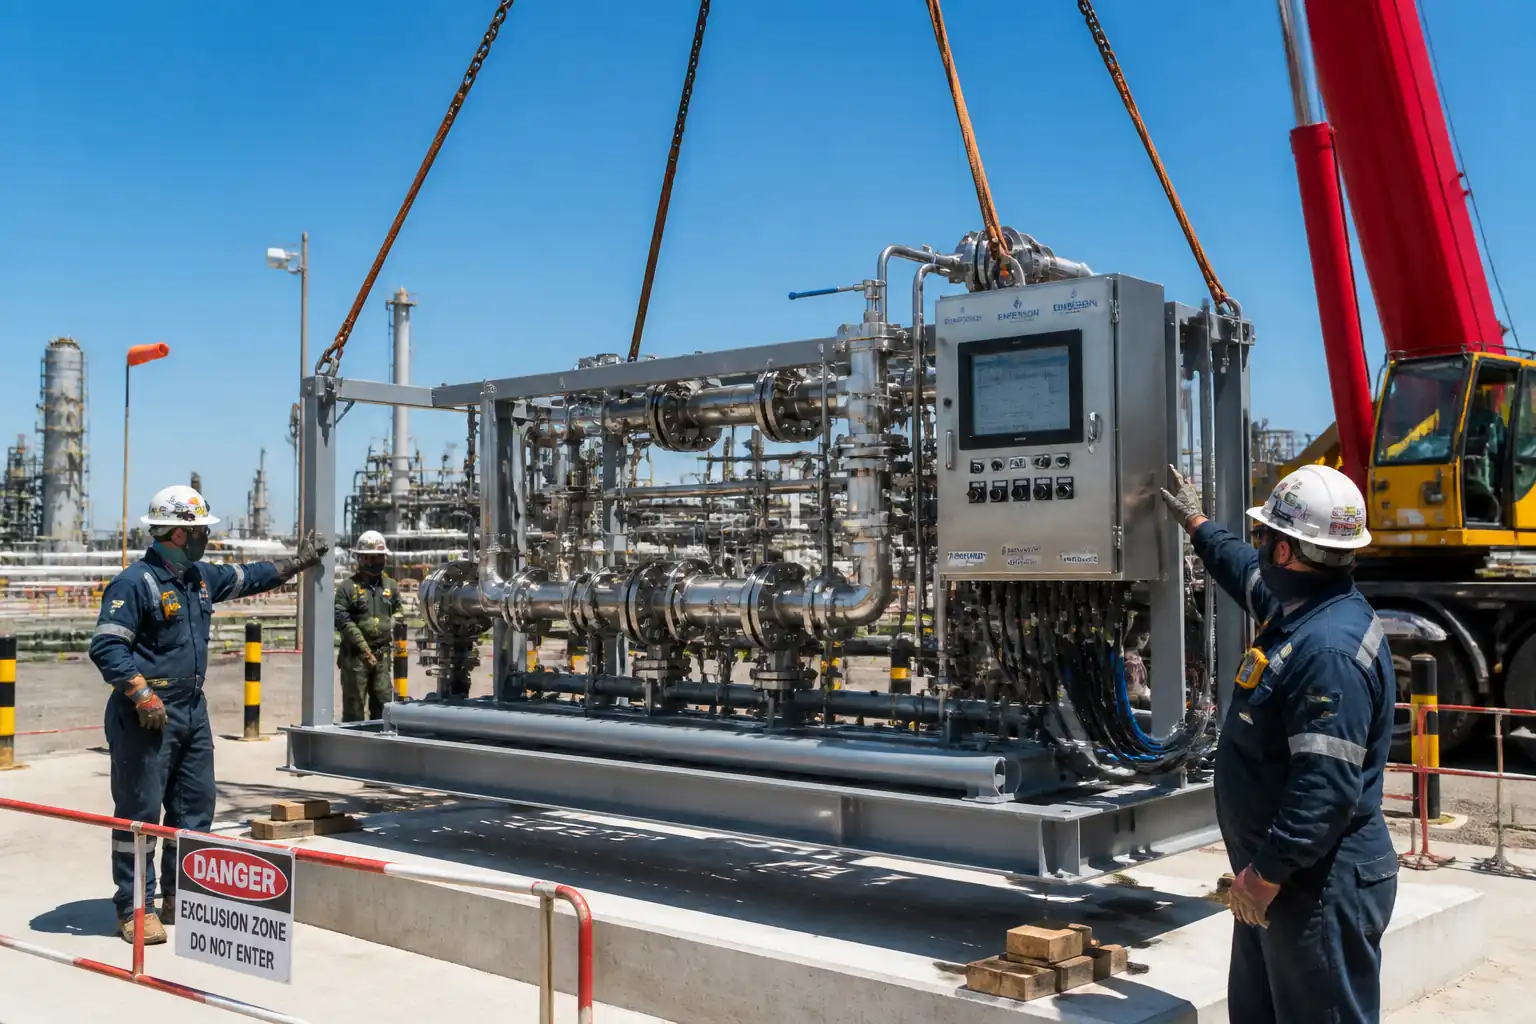
Method Statement – Installation and Commissioning of Exit Signs (Wall/Ceiling Mounted) – Method Statement
AI-assisted method statement with matching ITP, PDF download, and Excel export.
More than a static template
Unlike a downloadable Word or PDF template, this method statement is an AI-assisted editable starting point connected directly to a matching Inspection and Test Plan. Every section is structured, project-adaptable, and ready to export.
- AI-assisted drafting — Customize every section with AI for your specific project scope.
- Linked ITP — A matching inspection and test plan is generated alongside the method statement.
- Multiple export formats — Download as a formatted PDF or editable Excel spreadsheet.
- Editable starting point, not a final document — Review, verify, and adjust all content against your project requirements before use.
Static template vs. Quollnet workflow
| Feature | Static template | Quollnet |
|---|---|---|
| Project-specific content | Manual fill-in required | AI-assisted customization |
| Linked ITP | Separate document, no link | Matching ITP included |
| Export formats | Usually PDF only | PDF and Excel |
| Structured sections | Free-form layout | 13 standardized sections |
| Saved to your account | Local file only | Cloud-saved, reusable |
| Content accuracy | You verify everything | AI-assisted, you still verify |
| Cost | Often free but time-intensive | Free to customize and download |
What you can customize
When you save this method statement to your account, every section becomes editable. The following 13 sections are included:
- Scope — Defines the activity and its boundaries.
- References — Standards, specifications, and drawings.
- Responsibilities — Roles and accountabilities.
- Resources — Labour, plant, and equipment summary.
- Materials — Materials and compliance requirements.
- Equipment — Tools and equipment details.
- Prerequisites — Hold points and pre-conditions.
- Method sequence — Step-by-step construction sequence.
- Safety controls — HSE risk controls and PPE.
- Environmental controls — Environmental mitigation measures.
- QA/QC — Quality inspection and test requirements.
- ITP — Inspection and Test Plan table (has its own page).
- Attachments — Referenced drawings and documentation.
Why this method statement is used
This method statement is used to define and communicate the approved procedure for carrying out method statement – installation and commissioning of exit signs (wall/ceiling mounted) on site. It ensures the work is planned in advance, the correct resources and controls are in place, and all personnel understand responsibilities, sequence, quality requirements, and safety controls before work begins. It aligns site execution with the documented scope and acceptance expectations.
Who uses this method statement
This method statement is used by contractors, site supervisors, project engineers, QA/QC engineers, HSE officers, consultants, and client representatives. It serves as a shared reference for planning, execution, supervision, inspection, and approval of the activity on site.
When it is prepared and submitted
The method statement is prepared before the work activity starts and submitted as part of the pre-construction documentation package for review and approval.
Who reviews or approves it
The method statement is usually submitted to the client representative, consultant, resident engineer, or project management consultant for review and approval before the work commences.
Important approval note
This method statement is an AI-assisted editable starting point, not a pre-approved document. Before use on any project, all content must be reviewed and approved by the relevant parties (superintendent, principal contractor, or client representative) in accordance with your contract and project quality plan.
For example: if your specification requires a departure from a referenced standard, that departure must be documented and approved separately — this method statement will not capture that automatically. Always verify against your applicable drawings, specifications, and regulatory requirements.
Method statement content
Scope
Overview
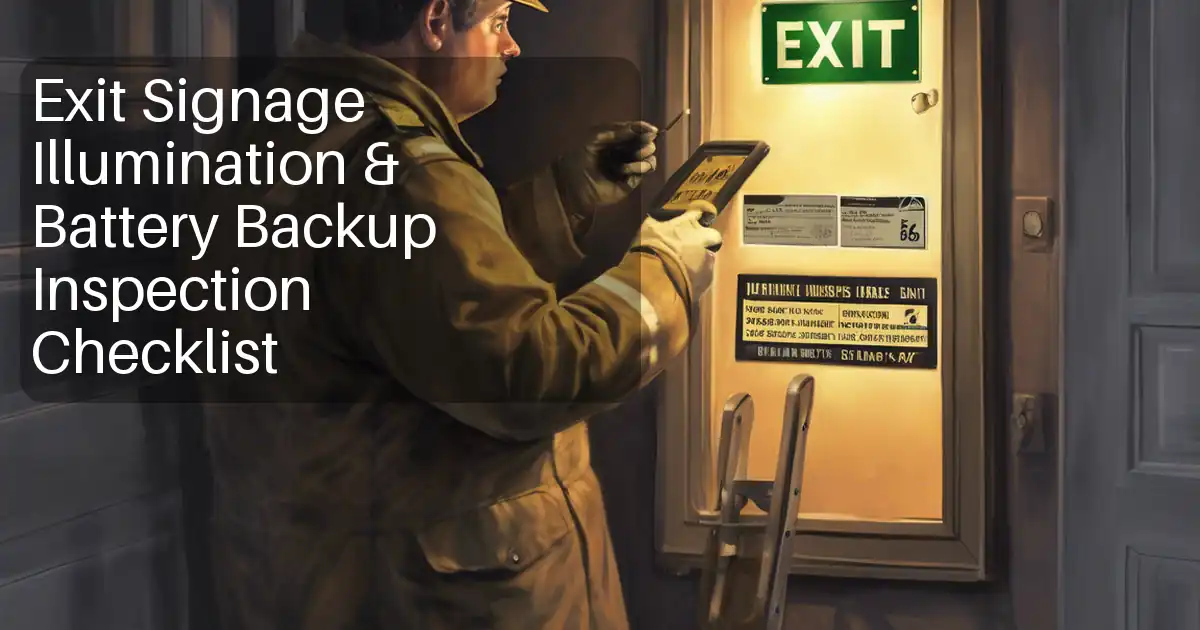
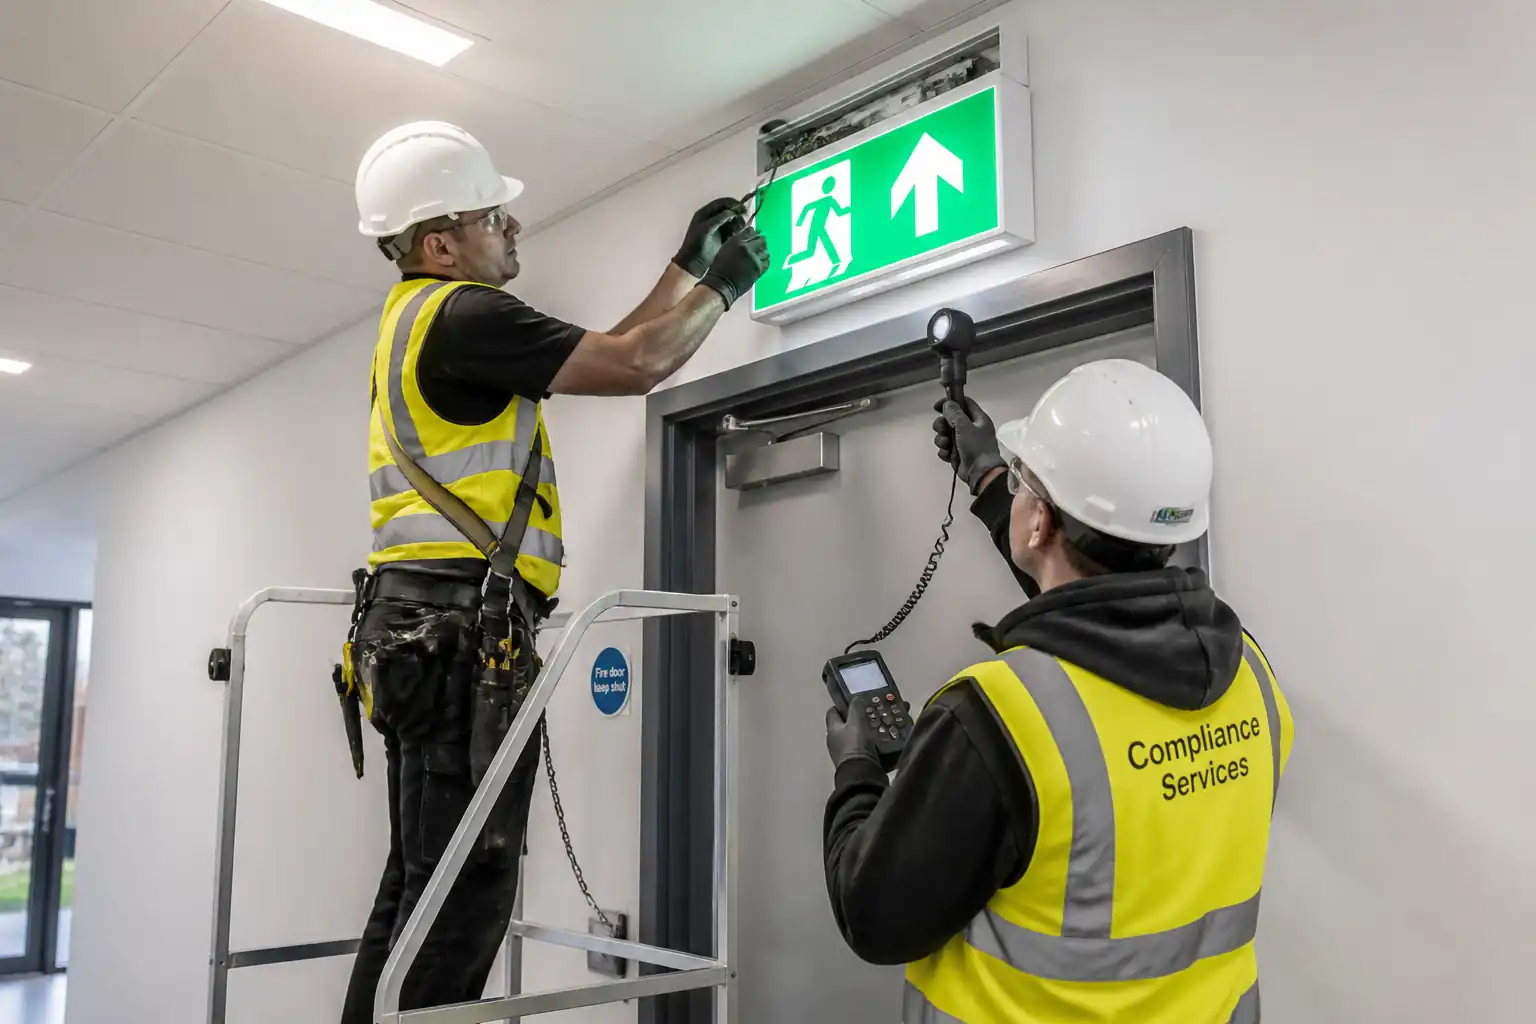
This method statement covers the end-to-end installation and commissioning of exit signs (maintained and non-maintained types) for egress routes, including:
- Wall and ceiling mounting (surface/suspended) of exit sign luminaires and legend plates.
- Electrical wiring and terminations to emergency lighting circuits.
- Verification of legend/pictogram orientation and compliance to required symbol standard.
- Commissioning of integral battery backup systems including charge and 90-minute discharge tests.
- Lamp/LED functional tests and charger indicator checks.
- Luminance level measurement of the legend and visibility checks from designated viewing areas.
- Defined Hold Points: legend orientation confirmation; luminance level and visibility test.
Locations
- Corridors, stair cores, lobbies, exit doors, and intermediate directional change points as per approved drawings.
Exclusions
- Central battery/inverter systems beyond termination point unless noted.
- Structural modifications outside anchor fixing requirements.
- Emergency lighting general illuminance calculations (handled by lighting designer).
Interfaces
- Architectural finishes (final wall/ceiling surfaces, fire-rated penetrations).
- Electrical distribution (emergency circuits), fire alarm interfacing if applicable.
- HSE permits and building access coordination.
References
| Document Type | Reference / Number | Revision | Notes |
|---|---|---|---|
| Code/Standard | NFPA 101 [Verify per project] | ||
| Code/Standard | NEC/IEC 60364 [Verify per project] | ||
| Standard | UL 924 / EN 60598-2-22 [Verify per project] | ||
| Standard | BS EN 1838/50172 [Verify per project] | ||
| Standard | ISO 7010 / ISO 3864 [Verify per project] | ||
| Manual | MI for selected model |
Responsibilities
| Role | Responsibility | Name / Party |
|---|---|---|
| Project Manager | PM | Contractor |
| Site Engineer | SE | Contractor |
| Electrical Supervisor | Supervisor | Contractor |
| QA/QC Engineer | QA/QC | Contractor |
| HSE Officer | HSE | Contractor |
| Electrician | Electrician | Contractor |
| Vendor Rep | Vendor Rep | Supplier |
| Engineer/RE | ER | Employer/Consultant |
Resources
| Resource Type | Description | Quantity | Remarks |
|---|---|---|---|
| Manpower | 2 electricians + 1 helper per zone (typical). | 3/zone | |
| Manpower | 1 HSE officer per active floor/zone [Verify per project HSE plan]. | 1 | |
| Manpower | 1 QA/QC engineer shared across areas, attending hold/witness points. | 1 |
Materials
| Material | Specification / Grade | Quantity | Remarks |
|---|---|---|---|
| LED exit sign | Input 120/230 VAC [Verify]; THD per spec; power <5–8 W maintained [Verify]. | As per BOQ | |
| Legend plates | High-contrast green/white or red/white per code [Verify]. | As per BOQ | |
| Battery pack | Capacity per luminaire rating; ambient 10–30°C during test [Verify]. | As supplied | |
| 2C+E 1.5 mm² (typical) [Verify] | IEC 60332-1 flame retardant (or NEC equivalent) [Verify]. | As required | |
| EMT/PVC | Rated for environment; color coding per project. | As required | |
| Mechanical/chemical anchors | Corrosion class per environment. | As required | |
| Sealant/Collars | Match wall/ceiling FRL [Verify]. | As required | |
| Adhesive/engraved | Heat/fade resistant. | As required |
Equipment
| Equipment | Capacity / Type | Quantity | Inspection Required |
|---|---|---|---|
| Ladders/Podiums | As required | Yes | |
| Tower scaffold | As required | Yes | |
| Hammer drill + extractor | 1 per crew | Yes | |
| Multimeter | 1 set/crew | Yes | |
| IR tester | 1 | Yes | |
| Photometer | 1 | Yes | |
| Scanner | 1 | Yes | |
| Torque tool | 1 | Yes |
Prerequisites
- Approved shop drawings, legend schedules, and coordination layouts.
- Approved material submittals: exit signs, legends/pictograms, batteries, anchors, firestop materials.
- Issued-for-construction drawings and room access confirmed.
- HSE documentation: task risk assessment, method statement briefing, toolbox talk conducted.
- Permits: Electrical Permit-to-Work and Isolation/LOTO plan approved [Verify per project HSE plan and local regulations].
- Services verification: review as-builts; conduct wall/ceiling scan for hidden services before drilling.
- Calibration certificates (<12 months) for meters (multimeter, IR tester, luminance meter), torque tools, and PAT test for powered equipment.
- Mock-up or first-off installation location agreed, if required by specification.
- Confirm power supply characteristics (voltage, frequency), emergency circuit availability, and breaker identification.
- Confirm ambient conditions within manufacturer limits during battery testing (typ. 10–30°C) [Verify per MI].
Method Sequence
| Step | Activity | Description | Responsibility | Inspection / Hold Point |
|---|---|---|---|---|
| 1 | Material receipt and verification | Inspect packaging, model numbers, certifications (UL 924/CE), legends, and batteries. Quarantine any damaged items. | QA/QC + Storekeeper | Visual check |
| 2 | Set-out and mark-up | Confirm locations vs drawings; mark mounting height and orientation. Typical bottom of sign 2.0–2.5 m AFF; ensure clear sight lines [Verify per code]. | Site Engineer | Layout verification |
| 3 | Permit, isolation, and service scan | Obtain PTW; lockout/tagout the circuit; verify zero energy; scan substrate for concealed services; mark safe drill zones. | Supervisor + HSE + Electrician | PTW/LOTO review |
| 4 | Drilling and anchor installation | Drill per anchor MI with dust extraction; maintain edge distances [≥5× anchor dia typical, Verify]; set anchors to specified embedment (≥35–50 mm in concrete) [Verify]. | Electrician | Substrate check |
| 5 | Bracket/backplate installation | Fix mounting plates; check level/plumb (±2 mm or ≤1°). Protect finishes with pads. | Electrician | Level check |
| 6 | Cabling and containment | Install conduit/trunking and junction box; pull LSZH conductors; identify circuits; ensure unswitched supply for emergency function. | Electrician | Containment check |
| 7 | Terminations | Terminate L/N/CPC to terminals; torque per MI (typ. 0.5–0.8 N·m) [Verify]; dress conductors; fit strain reliefs. | Electrician | Terminal check |
| 8 | Luminaire mounting | Mount body/legend housing on bracket; ensure mechanical engagement and safety retention if provided. | Electrician | Mechanical fit |
| 9 | Battery installation and initial charge | Install battery pack; confirm polarity and connectors; restore power and allow initial charge (typ. 24 h) before full discharge test [Verify]. | Electrician | Visual |
| 10 (HOLD) | Legend/pictogram orientation verification – HOLD POINT | Present each installed sign to ER for orientation/arrow direction and legend compliance (ISO 7010/NFPA text as applicable) before final close-up. | QA/QC + ER | Hold point sign-off |
| 11 | Pre-functional electrical tests | Conduct continuity and insulation tests; verify polarity and CPC; function test maintained/non-maintained modes. | Electrician + QA/QC | Witness |
| 12 (HOLD/WITNESS) | Luminance level and visibility test – HOLD/WITNESS | After full charge, measure legend luminance at representative points; assess visibility from designated viewing positions; take photos and measurements. | QA/QC + ER | Hold/Witness |
| 13 | Battery autonomy (discharge) test | Simulate mains failure for 90 minutes (or per authority); verify continuous illumination and legend readability; record terminal voltage at end. | Electrician + QA/QC | Witness (as required) |
| 14 | Firestopping and making good | Seal any penetrations with approved firestop; label and record in firestop log; make good surfaces. | Electrician/Firestop tech | Visual |
| 15 | Labelling and as-built update | Apply circuit/device labels; update drawings with final positions and IDs. | Site Engineer | Document review |
| 16 | Handover and training | Submit O&M manuals, warranties, test reports; brief facility staff on monthly/annual tests. | PM + QA/QC | Document closeout |
Health, Safety, and Environment – Task-Specific Safety Controls
Key Hazards and Controls
- Hazard: Contact with live electrical parts during termination or testing.
- Likely consequence: Electric shock, burns, arc flash.
- Engineering/procedural control: Isolation and LOTO; verify dead with a proving unit and approved voltage tester; use insulated tools; re-energize only for controlled tests.
- Required PPE: Arc-rated clothing (as required), dielectric gloves (Class 00 or per voltage), safety glasses/face shield, EH-rated footwear [Verify per project HSE plan and local regulations].
- Collective preventive measure: Barriers and signage to exclude others from test area.
-
Inspection/permit/supervision: Electrical PTW; LOTO log; supervision by licensed electrician.
-
Hazard: Work at height (ladders/tower) during mounting.
- Likely consequence: Fall from height, dropped objects.
- Engineering/procedural control: Use podium or tower for repetitive tasks; maintain 3-point contact on ladders, ladder angle ~75°; no overreaching; tool lanyards; exclude area below.
- Required PPE: Hard hat with chin strap, non-slip footwear, gloves.
- Collective preventive measure: Guardrailed tower scaffold; toe boards; exclusion zone.
-
Inspection/permit/supervision: Pre-use ladder/scaffold inspection and tag; competent person supervision.
-
Hazard: Drilling into concealed services (cables/pipes) in walls/ceilings.
- Likely consequence: Electric shock, flood, gas leak, fire.
- Engineering/procedural control: Review as-builts; scan with cable/pipe/stud detector; use stop collars for depth; drill pilot; permit-to-drill.
- Required PPE: Safety glasses, gloves, hearing protection.
- Collective preventive measure: Area cordoned; hot works not applicable unless specified.
-
Inspection/permit/supervision: Permit to drill; scans recorded; supervisor sign-off.
-
Hazard: Anchor failure causing falling fixture.
- Likely consequence: Injury, property damage.
- Engineering/procedural control: Select anchors with SWL ≥4× fixture weight; respect edge/spacing; proof pull-test sample (e.g., 10–20%) to 1.5× SWL [Verify per project]; torque to MI.
- Required PPE: Gloves, eye protection.
- Collective preventive measure: Exclusion during overhead work; secondary safety tether if MI provides.
-
Inspection/permit/supervision: QA/QC witness of sample pull tests; records kept.
-
Hazard: Battery chemical exposure (leak from failed pack).
- Likely consequence: Skin/eye irritation, chemical burns.
- Engineering/procedural control: Handle sealed batteries carefully; avoid short circuits; store per MI; spill kit available.
- Required PPE: Nitrile gloves, goggles.
- Collective preventive measure: Designated charging/commissioning area ventilation.
-
Inspection/permit/supervision: COSHH/SDS available; periodic inspection.
-
Hazard: Dust and noise from drilling.
- Likely consequence: Respiratory irritation, hearing damage, nuisance dust.
- Engineering/procedural control: On-tool extraction and M-class vacuum; wet drilling not typically used indoors; schedule noisy works.
- Required PPE: FFP2/FFP3 respirator [Verify], hearing protection.
- Collective preventive measure: Door seals/temporary screens to contain dust.
-
Inspection/permit/supervision: HSE monitoring; housekeeping checks.
-
Hazard: Fire compartment breach by cabling.
- Likely consequence: Compromised fire resistance.
- Engineering/procedural control: Use approved firestop system; label and log.
- Required PPE: Gloves, goggles.
- Collective preventive measure: Fire marshal review of penetrations.
-
Inspection/permit/supervision: Firestop inspection record; ER witness if required.
-
Hazard: Manual handling of equipment and towers.
- Likely consequence: Musculoskeletal injury.
- Engineering/procedural control: Team lift for items >20 kg [Verify]; use wheel kits for towers; plan route.
- Required PPE: Gloves, safety footwear.
- Collective preventive measure: Mechanical aids where possible.
- Inspection/permit/supervision: Supervisor oversight and TBT briefing.
Environmental Controls
- Battery and electronic waste: Collect spent/defective batteries and electronic components in labeled containers; dispose/recycle via licensed hazardous waste contractor; records retained [Verify per local regulations].
- Packaging: Segregate cardboard/plastic/wood for recycling; returnable packaging to supplier where possible.
- Dust control: Use on-tool extraction; vacuum with M-class filters; no dry sweeping. Clean work area after drilling.
- Noise: Schedule drilling during permitted hours; use low-vibration bits; provide hearing protection.
- Energy efficiency: Specify LED exit signs with low standby power and self-test features where approved.
- Chemical management: Maintain SDS for sealants/adhesives; avoid spills; use drip trays if mixing compounds.
- Nuisance light: During night testing, coordinate with facility to avoid disturbance; restore normal lighting promptly after tests.
QA/QC Requirements
Submittals and Approvals
- Product data sheets and certifications (UL 924/EN 60598-2-22), ISO 7010 legends or NFPA EXIT lettering as required.
- Anchor selection data (ETA/ICC-ES), torque specs, and proof test plan if required.
- Firestop system approvals matching wall/ceiling FRL.
- Test instrument calibration certificates (<12 months).
Tolerances and Workmanship
- Sign alignment: level/plumb within ±2 mm across width/height or ≤1° [Verify per project specifications].
- Mounting height: bottom of sign 2.0–2.5 m AFF unless otherwise shown [Verify].
- Fasteners: torque as per MI; no visible damage to finishes; cables neatly dressed and labeled.
Testing and Commissioning
- Electrical tests: continuity, polarity, CPC continuity, and insulation resistance (typ. 500 VDC, ≥1 MΩ) [Verify for system voltage].
- Functional: maintained and non-maintained operation verified; charger indicator operates.
- Luminance/visibility: luminance ≥2 cd/m² and uniformity Lmax/Lmin ≤10 as benchmark per BS EN 1838 [Verify per project/authority]; visibility from designated viewing areas confirmed.
- Battery autonomy: discharge for 90 minutes (or authority requirement); end voltage within MI limits; recharge verified.
Records
- Inspection Requests (IRs) for hold/witness points.
- Test sheets: electrical, luminance, autonomy; calibration certificates copies.
- Firestop log updates and photos.
- As-built drawings and asset register with device IDs and circuit references.
Nonconformance and Corrective Action
- Record any deviations on NCR; rectify (realign, replace LED module, reorient legend, upgrade anchors) and retest affected units. Re-offer for inspection at same hold/witness status.
Attachments
- Approved shop drawings and legend schedules.
- Manufacturer’s installation and commissioning manuals (MI).
- Risk assessment and toolbox talk records for this activity.
- Calibration certificates: multimeter, IR tester, luminance meter, torque tools.
- Permit-to-Work and LOTO templates.
- Anchor data sheets and torque/pull-test plan.
- Firestop system approvals and typical details.
- Inspection and Test Plan (ITP) checklists and sample test sheets.
- As-built drawing templates and label schedules.
This content is a read-only public reference. Download or customize to get an editable version.
ITP preview
The first inspection activities from the linked ITP for Method Statement – Installation and Commissioning of Exit Signs (Wall/Ceiling Mounted):
| Activity | Inspection / Test | Acceptance Criteria | Responsibility | Record |
|---|---|---|---|---|
| Material receipt – signs, legends, batteries, anchors | Verify models, certificates (UL/CE), quantities, damage check | Matches approved submittals; certification valid | QA/QC (C), ER (R) | MIR, certificates |
| Set-out and locations | Check positions/heights vs drawings | Correct location; clear sightline | SE/QAQC (C), ER (W) | IR with marked-up plan |
| Permit to Work and Isolation | PTW/LOTO documents review; zero-voltage check | Valid permits; zero-energy verified | Supervisor/HSE (C), ER (R) | PTW, LOTO log |
Showing 3 of 12 inspection activities. View full ITP →
Related Inspection and Test Plan
An Inspection and Test Plan (ITP) is available for Method Statement – Installation and Commissioning of Exit Signs (Wall/Ceiling Mounted). The ITP defines the inspection activities, acceptance criteria, hold and witness points, responsible parties, and records required to verify the work described in this method statement.
View the Method Statement – Installation and Commissioning of Exit Signs (Wall/Ceiling Mounted) ITP →Frequently asked questions
Continue with related Quollnet resources connected to this method statement.