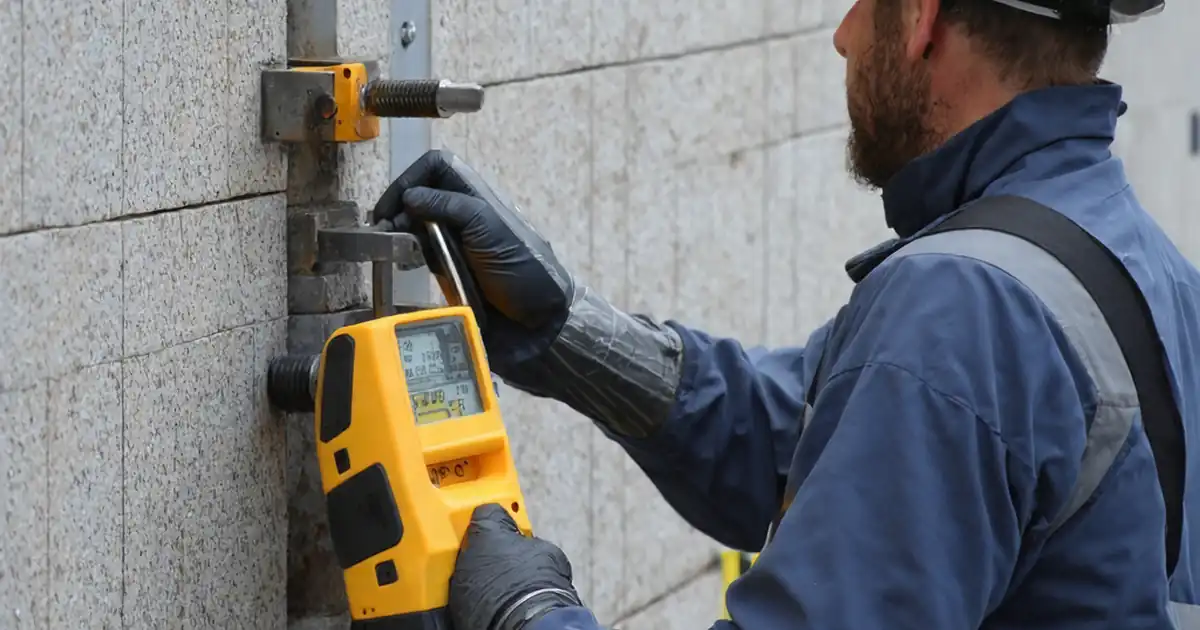
Dynamic Façade Actuator Mounting and Bracket Stability Inspection
Definition: Inspect dynamic façade actuator mounting and bracket stability for site engineers and QA managers, confirming secure anchorage, correct torque, precise alignment, and durable environmental protection of operable façade components and supports.
- Verify anchors, brackets, and fasteners meet drawings, torque, and embedment.
- Confirm actuator alignment, travel limits, and bracket deflection under load.
- Document materials, batch numbers, photos, and calibrated tool readings.
- Interactive, commentable checklist with export and QR code verification.
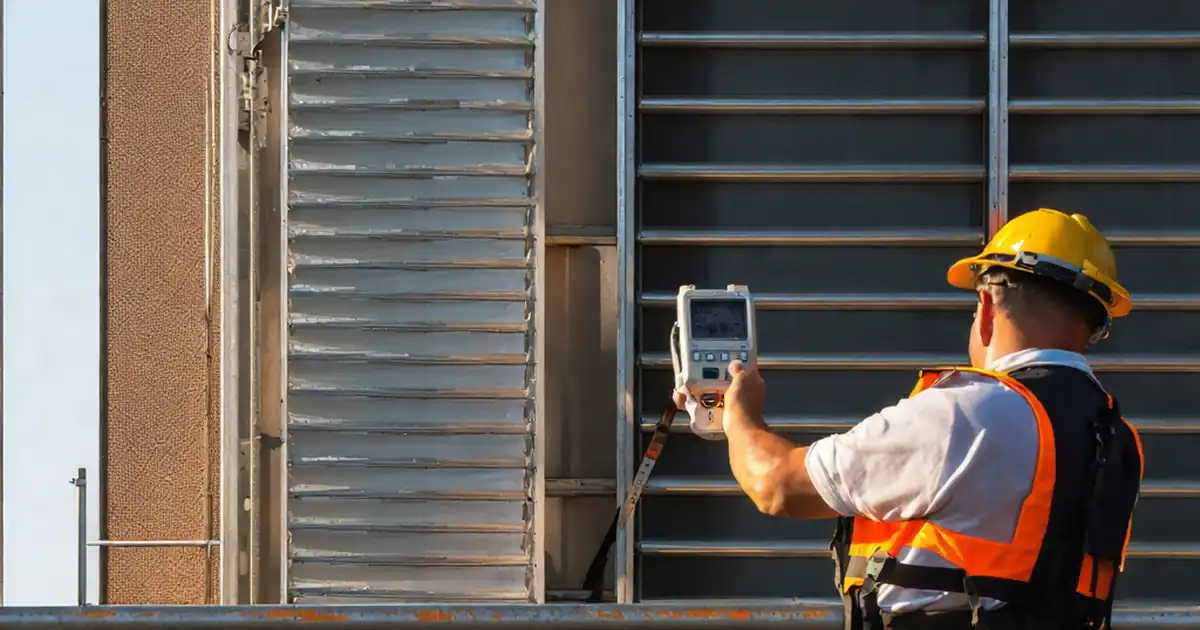
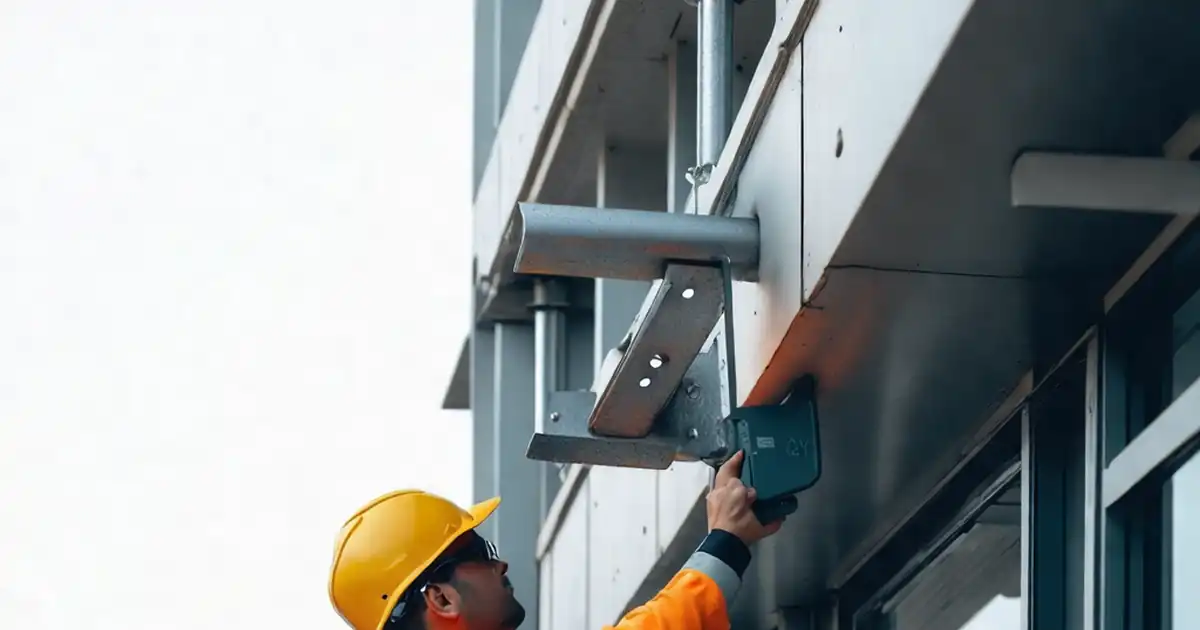
Inspect dynamic façade actuator mounting and bracket stability. This checklist focuses on the mechanical attachment of motorized façade actuators and the stability of their supporting brackets and fixings. It excludes control wiring, software commissioning, and envelope performance beyond the immediate mount interface. By verifying substrate suitability, anchor selection and embedment, bracket geometry, torque on fasteners, and actuator-to-linkage alignment, you prevent detachment, binding, service vibration, water ingress at penetrations, and premature corrosion. The outcome is a secure, aligned, and maintainable installation that transmits loads safely to the structure and operates smoothly across the full stroke. Acceptance cues include laser-verified plumb/level, documented torque within tolerance, proof pull-out values, measured deflection at travel stops, and continuous isolation/sealant where required. Use this field-ready tool to capture photos, instrument readings, product data, and approvals, ensuring traceable QA. Start interactive mode, tick items, add comments for snags, and export your records to PDF/Excel with a QR link.
- Ensure safe, durable actuator mounting by validating substrate capacity, correct anchor type and embedment, bracket alignment, and controlled fastener torque. Capture calibrated readings and photos to create traceable, auditable evidence for project closeout and maintenance.
- Reduce operational faults by confirming actuator-to-linkage alignment, smooth cycling across full travel, and minimal bracket deflection at limit stops. Early detection of binding, looseness, or misalignment prevents noise, wear, and costly rework after façade access becomes limited.
- Protect against corrosion and water ingress by checking coatings, isolators for dissimilar metals, and continuous sealant at penetrations. Recording material grades, dry film thickness, and batch/lot numbers supports warranty compliance and long-term performance assurance.
- Interactive online checklist with tick, comment, and export features secured by QR code. Field teams can add photos, readings, and approvals, then instantly generate a version-controlled PDF/Excel record for consultants, clients, and future maintenance teams.
Pre-Inspection and Access
Mounting Substrate and Anchors
Brackets and Hardware
Actuator Alignment and Operation
Corrosion Protection and Sealing
Documentation and Sign-Off
Anchorage, Substrate Capacity, and Load Transfer
Reliable dynamic façade actuators depend on anchors transferring loads into capable substrates. Begin by confirming substrate type and thickness at each mounting point, using cover meters or ultrasonic gauges where concealed. Select anchors exactly as approved, then verify diameter and embedment with calipers and depth gauges. Proof pull-out on a representative sample provides confidence the installation meets design loads per approved project specifications and authority requirements. Edge distance and spacing control breakout and splitting; measure and record with tolerances. Clean, dry holes ensure bond in adhesive systems and proper expansion in mechanical anchors. Record all readings and capture time-stamped photos for traceability. When uncertain, escalate to engineering review rather than substituting hardware in the field. An auditable trail of substrate verification, anchor lots, and pull-test data prevents latent defects and difficult post-assembly rework once access is restricted by finished cladding or glazing.
- Confirm substrate thickness and type before drilling any holes.
- Verify anchor diameter, embedment, and spacing against drawings.
- Perform calibrated pull-out tests and record kN with photos.
- Keep holes within tolerance, clean, and dry before installing anchors.
- Escalate deviations for engineer review; do not field-substitute.
Bracket Geometry, Torque Control, and Alignment
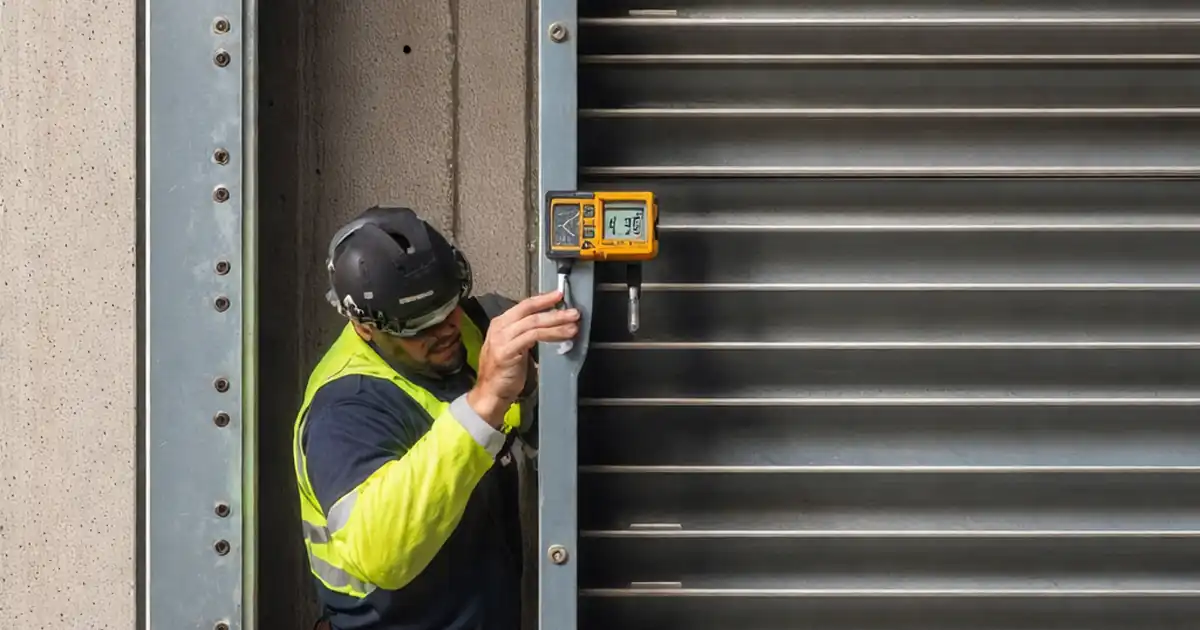
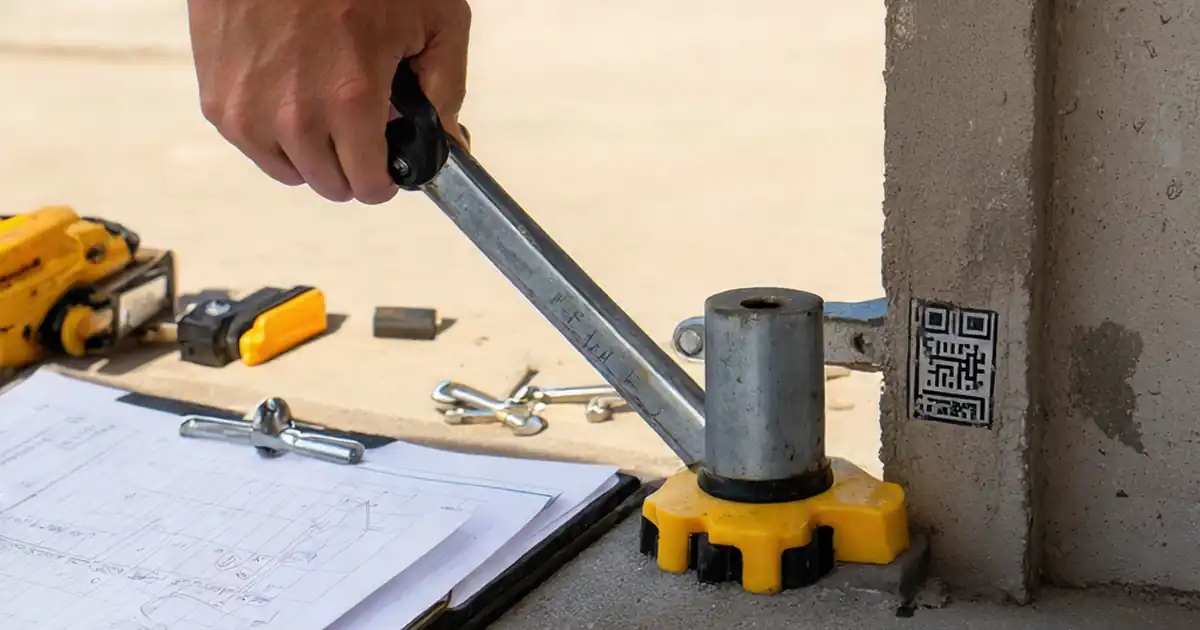
Bracket stability is achieved by correct geometry, controlled bolt tension, and precise actuator alignment. Use lasers or a level to set plumb/level and stand-off within tight millimetre tolerances. Confirm fastener grade and length, then apply torque with a recently calibrated wrench, recording each reading. Install locking features to resist loosening from dynamic loads. Flatness of mounting faces keeps actuator housings square, minimizing binding during travel. Cycle the actuator through its full stroke; verify no rubbing, current draw remains within expectations, and bracket deflection at limit stops is minimal and temporary. Measure free play using a dial indicator to confirm joints remain tight. Document materials, batch numbers, and all measurements so maintenance teams can reference baseline conditions. This disciplined approach reduces noise, wear, and drift, and it keeps operable shading or ventilation elements moving smoothly throughout their service life.
- Set plumb/level within ±2 mm over 1 m.
- Record torque per bolt using a calibrated wrench.
- Install and confirm all locking features are engaged.
- Cycle full stroke and monitor current draw and deflection.
- Measure backlash; keep within specified small tolerances.
Durability: Corrosion Isolation, Coatings, and Sealing
Facade actuators and brackets operate outdoors, so durability measures are essential. Verify correct material grades and protective finishes match approved submittals. At interfaces of dissimilar metals, continuous isolation (EPDM/nylon) prevents galvanic corrosion. After drilling or cutting, inspect coatings and measure dry film thickness to confirm touch-ups meet product data sheets. Seal penetrations and interfaces with compatible sealants to control water ingress that can attack anchors and fasteners. Check drainage paths and weep holes around brackets remain clear so moisture does not accumulate. Document batch numbers, DFT readings, and sealant details. These controls protect the structural connection and preserve movement performance across seasons. A small investment in isolation and sealing during installation avoids difficult repairs later, extends service life, and supports warranties that require evidence of correct products and thicknesses at every treated surface.
- Use isolators between dissimilar metals continuously.
- Verify DFT meets specified micrometres at repaired areas.
- Seal all penetrations with compatible, continuous bead.
- Keep drainage routes and weeps open and clean.
How to Use the Interactive Mounting and Bracket Stability Checklist
- Preparation: Review approved drawings/submittals, gather torque wrench (calibrated), pull tester, dial indicator, DFT gauge, multimeter, laser level, PPE, and safe access equipment.
- Site setup: Establish exclusion zones and isolate power. Verify tool calibrations are in date. Open the checklist on a mobile or tablet with camera enabled.
- Start interactive mode: Tick items as you proceed, attach photos, record measurements (mm, kN, N·m, µm), and reference grid locations for every observation.
- Use comments: Flag nonconformances, tag responsible parties, assign due dates, and upload manufacturer guidance or sketches to clarify required rework.
- Export and share: Generate an export as PDF/Excel with embedded photos and a QR code for authenticity; circulate to stakeholders for review.
- Sign-off and archive: Capture digital signatures from contractor and consultant, close comments, lock the record, and archive with QR-linked traceability.
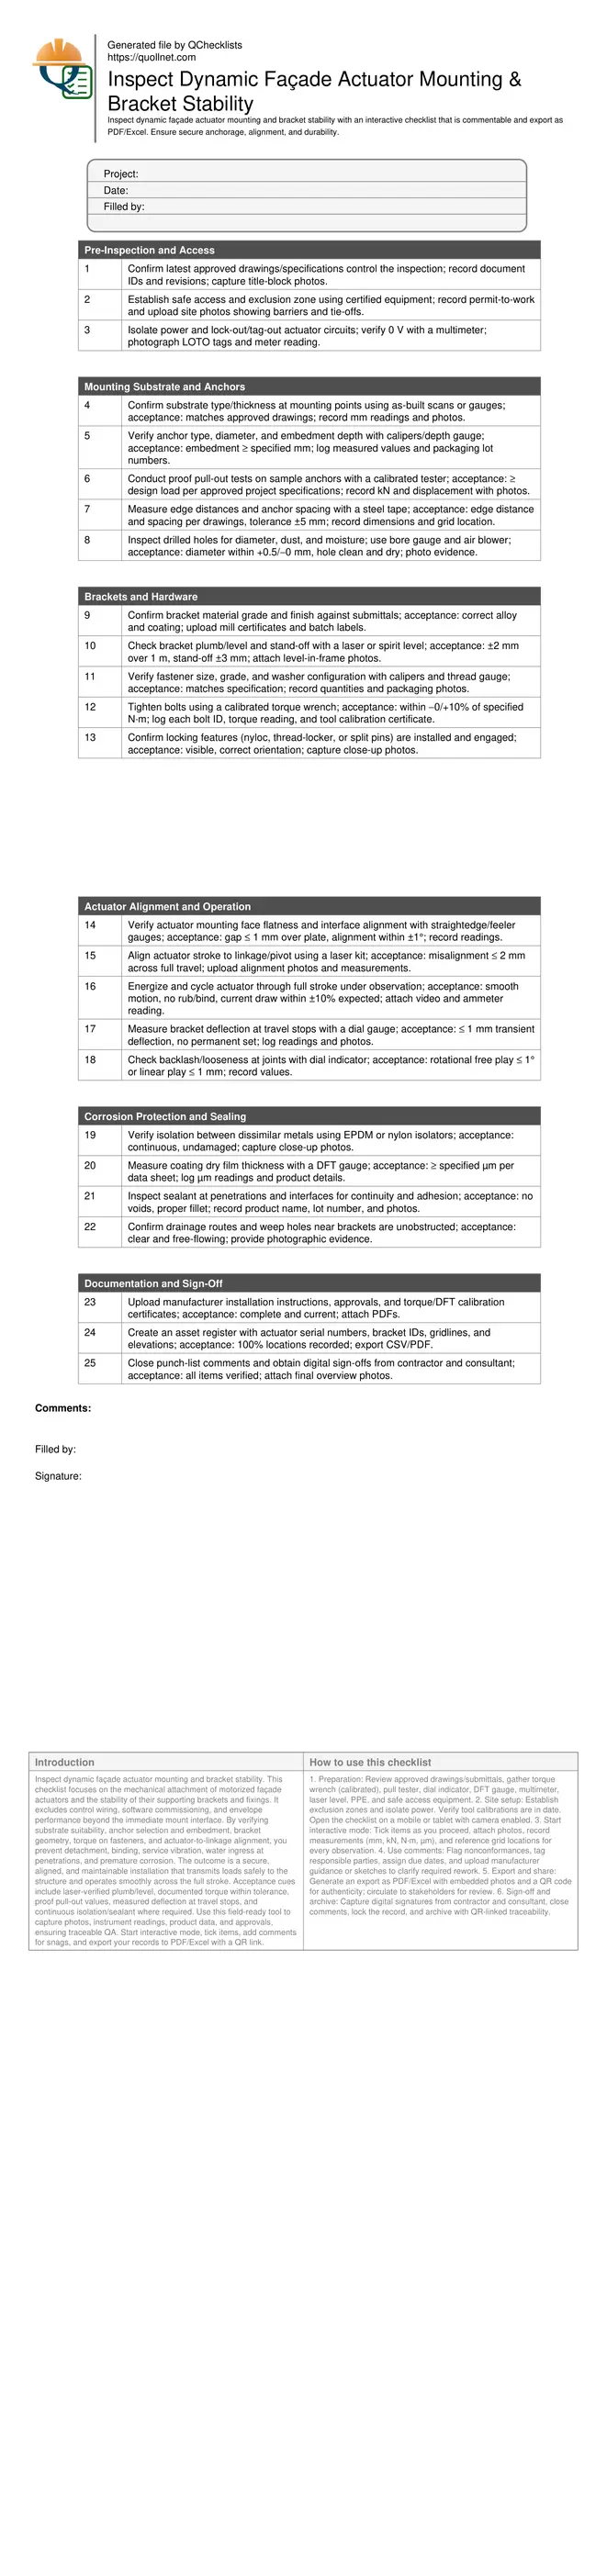
Call to Action
- Start Checklist Tick off tasks, leave comments on items or the whole form, and export your completed report to PDF or Excel—with a built-in QR code for authenticity.
- Download Excel - Dynamic Façade Actuator Mounting Inspection
- Download PDF - Dynamic Façade Actuator Mounting Inspection
- View Image - Dynamic Façade Actuator Mounting Inspection
Cite & Embed
“Dynamic Façade Actuator Mounting Inspection by Quollnet”
with a link to
this source page.

FAQ
Question: How much bracket deflection is acceptable when the actuator hits its limit stops?
Question: What if the specified torque value is missing from the documentation?
Question: When should anchor pull-out testing be performed for actuator brackets?
Question: How often should dynamic façade actuator mounts be re-inspected after handover?
Question: What evidence should I capture to close out the bracket stability inspection?
Related Articles
Broader reading and guidance connected to this checklist topic.


Is It Important To Customize Your Qr Code And How To Do It?

Master Construction Project Cashflow With Cashflowpot

Related Checklists
Keep the workflow moving with nearby templates chosen from similar checklist content.