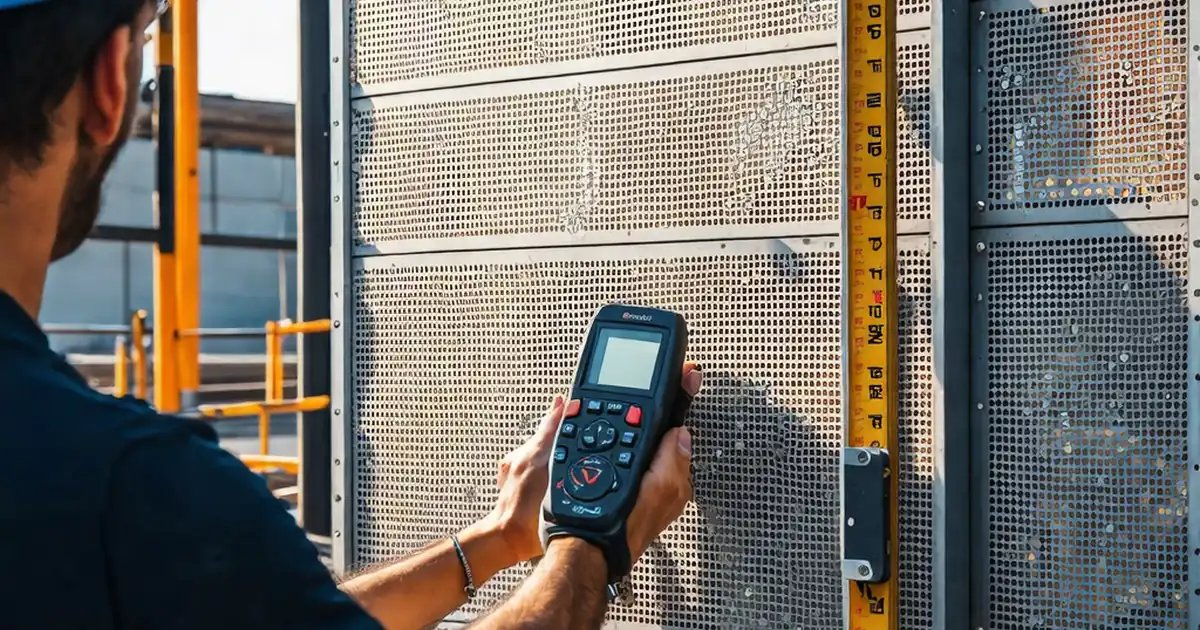
Inspect operable louver installation and movement clearance
Definition: Inspect operable louver installation and movement clearance for façades and plant intakes, guiding supervisors and QA teams to verify alignment, actuation, fastenings, and unobstructed blade sweep per approved project specifications and authority requirements.
- Verify frame plumb, level, and squareness for smooth blade travel
- Measure blade-to-frame clearances and linkage sweep with calibrated gauges
- Test actuators, limits, and control signals for reliable, safe operation
- Interactive, commentable checklist with export and QR code verification
Inspect operable louver installation and movement clearance is the critical field step that proves adjustable louvers are installed true, cycle freely, and seal correctly. This checklist focuses on building façade and intake/exhaust louvers with operable blades, including their frames, linkages, stops, and actuators. By confirming frame squareness, uniform shim gaps, smooth blade actuation, and proper movement envelope, you avoid binding, premature wear, water ingress, and nuisance alarms. The procedure also validates actuator mounting, torque, end stops, and signal response, plus perimeter weathering details and screen clearances. Acceptance criteria reference manufacturer data and are checked per approved project specifications and authority requirements using calibrated tools. The outcome is a documented, repeatable inspection that captures measurements, photos, torque logs, and serial numbers, ensuring traceable quality and faster commissioning. Start in interactive mode to tick items, add comments for snags or approvals, and export your verified record as PDF/Excel with an embedded QR code for authentication.
- Ensure operable louvers are installed square, level, and anchored to specification, then confirm blades traverse their full envelope without rubbing or obstruction. This reduces rework, prevents actuator overloads, and safeguards weather performance.
- Capture hard evidence with calibrated measurements: shim gaps, diagonal checks, torque values, angle settings, and current draw. Attach geo-tagged photos and videos to validate conformance and speed stakeholder approvals during commissioning.
- Interactive online checklist with tick, comment, and export features secured by QR code. Standardize field checks across teams, maintain an auditable trail, and instantly distribute results to contractors, consultants, and client representatives.
- Prove readiness for handover by documenting actuator types, serials, signal response, sealant integrity, screen clearances, and water test results. Consistent acceptance cues minimize warranty risk and ensure reliable, maintainable façade ventilation.
Pre-Installation Conditions
Frame and Anchorage
Blade and Linkage Movement
Actuator and Controls
Weather and Performance
Documentation and Handover
Set the Frame Right to Avoid Binding Later
Blade movement quality starts with a square, plumb, and level frame. Even small errors accumulate: skewed diagonals twist the jambs, narrowing clearances and creating scrape points. Use a laser level to validate verticals and horizontals, then compare diagonals with a steel tape; within 3 mm difference is a reliable benchmark for operable louvers. Establish uniform shim gaps so fastening loads don’t distort the frame. Verify anchor type, spacing, and torque to prevent creep or racking under wind loads. Isolate dissimilar metals at contact points to protect coatings and maintain long-term tolerances. When dry-fitting, note any rubbing or asymmetric gaps—those are early warnings that will amplify once actuators drive the blades. Capture readings and photos before permanent fixing so corrections remain quick and low-cost.
- Laser level verticals/horizontals; keep overall deviation ≤ 4 mm
- Diagonal difference target: ≤ 3 mm across the frame
- Maintain 8–12 mm uniform shim gap, ±2 mm
- Torque-check representative anchors with a calibrated wrench
- Install isolation to avoid galvanic corrosion and warping
Prove Unobstructed Blade Travel and Reliable Actuation
Movement clearance must be measured, not guessed. Cycle blades manually first to feel for friction, then confirm blade-to-frame gaps with feeler gauges at corners and mid-spans. Linkages often collide with screens or mullions at mid-travel, so observe positions at 0°, 45°, and 90°. Set mechanical end stops before energizing actuators. Next, mount the actuator per the submittal, torque fasteners, and verify stroke limits using a digital angle finder; within ±2° ensures consistent control. Monitor current while cycling; rising draw hints at interference or misalignment. Test control response via a signal generator or temporary BMS command to verify proportional tracking. Document all readings, serials, and photos to create a defensible record for commissioning.
- Measure blade gaps; minimum 3 mm everywhere
- Check linkage sweep at 0°, 45°, 90° for obstructions
- Set end stops, then validate angles within ±2°
- Monitor current draw across five cycles for stability
- Record actuator serials and mounting torques
Seal the Perimeter and Validate Weather Paths
Reliable louvers also manage rain and debris. After fixing the frame, inspect sealant joints for width, adhesion, and finish. Simple probe or thumbnail tests quickly reveal poor bonding. Confirm bird or insect screens are removable for maintenance yet clear of the blade envelope by at least 10 mm. Flashings, sills, and weep paths must remain unobstructed; a short, low-pressure spray test verifies interface integrity without overdriving water. Inspect coatings and fasteners for continuity—corroded components lose tolerance and introduce friction. Close with clear, labeled documentation: IDs, airflow direction, actuator voltage, and all test records. The result is a complete package ready for review and long-term reliability.
- Sealant joints 10–15 mm, continuous and well-tooled
- Screens intact and ≥ 10 mm from linkages
- Low-pressure spray: no internal ingress observed
- Coatings intact; touch up per manufacturer guidance
- Label equipment and archive evidence
How to Use This Interactive Louver Inspection Checklist
- Preparation: gather approved drawings/submittals, calibrated tape, feeler gauges, laser level, torque wrench, angle finder, clamp meter, signal generator, PPE, permits, and access equipment.
- Create a new checklist record; enter project, location, louver ID, and inspector details; enable photo/video capture and time-stamped measurements.
- Assign roles: installer updates status, inspector records measurements, reviewer comments and approves; set notification rules for snags and closures.
- Work through groups in order; attach photos to each item, add comments for deviations, and tag follow-ups with due dates and owners.
- Retest after corrections; update measurements and evidence; resolve comments by referencing new photos and tool calibration certificates.
- Export the completed checklist as PDF/Excel with embedded QR code for authenticity; share with stakeholders and file in the CDE.
- Sign-Off: capture digital signatures from installer, supervisor, and client representative; lock the record and archive securely.

Call to Action
- Start Checklist Tick off tasks, leave comments on items or the whole form, and export your completed report to PDF or Excel—with a built-in QR code for authenticity.
- Download Excel - Operable Louver Installation & Clearance Inspection
- Download PDF - Operable Louver Installation & Clearance Inspection
- View Image - Operable Louver Installation & Clearance Inspection
Cite & Embed
“Operable Louver Installation & Clearance Inspection by Quollnet”
with a link to
this source page.
FAQ
Question: What movement clearance should I allow around operable louver blades?
Question: How can I set end stops and test actuator travel before the BMS is online?
Question: Do bird or insect screens affect louver operation and airflow?
Question: What evidence should I capture to prove compliance during handover?
Related Articles
Broader reading and guidance connected to this checklist topic.




Improve Your Project Handover Process With Snag List Tracking App

Is It Important To Customize Your Qr Code And How To Do It?
Related Checklists
Keep the workflow moving with nearby templates chosen from similar checklist content.