Punched Window Perimeter Shims, Packers, and Support Blocks Inspection
Definition: Inspect punched window perimeter shims, packers, and support blocks for installers and inspectors verifying materials, placement, load transfer, drainage, and tolerances to deliver durable, plumb, warrantable window assemblies.
- Confirm material ratings, compatibility, and lot traceability before installation.
- Verify placement, spacing, and alignment to prevent frame distortion.
- Protect drainage paths and sealant performance for long-term durability.
- Interactive, commentable steps with export and QR code verification.
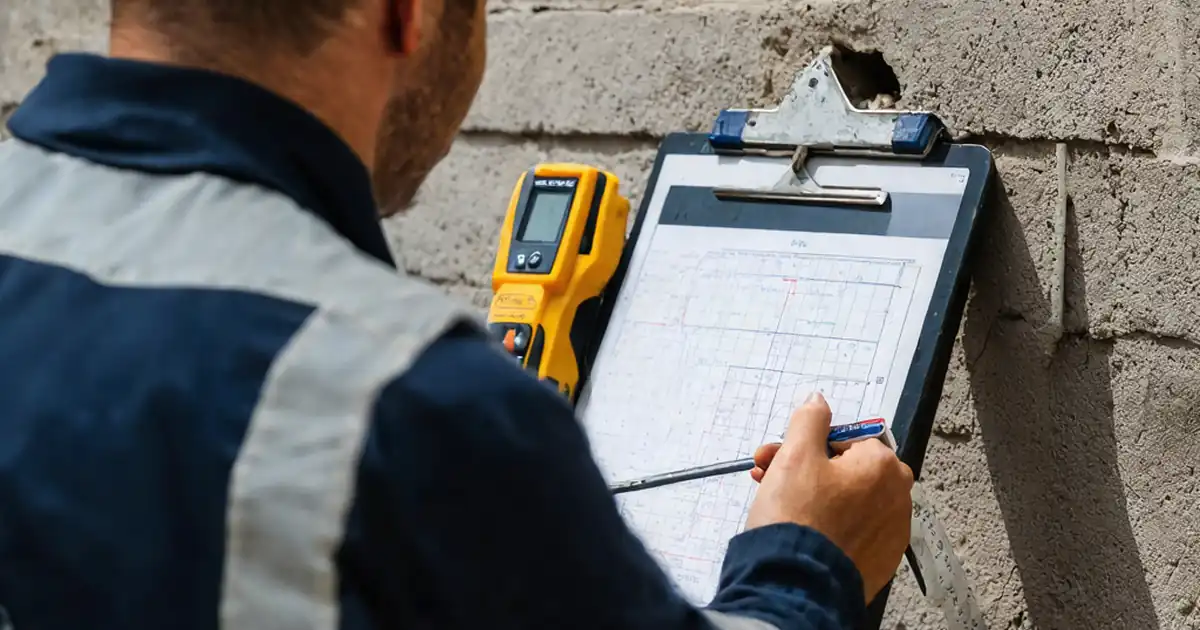
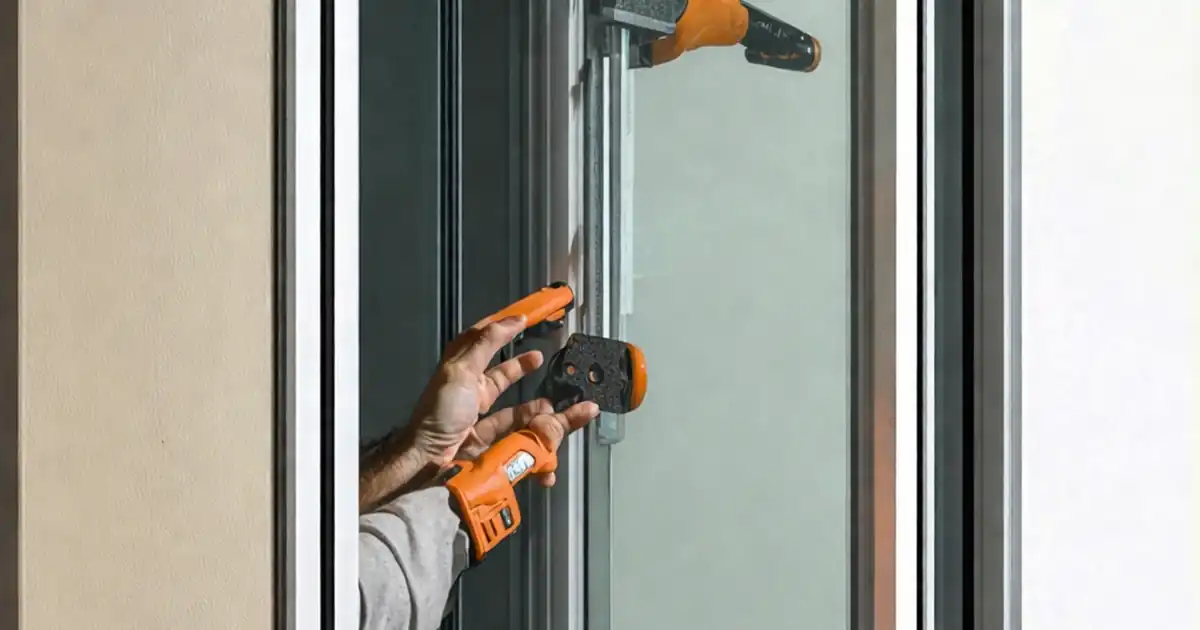
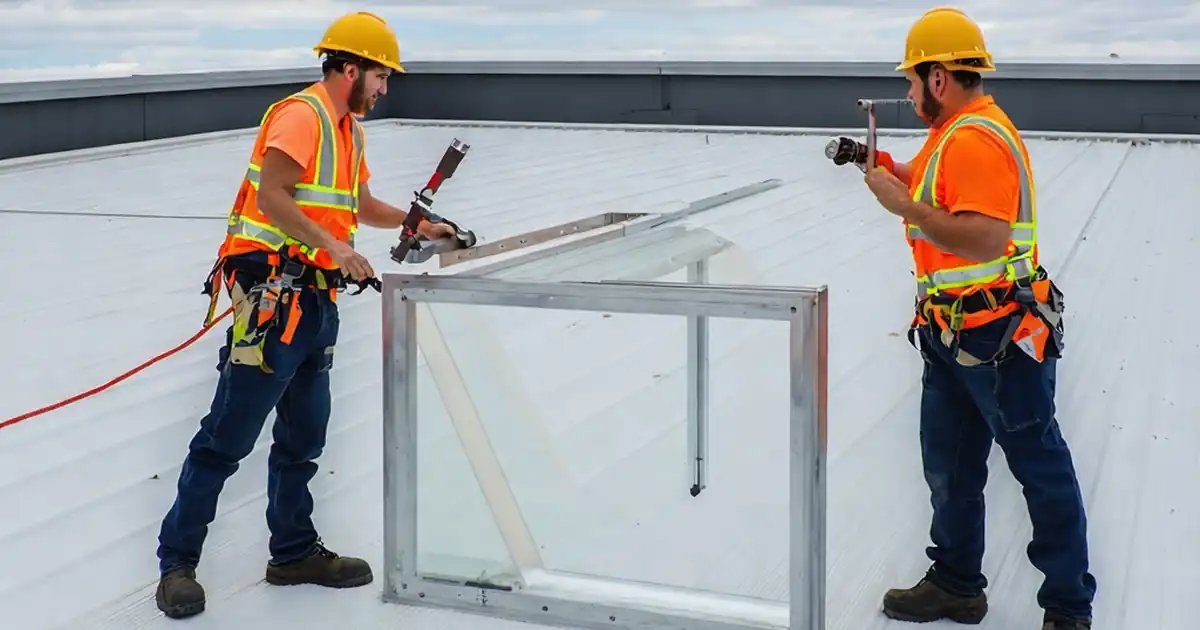
Inspect punched window perimeter shims, packers, and support blocks is a focused field task ensuring individual window units are supported, aligned, and sealed correctly. This checklist centers on punched window frames, setting blocks and glazing packers at the perimeter, and jamb shims used to true the installation. You will verify material suitability, chemical compatibility with sealants and membranes, and that all load paths transfer to structure without crushing or inducing twist. Accurate shim placement keeps frames level and plumb, maintains uniform gaps for backer rod, and prevents binding of operable sashes. Proper support blocks safeguard sill drainage and long-term performance by keeping weep paths clear. The outcome is a stable, square, warrantable installation that resists water ingress, thermal movement issues, and call-backs. Use this interactive tool to tick off steps, drop comments with photos, and export your record as PDF/Excel; a QR-linked opening ID keeps documentation traceable and easy to retrieve.
- Ensure the right non-absorbent, high-density shims, packers, and support blocks are used, traceable to approved submittals. Confirm compatibility with sealants, membranes, and frame finishes to prevent softening, staining, or bond loss over time.
- Control placement and spacing to maintain plumb, level, and square frames. Align shims with anchor points, limit stacking, and verify tolerances with calibrated tools to avoid frame bow/twist, operable sash binding, and premature hardware wear.
- Safeguard drainage and durability by keeping weep paths unobstructed, using appropriate support blocks, and validating sealant/backer-rod geometry. Capture water-test evidence and material batch data to strengthen warranty documentation and closeout packages.
- Interactive online checklist with tick, comment, and export features secured by QR code.
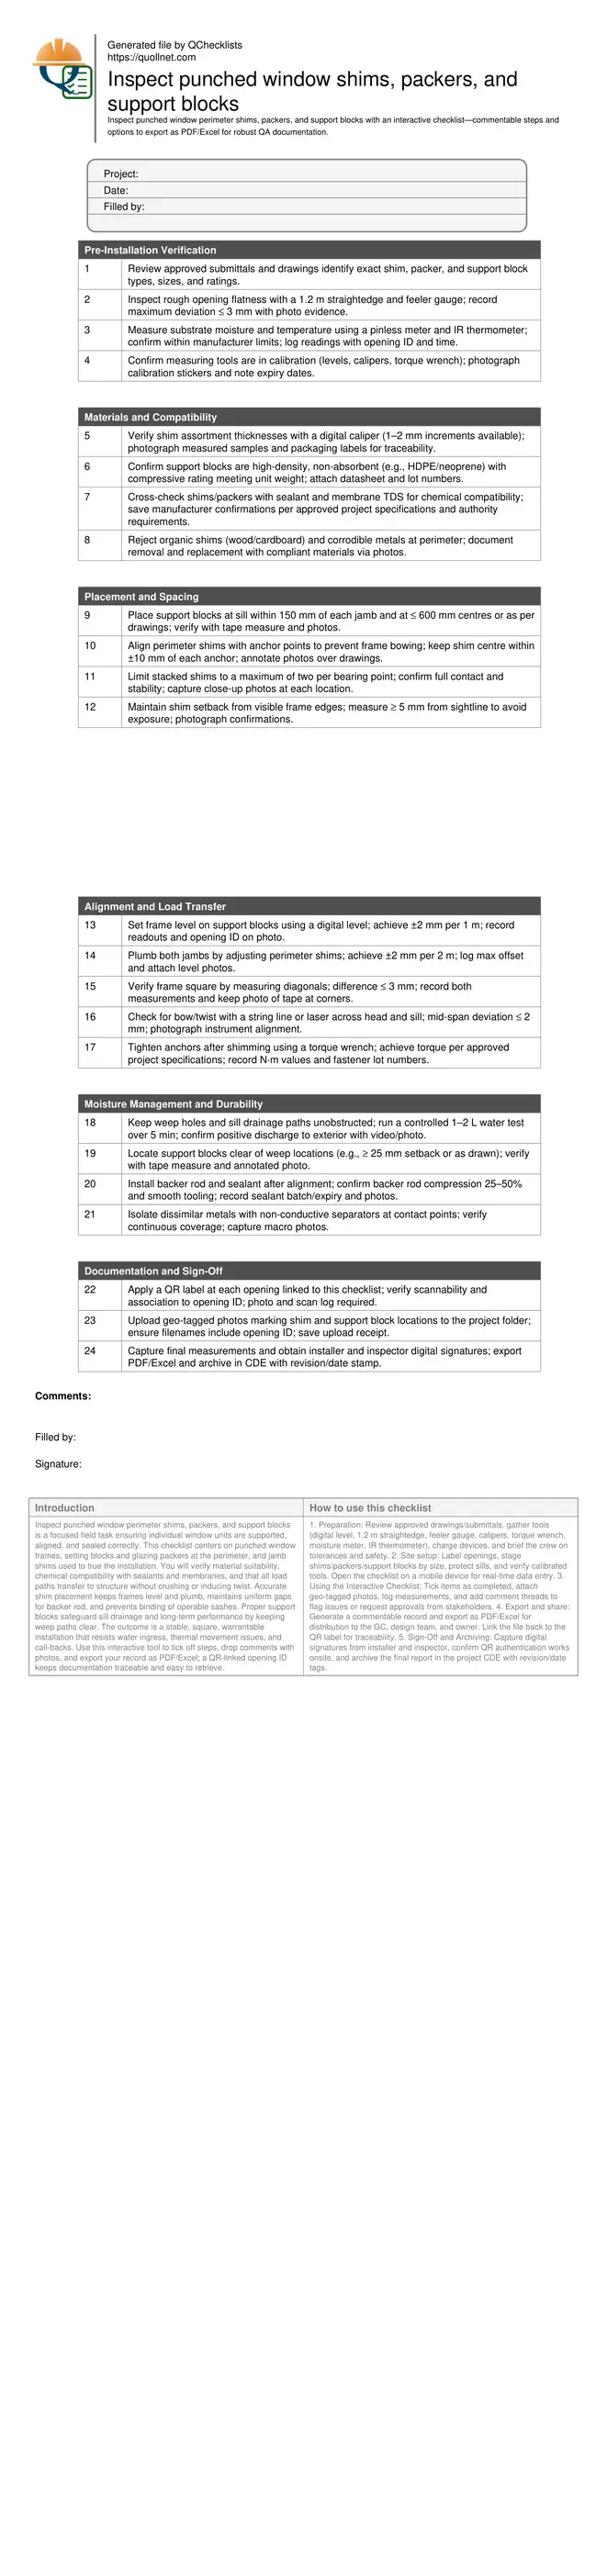
Pre-Installation Verification
Materials and Compatibility
Placement and Spacing
Alignment and Load Transfer
Moisture Management and Durability
Documentation and Sign-Off
Materials and Compatibility: Choose Components That Last
The right shims, packers, and support blocks for punched windows must carry loads without creep, resist moisture, and remain compatible with adjacent materials. High-density plastic or elastomeric support blocks at sills prevent compression set and preserve drainage geometry. Perimeter shims should come in precise thickness increments to fine-tune level and plumb without overstacking. Before opening any boxes, cross-check product datasheets against approved submittals and verify chemical compatibility with sealants, membranes, and frame finishes to avoid staining, softening, or bond failure. Reject organic or corrodible materials that absorb water or degrade. Confirm availability of calibration-checked tools—digital level, calipers, torque wrench—to measure, not guess. A brief toolbox talk aligning the crew on acceptable products and tolerances reduces rework and speeds installation. Onsite, photograph packaging labels and retain lot numbers; this anchors traceability and strengthens closeout documentation should warranty queries arise later.
- Use non-absorbent, high-density materials for sustained load support.
- Cross-check chemical compatibility with sealants and membranes.
- Keep shim thickness options in 1–2 mm increments.
- Reject organic or corrodible shims at perimeters.
- Photograph labels and note lot numbers for traceability.
Placement, Spacing, and Alignment: Control the Geometry
Accurate placement translates directly to long-term performance. Support blocks carry dead loads at the sill; locate them close to jambs and at intervals shown on drawings to distribute weight evenly. Position perimeter shims in line with anchor points to avoid point-loading and frame bow. Limit stacking to two pieces at any bearing location to maintain stability. During setting, use a digital level and a 2 m spirit level to achieve specified level and plumb tolerances; then verify squareness by checking diagonals. Recheck after anchor tightening to confirm the frame did not twist or lift off supports. Keep shims set back from sightlines to avoid visibility and to maintain continuous sealant geometry. Document each measured tolerance with photos of instruments in place and note the opening ID for later retrieval and auditing.
- Place supports near jambs and at designed centres.
- Align shims with anchors to prevent bow/twist.
- Limit stacks to two pieces per point.
- Verify level, plumb, and square with calibrated tools.
- Recheck geometry after tightening anchors.
Drainage, Sealing, and Evidence: Make Performance Provable
Moisture management at punched windows depends on uninterrupted weep paths and well-formed perimeter seals. Keep support blocks clear of weeps, and never bridge the weep path with shims. After alignment, install correctly sized backer rod to achieve a 2:1 width-to-depth sealant profile and proper compression. Tool sealant for full adhesion to both flanks without three-sided contact. Validate drainage with a small, controlled water test and capture photos or video of positive discharge. Record sealant batch numbers, expiration dates, and ambient conditions at installation. Apply a QR label at each opening that links to the checklist record, then upload geo-tagged photos showing shim and block locations. Export the signed report to PDF/Excel and store it in the common data environment for easy retrieval during commissioning, turnover, or warranty review.
- Keep weep holes unobstructed at all times.
- Confirm backer rod compression and sealant profile.
- Perform and document a controlled water test.
- Use QR labels to tie records to openings.
- Archive signed reports in the project CDE.
How to Use This Interactive Inspection Checklist
- Preparation: Review approved drawings/submittals, gather tools (digital level, 1.2 m straightedge, feeler gauge, calipers, torque wrench, moisture meter, IR thermometer), charge devices, and brief the crew on tolerances and safety.
- Site setup: Label openings, stage shims/packers/support blocks by size, protect sills, and verify calibrated tools. Open the checklist on a mobile device for real-time data entry.
- Using the Interactive Checklist: Tick items as completed, attach geo-tagged photos, log measurements, and add comment threads to flag issues or request approvals from stakeholders.
- Export and share: Generate a commentable record and export as PDF/Excel for distribution to the GC, design team, and owner. Link the file back to the QR label for traceability.
- Sign-Off and Archiving: Capture digital signatures from installer and inspector, confirm QR authentication works onsite, and archive the final report in the project CDE with revision/date tags.
Call to Action
- Start Checklist Tick off tasks, leave comments on items or the whole form, and export your completed report to PDF or Excel—with a built-in QR code for authenticity.
- Download Excel - Punched Window Shim, Packer, and Support Block Inspection
- Download PDF - Punched Window Shim, Packer, and Support Block Inspection
- View Image - Punched Window Shim, Packer, and Support Block Inspection
Cite & Embed
“Punched Window Shim, Packer, and Support Block Inspection by Quollnet”
with a link to
this source page.
FAQ
Question: Why are non-compressible support blocks required at the sill of punched windows?
Question: What spacing and locations should I use for shims and support blocks?
Question: Can shims or packers obstruct weep holes, and how can I verify drainage?
Question: What documentation closes out an inspection of shims, packers, and support blocks?
Related Articles
Broader reading and guidance connected to this checklist topic.



Open Ncrs At Taking-over / Dlp: What Happens At Handover And How To Escalate

Eot Claim Checklist | Free Extension Of Time Submission Guide

Major Construction Defects That Needs Immediate Attention
Related Checklists
Keep the workflow moving with nearby templates chosen from similar checklist content.