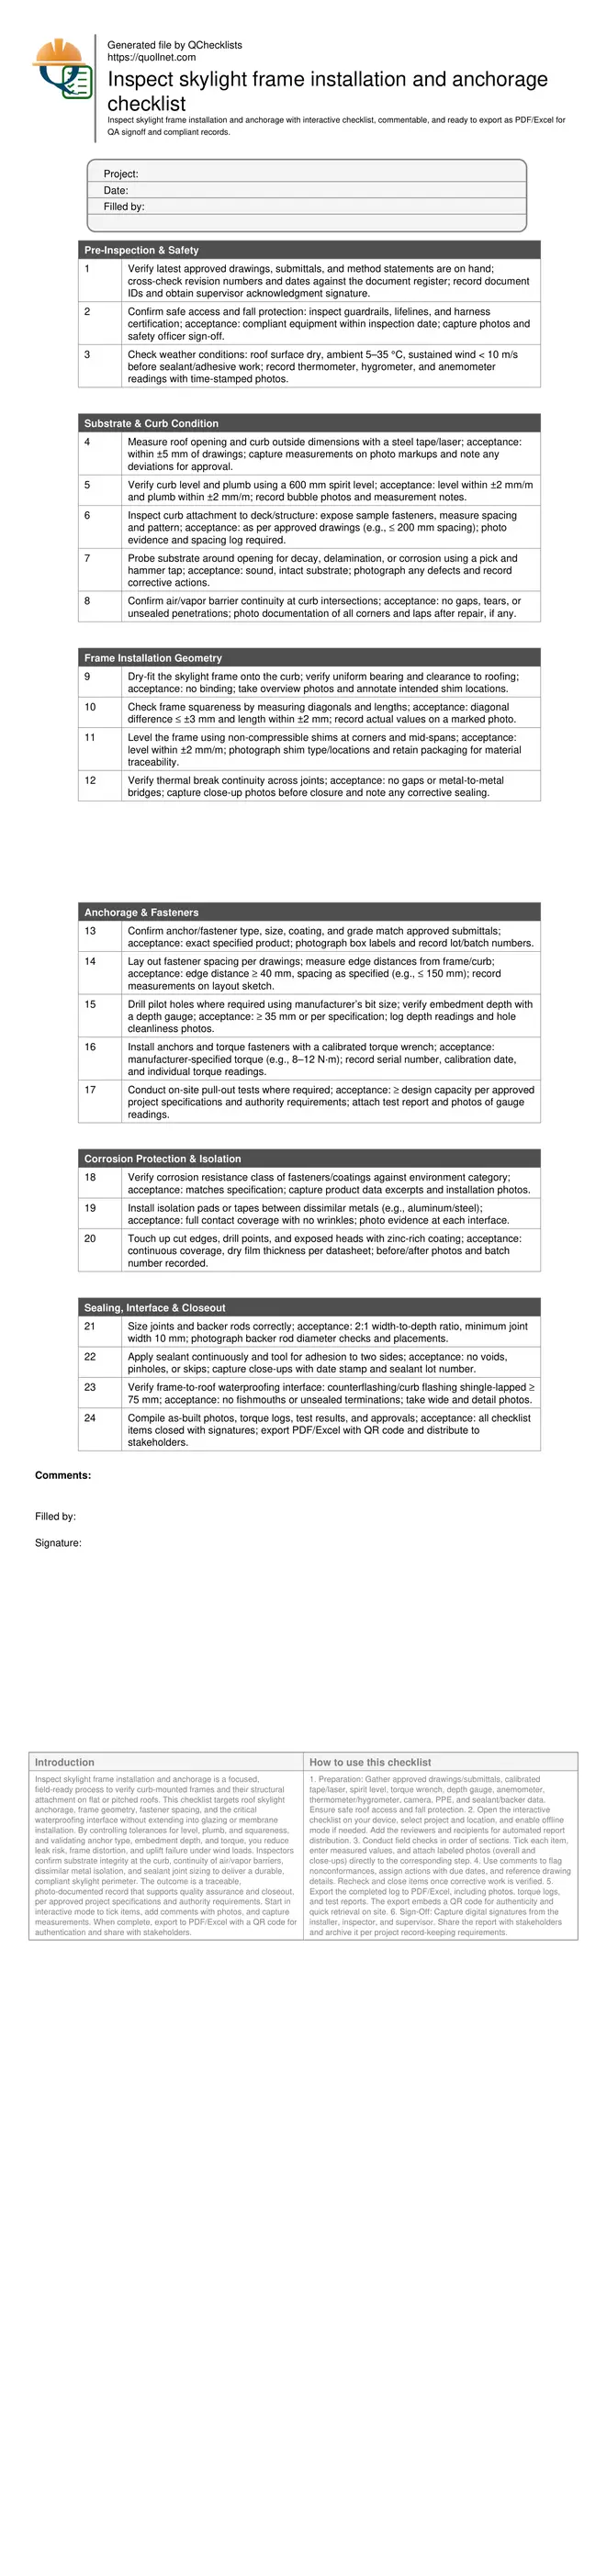
Inspect Skylight Frame Installation and Anchorage Checklist
Definition: Inspect skylight frame installation and anchorage defines a rigorous, field-ready inspection process for roof skylight frames, anchorage, and curb interfaces, aimed at site supervisors, QA inspectors, and installers.
- Confirm curb condition, frame geometry, and anchor layout meet drawings
- Verify torque, embedment, and edge distances for structural performance
- Ensure corrosion isolation and continuous weather seals for durability
- Interactive, commentable checklist with export and QR code verification
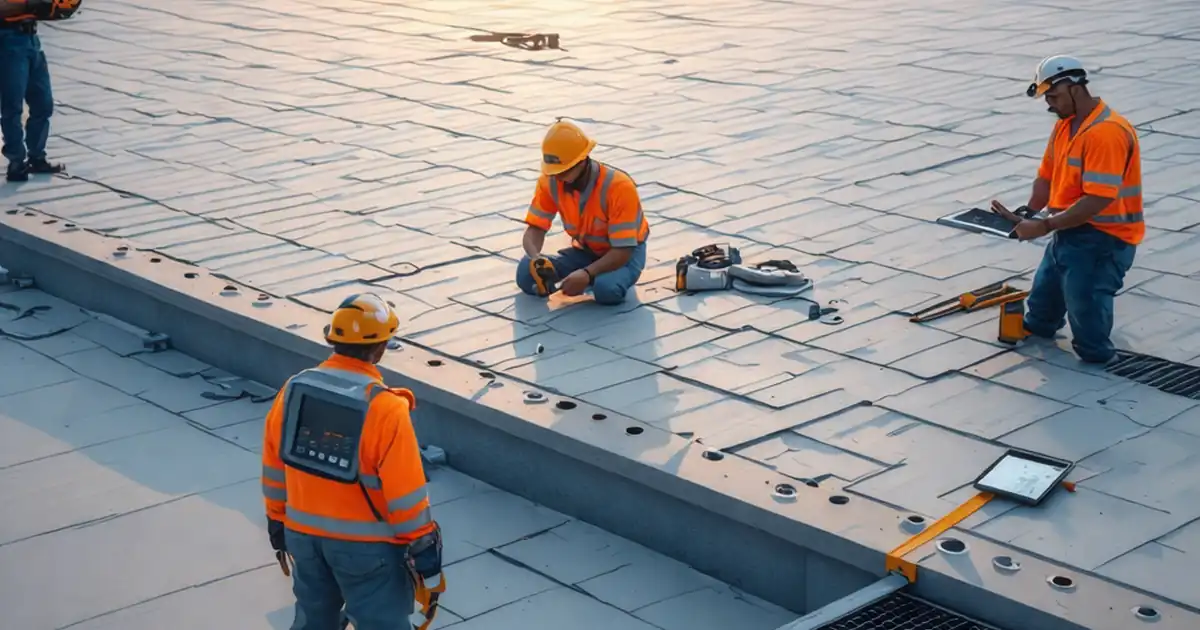
Inspect skylight frame installation and anchorage is a focused, field-ready process to verify curb-mounted frames and their structural attachment on flat or pitched roofs. This checklist targets roof skylight anchorage, frame geometry, fastener spacing, and the critical waterproofing interface without extending into glazing or membrane installation. By controlling tolerances for level, plumb, and squareness, and validating anchor type, embedment depth, and torque, you reduce leak risk, frame distortion, and uplift failure under wind loads. Inspectors confirm substrate integrity at the curb, continuity of air/vapor barriers, dissimilar metal isolation, and sealant joint sizing to deliver a durable, compliant skylight perimeter. The outcome is a traceable, photo-documented record that supports quality assurance and closeout, per approved project specifications and authority requirements. Start in interactive mode to tick items, add comments with photos, and capture measurements. When complete, export to PDF/Excel with a QR code for authentication and share with stakeholders.
- Verify skylight frames are level, plumb, and square, with shims and thermal breaks correctly installed. Confirm curb integrity, barrier continuity, and proper fit before fastening to prevent racking, leaks, and premature wear.
- Validate anchor selection, layout, and torque against approved submittals. Record edge distances, embedment depths, and pull-test results where required to demonstrate resistance to wind uplift and service loads with auditable evidence.
- Confirm corrosion protection and electrical isolation between dissimilar metals. Seal all joints to manufacturer requirements, tooling for adhesion and continuity, and document roof interface laps to prevent water ingress over the service life.
- Interactive online checklist with tick, comment, and export features secured by QR code. Capture photos, lot numbers, torque logs, and sign-offs, then generate a time-stamped report for QA and compliance distribution.
Pre-Inspection & Safety
Substrate & Curb Condition
Frame Installation Geometry
Anchorage & Fasteners
Corrosion Protection & Isolation
Sealing, Interface & Closeout
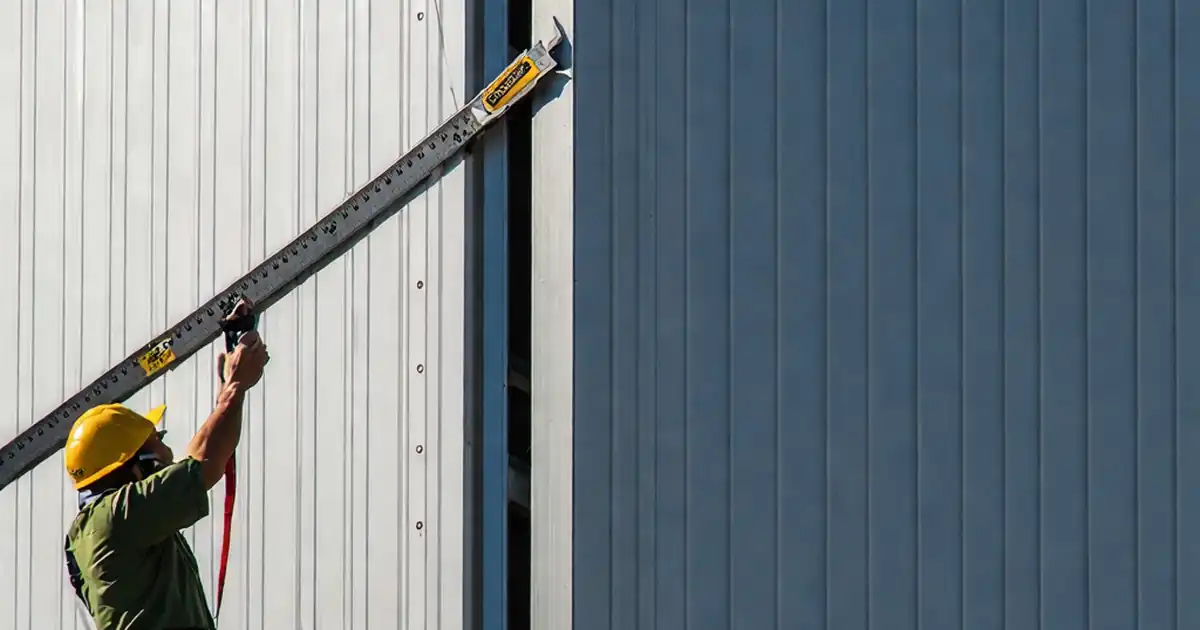
Plan the Inspection and Control Site Conditions
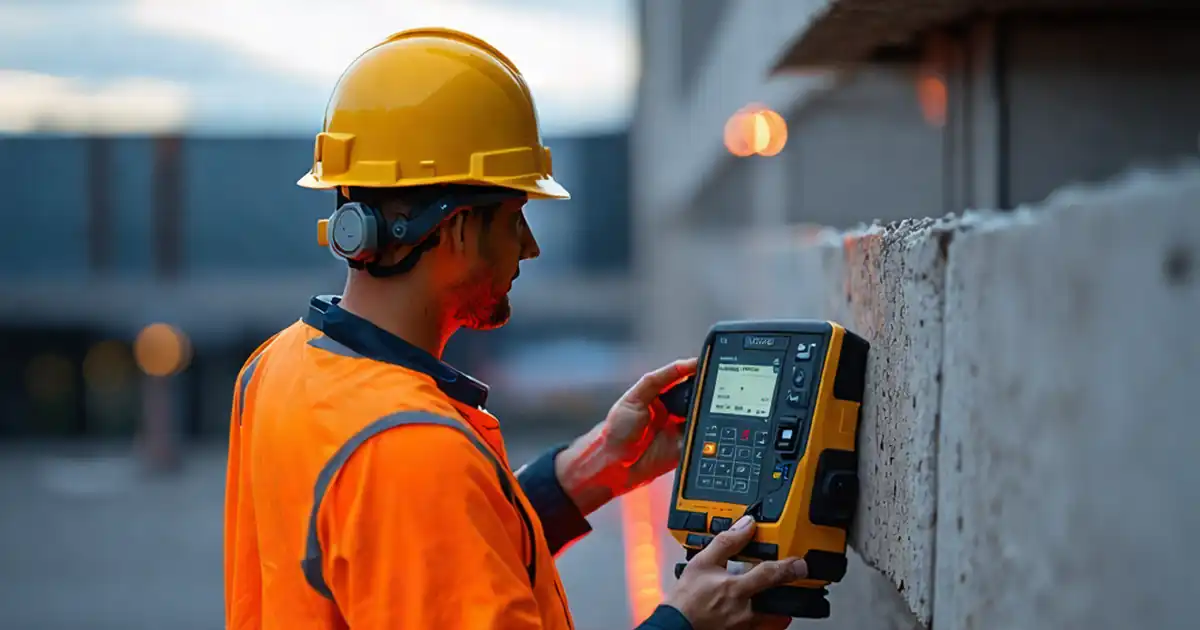
Successful skylight frame inspections begin with controlled conditions and complete documentation. Confirm you have the latest approved drawings, submittals, and method statements before stepping onto the roof. Verify safe access and fall protection, then assess the weather: a dry substrate, moderate temperature, and manageable wind preserve sealant performance and fastener accuracy. Early measurement of the roof opening and curb ensures the frame will seat without binding, while checks on air/vapor barriers and curb attachment reveal hidden risks. These steps prevent rushed rework later, protect warranties, and maintain a clean audit trail. Capture evidence—photos of instruments displaying readings, labels on fastener boxes, and signatures acknowledging conditions. Use a simple measurement sketch to store tape and diagonal values. By front-loading control points, the remainder of the inspection focuses on geometry, anchorage, and sealing rather than troubleshooting preventable site issues.
- Always verify revision numbers before field use
- Record weather readings with time-stamped photos
- Measure and mark curb dimensions and level/plumb
- Check barrier continuity at corners and laps
- Log safety checks and supervisor acknowledgment
Validate Geometry, Shimming, and Anchorage Performance
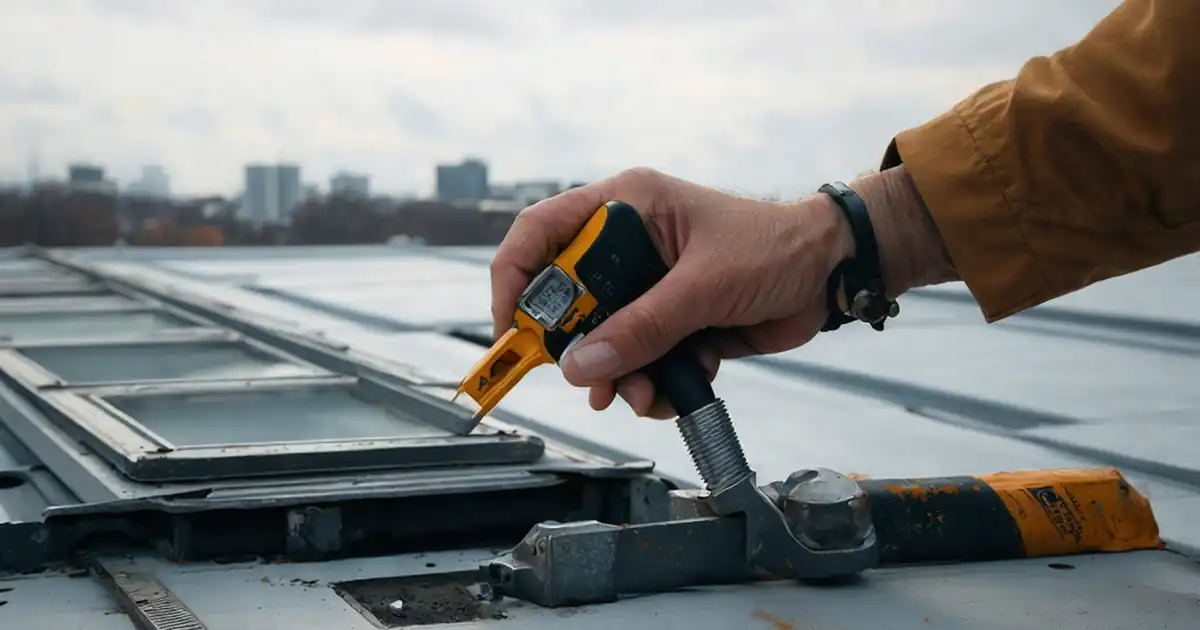
Geometry and anchorage determine how the skylight resists wind, thermal movement, and live loads. Dry-fit the frame and confirm uniform bearing. Measure diagonals, lengths, and level, then shim with non-compressible materials to meet tolerances without crushing over time. Select anchors per the approved submittal, confirm edge distances to avoid splitting, and verify embedment depth for reliable pull-out capacity. Use a calibrated torque wrench to reach manufacturer values and record each reading. Where specified, perform on-site pull tests and attach the report. Thermal breaks must remain continuous to prevent bridging and condensation. Each step reduces the risk of frame racking, water entry at fastener lines, or uplift failures in storms. Document lot numbers, drill size, torque tool serials, and actual measurements to produce defensible records that withstand QA audits and warranty reviews.
- Diagonal difference ≤ ±3 mm; level within ±2 mm/m
- Edge distance ≥ 40 mm, spacing per drawings
- Embedment depth verified with a gauge
- Record torque with calibrated wrench details
- Maintain continuous thermal breaks
Protect Against Corrosion and Seal the Weather Interface
Durability hinges on isolating dissimilar metals, protecting exposed cuts, and building a robust water seal. Verify the corrosion resistance of fasteners and coatings matches the site’s environmental category. Install isolation tapes or pads to prevent galvanic action between aluminum frames and steel or concrete anchors. Touch up all exposed metal areas with zinc-rich coatings to datasheet requirements. Set backer rods to size joints correctly, then place and tool sealant continuously to bond to two sides without voids. At the roof interface, ensure counterflashing and curb flashing are shingle-lapped and neatly terminated. These practices stop early staining, corrosion, and leaks, protecting interior finishes and insulation. Finish by capturing close-ups of the joint profile, sealant batch labels, and overall perimeter photos for a comprehensive record that supports closeout and future maintenance.
- Isolate dissimilar metals with pads or tapes
- Touch up exposed metal with zinc-rich coating
- Size joints 2:1 width-to-depth ratio
- Tool sealant; no pinholes or skips
- Verify shingle laps ≥ 75 mm at interfaces
How to Use This Skylight Frame Inspection Checklist
- Preparation: Gather approved drawings/submittals, calibrated tape/laser, spirit level, torque wrench, depth gauge, anemometer, thermometer/hygrometer, camera, PPE, and sealant/backer data. Ensure safe roof access and fall protection.
- Open the interactive checklist on your device, select project and location, and enable offline mode if needed. Add the reviewers and recipients for automated report distribution.
- Conduct field checks in order of sections. Tick each item, enter measured values, and attach labeled photos (overall and close-ups) directly to the corresponding step.
- Use comments to flag nonconformances, assign actions with due dates, and reference drawing details. Recheck and close items once corrective work is verified.
- Export the completed log to PDF/Excel, including photos, torque logs, and test reports. The export embeds a QR code for authenticity and quick retrieval on site.
- Sign-Off: Capture digital signatures from the installer, inspector, and supervisor. Share the report with stakeholders and archive it per project record-keeping requirements.
Call to Action
- Start Checklist Tick off tasks, leave comments on items or the whole form, and export your completed report to PDF or Excel—with a built-in QR code for authenticity.
- Download Excel - Skylight Frame Installation & Anchorage Inspection
- Download PDF - Skylight Frame Installation & Anchorage Inspection
- View Image - Skylight Frame Installation & Anchorage Inspection
Cite & Embed
“Skylight Frame Installation & Anchorage Inspection by Quollnet”
with a link to
this source page.
FAQ
Question: What tolerances should I use for skylight frame level, plumb, and squareness?
Question: How do I verify fastener torque and embedment for anchorage compliance?
Question: What should I inspect at the frame-to-roof waterproofing interface?
Question: Which evidence best supports QA audits and warranty closeout?
Related Articles
Broader reading and guidance connected to this checklist topic.


Is It Important To Customize Your Qr Code And How To Do It?


Improve Your Project Handover Process With Snag List Tracking App

Related Checklists
Keep the workflow moving with nearby templates chosen from similar checklist content.