Inspect Aluminum Cladding Corners & Edge Terminations
Definition: Inspect aluminum cladding corner details and edge terminations for façade teams ensuring weatherproof intersections, accurate geometry, compliant fixings, and durable finishes across external corners, panel returns, parapets, sills, and jamb edges.
- Verify geometry, gaps, and fixings with measurable, photo-backed acceptance criteria.
- Control water shedding at drips, hems, and closure pieces for durability.
- Manage movement and isolation to prevent noise, cracking, and corrosion.
- Interactive, commentable checklist with export and QR code verification.
Inspect aluminum cladding corner details and edge terminations is a focused quality-control task covering external corners, panel returns, edge flashings, drips, and cappings. This checklist targets façade supervisors, installers, and inspectors ensuring tight sealant joints, correct profiles, and compliant fixings. It addresses alignment, plumb, gap tolerances, and weatherproofing at corners and termination points, including sill drips and jamb edges. By standardizing checks for substrate readiness, corner profiles, edge hem geometry, sealants, and water-management features, teams avoid water ingress, oil-canning, galvanic corrosion, and premature coating failures. The outcome is a consistent visual line, controlled drainage, and documented conformity to approved project specifications and authority requirements. Practical methods include using a 2 m straightedge, digital angle finder, torque wrench, calipers, and DFT gauge to record objective evidence. Use this interactive checklist to tick tasks, add comments, attach photos, and export results as PDF/Excel with a secure QR code for traceable sign-off.
- Drive consistent façade quality by verifying substrate plumb, corner profile fit, and edge termination geometry with objective tools and tolerances. Capture time-stamped photos, readings, and batch labels to create defensible installation records.
- Prevent leaks and staining by validating drip projections, hemmed edges, sealed laps, and closure pieces. Confirm continuous air and water barriers at corners and edges, minimizing callbacks and protecting adjacent assemblies throughout building life.
- Control thermal movement and corrosion risks at corners and edges with correct isolation, slot orientation, and compliant fastener torque. Verify coating integrity and remove films on time to preserve finish warranties and appearance.
- Interactive online checklist with tick, comment, and export features secured by QR code. Centralize field notes, drawings, and approvals; then share PDF/Excel outputs for streamlined stakeholder review, commissioning, and handover documentation.
Substrate, Support, and Brackets
Corner Profiles and Junctions
Edge Terminations and Drips
Sealants, Gaskets, and Tapes
Alignment, Tolerances, and Finishes
Testing, Documentation, and Handover
Geometry, gaps, and tolerances at corners and edges
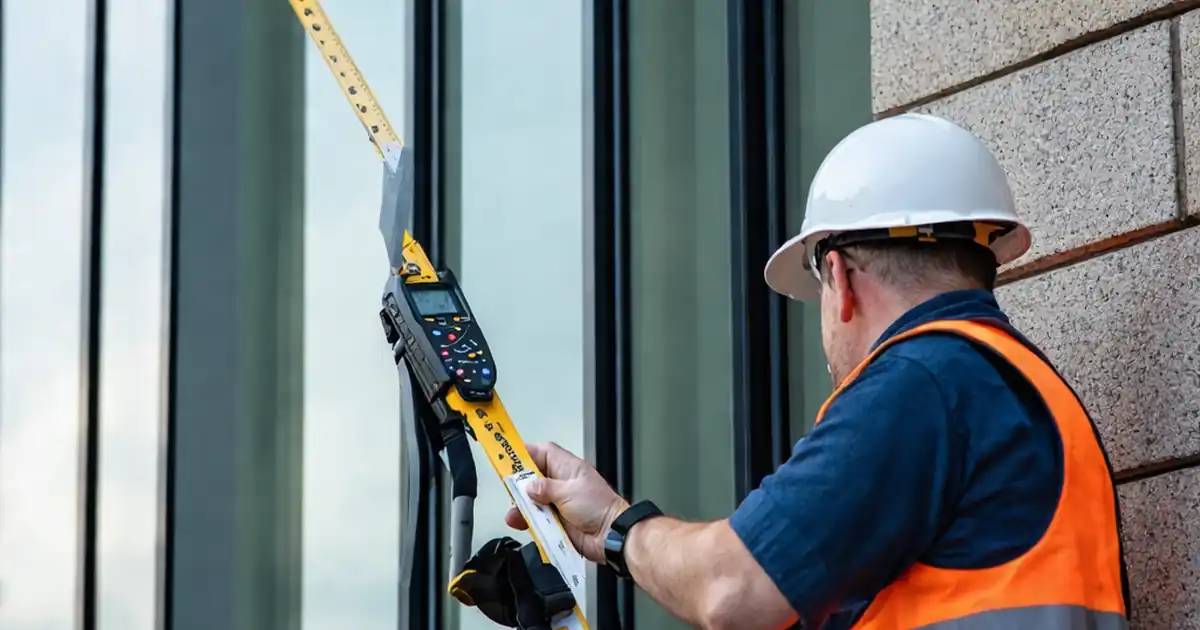
Accurate geometry at aluminum cladding corners and edge terminations underpins weatherproofing and visual quality. Start by verifying substrate plumb and flatness using a 2 m straightedge and level; small deviations compound at corners, creating visible steps and open joints. Dry-fit corner profiles to confirm a true 90° ± 1° angle, then fine-tune bracket shims to align adjacent panels. Maintain uniform panel-to-profile gaps of 6–10 mm, with variation ≤ 2 mm over 2 m, to ensure consistent shadow lines and effective sealant performance. Use feeler gauges to log minimum and maximum values. Check plane across corners with a short straightedge to limit steps to ≤ 2 mm. On live sites, installers often recover poor substrates with over-shimming; instead, correct the base issue to avoid movement noise and fastener strain. Photographs should always include tools in frame to validate measurements and make closeout faster.
- Use a 2 m straightedge for substrate and panel alignment.
- Dry-fit corners; target 90° ± 1° with no visible step.
- Keep joint gaps 6–10 mm; max 2 mm variation in 2 m.
- Document readings with gauges and clear, labeled photos.
- Shim to align but correct base substrate first.
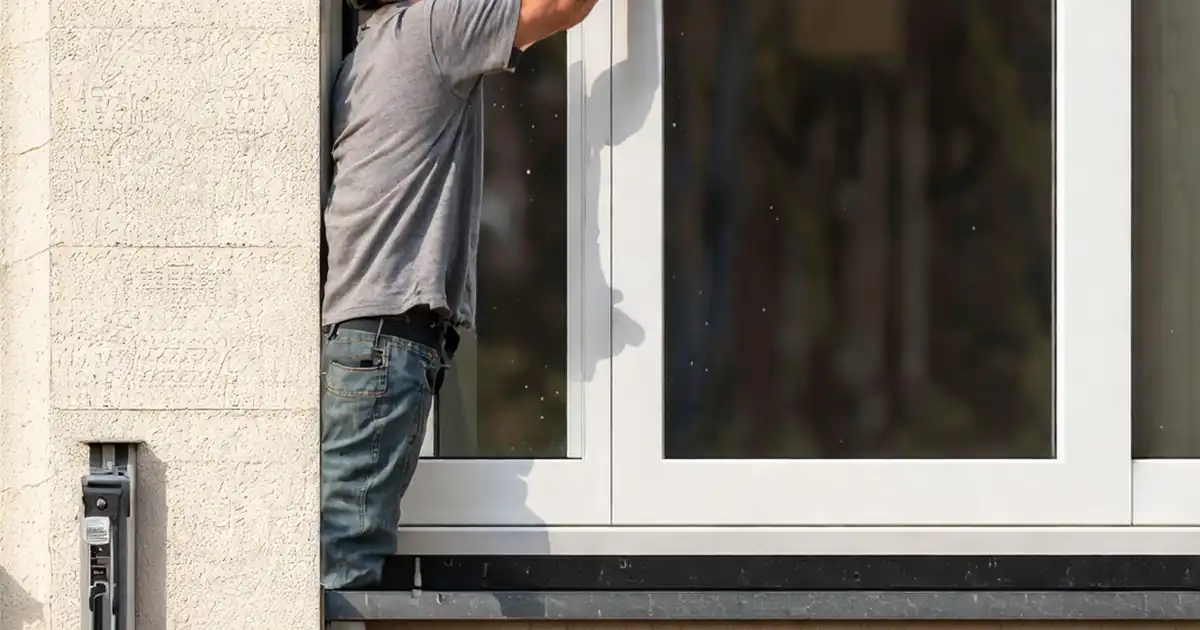
Water shedding, drips, hems, and closure pieces
Edge terminations succeed when water is controlled before it can enter joints. Confirm drip projections at sills and heads extend at least 20 mm beyond the façade with a slope ≥ 5°. Hemmed edges should be 10–15 mm deep to stiffen panels, blunt sharp edges, and promote clean run-off. Closure pieces and back pans at corners must form a continuous air barrier; seal overlaps at least 25 mm and rivet at ≤ 150 mm centres to prevent wind-driven bypass. Ensure end dams are turned up ≥ 20 mm and sealed to the substrate to trap incidental water and redirect it outwards. Localized water checks can quickly verify drainage paths and reveal capillary traps. A common field failure is hem-less edges that stain the façade; early inspection and photo-documented corrections avoid repeat access and rework.
- Drip projection ≥ 20 mm with slope ≥ 5°.
- Hem depth 10–15 mm; no burrs or sharp edges.
- Seal overlaps ≥ 25 mm with tight rivet spacing.
- End dams turned up ≥ 20 mm and sealed.
- Use small water tests to confirm drainage.
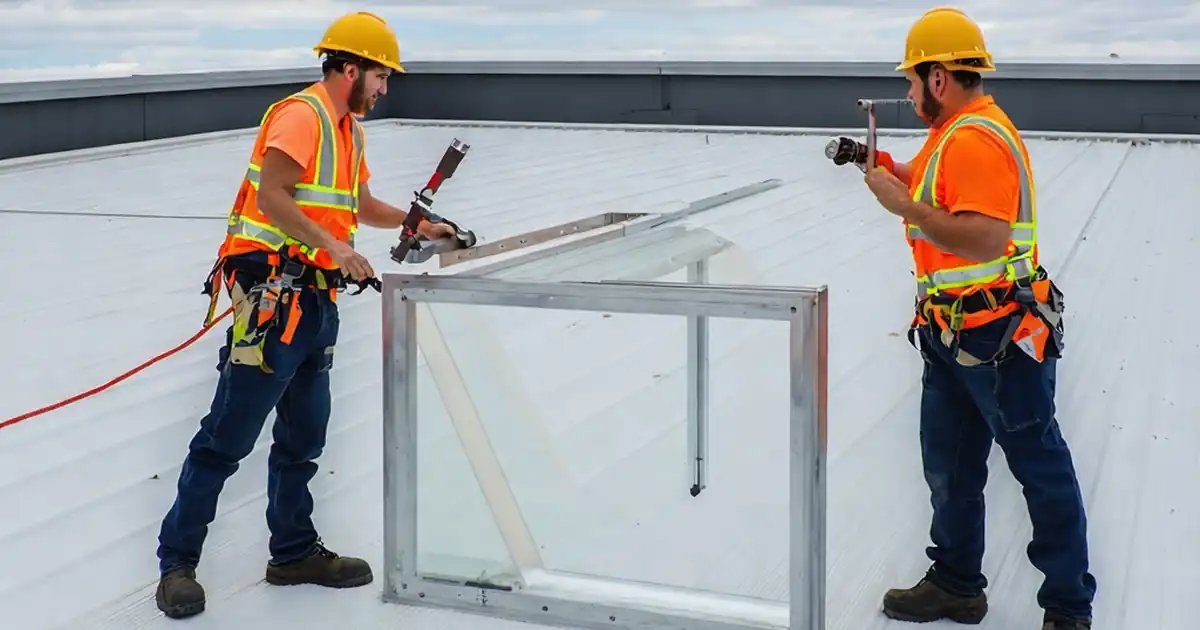
Movement, isolation, and finish integrity
Aluminum expands about 23 µm/m·K, so corner details and edge terminations must accommodate seasonal movement without creaks, cracked sealant, or distorted lines. Verify slotted holes are oriented correctly and not over-tightened; confirm bracket isolation pads (≥ 3 mm) prevent metal-to-metal contact and galvanic pairs. Fastener torque should meet manufacturer limits and be recorded with a calibrated tool. Sealant design should target width 8–12 mm and depth roughly half the width, backed by an appropriate rod to maintain elasticity. Finish integrity matters most at exposed corners and edges; measure powder coating film thickness (60–80 µm) and remove protective films before sealant cures to avoid residue. On site, noisy corners often disappear once nylon isolators and correct torque are applied. Document each adjustment and re-test to prove stability and compliance.
- Account for 23 µm/m·K aluminum thermal expansion.
- Use isolation pads and correct fastener torque.
- Sealant width 8–12 mm, depth about half width.
- Check powder coat DFT 60–80 µm at edges.
- Remove films before sealant to avoid residue.
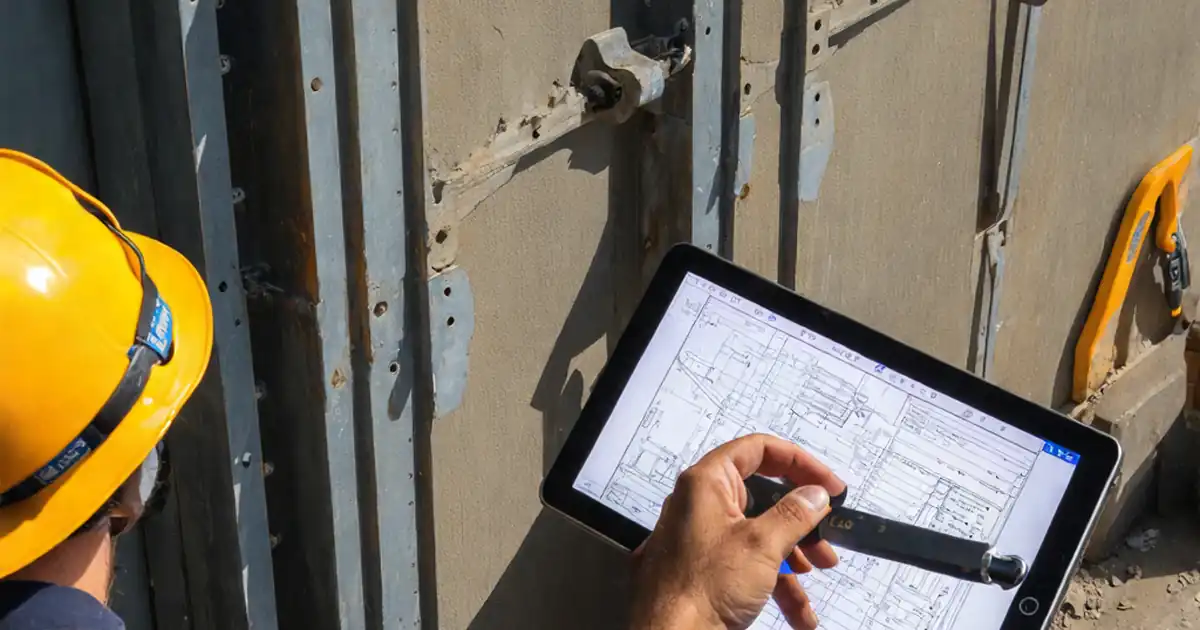
How to Use This Interactive Corner and Edge Inspection Checklist
- Preparation: Review approved drawings and details; assemble 2 m straightedge, digital angle finder, torque wrench, feeler gauges, calipers, DFT gauge, inclinometer, PPE, access equipment, and cleaning materials.
- Site readiness: Confirm safe access, weather is dry and ≥ 5 °C, substrates are fixed, and materials are on hand with labels visible for documentation.
- Start interactive mode: Open the checklist on a mobile device, select location/elevation, and enable photo attachment with automatic time and GPS tagging.
- Tick and comment: Complete each item, record measurements, add comments for deviations, and attach close-up photos showing tools and readings in frame.
- Collaborate: Mention responsible parties in comments, request approvals, and link RFIs or sketches to clarify field adjustments and acceptance decisions.
- Export: Generate a commentable register and export as PDF/Excel with embedded photos and measurement logs for stakeholder review.
- Sign-off: Capture digital signatures from installer, inspector, and client; secure records with a QR code for authenticity and future audits.
- Archive: Store files in the project folder structure and tag by gridline/elevation to simplify closeout and maintenance handover.

Call to Action
- Start Checklist Tick off tasks, leave comments on items or the whole form, and export your completed report to PDF or Excel—with a built-in QR code for authenticity.
- Download Excel - Aluminum Cladding Corner & Edge Inspection
- Download PDF - Aluminum Cladding Corner & Edge Inspection
- View Image - Aluminum Cladding Corner & Edge Inspection
Cite & Embed
“Aluminum Cladding Corner & Edge Inspection by Quollnet”
with a link to
this source page.
FAQ
Question: What tolerances should I apply for aluminum cladding corner alignment and gaps?
Question: How do I verify edge terminations will shed water effectively?
Question: Which tools are best to capture objective evidence during inspection?
Question: How should sealant joints at corners be designed and checked?
Question: When should protective films be removed around edges and corners?
Related Articles
Broader reading and guidance connected to this checklist topic.


Is It Important To Customize Your Qr Code And How To Do It?

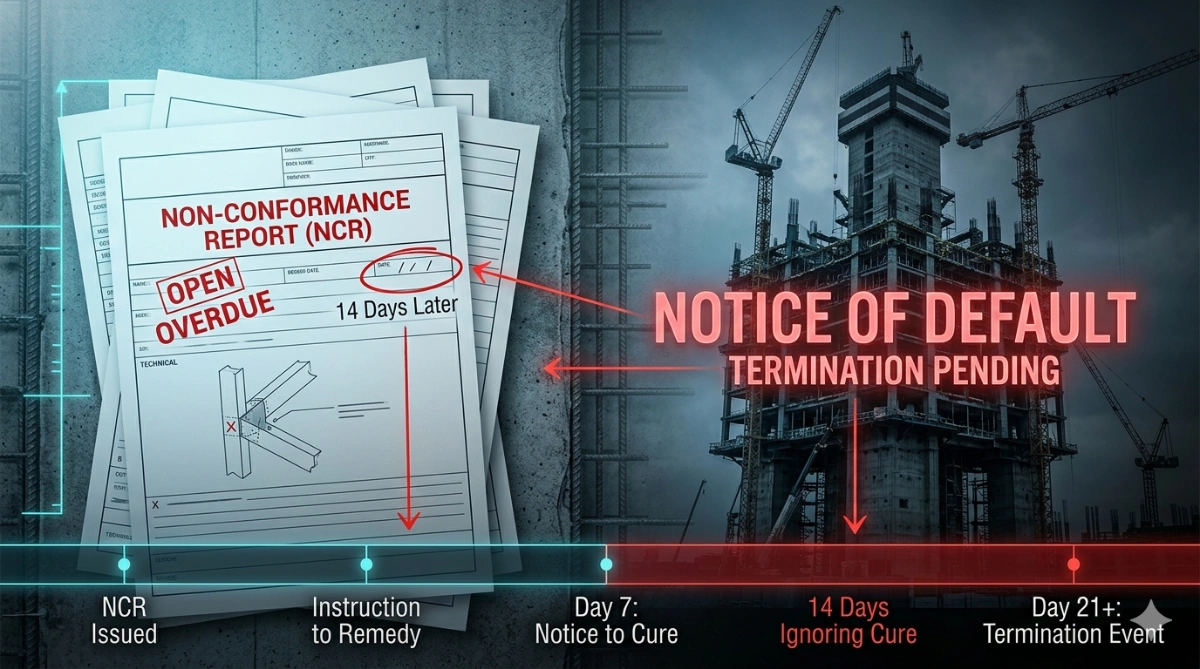
Can An Ncr Lead To Termination? Hidden Risk Behind “notice To Correct”
Related Checklists
Keep the workflow moving with nearby templates chosen from similar checklist content.