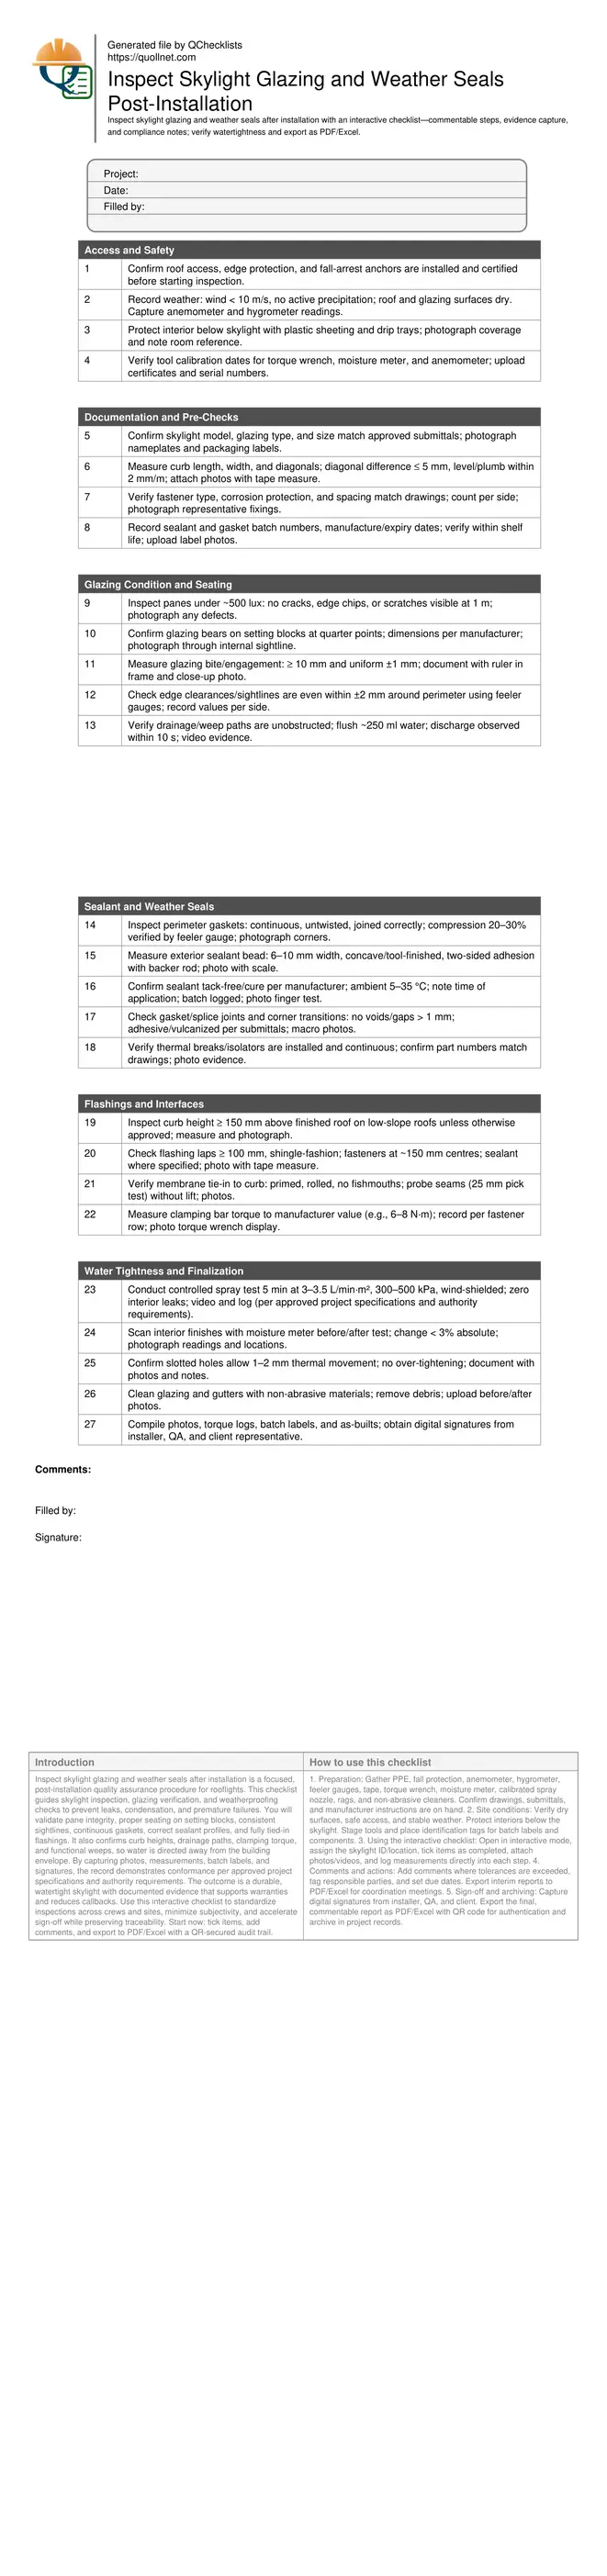
Inspect skylight glazing and weather seals after installation
Definition: Inspect skylight glazing and weather seals after installation provides a structured post-installation inspection checklist for contractors, QA managers, and roofers to verify glazing integrity, seal continuity, and watertight performance.
- Confirm glazing seated, drained, and free from damage or distortion.
- Verify gasket compression, sealant dimensions, and flashing continuity for watertightness.
- Document findings with photos, measurements, batches, and digital signatures.
- Interactive, commentable checklist; export reports and approvals with QR code.
Inspect skylight glazing and weather seals after installation is a focused, post-installation quality assurance procedure for rooflights. This checklist guides skylight inspection, glazing verification, and weatherproofing checks to prevent leaks, condensation, and premature failures. You will validate pane integrity, proper seating on setting blocks, consistent sightlines, continuous gaskets, correct sealant profiles, and fully tied-in flashings. It also confirms curb heights, drainage paths, clamping torque, and functional weeps, so water is directed away from the building envelope. By capturing photos, measurements, batch labels, and signatures, the record demonstrates conformance per approved project specifications and authority requirements. The outcome is a durable, watertight skylight with documented evidence that supports warranties and reduces callbacks. Use this interactive checklist to standardize inspections across crews and sites, minimize subjectivity, and accelerate sign-off while preserving traceability. Start now: tick items, add comments, and export to PDF/Excel with a QR-secured audit trail.
- Reduce leak risk by validating glazing seating, gasket compression, weep performance, and flashing integration. Capture torque values, bead dimensions, and curb heights with photos and notes to demonstrate objective compliance and support warranty claims across diverse roof conditions.
- Improve inspection consistency with clear acceptance criteria, such as uniform sightlines within ±2 mm, bead widths 6–10 mm, and clamping torque per manufacturer. Practical tools—feeler gauges, torque wrenches, spray nozzles—deliver repeatable results and defensible, timestamped evidence.
- Accelerate closeout by centralizing batch labels, calibration records, and as-built photos in one place. The checklist structures findings, highlights issues early, and assigns actions, minimizing rework and streamlining handover to clients and facility maintenance teams.
- Interactive online checklist with tick, comment, and export features secured by QR code.
Access and Safety
Documentation and Pre-Checks
Glazing Condition and Seating
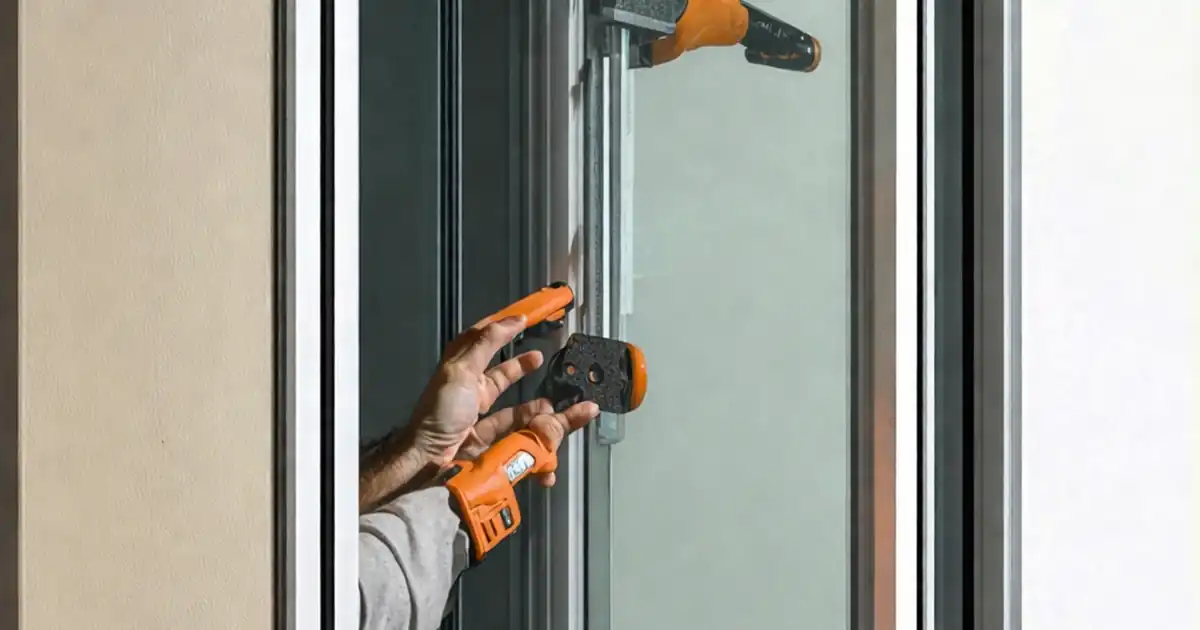
Sealant and Weather Seals
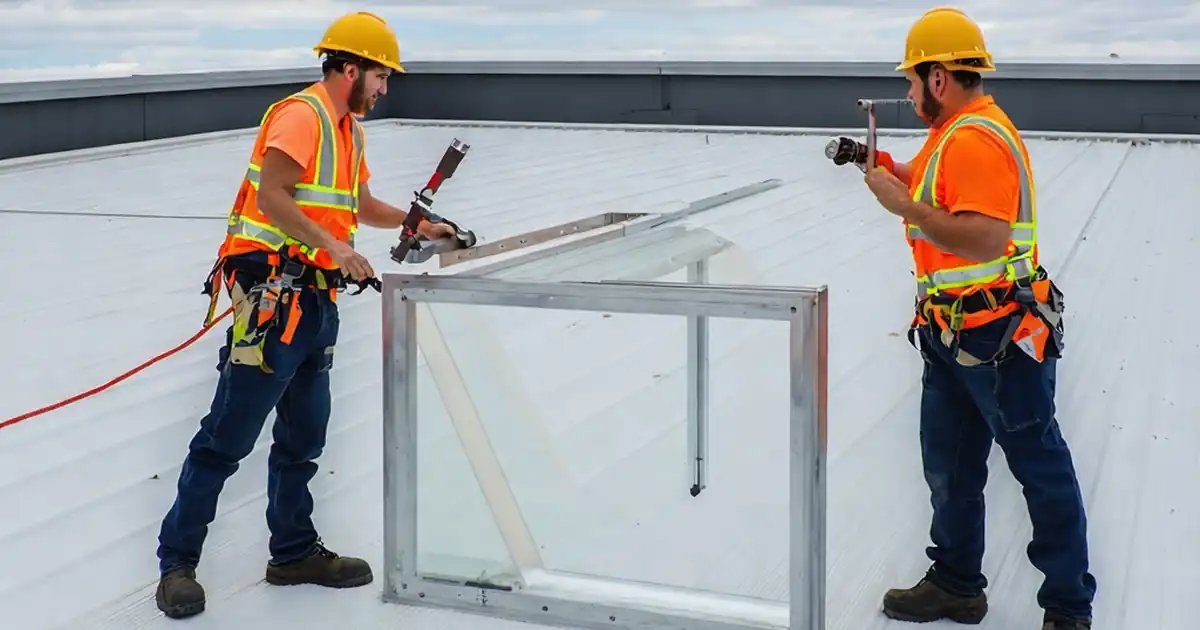
Flashings and Interfaces
Water Tightness and Finalization
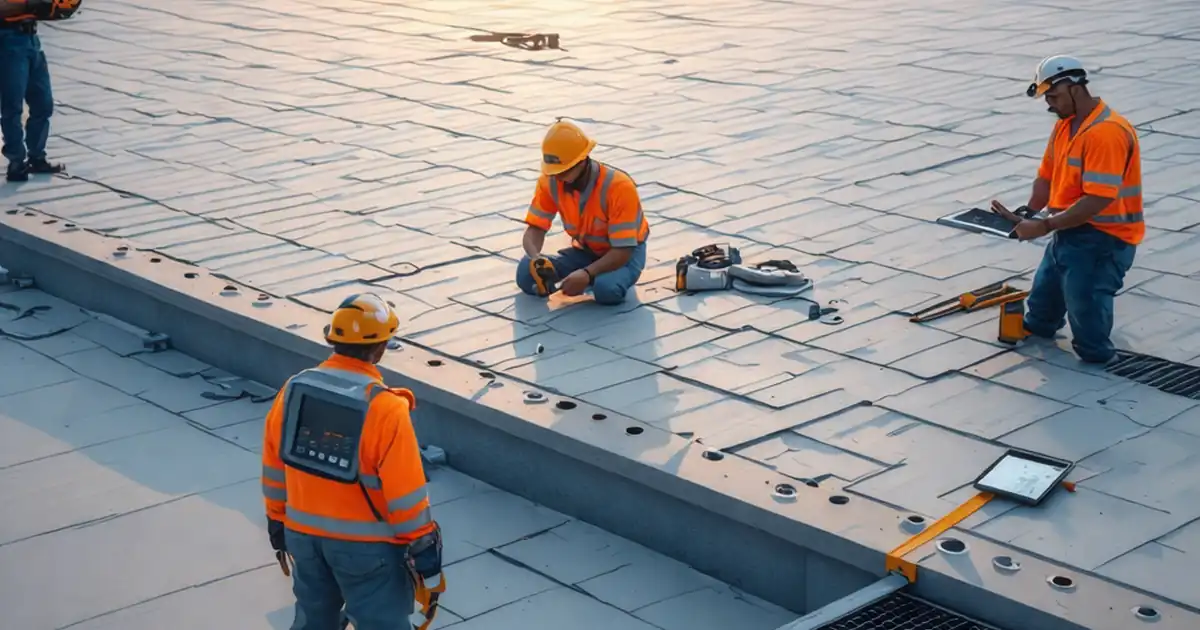
Safety, Access, and Initial Visual Cues
Start with safe access and environmental control. Fall protection, stable platforms, and dry surfaces are essential to prevent slips and accidental glazing damage. Document the weather because wind, rain, and temperature affect both testing and sealant behavior. Before touching components, complete a slow, perimeter visual scan under consistent illumination (~500 lux). Look for cracked panes, chipped edges, misaligned caps, or warped frames—issues that often hint at uneven bearing or over-torqued fasteners. Photograph labels, model numbers, and calibration certificates to lock in traceability. Small oversights—like missing end dams or blocked weeps—regularly cause leaks despite otherwise neat installations. A disciplined sequence (outside-in, top-down) reveals drainage discontinuities, inconsistent sightlines, or gasket twists early, avoiding rework during water testing. Capture every observation with close-ups and context shots (showing ruler or gauge), so later reviewers can verify dimensions and conditions remotely without returning to the roof.
- Ensure dry, wind-safe conditions before testing.
- Record model, batches, and calibration certificates.
- Use consistent lighting to spot subtle defects.
- Photograph context plus close-ups with a scale.
- Follow an outside-in, top-down scan pattern.
Glazing Seating, Sightlines, and Gasket Compression
Correct seating on setting blocks controls stress distribution and drainage. Verify blocks at quarter points, sized and material-matched to the system. Measure glazing bite; a minimum of 10 mm with ±1 mm tolerance typically maintains retention without crowding the cavity. Sightlines should read uniform within ±2 mm around the perimeter; deviations often indicate skewed frames or missing shims. Gaskets must be continuous, untwisted, and joined per submittals, with 20–30% compression to seal while allowing movement. Confirm backer rod and sealant geometry: a 6–10 mm, tool-finished bead with two-sided adhesion reduces cohesive failure. For drainage, clear all weeps and perform a quick 250 ml flush; water should discharge within 10 s. These acceptance cues provide repeatable measurements that correlate directly with watertightness and long-term durability.
- Blocks at quarter points, sized per system.
- Glazing bite ≥ 10 mm, tolerance ±1 mm.
- Sightlines uniform within ±2 mm perimeter.
- Gaskets continuous; 20–30% compression.
- Sealant bead 6–10 mm, two-sided adhesion.
Flashings, Membrane Tie-Ins, and Water Testing
Skylight performance depends on interfaces. Confirm curb height (≥150 mm on low-slope roofs unless otherwise approved) to resist ponding and splash. Flashings must shingle-lap at least 100 mm with correct fastener spacing and compatible sealants. Membrane tie-ins require primer, rolling, and probe testing; fishmouths or unbonded seams telegraph into leaks after thermal cycling. Check clamping bar torque per the manufacturer; over-torque crushes gaskets while under-torque compromises compression. Finish with a controlled spray test: maintain 300–500 kPa pressure and approximately 3–3.5 L/min·m² for 5 minutes, shielding from wind. Watch interior conditions and verify moisture meter readings remain stable. Only sign off when drainage is proven, moisture levels are unchanged, and all documentation—photos, torque logs, batch labels—is compiled and approved per project specifications and authority requirements.
- Curb height resists ponding and splash.
- Shingle laps ≥ 100 mm with correct fasteners.
- Probe seams; eliminate fishmouths and voids.
- Torque clamps to manufacturer specification.
- Water test under controlled, wind-shielded conditions.
How to Use This Skylight Inspection Checklist
- Preparation: Gather PPE, fall protection, anemometer, hygrometer, feeler gauges, tape, torque wrench, moisture meter, calibrated spray nozzle, rags, and non-abrasive cleaners. Confirm drawings, submittals, and manufacturer instructions are on hand.
- Site conditions: Verify dry surfaces, safe access, and stable weather. Protect interiors below the skylight. Stage tools and place identification tags for batch labels and components.
- Using the interactive checklist: Open in interactive mode, assign the skylight ID/location, tick items as completed, attach photos/videos, and log measurements directly into each step.
- Comments and actions: Add comments where tolerances are exceeded, tag responsible parties, and set due dates. Export interim reports to PDF/Excel for coordination meetings.
- Sign-off and archiving: Capture digital signatures from installer, QA, and client. Export the final, commentable report as PDF/Excel with QR code for authentication and archive in project records.
Call to Action
- Start Checklist Tick off tasks, leave comments on items or the whole form, and export your completed report to PDF or Excel—with a built-in QR code for authenticity.
- Download Excel - Skylight Glazing and Weather Seal Inspection
- Download PDF - Skylight Glazing and Weather Seal Inspection
- View Image - Skylight Glazing and Weather Seal Inspection
Cite & Embed
“Skylight Glazing and Weather Seal Inspection by Quollnet”
with a link to
this source page.

FAQ
Question: When should I perform the skylight water test after sealing?
Question: What tolerance is acceptable for skylight sightlines and glazing bite?
Question: How do I confirm gasket compression without damaging the seal?
Question: What evidence should be attached to the skylight inspection record?
Related Articles
Broader reading and guidance connected to this checklist topic.


Master Construction Project Cashflow With Cashflowpot


Related Checklists
Keep the workflow moving with nearby templates chosen from similar checklist content.