Inspect rooflight perimeter flashing and waterproofing terminations
Definition: Inspect rooflight perimeter flashing and waterproofing terminations for skylights on flat or low-slope roofs, guiding site inspectors and roofers to verify integrity, drainage, and compliant, durable membrane tie-ins.
- Verify curb flashing, laps, and terminations meet project specifications.
- Prevent water ingress, hidden decay, and costly interior damage.
- Measure, probe, peel-test, and photo-document with clear acceptance tolerances.
- Interactive, commentable checklist with export and QR code verification.
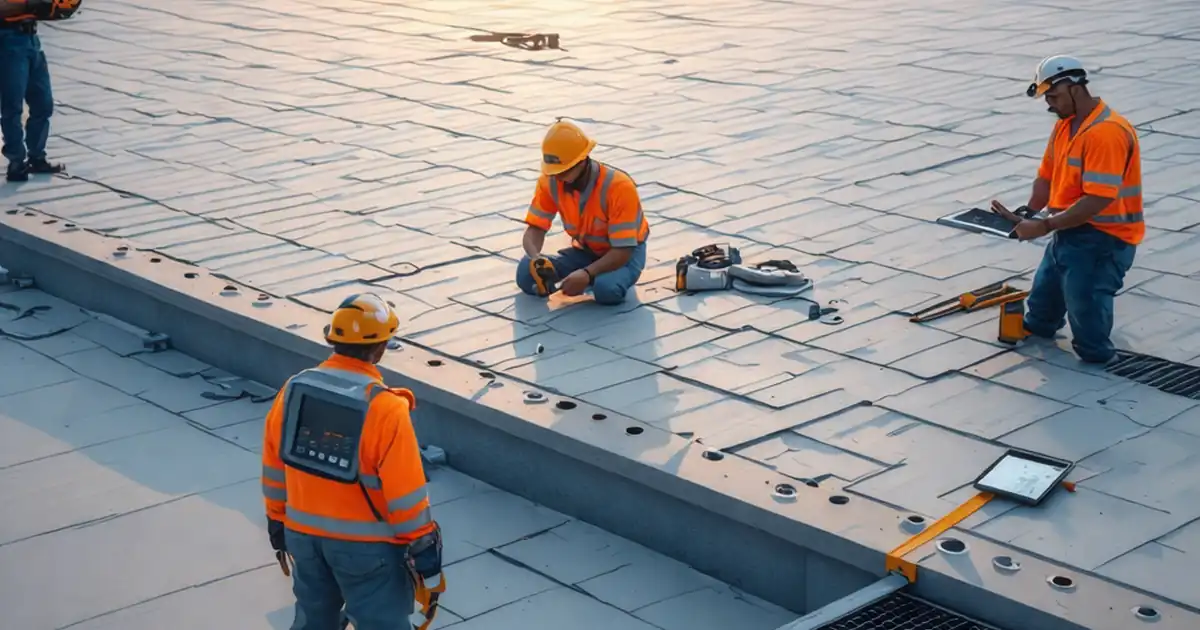
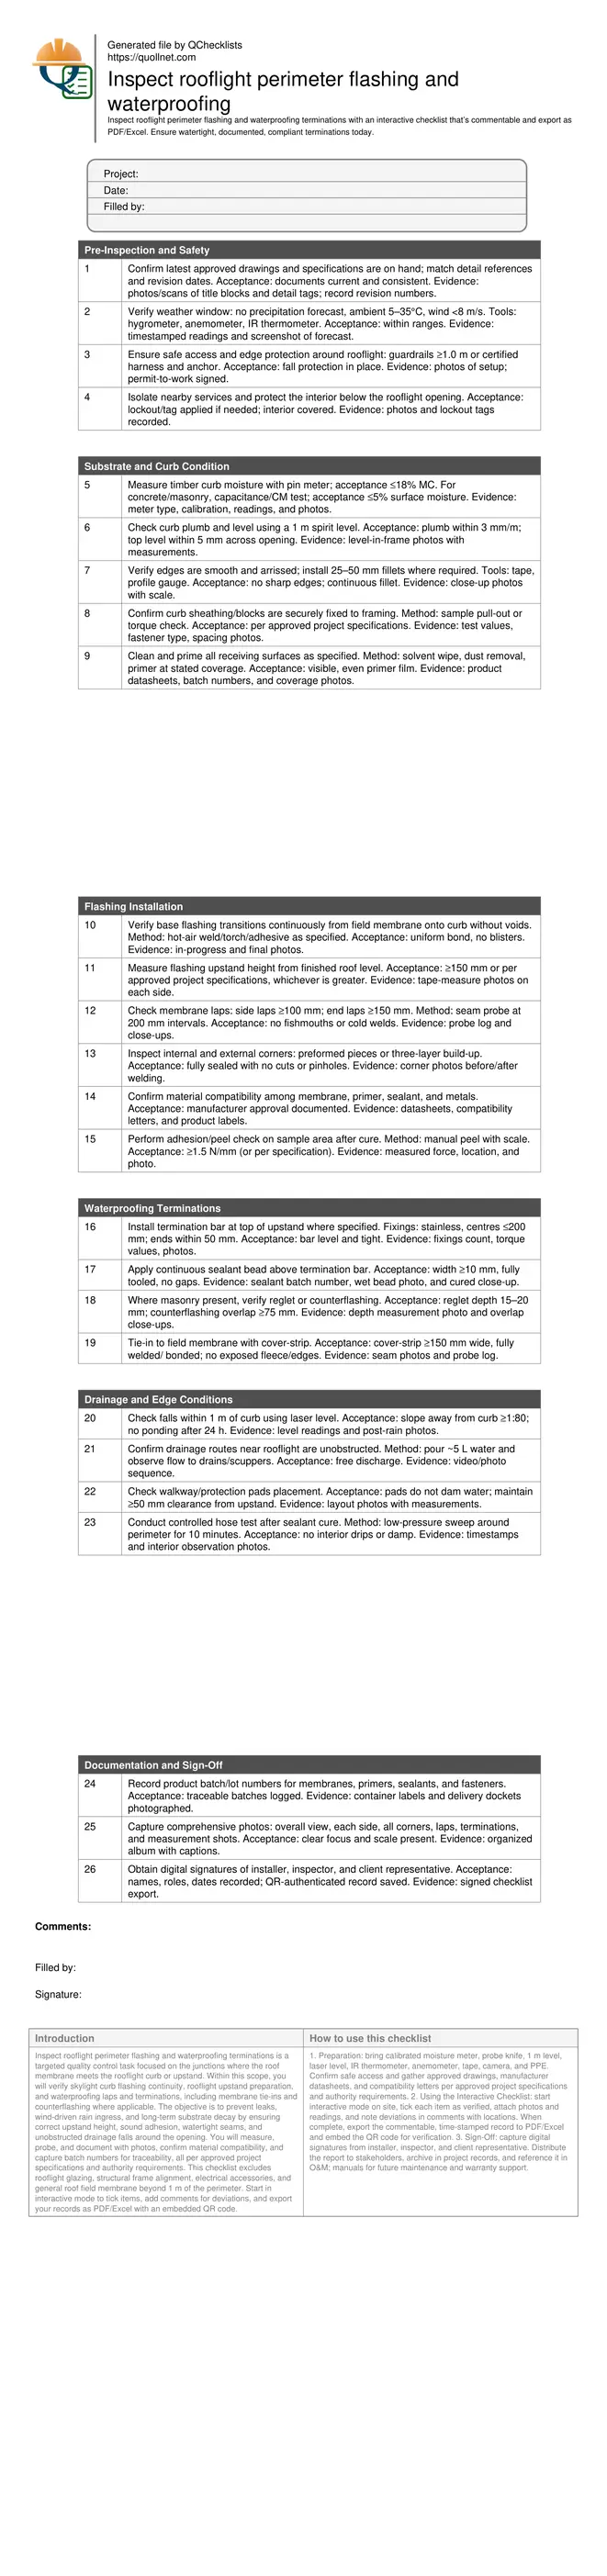
Inspect rooflight perimeter flashing and waterproofing terminations is a targeted quality control task focused on the junctions where the roof membrane meets the rooflight curb or upstand. Within this scope, you will verify skylight curb flashing continuity, rooflight upstand preparation, and waterproofing laps and terminations, including membrane tie-ins and counterflashing where applicable. The objective is to prevent leaks, wind-driven rain ingress, and long-term substrate decay by ensuring correct upstand height, sound adhesion, watertight seams, and unobstructed drainage falls around the opening. You will measure, probe, and document with photos, confirm material compatibility, and capture batch numbers for traceability, all per approved project specifications and authority requirements. This checklist excludes rooflight glazing, structural frame alignment, electrical accessories, and general roof field membrane beyond 1 m of the perimeter. Start in interactive mode to tick items, add comments for deviations, and export your records as PDF/Excel with an embedded QR code.
- This checklist secures watertight performance at the rooflight perimeter by verifying substrate dryness, upstand preparation, flashing height, lap integrity, and termination detailing. Measured criteria, seam probing, and targeted peel tests reduce ambiguity and catch latent leak risks before handover or warranty registration.
- Interactive online checklist with tick, comment, and export features secured by QR code. Users document readings, photos, and approvals in real time, link product batches, and generate auditable records. This transparency supports swift defect resolution, clear accountability, and consistent standards across multiple roofs and contractors.
- Clear acceptance tolerances and practical methods keep inspections efficient: moisture thresholds, minimum laps, fixing centres, and slope requirements. The result is reliable waterproofing terminations that withstand thermal movement and wind, maintain drainage away from the curb, and protect interiors from damp, mold growth, and costly secondary damage.
- Focused only on perimeter flashing and terminations, the checklist avoids scope creep into glazing or structural issues. It aligns inspection evidence with project specifications and authority requirements, creating repeatable outcomes and a defensible record suitable for client sign-off, O&M manuals, and future maintenance planning.
Pre-Inspection and Safety
Substrate and Curb Condition
Flashing Installation
Waterproofing Terminations
Drainage and Edge Conditions
Documentation and Sign-Off
What a Good Rooflight Perimeter Detail Looks Like
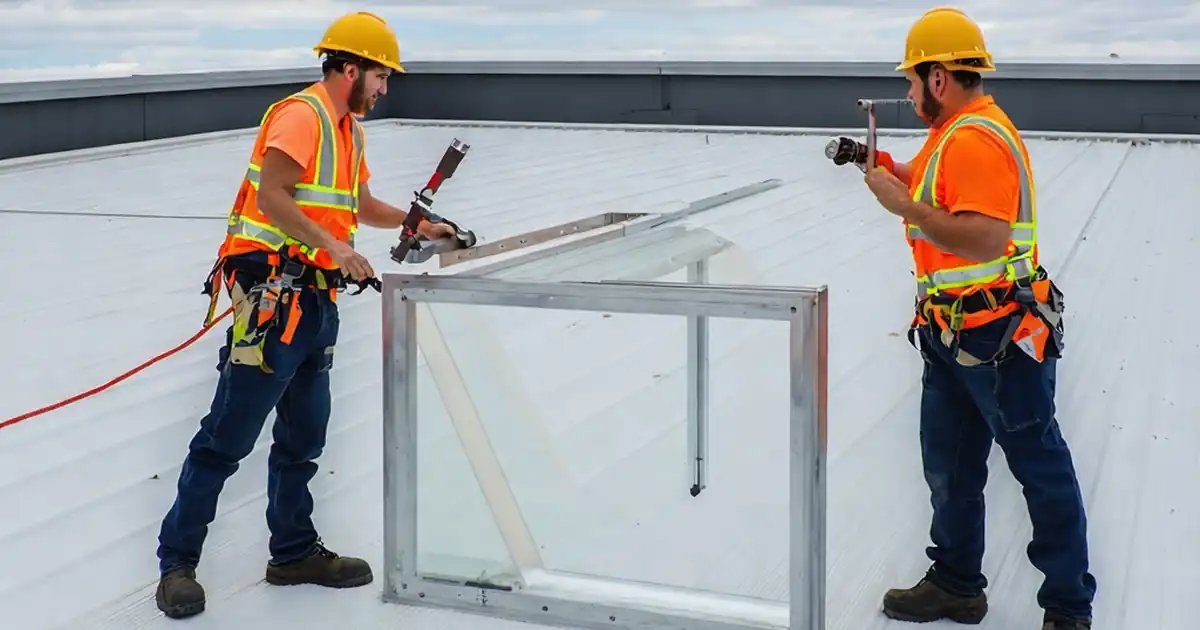
A robust rooflight perimeter flashing starts with a dry, sound curb and a clean, primed surface. The base flashing must turn up the upstand and tie into the field membrane without voids, with a minimum upstand height of 150 mm above the finished roof level or as specified. Laps should be generous and fully sealed, corners reinforced neatly, and mechanical terminations consistent and tight. Counterflashing or reglets in masonry protect sealant from UV and movement stress, while a smooth fillet prevents membrane kinking. Drainage must fall away from the curb to prevent ponding that accelerates degradation. On site, acceptance cues are tactile and visual: firm adhesion on peel checks, uniform weld sheen, seamless sealant, and no exposed reinforcement. Evidence matters—photos with scales, logged readings, and clear references to detail numbers speed approvals and reduce disputes.
- Upstand height verified at or above 150 mm.
- Continuous welds with no fishmouths or voids.
- Corners reinforced using preformed or layered patches.
- Termination bar straight, tight, and sealed.
- Drainage slopes away; no ponding at perimeter.
Testing, Measuring, and Probing Techniques
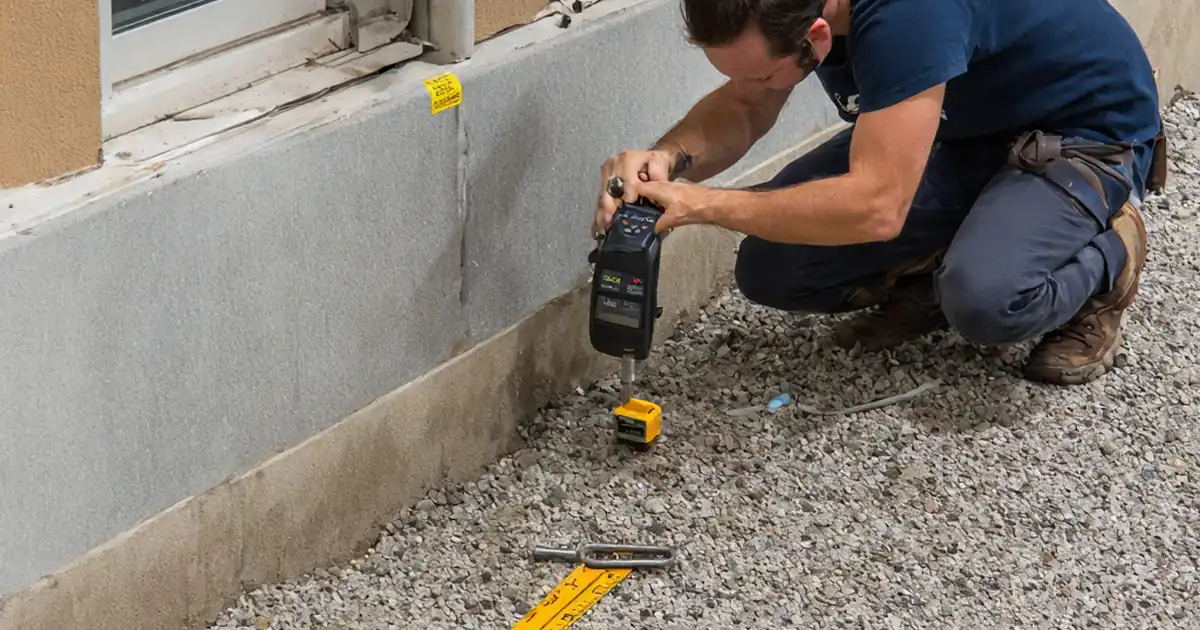
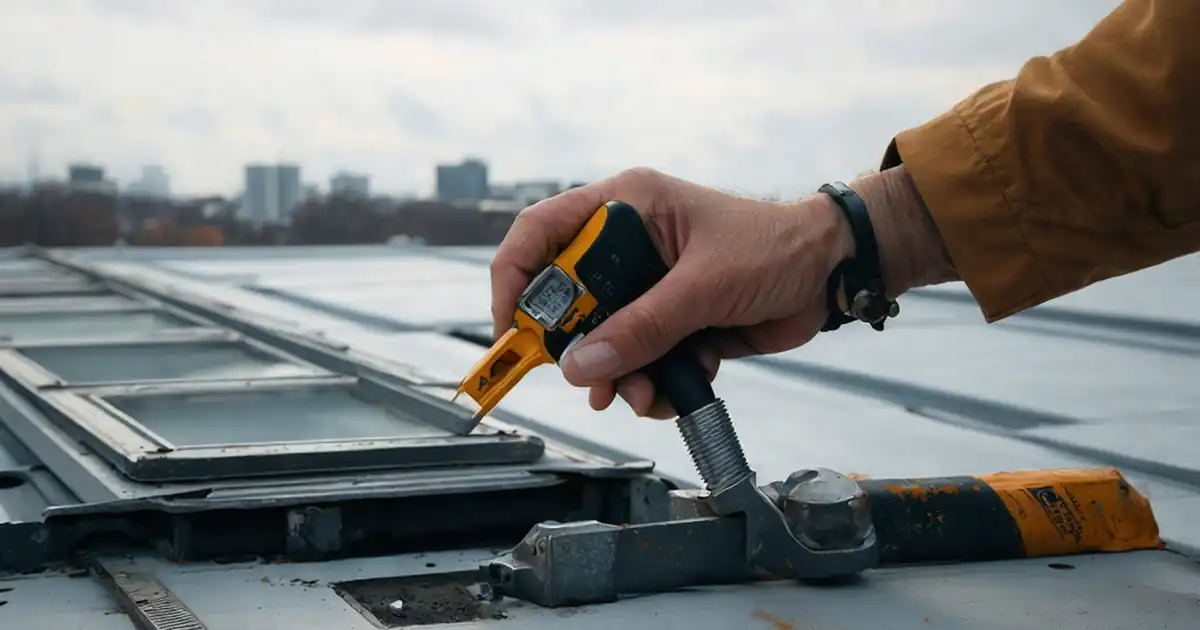
Effective verification relies on simple, repeatable methods. Moisture meters confirm substrate dryness so adhesive bonds develop properly. A 1 m level and laser provide quick checks of plumb and slope, avoiding stress points and ponding. Seam probes locate under-welds that look fine but fail under wind uplift. A small, controlled peel test on sacrificial or concealed edges shows real adhesion values and flags contamination or under-priming. Low-pressure hose testing after cure verifies that terminations, corners, and laps resist water without forcing ingress. Use calibrated tools and record set-ups, readings, and outcomes, so others can repeat or audit the results. When a reading falls outside tolerance, annotate the deviation, flag the location on a plan, and agree corrective steps before covering work or installing the rooflight unit.
- Use calibrated meters and document serial numbers.
- Probe seams every 200 mm along laps.
- Perform peel checks only after cure time.
- Hose test with low pressure to avoid damage.
- Annotate deviations on drawings with photos.
Documentation, Traceability, and Durable Records
Waterproofing success depends on both workmanship and records. Capture batch numbers for membranes, primers, sealants, and fasteners to tie performance back to materials. Photograph each side, corner, and termination, including measurement shots of upstand height, lap widths, and fixing centres. Store compatibility letters and datasheets to prove materials were approved to work together. Exported reports should include dates, weather, tool calibrations, and sign-offs, forming a defensible trail for client handover and future maintenance. When repairs are needed, precise evidence shortens diagnosis and limits intrusive work. Keep your scope tight—perimeter flashing and terminations only—so responsibilities are clear, sequencing is respected, and inspections remain efficient and repeatable across multiple openings.
- Capture labeled photos with scales and angles.
- Log product batches for traceability.
- Attach datasheets and compatibility confirmations.
- Export signed reports for O&M manuals.
How to Use This Rooflight Flashing Inspection Checklist
- Preparation: bring calibrated moisture meter, probe knife, 1 m level, laser level, IR thermometer, anemometer, tape, camera, and PPE. Confirm safe access and gather approved drawings, manufacturer datasheets, and compatibility letters per approved project specifications and authority requirements.
- Using the Interactive Checklist: start interactive mode on site, tick each item as verified, attach photos and readings, and note deviations in comments with locations. When complete, export the commentable, time-stamped record to PDF/Excel and embed the QR code for verification.
- Sign-Off: capture digital signatures from installer, inspector, and client representative. Distribute the report to stakeholders, archive in project records, and reference it in O&M manuals for future maintenance and warranty support.
Call to Action
- Start Checklist Tick off tasks, leave comments on items or the whole form, and export your completed report to PDF or Excel—with a built-in QR code for authenticity.
- Download Excel - Rooflight Perimeter Flashing & Termination Inspection
- Download PDF - Rooflight Perimeter Flashing & Termination Inspection
- View Image - Rooflight Perimeter Flashing & Termination Inspection
Cite & Embed
“Rooflight Perimeter Flashing & Termination Inspection by Quollnet”
with a link to
this source page.
FAQ
Question: What is the minimum upstand height for rooflight perimeter flashing?
Question: How do I perform a safe water test around the rooflight perimeter?
Question: What should I do if the curb or substrate reads too damp?
Question: Do I need both termination bars and counterflashing?
Related Articles
Broader reading and guidance connected to this checklist topic.
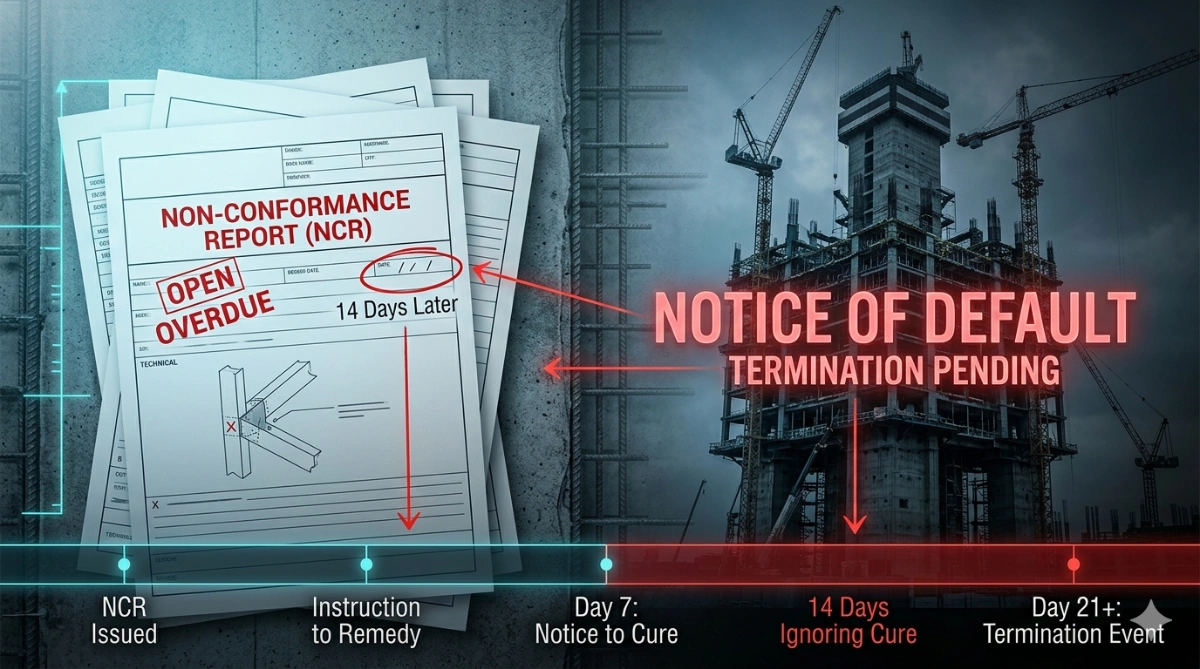
Can An Ncr Lead To Termination? Hidden Risk Behind “notice To Correct”


Master Construction Project Cashflow With Cashflowpot
Related Checklists
Keep the workflow moving with nearby templates chosen from similar checklist content.