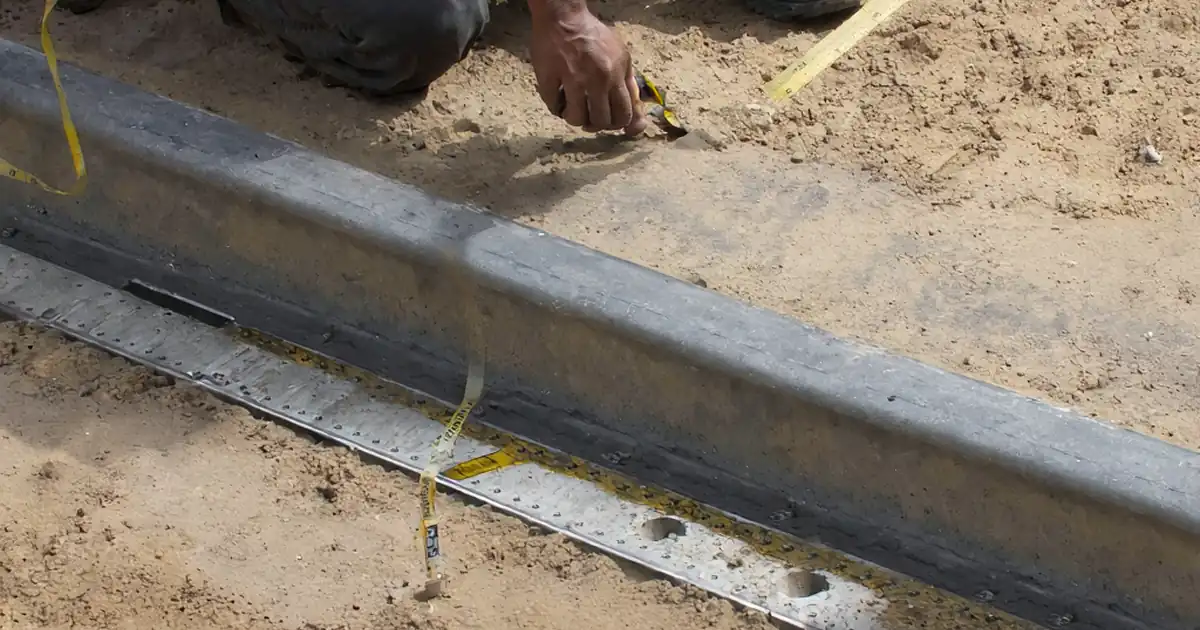
Inspect Façade Interface with Roof Membrane Terminations
Definition: Inspect façade interface with roof membrane terminations for construction teams, ensuring watertight, continuous roof-to-wall detailing with verified materials, dimensions, and documentation at parapets, cladding junctions, and vertical upstands.
- Verify watertight roof-to-wall transitions with measurable, photo-backed evidence
- Prevent leaks, wind uplift, and thermal bypass at critical interfaces
- Check upstand heights, laps, fasteners, flashings, and sealants methodically
- Interactive, commentable checklist with export and QR code verification
Inspect façade interface with roof membrane terminations is a focused quality-assurance activity that confirms the roof-to-wall termination remains watertight, durable, and compatible with adjoining façade systems. This checklist targets the roof-to-wall termination, parapet upstand interface, and associated flashing and counterflashing elements, keeping scope tightly on the vertical interface where the roof membrane ends. By validating material compatibility, membrane upstand height, termination bar placement, and continuity with the façade’s air and vapour barrier, teams avoid water ingress, wind uplift failures, corrosion between dissimilar metals, and hidden condensation risks. The outcome is a traceable, photo-documented interface that meets approved project specifications and authority requirements, supports warranty acceptance, and minimizes rework when cladding arrives. Use this interactive tool to tick each requirement, add field comments for punch items, and capture batch numbers, measurements, and torque settings. When complete, export as PDF/Excel and secure records with a QR code for easy retrieval and site-side verification.
- Confirm watertight continuity at the roof-to-wall interface by verifying membrane upstand height, seam integrity, termination bar fastening, and metal counterflashing overlaps. Capture measurements and photos to produce an auditable, warranty-ready record.
- Reduce leak and condensation risk by checking substrate flatness, primer coverage, compatible sealants, and through-wall flashing with correct drip projection. Acceptance cues include clean substrates, uniform adhesion, and consistent dimensions along the entire run.
- Coordinate sequencing with façade trades, maintain temporary weather protection, and perform controlled water spray testing after curing to prove performance without flooding interiors. Assign actions, track comments, and close out issues in real time.
- Interactive online checklist with tick, comment, and export features secured by QR code. Easily attach geo-tagged photos, lot numbers, and torque records, then export as PDF/Excel for stakeholders and archival compliance documentation.
Pre-Inspection & Documentation
Substrate & Interface Preparation
Membrane Upstand & Termination
Metal Flashings & Counterflashings
Sealant Joints & Finishes
Testing, Protection & Handover
Design intent and acceptance cues at the roof-to-wall interface
A reliable façade–roof termination depends on continuity of waterproofing and air/vapour control across the interface. Prioritize a minimum membrane upstand of 150 mm above the finished roof level to resist splash, ponding, and snow drift. Ensure the termination bar anchors the membrane mechanically while counterflashing or reglet protection sheds water and shields the termination from UV. Tie into any through-wall flashing or cavity tray with an outward fall and a drip projecting beyond the façade to prevent backflow. All materials must be mutually compatible to avoid corrosion or plasticizer migration, and joint geometry should support durable sealant performance. Acceptance cues include consistent upstand height, flat substrates, fully bonded laps, correctly spaced fixings, and clear, photo-backed evidence at regular intervals and at corners. This detail-focused approach reduces leak pathways, wind-lift at edges, and thermal bypass through discontinuities, while aligning with approved project specifications and authority requirements.
- Membrane upstand ≥ 150 mm above finished roof level
- Through-wall flashing slopes outward with 10–15 mm drip
- Termination bar fixings at ≤ 200 mm centres
- Vertical laps bonded with ≥ 75 mm overlap
- Sealants sized and tooled for joint movement
Installation quality controls and practical verification methods
Quality outcomes hinge on substrate preparation, correct primers/adhesives, and controlled fastening. Use a 2 m straightedge to limit waviness that can telegraph through the termination. Apply primer to achieve a continuous film; spot-check with a wet film gauge. Roll seams with a 20 kg roller and probe for voids; fix fishmouths immediately. Set termination bars to a snapped line, verify fastener embedment and torque (typically 5–7 N·m), and photograph spacing. Use separation layers to avoid galvanic reactions where metals meet the membrane. For masonry reglets, cut to a consistent depth and clean before installing backer rod and sealant. Finish by performing a controlled water spray test after cure to validate drainage and shed water without interior wetting. Document every result with photos, measurements, batch numbers, and timestamps for traceable, defensible quality records.
- Straightedge deviations ≤ 5 mm over 2 m length
- Primer wet film thickness ≥ 0.25 mm, continuous
- Termination torque 5–7 N·m, embedment ≥ 30 mm
- Seam probe passes; no fishmouths or voids
- Dissimilar metals isolated with slip sheets
Sequencing with façade trades, protection, and closeout
Coordination prevents damage and water entry before the façade is complete. Install temporary weather protection at terminations, especially where cladding installation lags. Maintain protection until counterflashings, reglets, and façade panels are fully installed. Schedule inspections at three key points: pre-installation (substrate and materials), during installation (laps, fasteners, sealants), and post-installation (testing and documentation). Use consistent photo angles and include a physical scale to prove measurements. If issues arise, assign corrective actions with deadlines and re-verify. On completion, consolidate as-built measurements, water-test results, material batches, and signatures. Export and archive the package so warranty providers and authorities can verify performance quickly and unambiguously, reducing punch-list churn and rework.
- Plan inspections before, during, and after works
- Maintain temporary weatherproofing until façade closes
- Use photo scales for dimensional proof
- Assign and track corrective actions to closure
- Export final records for warranty review
How to use this interactive checklist effectively
- Preparation: Review approved details and specs; assemble tools (tape, 2 m straightedge, moisture meter, wet film gauge, seam probe, 20 kg roller, torque wrench, digital level, spray nozzle with pressure gauge, camera/phone); ensure safe access and fall protection; verify dry weather and substrate readiness.
- Using the Interactive Checklist: Start interactive mode, tick items as you verify, attach geo-tagged photos and measurements, add comments for defects, assign actions to trades, and link batch numbers. Generate a location QR to revisit the exact interface later.
- Sign-Off: Capture installer/inspector digital signatures, add test results, and upload manufacturer confirmations. Export as PDF/Excel for stakeholders, archive records, and validate authenticity via the embedded QR code for audit or warranty submission.
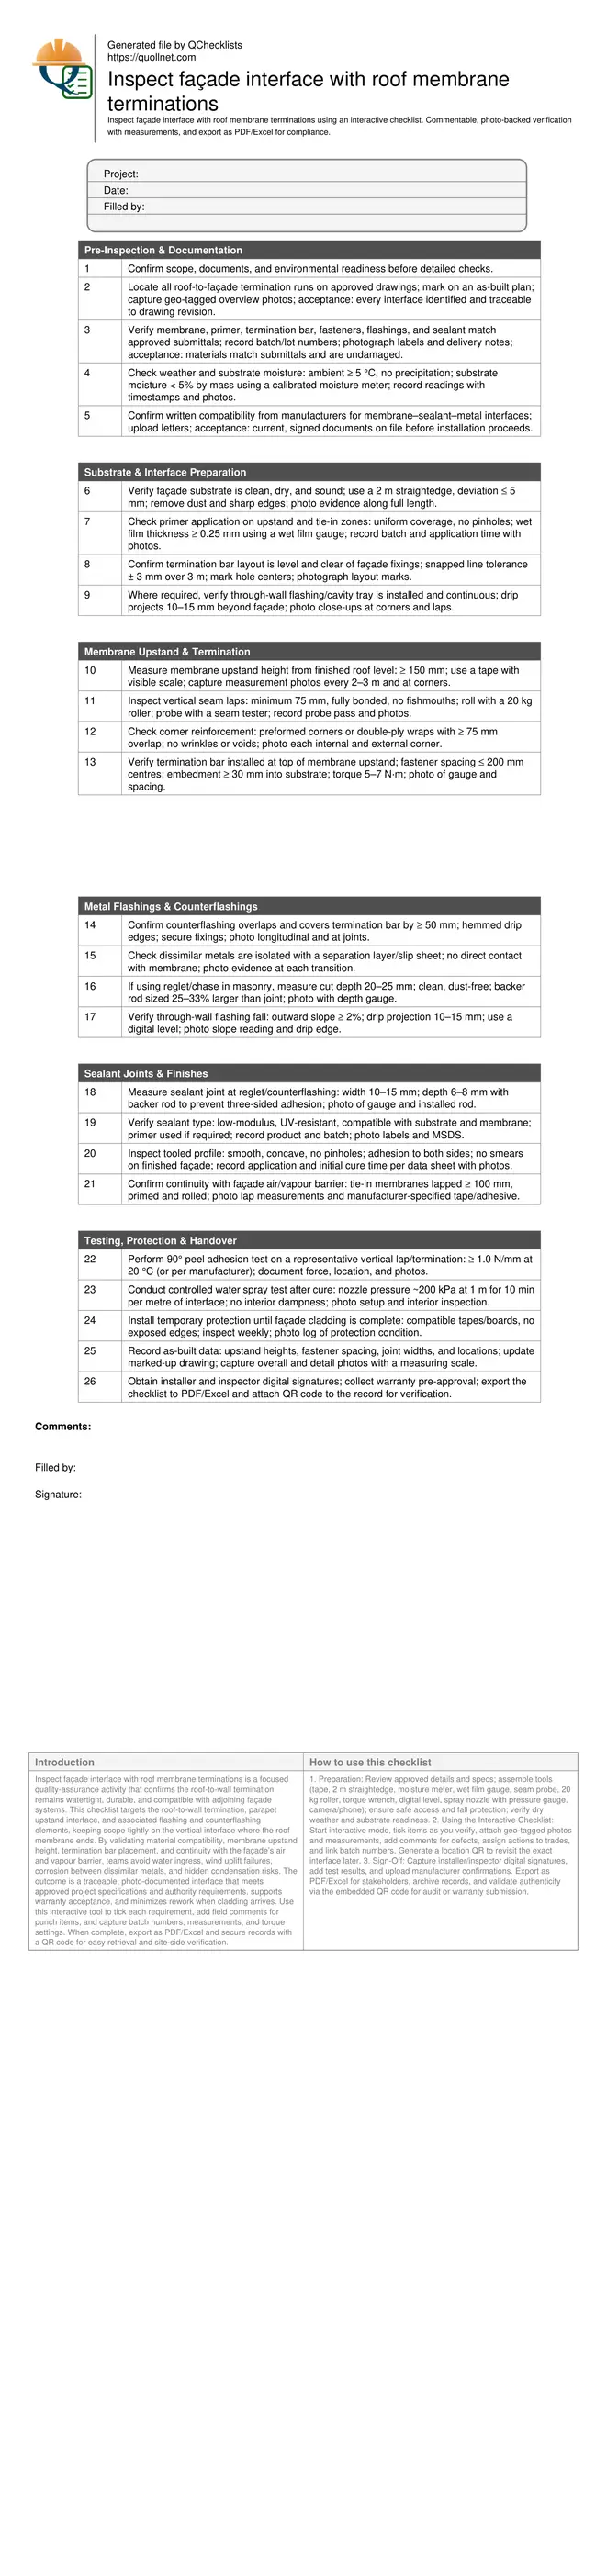
Call to Action
- Start Checklist Tick off tasks, leave comments on items or the whole form, and export your completed report to PDF or Excel—with a built-in QR code for authenticity.
- Download Excel - Façade–Roof Membrane Termination Inspection
- Download PDF - Façade–Roof Membrane Termination Inspection
- View Image - Façade–Roof Membrane Termination Inspection
Cite & Embed
“Façade–Roof Membrane Termination Inspection by Quollnet”
with a link to
this source page.

FAQ
Question: What is the minimum membrane upstand height at the façade interface?
Question: How can I test the roof-to-wall termination without flooding interiors?
Question: What if the counterflashing metal is dissimilar to adjacent materials?
Question: When should inspections occur during the termination works?
Question: How do weather and curing conditions affect sealants and primers?
Related Articles
Broader reading and guidance connected to this checklist topic.

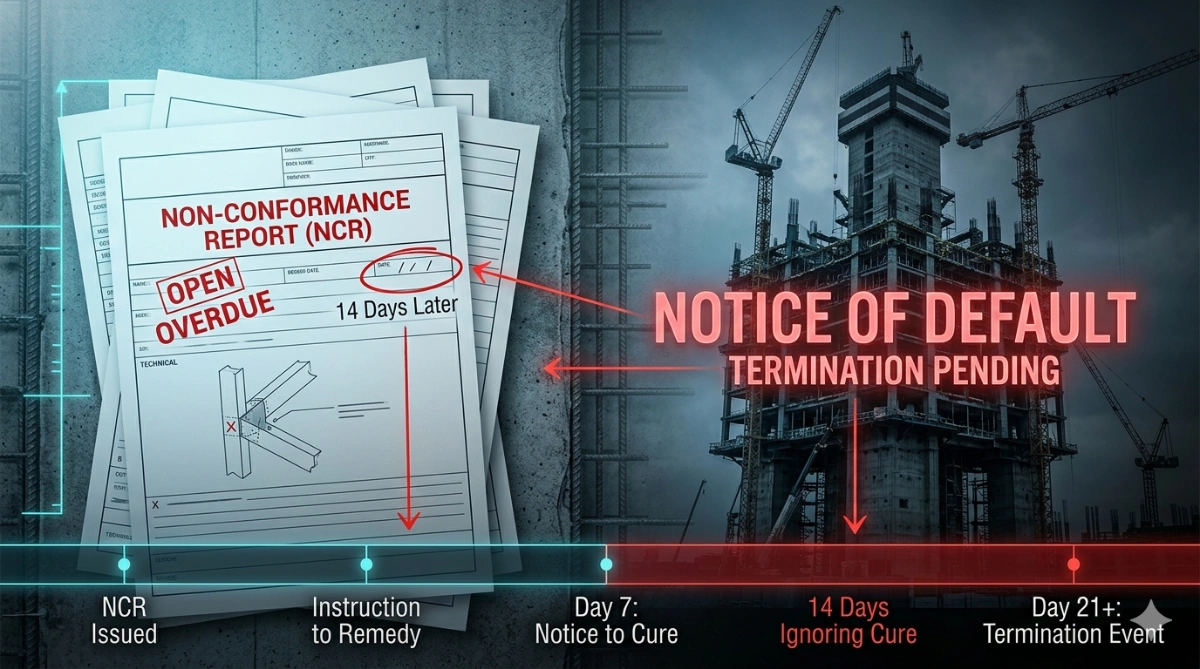
Can An Ncr Lead To Termination? Hidden Risk Behind “notice To Correct”

Is It Important To Customize Your Qr Code And How To Do It?

What Is a Snag List Or Punch List
Related Checklists
Keep the workflow moving with nearby templates chosen from similar checklist content.