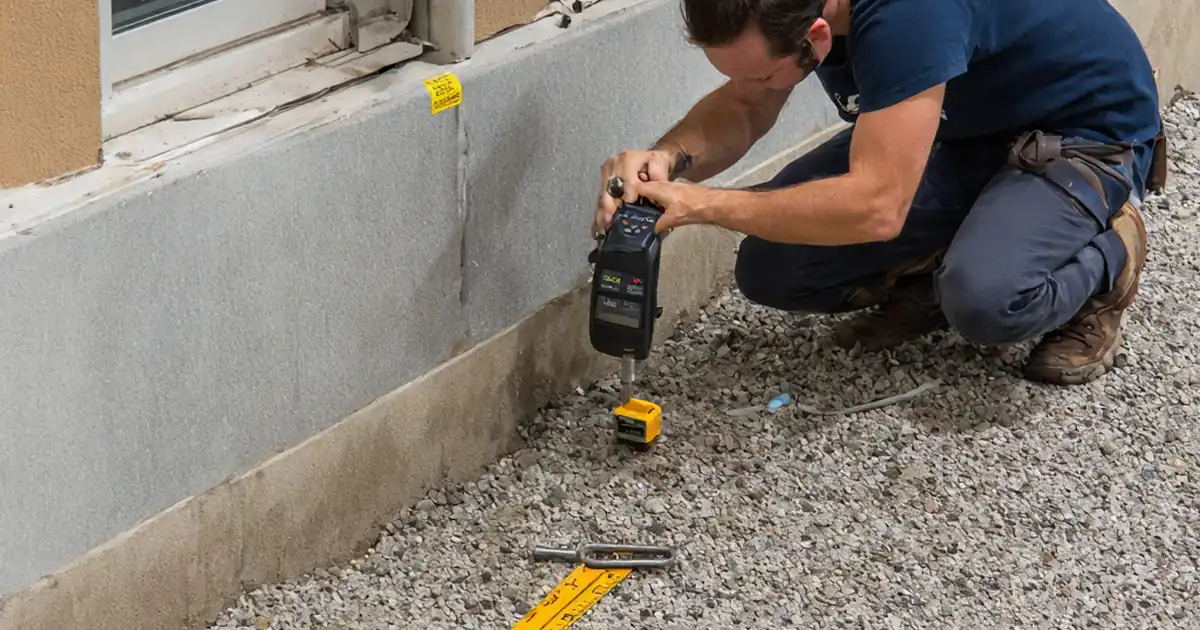
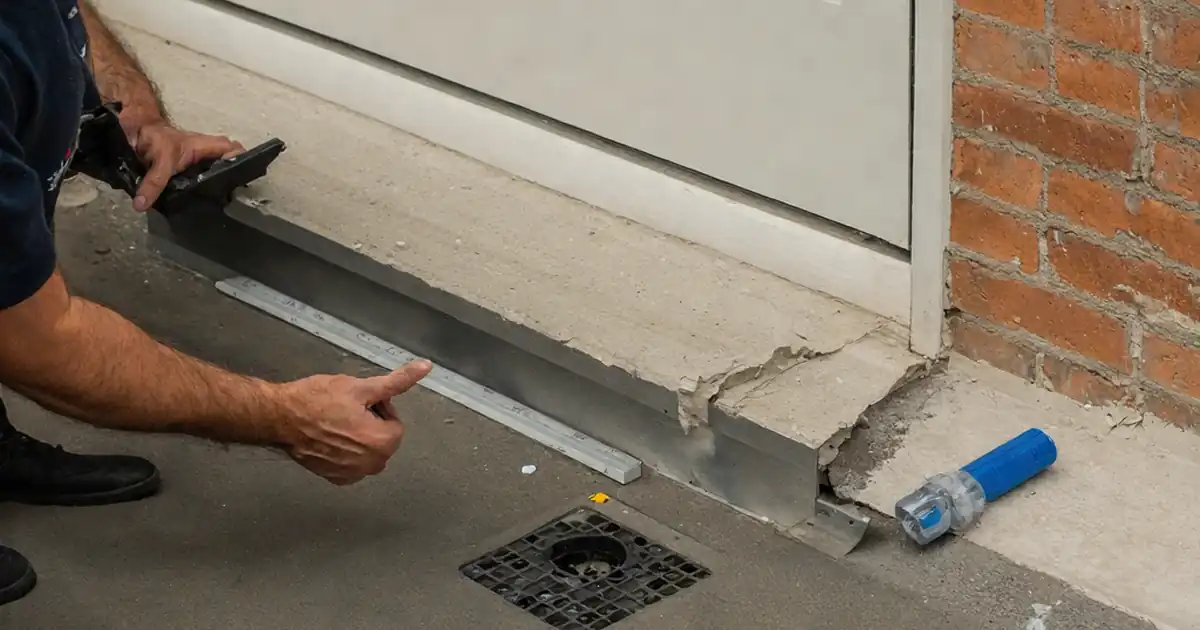
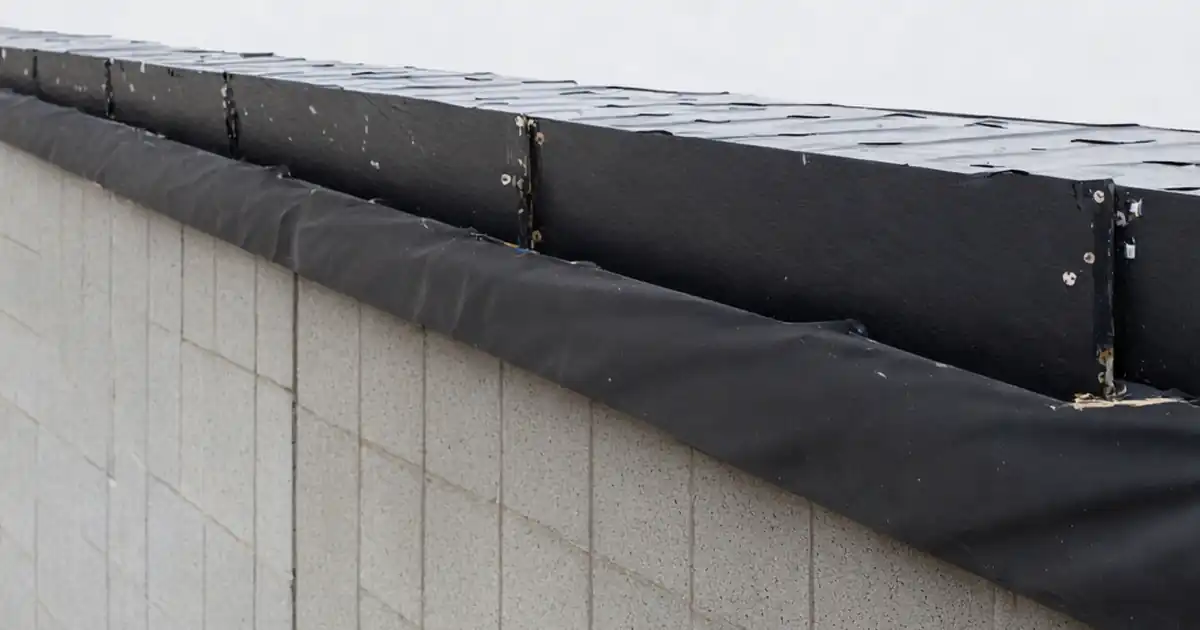
Inspect Waterproofing at Planter-to-Façade Interfaces
Definition: Inspect waterproofing at planter-to-façade interfaces with this site-ready checklist for engineers and inspectors, ensuring sound substrate prep, robust membrane terminations, effective drainage, and reliable testing before planting proceeds.
- Verify terminations, joints, and upstands prevent façade-side water ingress.
- Check drainage, overflows, and root barriers for controlled moisture paths.
- Capture photos, measurements, batch numbers, and test records for traceability.
- Interactive, commentable checklist with export and QR code verification.
Inspect waterproofing at planter-to-façade interfaces to prevent hidden leaks, façade staining, and structural moisture damage. This focused checklist covers planter interface waterproofing, façade joint sealing, and membrane terminations where planters abut walls, cladding, or glazing bases. You’ll confirm slopes, substrate moisture limits, primer coverage, upstand heights, and compatible sealant transitions, while validating drainage layers, overflows, and root barriers. The scope stops at the interface zone from planter base and curb upstand to façade transition hardware; it excludes full façade systems, standalone roof fields, or general landscaping. Done correctly, this inspection reduces costly rework, protects interior finishes, and preserves building envelopes by catching defects before protection boards and soil conceal them. Use the steps to demand evidence: calibrated readings, photos with scales, batch labels, and signatures per approved project specifications and authority requirements. Start the interactive checklist now—tick items, add comments, and export your record as PDF/Excel with a secured QR for site posting.
- Target the critical joint where planters meet façades. Confirm slopes, moisture thresholds, primers, membrane laps, and termination bars before backfilling, preventing concealed leaks that stain cladding and migrate into interiors.
- Validate drainage performance with correctly set inverts, clean strainers, and working overflows. Confirm drainage composites and filter fabrics are continuous, lapped, and unobstructed to avoid waterlogging and hydrostatic pressure at the façade.
- Enforce compatible transitions from waterproofing to façade sealants and flashings. Measure upstand heights above finished soil, verify movement joint geometry, and record adhesion details to ensure durable, serviceable terminations.
- Interactive online checklist with tick, comment, and export features secured by QR code.
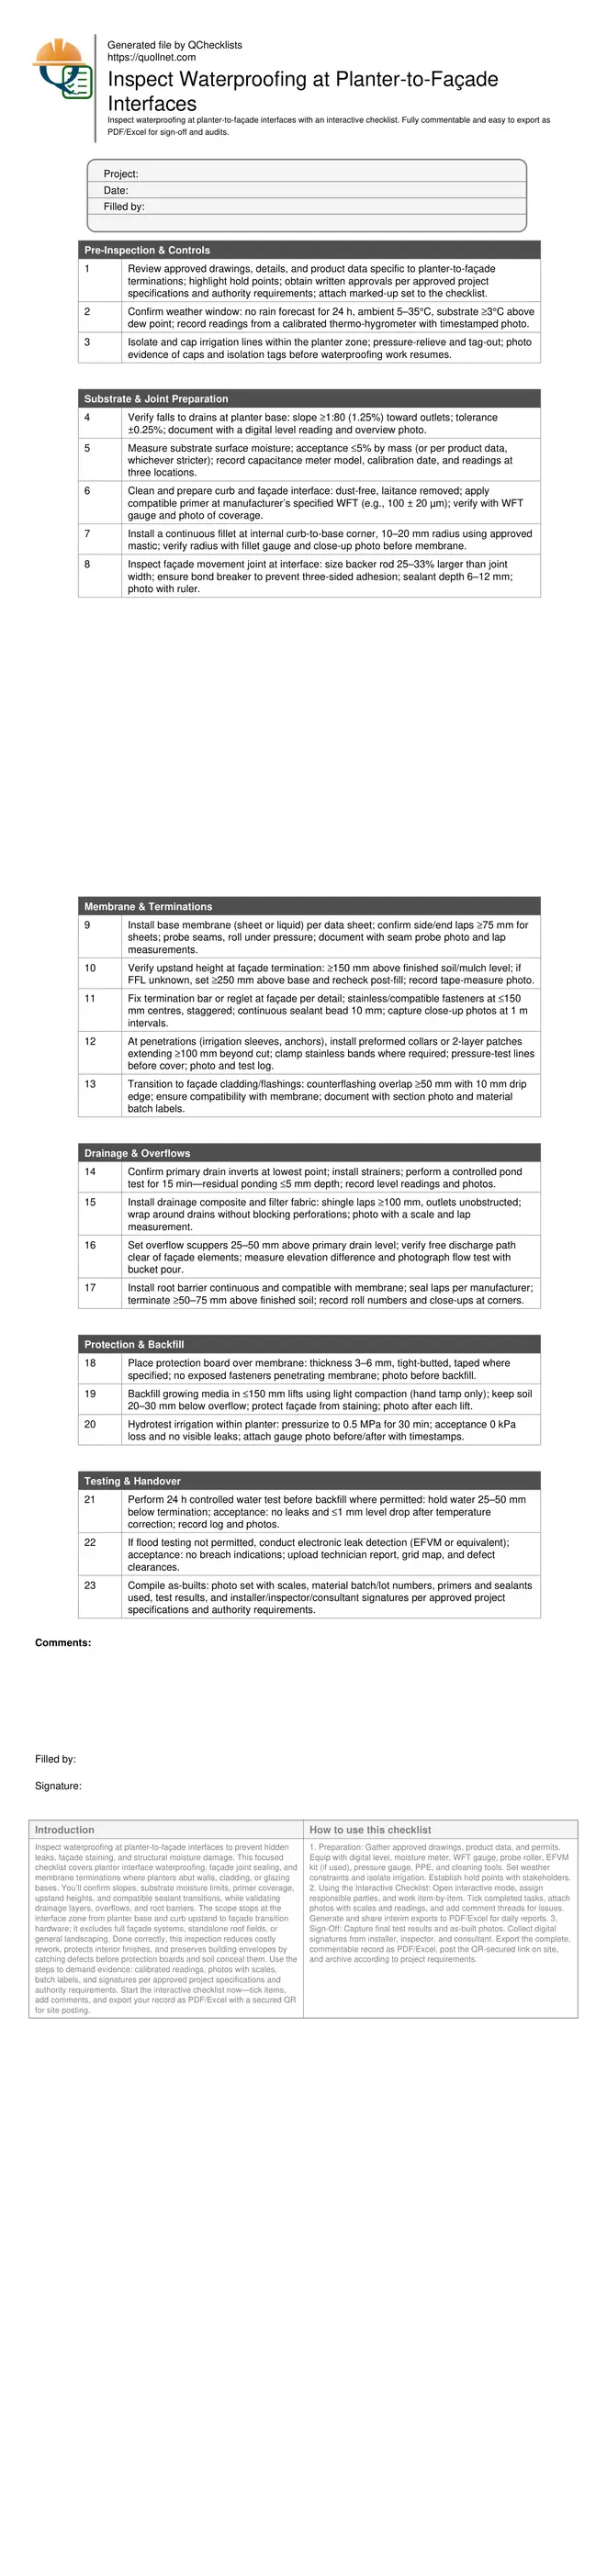
Pre-Inspection & Controls
Substrate & Joint Preparation
Membrane & Terminations
Drainage & Overflows
Protection & Backfill
Testing & Handover
Critical details at planter-to-façade junctions
The interface where a planter meets a façade concentrates water, movement, and soil acidity. Failures typically start at poor membrane terminations, insufficient upstand height, clogged outlets, or incompatible sealants touching bituminous layers. Inspect falls first; a minimum 1:80 slope towards drains directs water away from the façade. Confirm substrate moisture within product limits before priming to prevent blistering. At corners, a 10–20 mm fillet relieves stress for sheet or liquid membranes. Upstands should project at least 150 mm above finished soil/mulch so splashes and irrigation cannot overtop the line. Where the façade includes movement joints, size backer rod correctly and avoid three-sided adhesion using a bond breaker for durable cycling. Counterflashings must shed water with a 10 mm drip. Record each verification with measurements and geo-tagged photos. By resolving these details before protection boards and soil conceal them, you avert capillary tracking into façades and interior damp patches.
- Set slopes ≥1:80 toward drains, verify with digital level.
- Keep upstands ≥150 mm above finished soil.
- Use fillets 10–20 mm at internal corners.
- Prevent three-sided adhesion at façade joints.
- Add drip edges to shed water cleanly.
Drainage, testing, and evidence that survives handover
Even perfect terminations fail if water cannot escape. Confirm inverts, clear strainers, and overflows 25–50 mm above primaries to limit head pressure against the façade. Drainage composites and filter fabrics must shingle-lap and run free into outlets without blockage. Before backfilling, conduct a controlled water test wherever allowed, holding water below the termination. If flooding is restricted, specify electronic leak detection to locate breaches without saturation. Document alternative approvals. At penetrations for irrigation or anchorage, use preformed collars or double patches extending 100 mm beyond cuts, and pressure-test lines to 0.5 MPa for 30 minutes. During backfill, install protection boards to shield membranes and raise root barriers above soil level. Capture batch labels, calibrated instrument readings, and signatures. The best inspection record is searchable: timestamps, locations, and photos at set intervals provide defensible evidence and speed up warranty acceptance.
- Verify overflows 25–50 mm above main drains.
- Flood test 24 h, or use electronic detection.
- Collar penetrations with 100 mm beyond coverage.
- Pressure-test irrigation at 0.5 MPa, 30 minutes.
- Archive photos, readings, and batch labels.
Compatibility and sequencing to prevent hidden conflicts
Material compatibility and work sequencing decide long-term durability at planter-to-façade interfaces. Confirm primers, membranes, sealants, and root barriers are mutually compatible and listed for direct contact by their manufacturers. Where dissimilar materials touch, insert bond breakers or transition strips to prevent adhesion conflicts or plasticizer migration. Sequence work so flood or electronic testing occurs before protection boards and growing media conceal defects; only then proceed with root barriers, drainage composites, and backfill in controlled lifts. Maintain a clean façade during works; cover stone or glazing to avoid staining from bitumen or soil fines. When elevations change, recheck upstand height relative to the final soil level and adjust terminations or counterflashings. Collect approvals and test sign-offs per approved project specifications and authority requirements. This disciplined sequence avoids destructive rework and minimizes post-planting interventions that risk damaging the façade.
- Confirm all materials are mutually compatible.
- Insert bond breakers between dissimilar products.
- Test before protection boards and backfill.
- Protect façades from stains during works.
How to use this interactive planter-to-façade waterproofing checklist
- Preparation: Gather approved drawings, product data, and permits. Equip with digital level, moisture meter, WFT gauge, probe roller, EFVM kit (if used), pressure gauge, PPE, and cleaning tools. Set weather constraints and isolate irrigation. Establish hold points with stakeholders.
- Using the Interactive Checklist: Open interactive mode, assign responsible parties, and work item-by-item. Tick completed tasks, attach photos with scales and readings, and add comment threads for issues. Generate and share interim exports to PDF/Excel for daily reports.
- Sign-Off: Capture final test results and as-built photos. Collect digital signatures from installer, inspector, and consultant. Export the complete, commentable record as PDF/Excel, post the QR-secured link on site, and archive according to project requirements.
Call to Action
- Start Checklist Tick off tasks, leave comments on items or the whole form, and export your completed report to PDF or Excel—with a built-in QR code for authenticity.
- Download Excel - Planter-to-Façade Waterproofing Inspection
- Download PDF - Planter-to-Façade Waterproofing Inspection
- View Image - Planter-to-Façade Waterproofing Inspection
Cite & Embed
“Planter-to-Façade Waterproofing Inspection by Quollnet”
with a link to
this source page.

FAQ
Question: What minimum upstand height is acceptable at the planter-to-façade termination?
Question: Should I flood test at the interface, and when in the sequence?
Question: How do I manage compatibility between façade sealants and the planter membrane?
Question: What evidence should I collect for a defensible inspection record?
Question: What slope and moisture tolerances reduce blistering and ponding risks?
Related Articles
Broader reading and guidance connected to this checklist topic.



Open Ncrs At Taking-over / Dlp: What Happens At Handover And How To Escalate


Related Checklists
Keep the workflow moving with nearby templates chosen from similar checklist content.