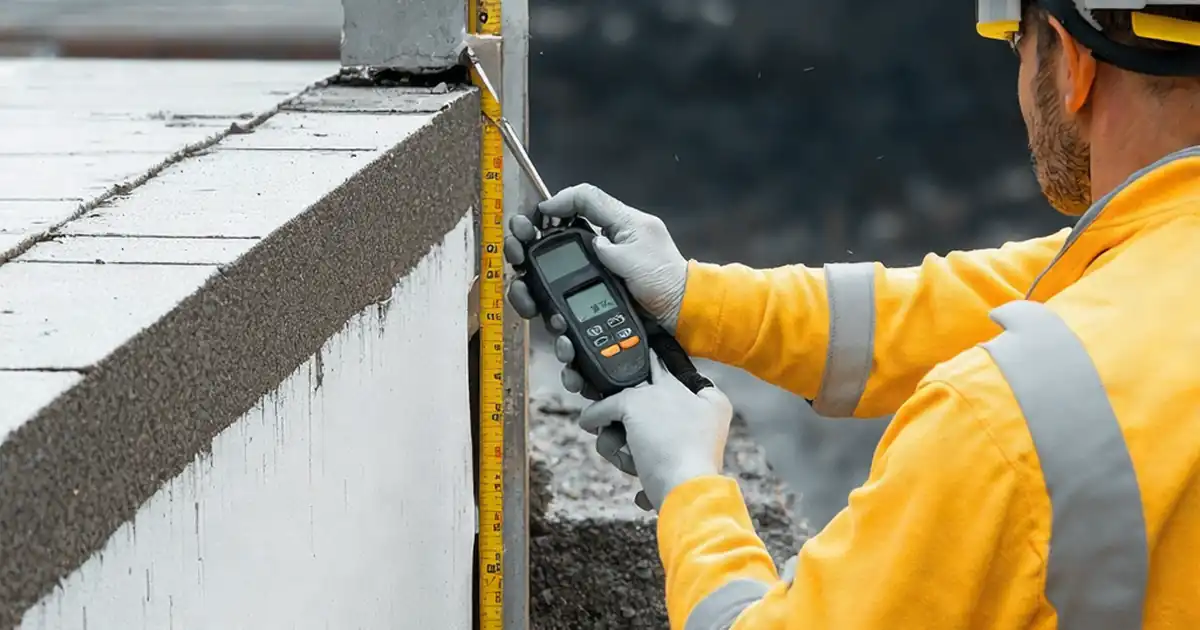
Inspect waterproofing at balcony threshold and façade junctions
Definition: Inspect waterproofing at balcony threshold and façade junctions is a site-ready checklist for contractors and inspectors to verify membrane continuity, terminations, drainage paths, and interfaces meet approved specifications and authority requirements.
- Confirm substrate dryness, slopes, upstands, and penetrations before membrane works.
- Verify membrane laps, corner reinforcement, terminations, and compatible sealants.
- Test drainage, threshold watertightness, and façade junction performance with evidence.
- Interactive, commentable checklist with export and QR code authentication.
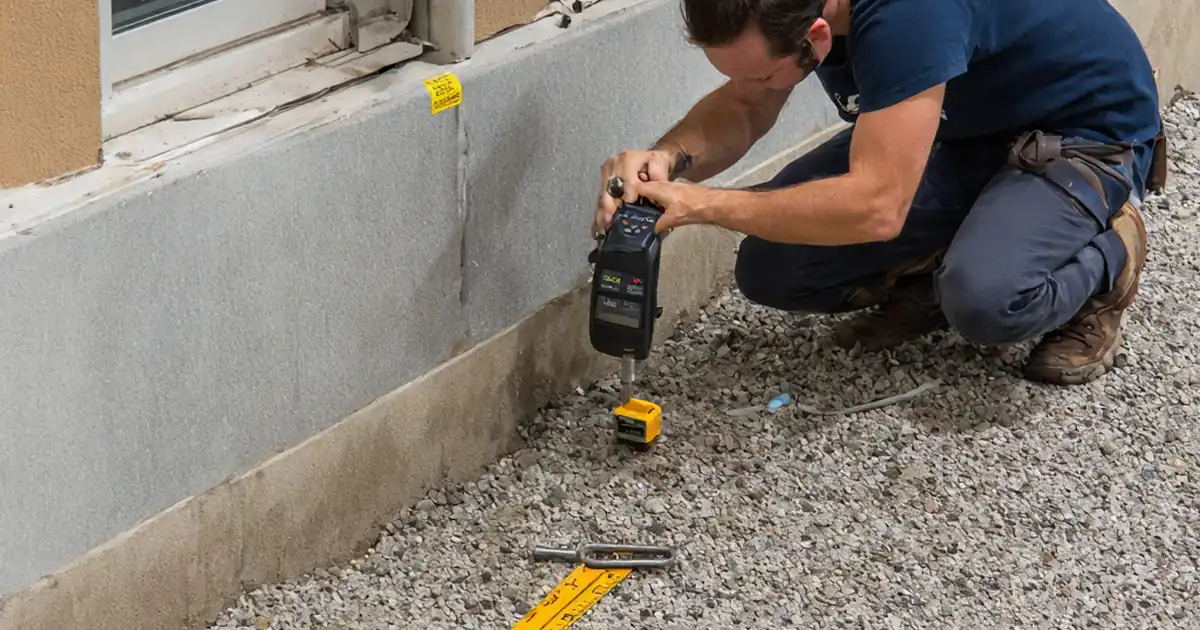
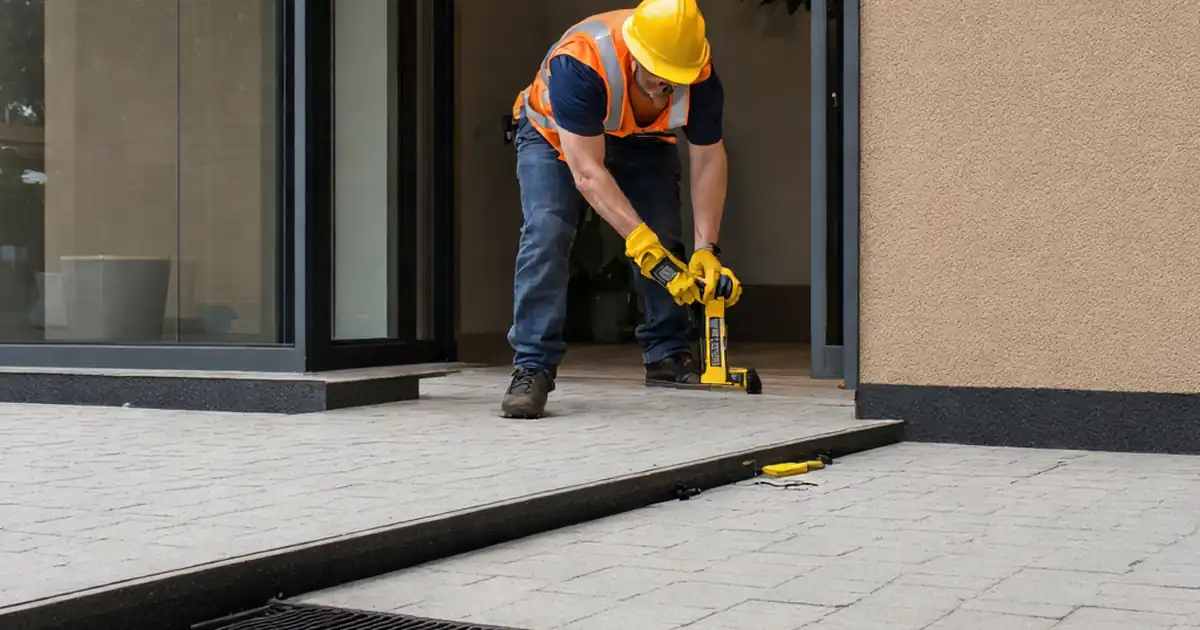
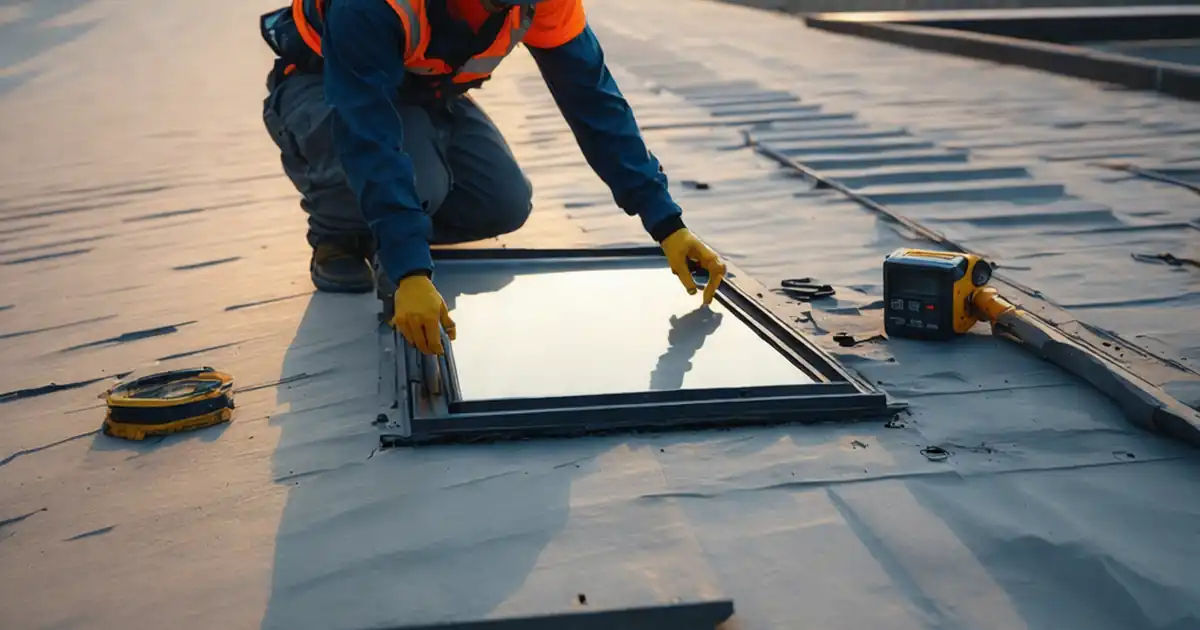
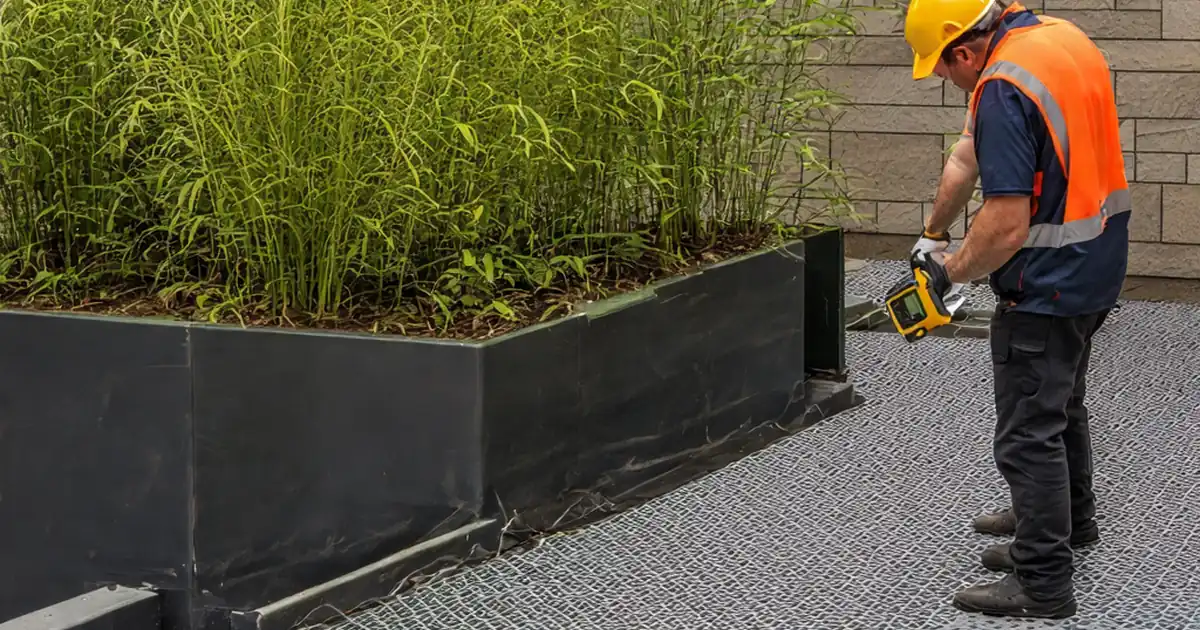
Inspect waterproofing at balcony threshold and façade junctions is a critical quality step that prevents leakage at door thresholds and wall interfaces. This checklist targets balcony door threshold waterproofing, façade-to-balcony interface detailing, membrane terminations, sill pans, and sealant joints. It focuses on buildable, verifiable actions: substrate preparation, slope to drain, corner reinforcement, termination bars, and compatible sealants that maintain continuity from horizontal to vertical surfaces. You will confirm dry substrates, correct upstand heights, clear drainage paths, and properly detailed movement joints around cladding junctions. The outcome is durable, testable watertightness that protects interiors, finishes, and structure while supporting warranties. By following these steps, you reduce callbacks from ponding, capillary tracking, wind-driven rain intrusion, and concealed moisture. Use this interactive checklist on mobile or desktop to tick off tasks, attach photos, log readings, and reference approvals. Invite teammates to comment, then export to PDF/Excel for sign-off and archive via a secure QR code.
- Establishes repeatable inspection points focused on substrate condition, slope, membrane continuity, and terminations at thresholds and façade junctions. Each step includes tools, tolerances, and evidence requirements to drive objective acceptance and reduce ambiguity.
- Reduces leakage risks from wind-driven rain and backflow by validating sill pans, upstands, laps, corner reinforcement, and sealed fixings. Integrated drainage and spray testing confirms performance before finishes, protecting interiors and guaranteeing maintainable, accessible junctions.
- Interactive online checklist with tick, comment, and export features secured by QR code. Works on mobile or desktop, timestamps evidence, and centralizes approvals for transparent handover, warranty support, and future maintenance reference without rework or data loss.
- Aligns installation and inspection with manufacturer instructions and project details. Captures lot numbers, wet film thickness, joint dimensions, moisture readings, and test videos, ensuring traceable compliance per approved project specifications and authority requirements.
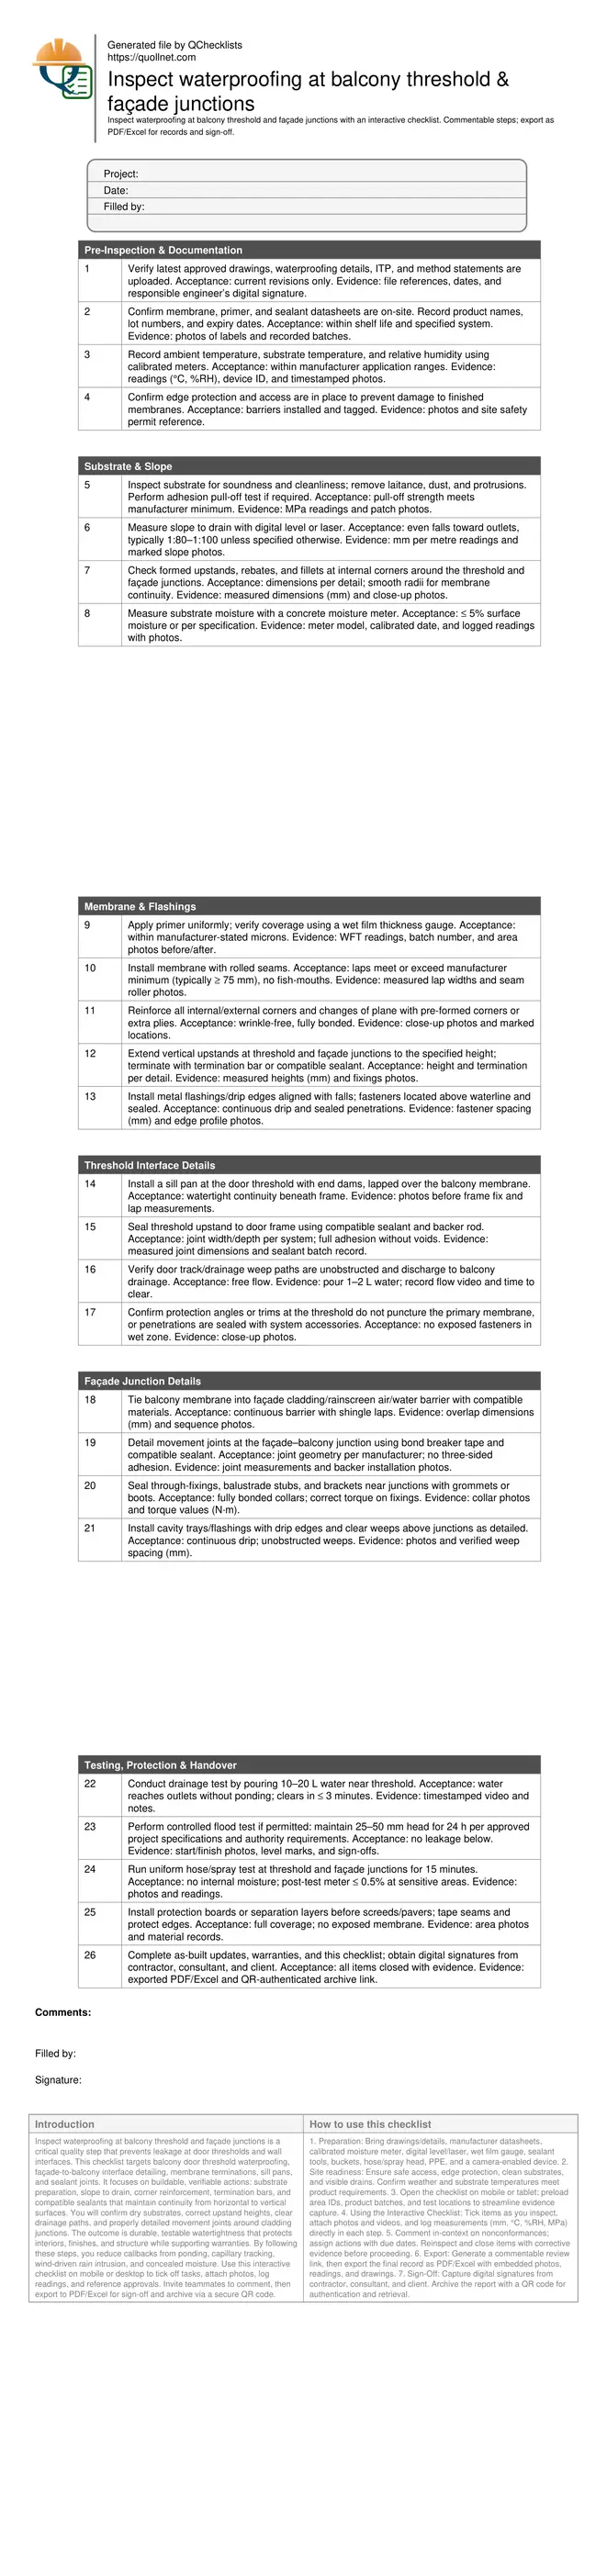
Pre-Inspection & Documentation
Substrate & Slope
Membrane & Flashings
Threshold Interface Details
Façade Junction Details
Testing, Protection & Handover
Why Thresholds and Façade Junctions Fail—and How to See It Early
Balcony thresholds and façade junctions concentrate water from wind-driven rain, splash-back, and runoff. Small errors—like a missing end dam, an underlapped membrane, or a blocked weep—can bypass interior defenses and wet finishes. This checklist sharpens your focus on the high-risk transitions: horizontal-to-vertical turns, corners, and penetrations clustered near doors and cladding. Acceptance cues include uniform primer coverage, rolled seams without fish-mouths, clean slopes to outlets, and terminations protected by bars or compatible sealants. Field evidence should prove continuity: overlap measurements, corner reinforcements, joint geometry, and batch records that trace materials back to the box. Practical tools—digital levels, moisture meters, wet film gauges—turn subjective judgments into simple passes or fails. When issues appear, photos with markings and dimensions guide immediate corrective actions instead of late-stage rework. Following these cues prevents hidden moisture, blistered membranes, and recurring leak investigations that drain budgets and tenant confidence.
- Focus on horizontal-to-vertical transitions and corners.
- Confirm slopes, upstands, and clear drainage paths.
- Measure laps, joint sizes, and film thicknesses.
- Capture batch numbers and calibration details.
- Photograph defects with annotated dimensions.
Detailing Essentials at Door Thresholds and Cladding Interfaces
Good waterproofing details rely on buildable geometry and compatible materials. At the threshold, a sill pan with end dams lapped over the balcony membrane routes water outward, while an upstand to the frame creates a secondary defense. At façade interfaces, shingle-lapped barriers and cavity trays prevent reverse flow, and movement joints relieve stress without tearing the membrane. Metal flashings finish edges with durable drips, provided fasteners sit clear of ponding zones and penetrations are sealed. Before covering works, verify each layer: fillets ease membrane turns; corner patches bridge stress points; and laps are rolled firmly. Field tolerances—slope evenness, joint proportions, and lap widths—must align with manufacturer instructions and project details. Testing with water, not just sight, validates performance prior to finishes, when repairs are cost-effective and access is simple.
- Create outward drainage with sill pans and end dams.
- Lap barriers in a shingle sequence toward outlets.
- Provide bond breakers at movement joints.
- Keep fasteners above wet zones and seal them.
- Verify details before covering with finishes.
Proving Performance: Water Testing, Protection, and Traceability
Testing turns workmanship into evidence. A quick drainage test shows how water moves; a controlled flood test, if permitted, proves overall containment; and a targeted spray test stresses the threshold and façade junctions where leakage typically starts. Meter readings after tests confirm interiors stayed dry. Protect the successful installation with boards or separation layers before heavy trades arrive; many failures begin with post-install damage. Traceability closes the loop: record product batches, wet film and lap measurements, environmental conditions, and videos of tests. Export the complete package and archive it so future teams can find the facts quickly during handovers, warranty reviews, or refurbishments. Clear records reduce disputes, enable like-for-like repairs, and support preventive maintenance planning.
- Use water tests to validate critical interfaces.
- Protect membranes before screeds and pavers.
- Record readings and test videos.
- Archive signed checklists for handover.
- Trace materials to batch and lot numbers.
How to Use This Interactive Inspection Checklist
- Preparation: Bring drawings/details, manufacturer datasheets, calibrated moisture meter, digital level/laser, wet film gauge, sealant tools, buckets, hose/spray head, PPE, and a camera-enabled device.
- Site readiness: Ensure safe access, edge protection, clean substrates, and visible drains. Confirm weather and substrate temperatures meet product requirements.
- Open the checklist on mobile or tablet; preload area IDs, product batches, and test locations to streamline evidence capture.
- Using the Interactive Checklist: Tick items as you inspect, attach photos and videos, and log measurements (mm, °C, %RH, MPa) directly in each step.
- Comment in-context on nonconformances; assign actions with due dates. Reinspect and close items with corrective evidence before proceeding.
- Export: Generate a commentable review link, then export the final record as PDF/Excel with embedded photos, readings, and drawings.
- Sign-Off: Capture digital signatures from contractor, consultant, and client. Archive the report with a QR code for authentication and retrieval.
Call to Action
- Start Checklist Tick off tasks, leave comments on items or the whole form, and export your completed report to PDF or Excel—with a built-in QR code for authenticity.
- Download Excel - Balcony Threshold & Façade Waterproofing Inspection
- Download PDF - Balcony Threshold & Façade Waterproofing Inspection
- View Image - Balcony Threshold & Façade Waterproofing Inspection
Cite & Embed
“Balcony Threshold & Façade Waterproofing Inspection by Quollnet”
with a link to
this source page.

FAQ
Question: What’s the minimum acceptable slope for a balcony to ensure drainage at thresholds and façade junctions?
Question: Do I need both a sill pan and sealant at the door threshold interface?
Question: When should I perform a flood test versus a hose or spray test?
Question: How do I verify that membrane laps and corners are acceptable without destructive checks?
Question: What evidence should I capture to support warranty and handover?
Related Articles
Broader reading and guidance connected to this checklist topic.




Related Checklists
Keep the workflow moving with nearby templates chosen from similar checklist content.